
The utensils you reach for daily — spatulas, tongs, wooden spoons — deserve better than a jumbled drawer or a sad plastic cup. A good utensil holder keeps tools within arm’s reach of the stove while adding a styled moment to the counter. These kitchen utensil holder ideas cover every look from rustic crock to sleek wall rail, so your most-used tools become part of the decor. Kitchen countertop decor ideas for a clutter-free styled look show how holders fit into a styled-but-workable surface.
Before you buy, audit your actual tools. Kitchen utensils come in wildly different shapes, and the right holder depends on what you own: long-handled tools need height, silicone heads need gentle storage, and a dozen wooden spoons need real width. Count your everyday tools, measure the tallest, and choose a holder with a wide, stable base — top-heavy holders tip when you grab a whisk mid-sizzle. One great holder beats two mediocre ones every time.
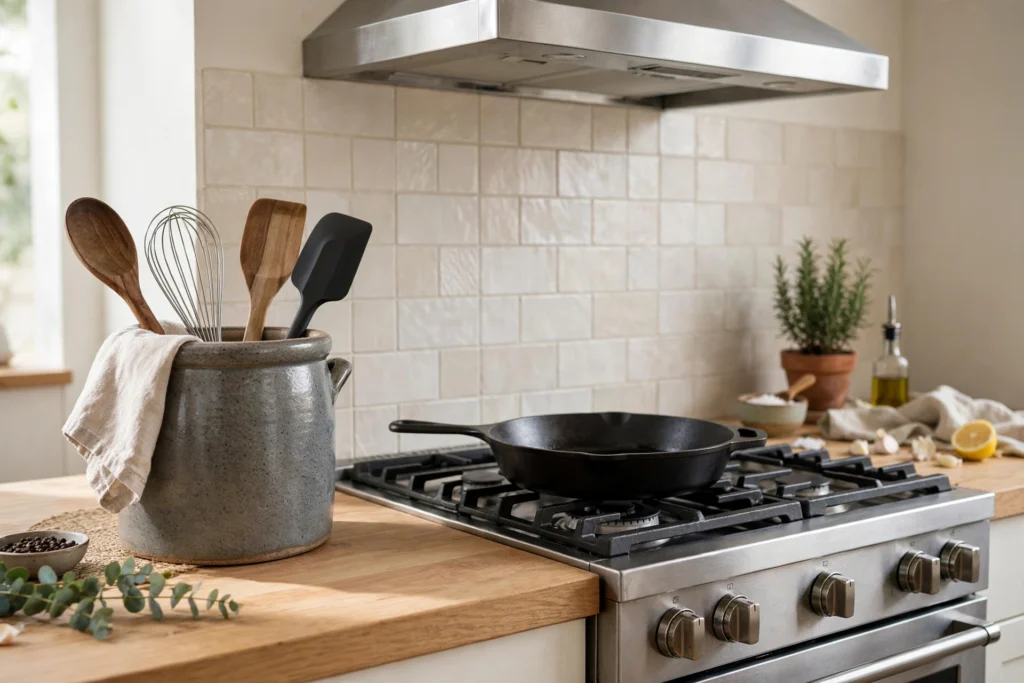
1. Use a Classic Stoneware Crock
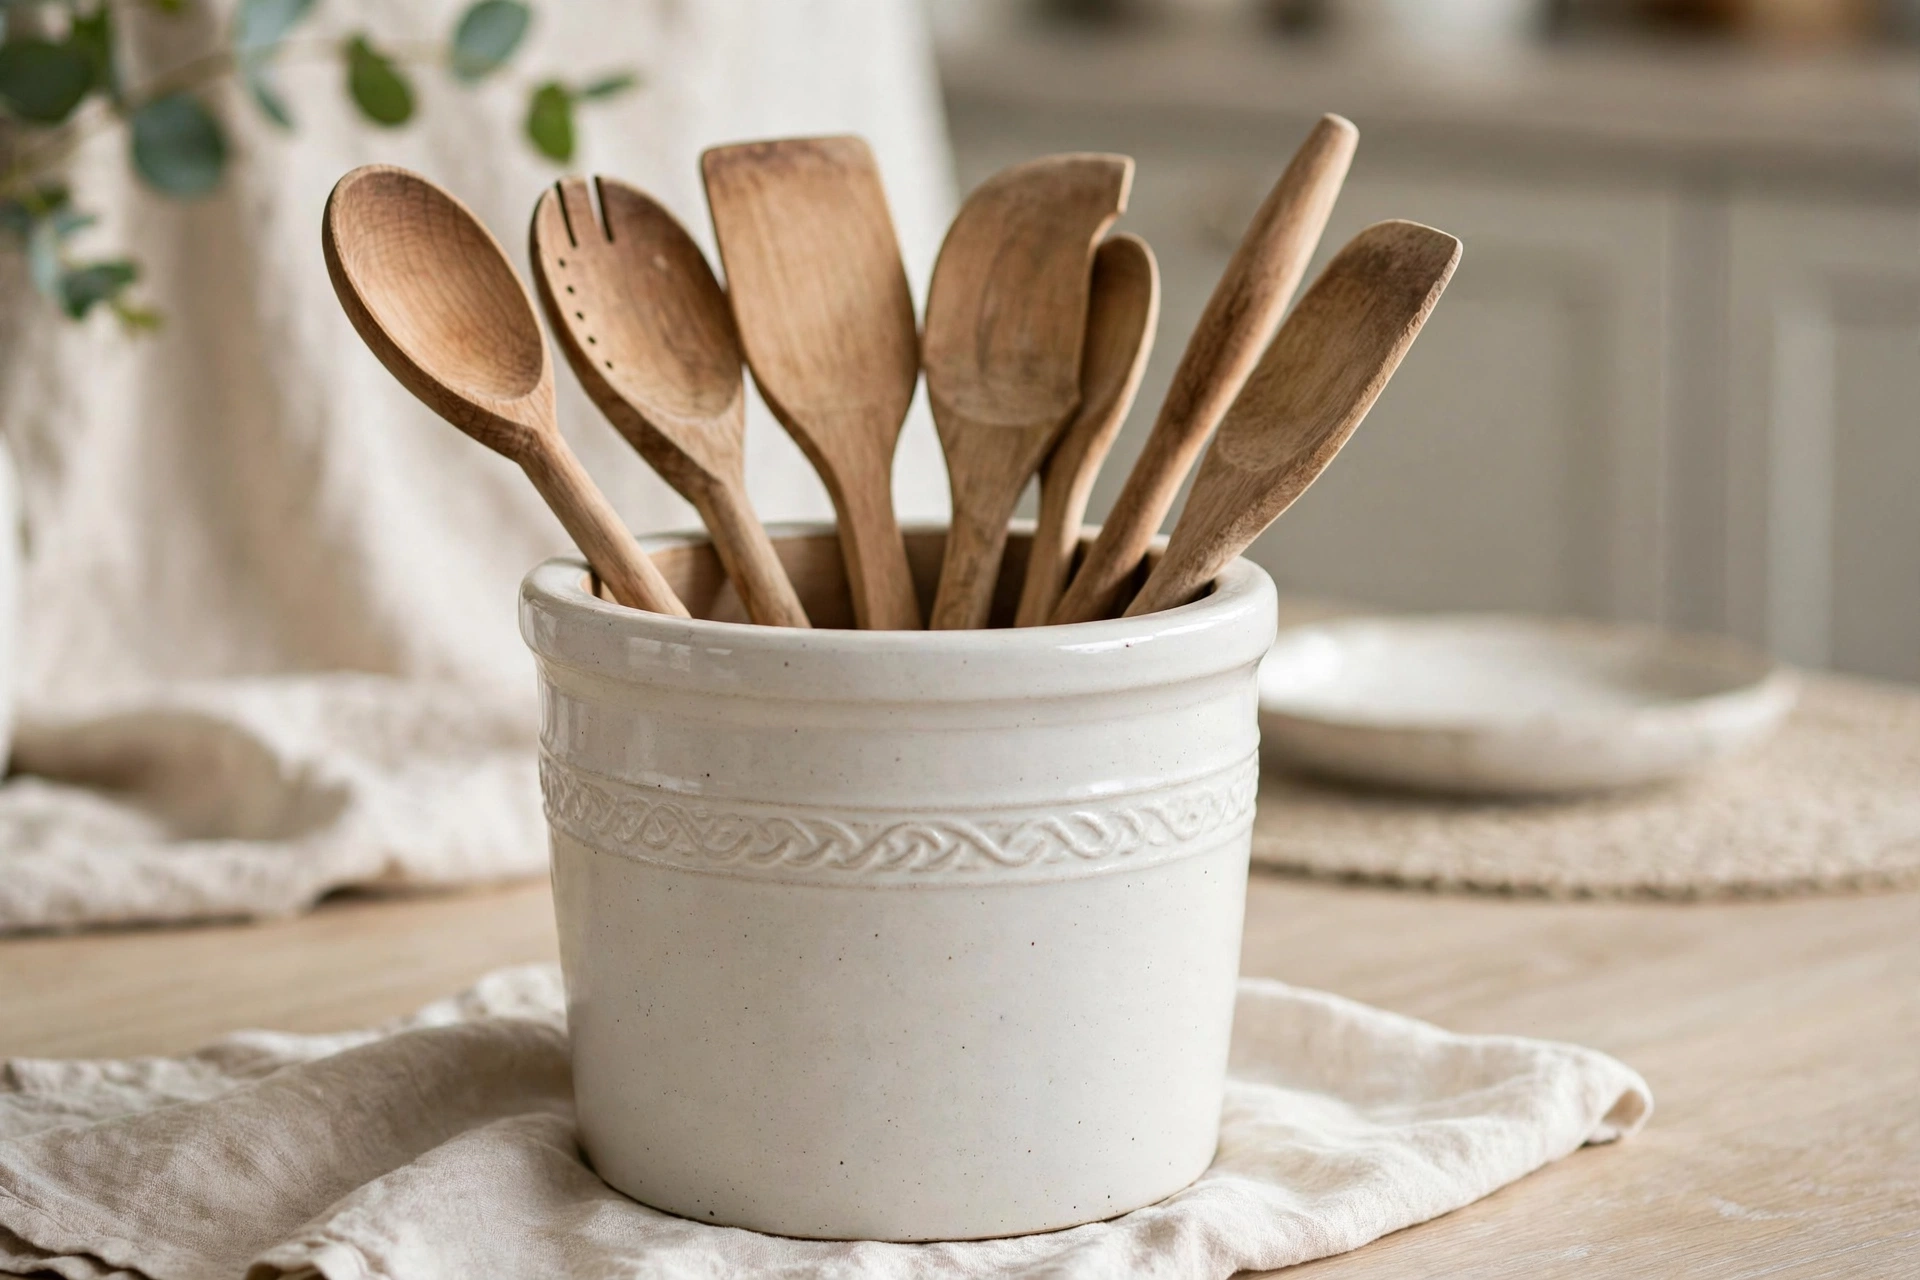
The stoneware crock is the timeless answer: heavy, beautiful, and practically indestructible. A good crock’s weight keeps it planted when you yank out a sturdy spatula, and the glazed interior wipes clean of oil splatter. Choose a crock tall enough that tools stand with handles up and heads contained — about 7 inches for standard utensils. White or cream crocks suit every kitchen; hand-thrown speckled stoneware adds artisan character. Keep it near the stove’s working side and limit it to daily tools so it never overflows into chaos.
2. Try a Wooden Holder for Warmth
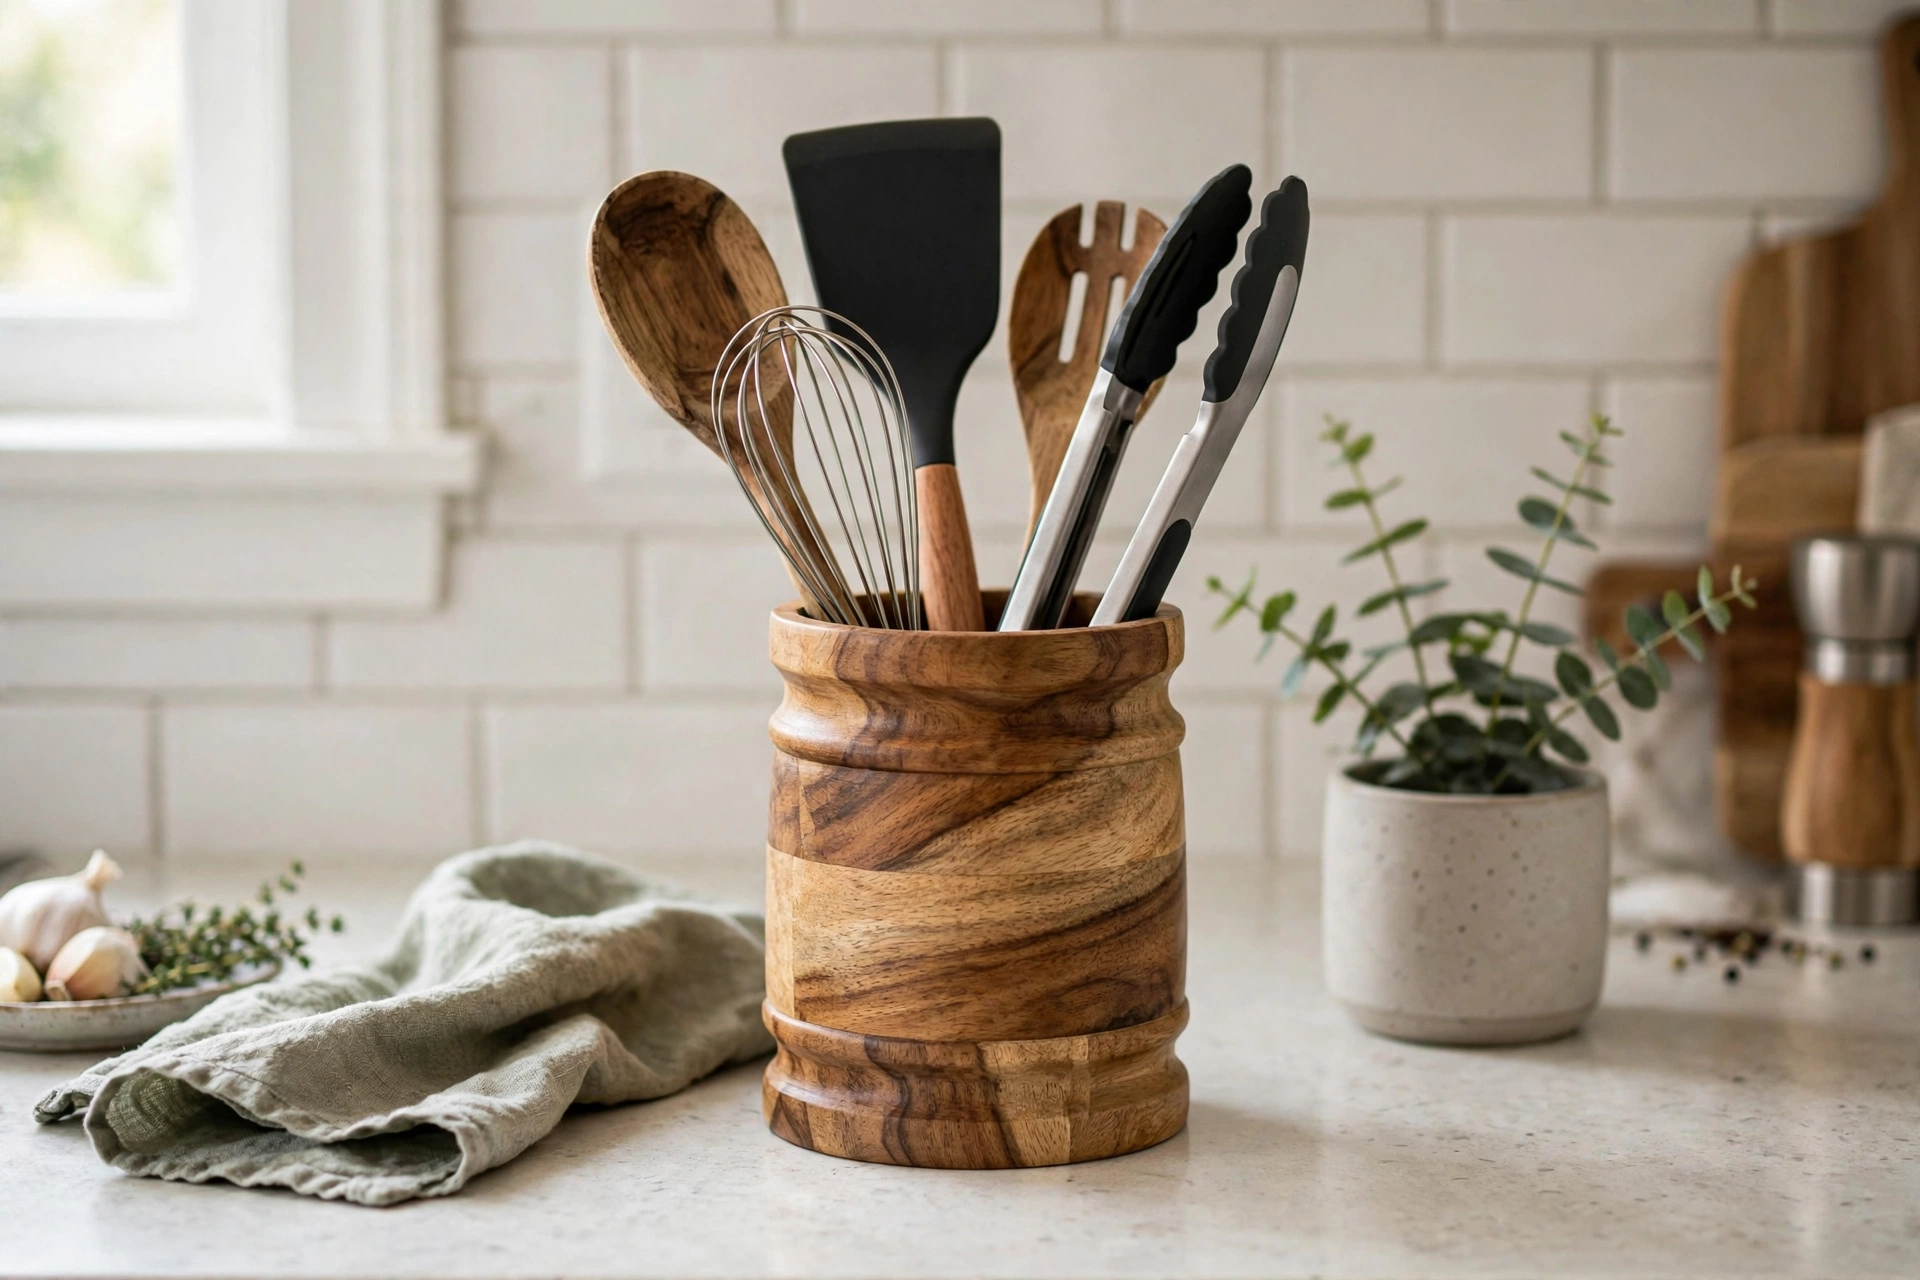
A turned-wood or acacia utensil holder brings organic warmth that ceramic cannot. Wood’s natural variation means no two holders look alike, and it pairs beautifully with butcher-block counters and open shelving. Choose food-safe finished wood and keep it away from direct stove heat — wood dries and cracks near constant high temperatures. Oil it occasionally with food-safe mineral oil to prevent splitting. A wooden holder suits farmhouse, rustic, and Scandinavian kitchens especially well, where its texture echoes cutting boards and bowls already on display.
3. Hang a Wall-Mounted Rail System
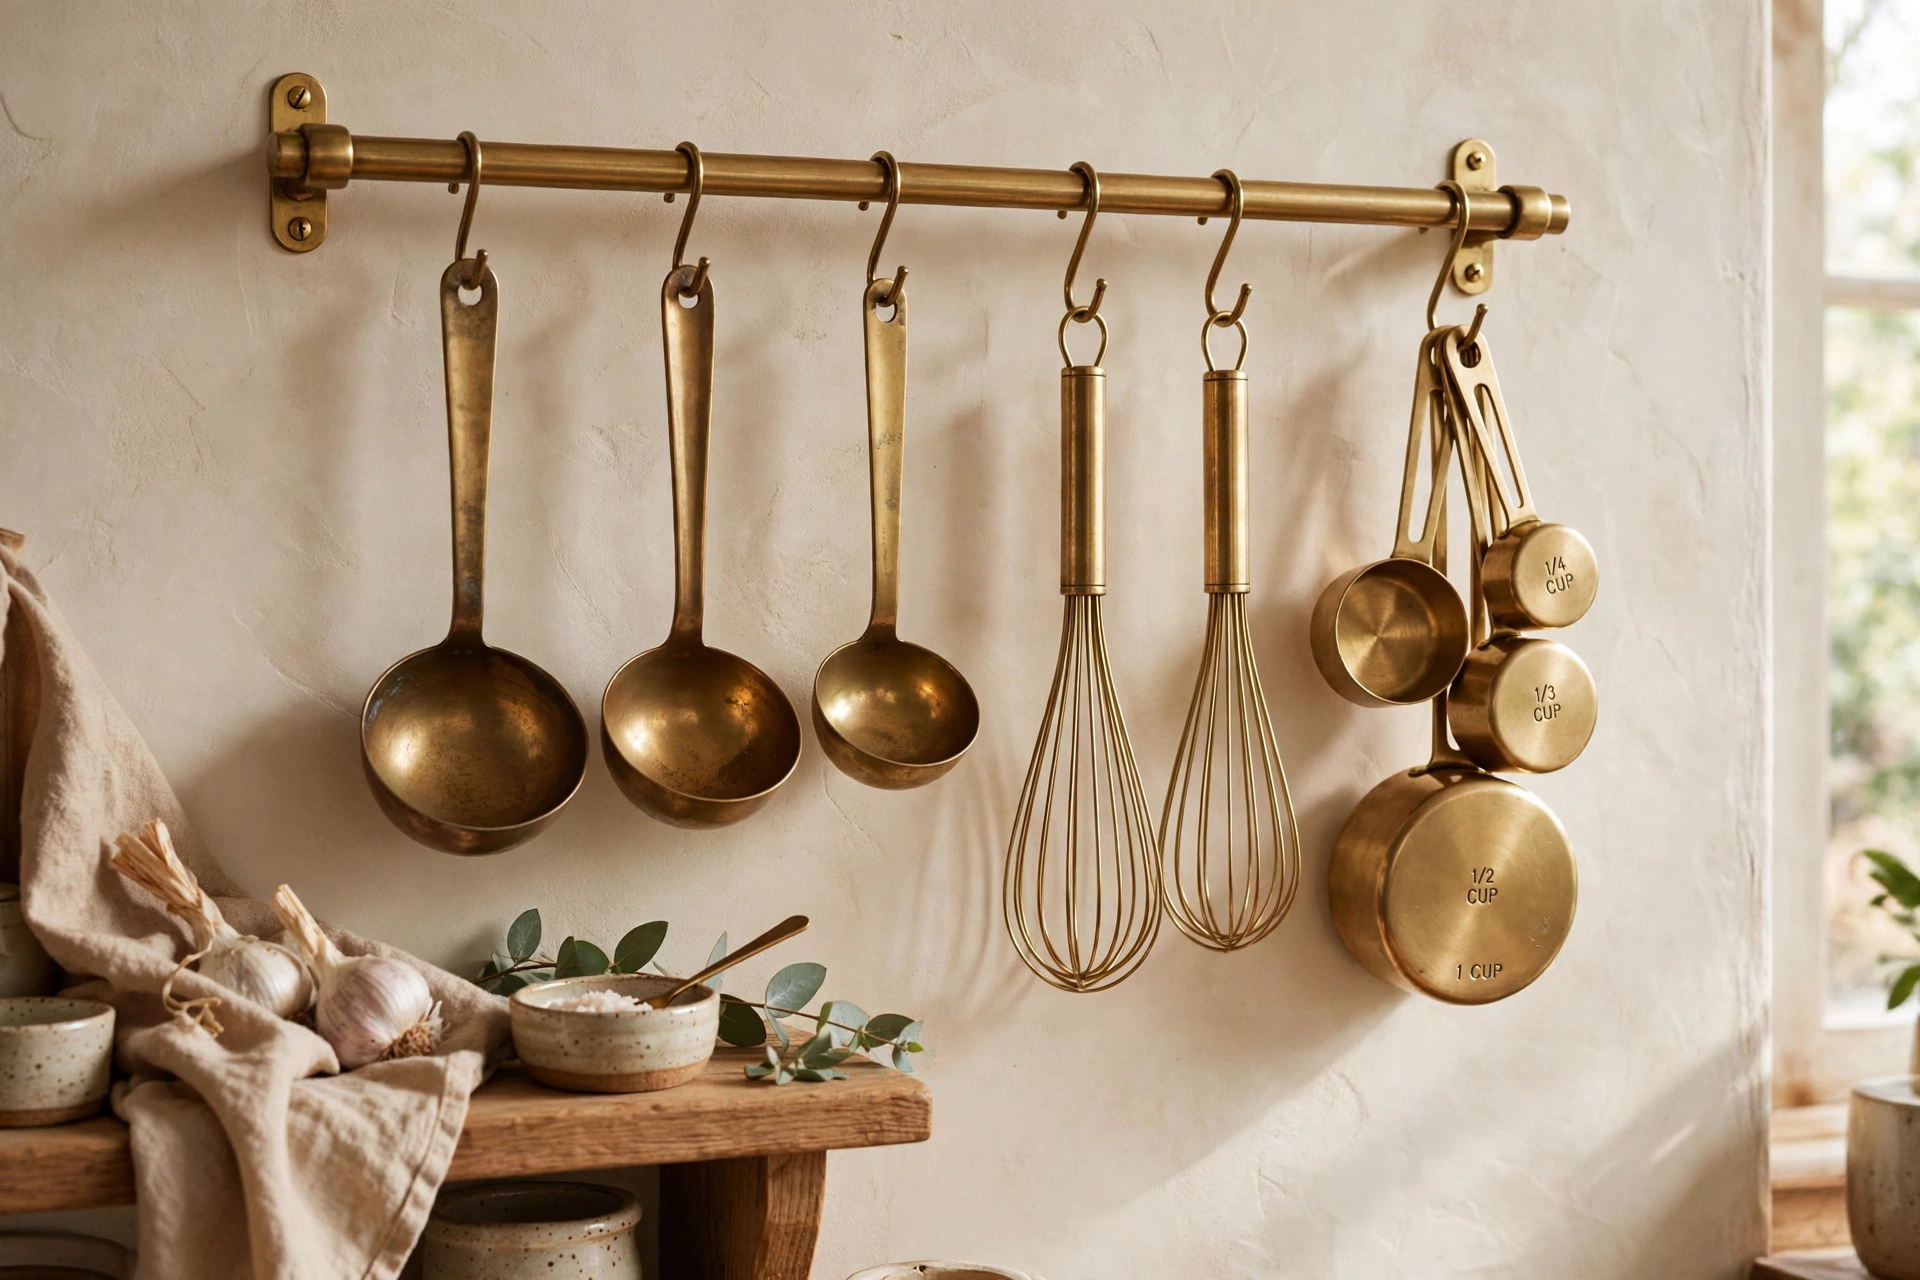
Free the counter entirely with a wall rail: a stainless or brass bar mounted on the backsplash with S-hooks holding ladles, whisks, and measuring cups. Everything hangs visible and reachable, and the rail itself becomes a design feature — brass rails read warm and traditional, stainless reads professional. Mount it into studs or use heavy-duty anchors, since loaded utensils are heavier than they look. Keep the rail clear of the stove’s direct splatter zone or commit to wiping it down. This is the best of the kitchen utensil holder ideas for tiny counters.
4. Use a Rotating Turntable Carousel
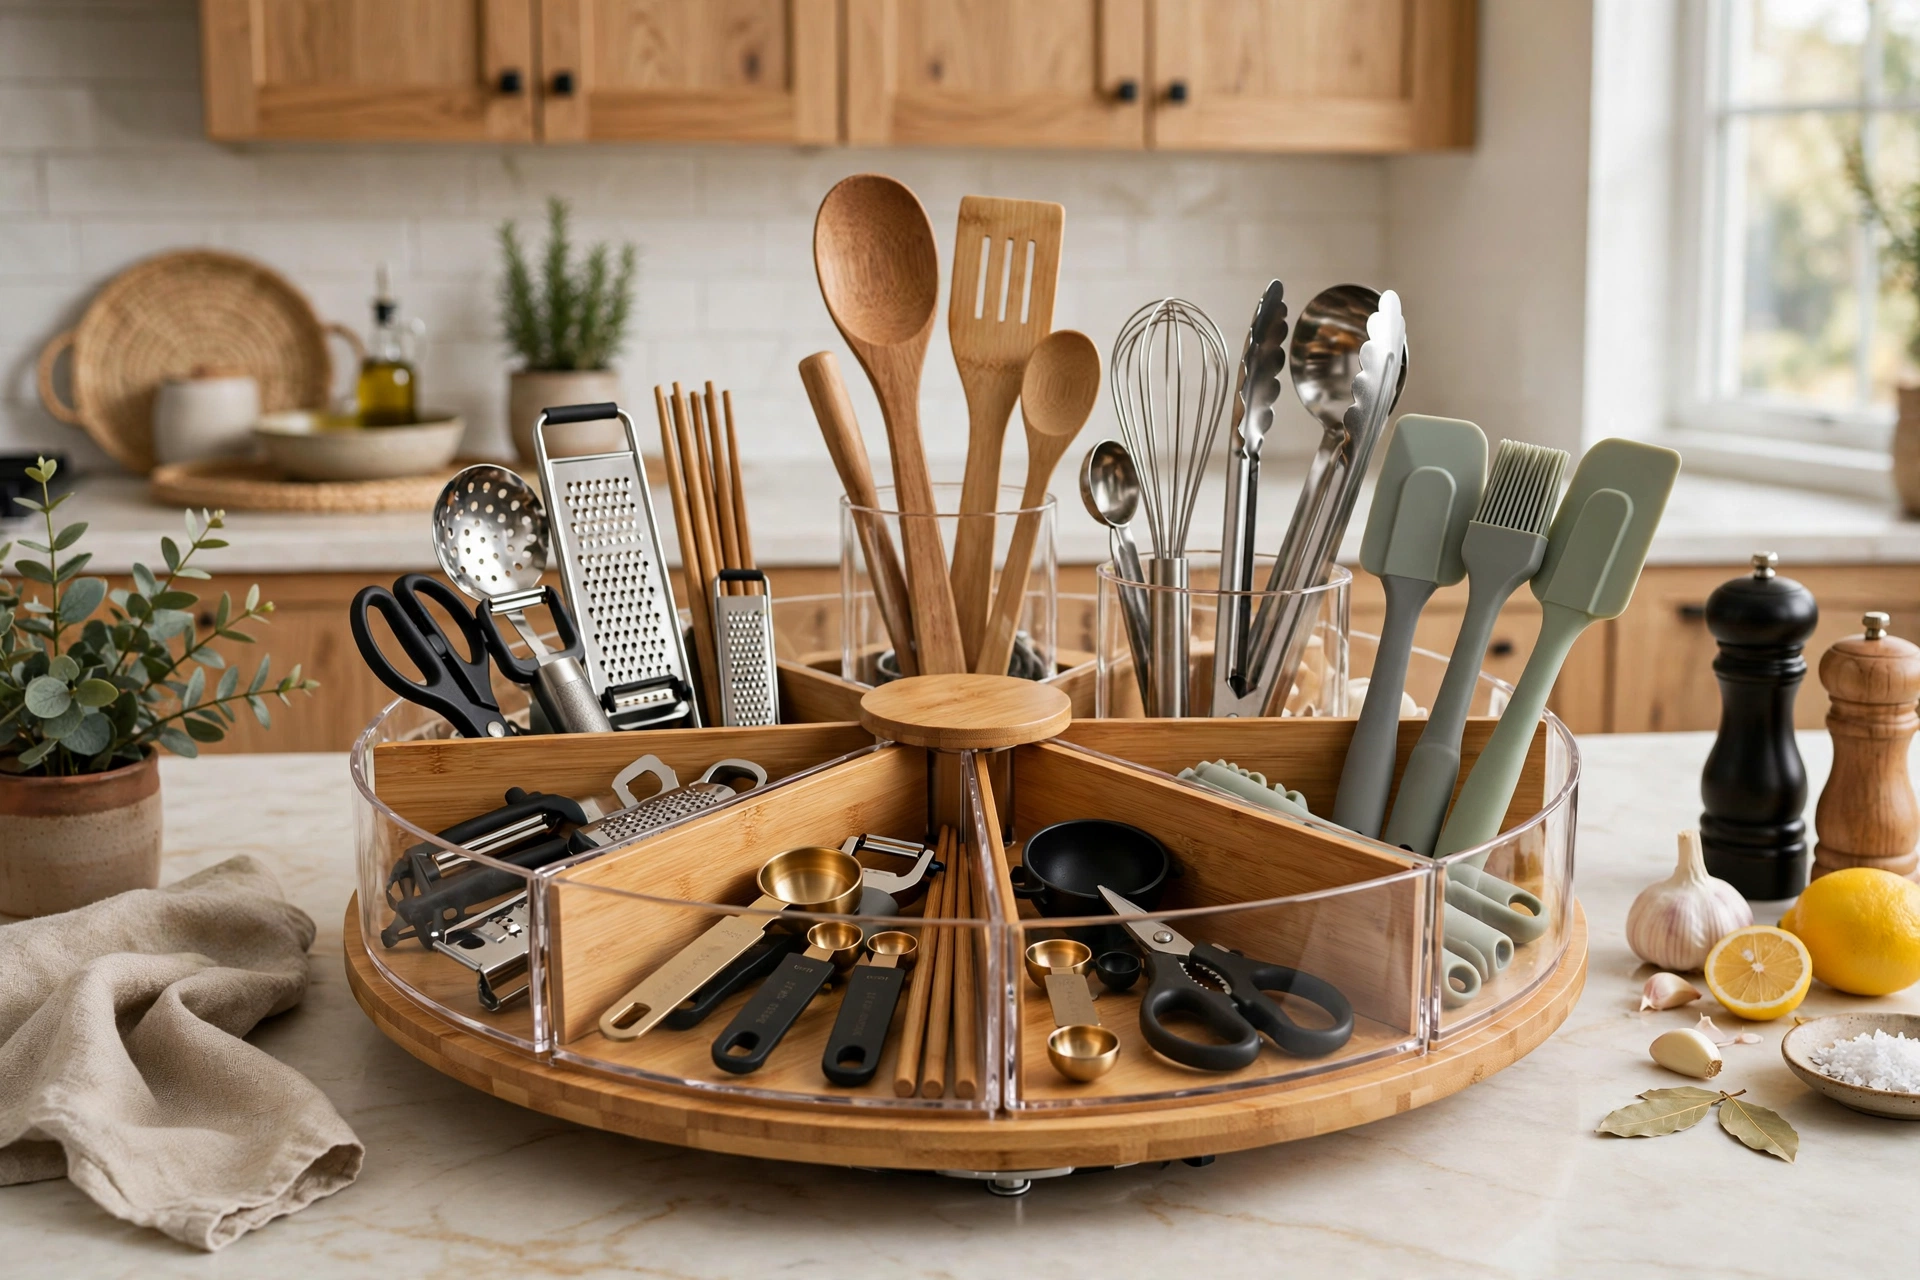
A rotating carousel — the lazy Susan of utensil storage — gives you access to every tool with a spin. Divided compartments keep spatulas, spoons, and whisks separated instead of tangled, and the rotation means nothing hides at the back. Choose a carousel with a non-slip base and high enough dividers that long tools stay put. They take more counter footprint than a crock, so they suit generous counters and busy cooks with big tool collections. Kids love the spin factor, which is either a feature or a hazard depending on your household.
5. Try Divided Metal Caddies
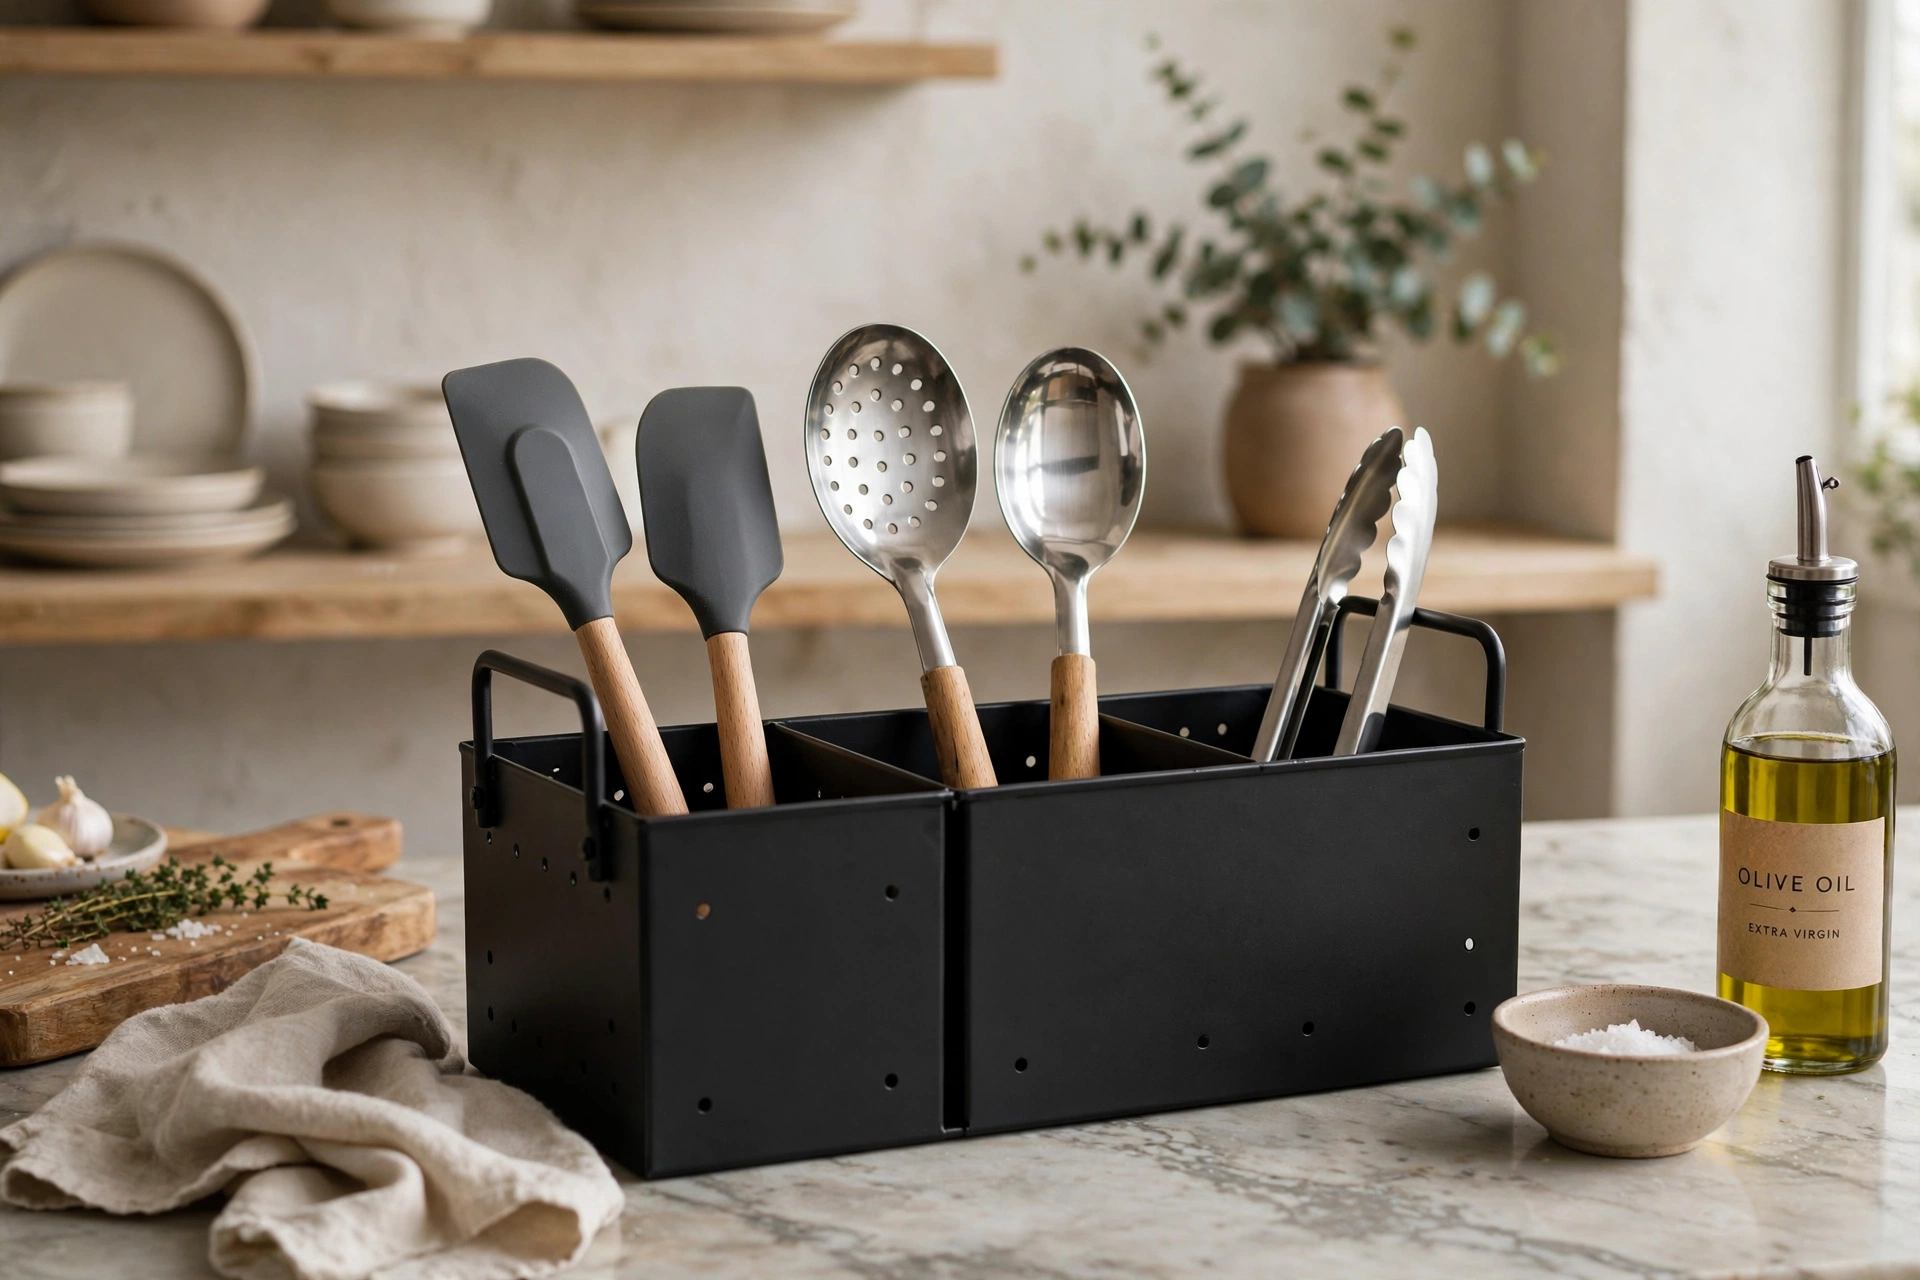
Galvanized or matte-black divided caddies bring industrial charm and serious organization. The compartments separate cooking tools from serving pieces from gadgets, ending the tangle forever. Metal caddies wipe clean easily and handle heat better than wood or plastic. Line the bottom with a cork or felt pad to protect counters and muffle clinks. They suit farmhouse, industrial, and modern kitchens alike — the finish determines the vibe. Because they are lightweight, keep them away from counter edges where a grab could send them flying.
6. Repurpose a Vintage Pitcher
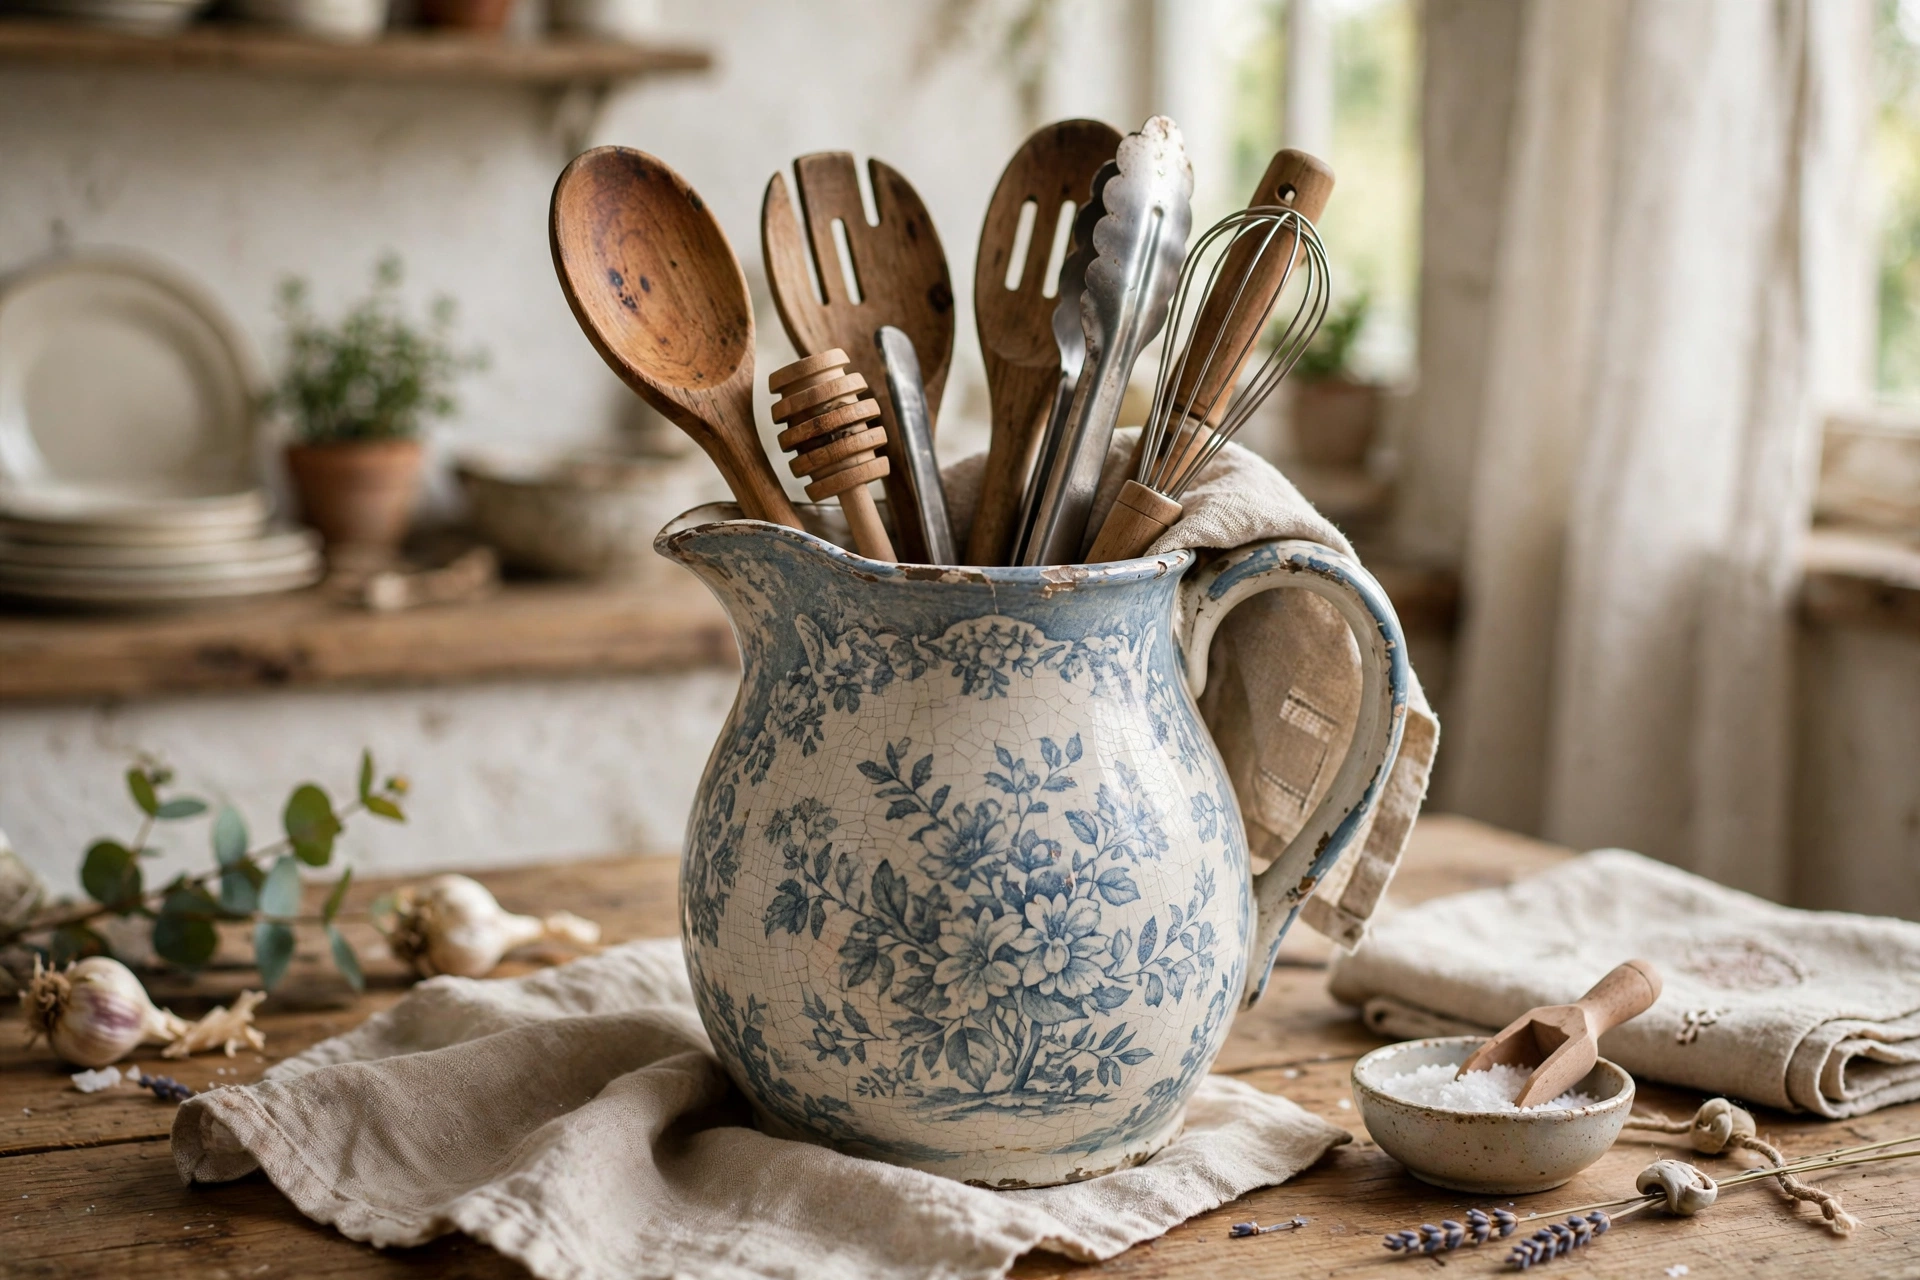
A vintage ceramic pitcher, enamel coffee pot, or copper jug makes a utensil holder with soul. Flea markets and thrift stores overflow with pitchers for a few dollars — look for sturdy bases, intact handles, and interiors you can scrub clean. The patina and character of a found piece beat anything mass-produced, and the story (“found in a Provence market”) is free. Seal any crazed glaze with food-safe sealant if the interior will touch food-contact tools. This is the most personal of the kitchen utensil holder ideas, and the cheapest.
7. Hang Hooks Under Shelves
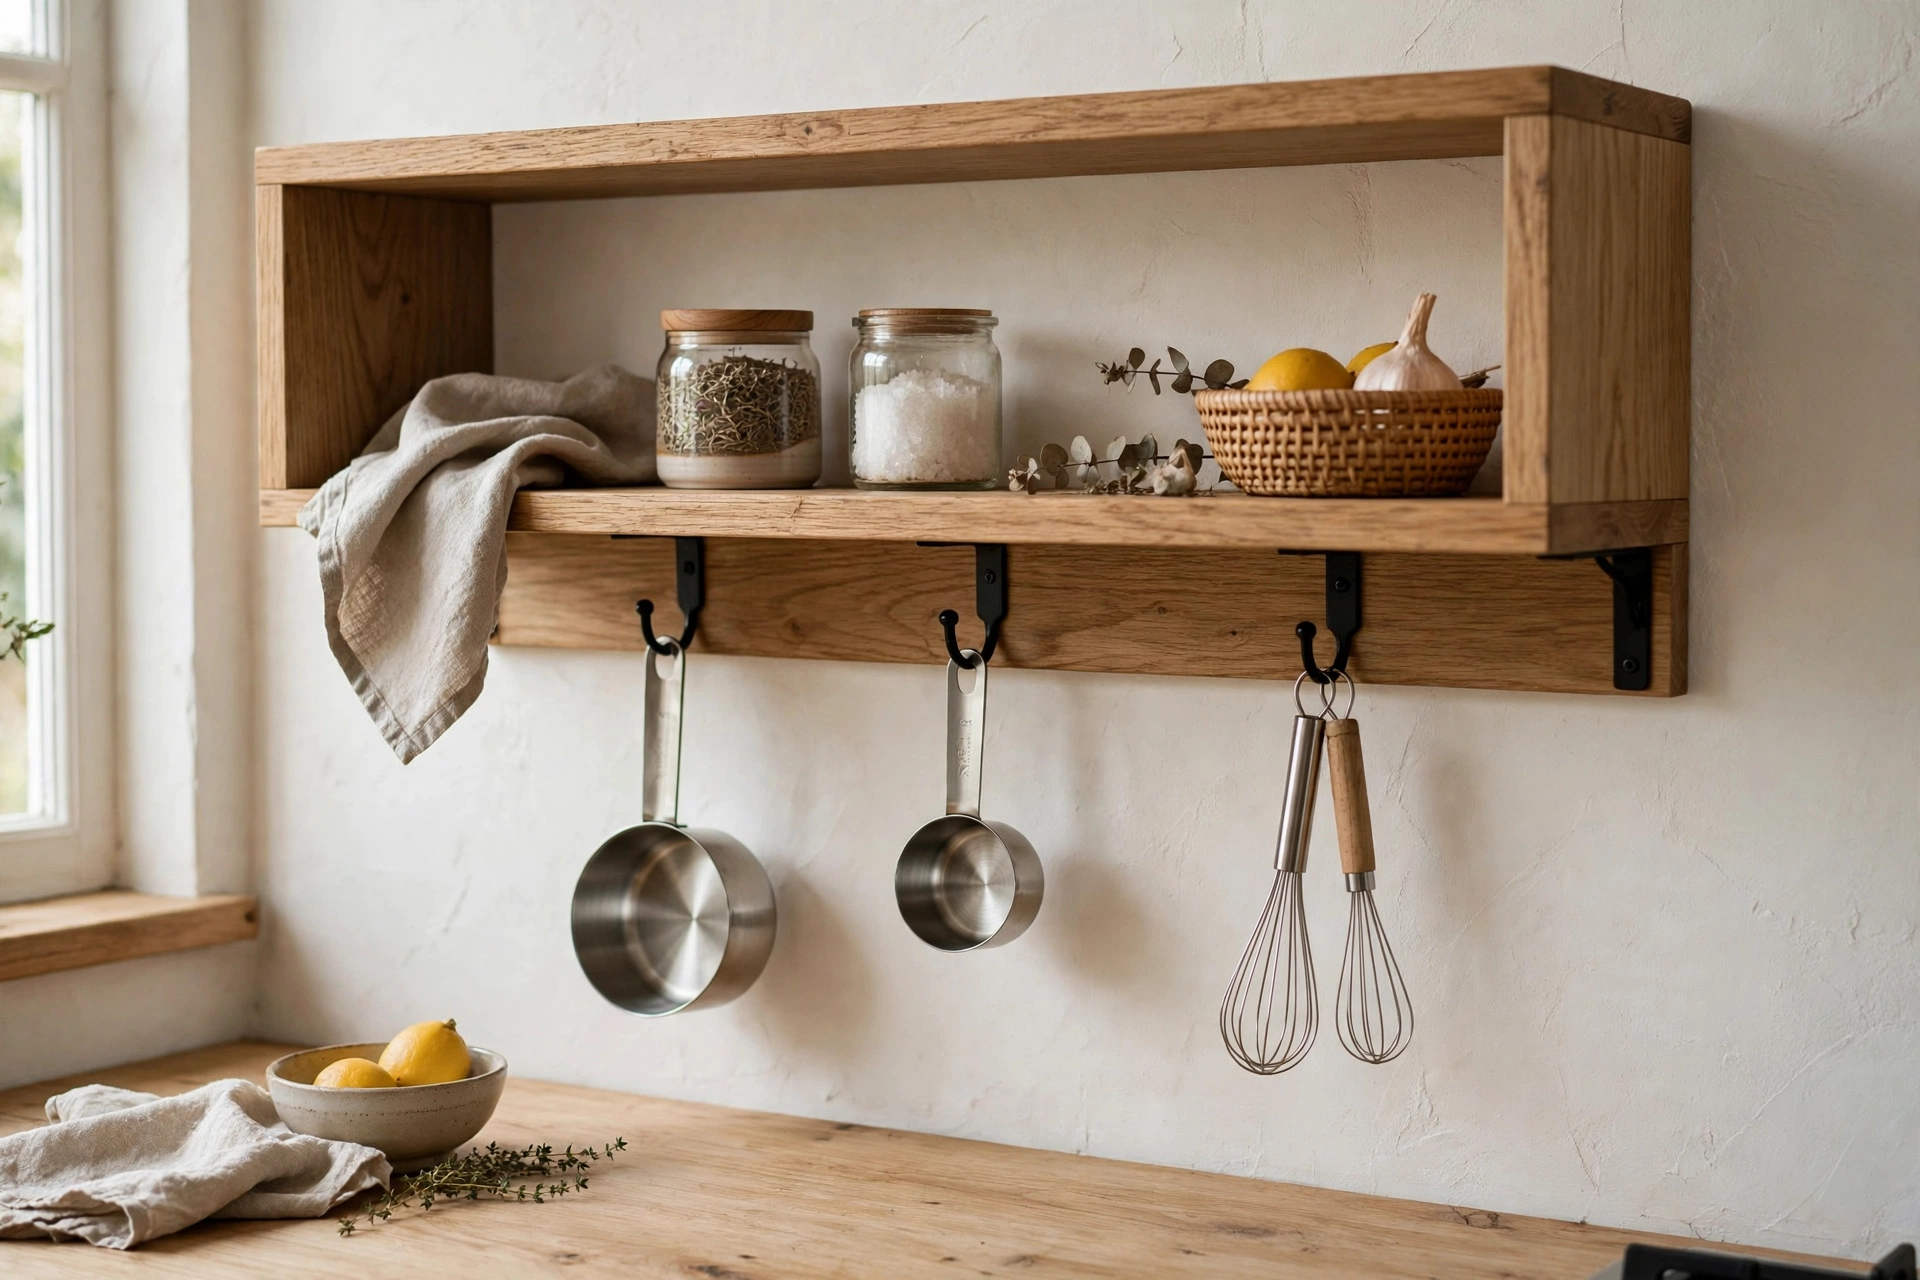
The underside of open shelves or upper cabinets is wasted space begging for hooks. Screw small cup hooks into the shelf bottom and hang measuring cups, small whisks, and oven mitts where they are visible but off the counter. This keeps everyday tools at eye level near the prep zone with zero counter footprint. Use hooks rated for the weight — a cast-iron trivet is not a cup-hook job. Open kitchen shelving ideas that look styled not cluttered show how to balance hooks with beautiful shelf styling.
8. Switch to a Drawer Organizer Insert
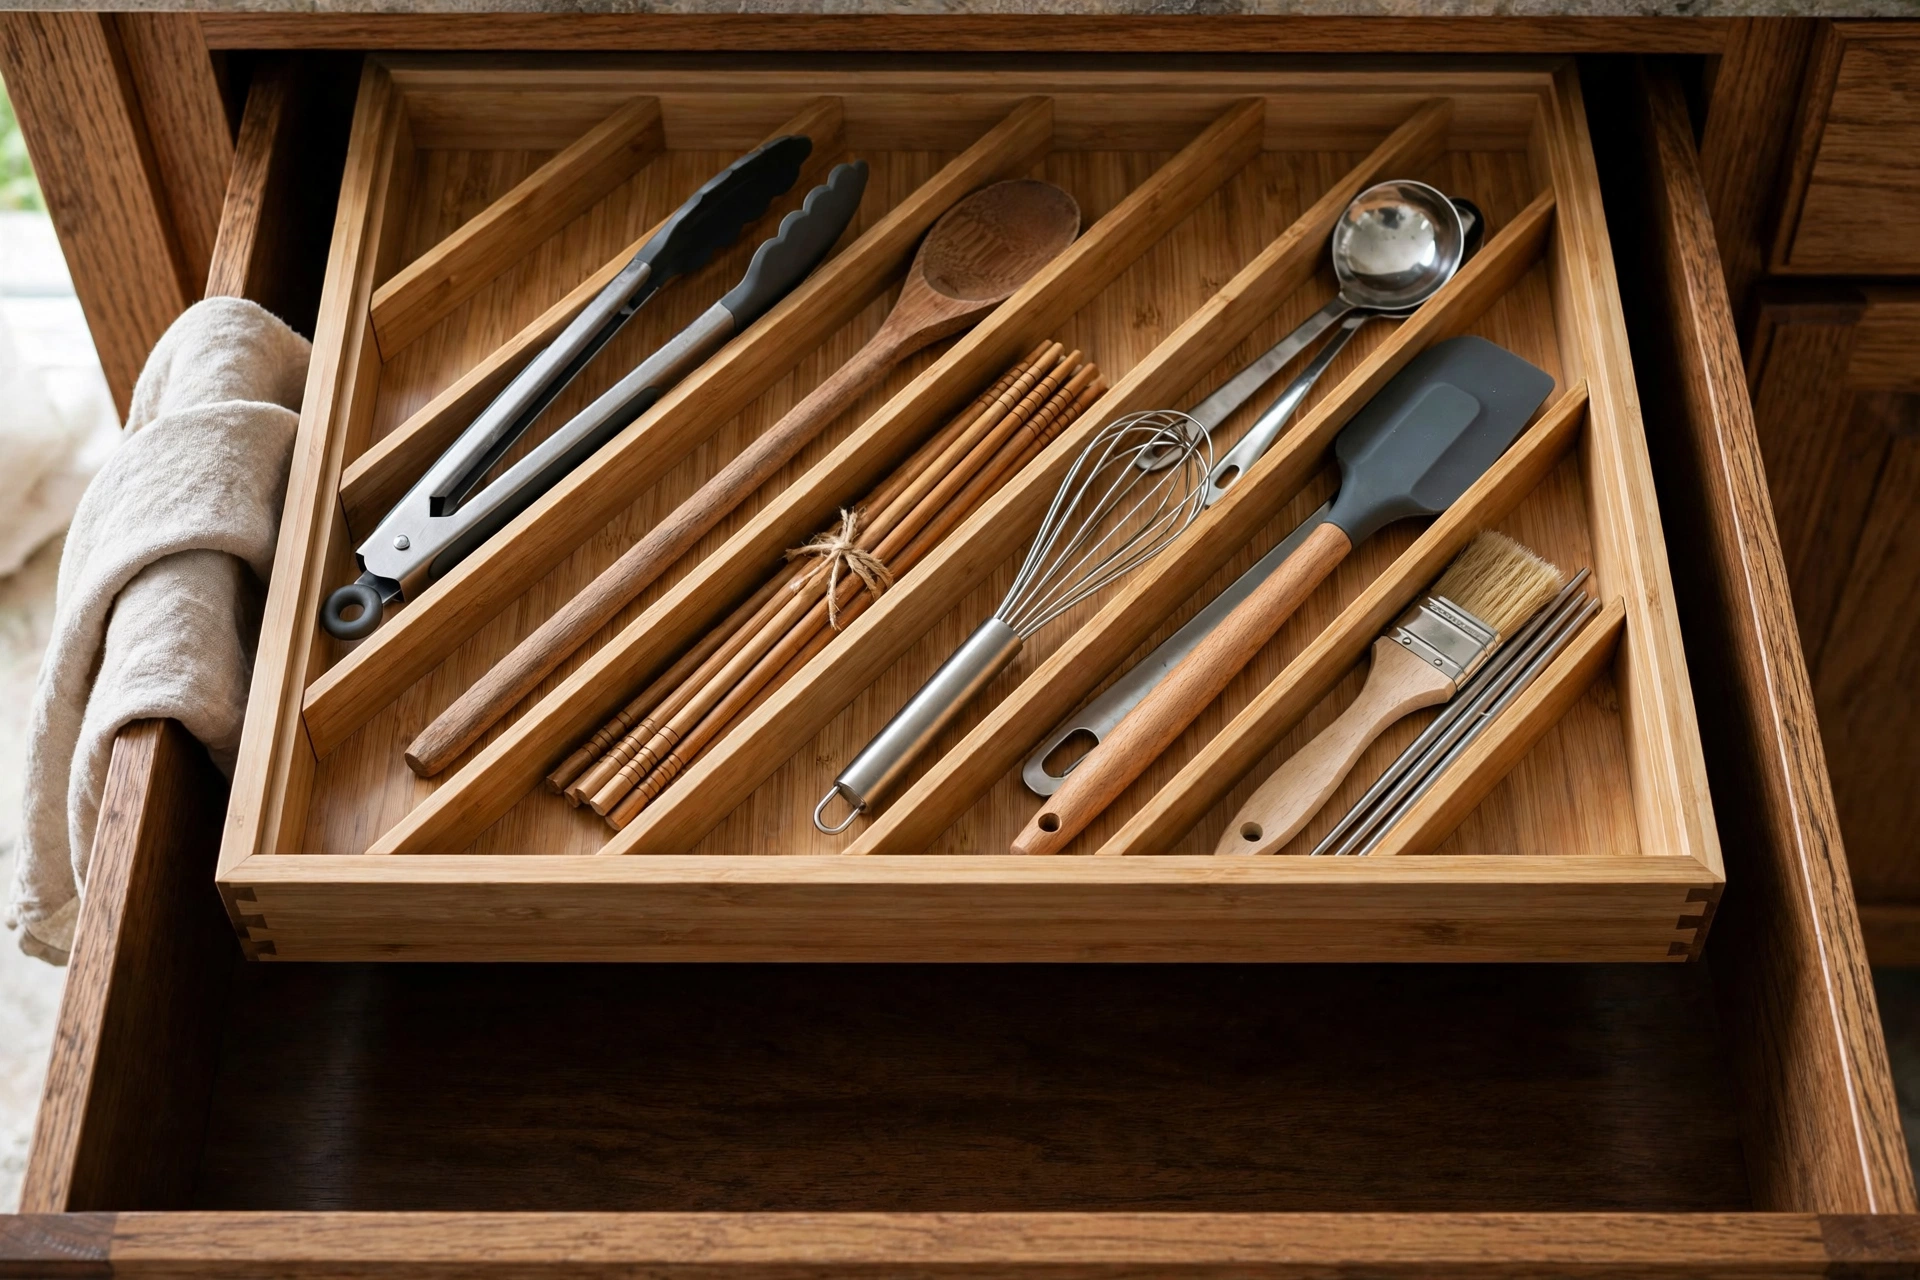
If you prefer clear counters, a deep drawer with a custom organizer insert is the ultimate utensil home. Diagonal inserts let long tools lie flat and visible — no more digging — while divided sections sort gadgets by type. Measure your drawer and buy the insert to fit; adjustable bamboo dividers work for odd sizes. This keeps every tool hidden but instantly findable, and it protects silicone and nonstick-coated heads from the damage of crock-jumbling. The trade-off is one less drawer for other storage, so it suits kitchens with drawer space to spare.
9. Choose Copper or Brass for Shine
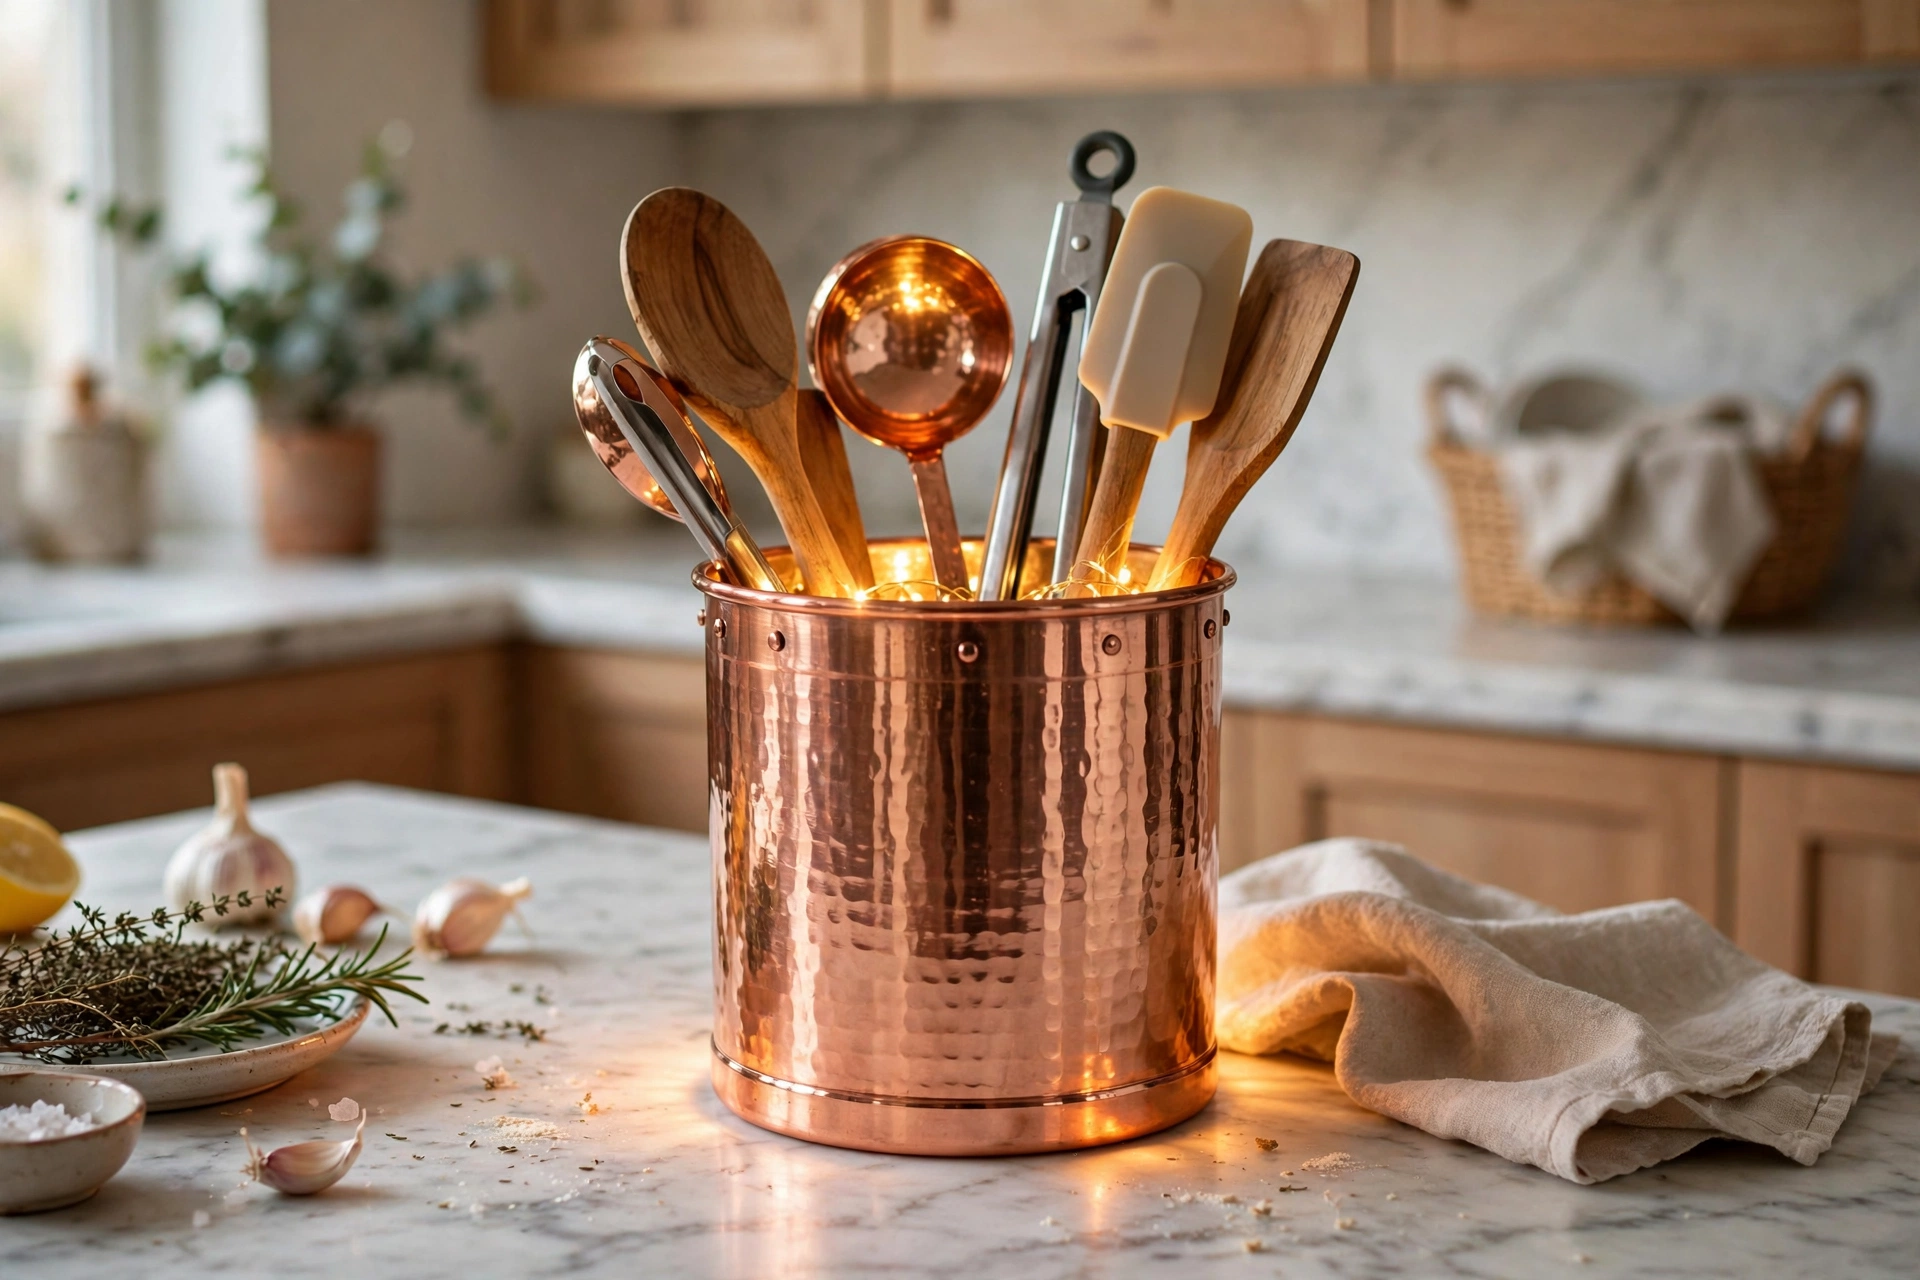
A copper or brass utensil holder is jewelry for the counter. The warm metal glows against marble, dark cabinets, and white tile alike, and it coordinates with matching hardware for a pulled-together look. Unlacquered copper develops a living patina; lacquered stays bright with just a wipe. Keep metal holders away from the dishwasher’s steam and polish occasionally to maintain the shine you want. They cost more than ceramic, but one gleaming holder elevates the entire counter — this is a small splurge with outsized visual return.
10. Go Handmade With Artisan Ceramic
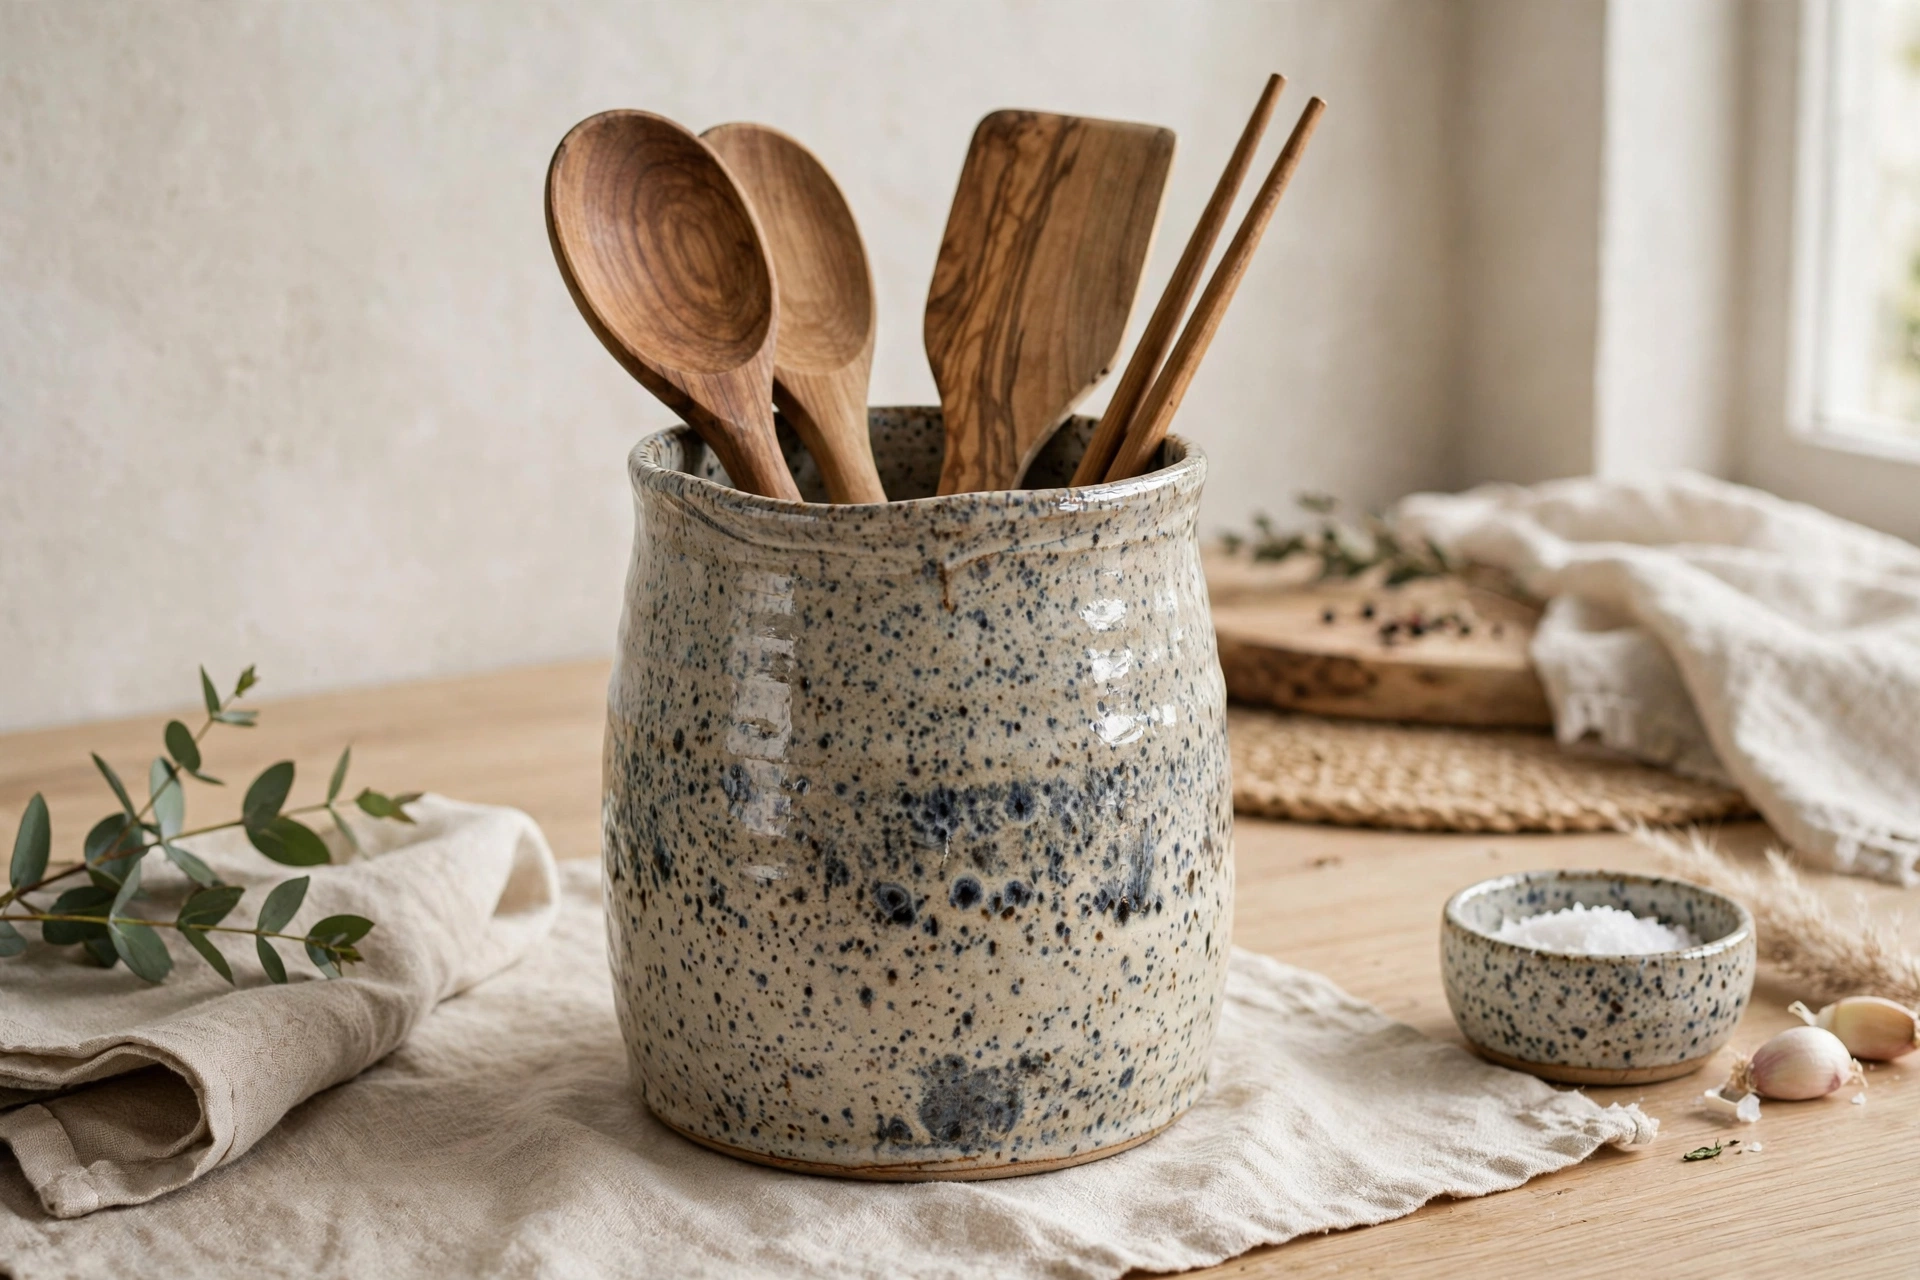
A hand-thrown ceramic holder from a local potter turns a utilitarian object into art. Look for interesting glazes — matte speckled, reactive blues, earthy tenmoku — that echo your kitchen’s palette, and choose a shape with a slightly flared rim so tools lean without toppling. Artisan pieces cost more, but you will see and touch this object daily; cost-per-glance makes it a bargain. Support a local maker and get a holder nobody else has. Handmade ceramics pair beautifully with fresh herbs nearby — Kitchen herb garden ideas for fresh flavor and style complete the artisan counter vignette.
11. Use a Tiered Stand
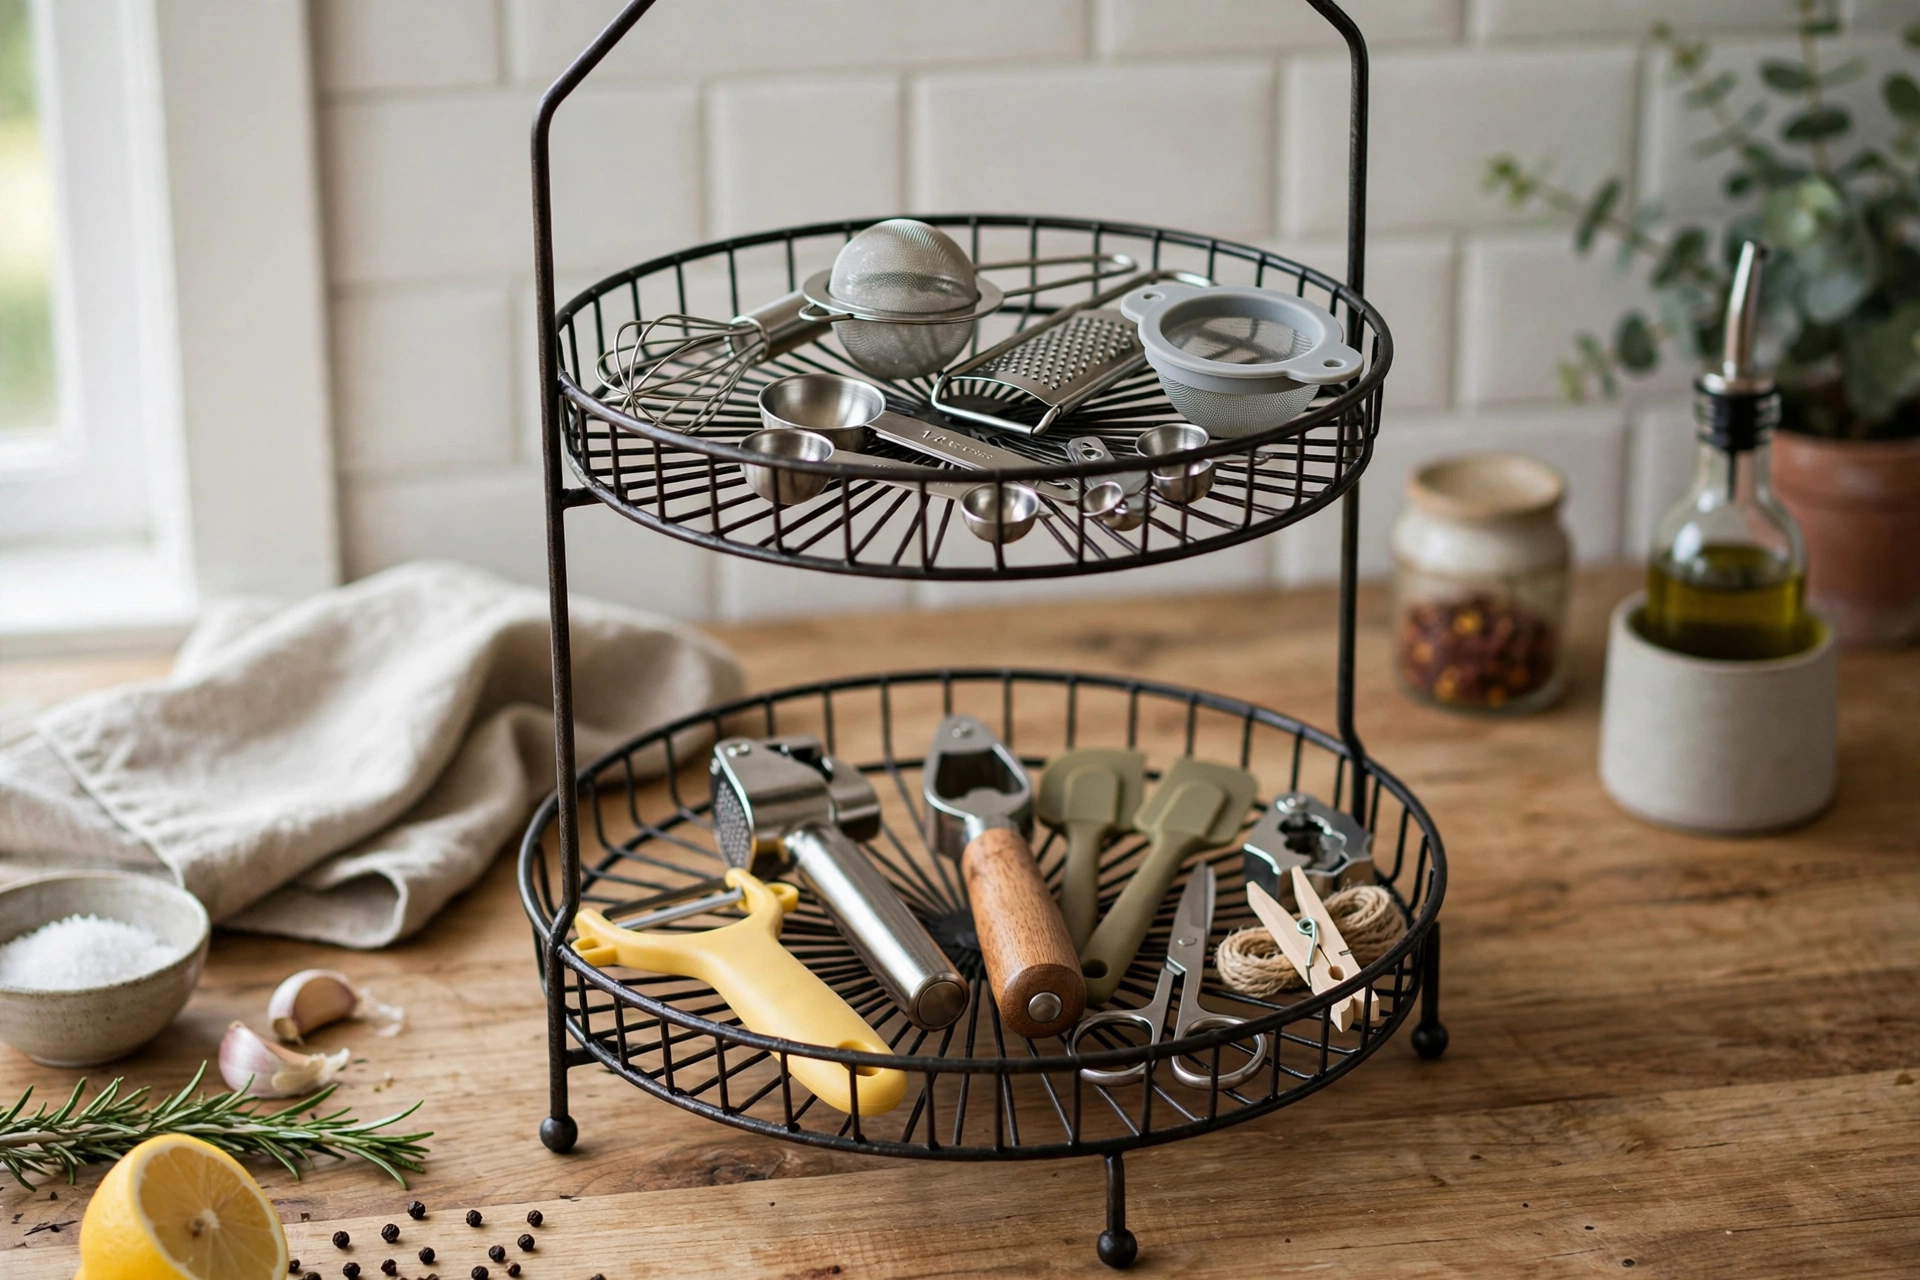
A two-tiered stand — the kind sold for cupcakes — repurposes brilliantly for utensils and gadgets. The top tier holds small tools like corn holders and vegetable peelers; the bottom holds taller items in a central cup. The vertical format saves counter space while displaying everything, and the stand itself adds sculptural interest. Choose sturdy metal stands that will not wobble under load. This works best for cooks with many small gadgets rather than a dozen long spatulas — match the storage to the tool collection, as always.
12. Cluster Mason Jars
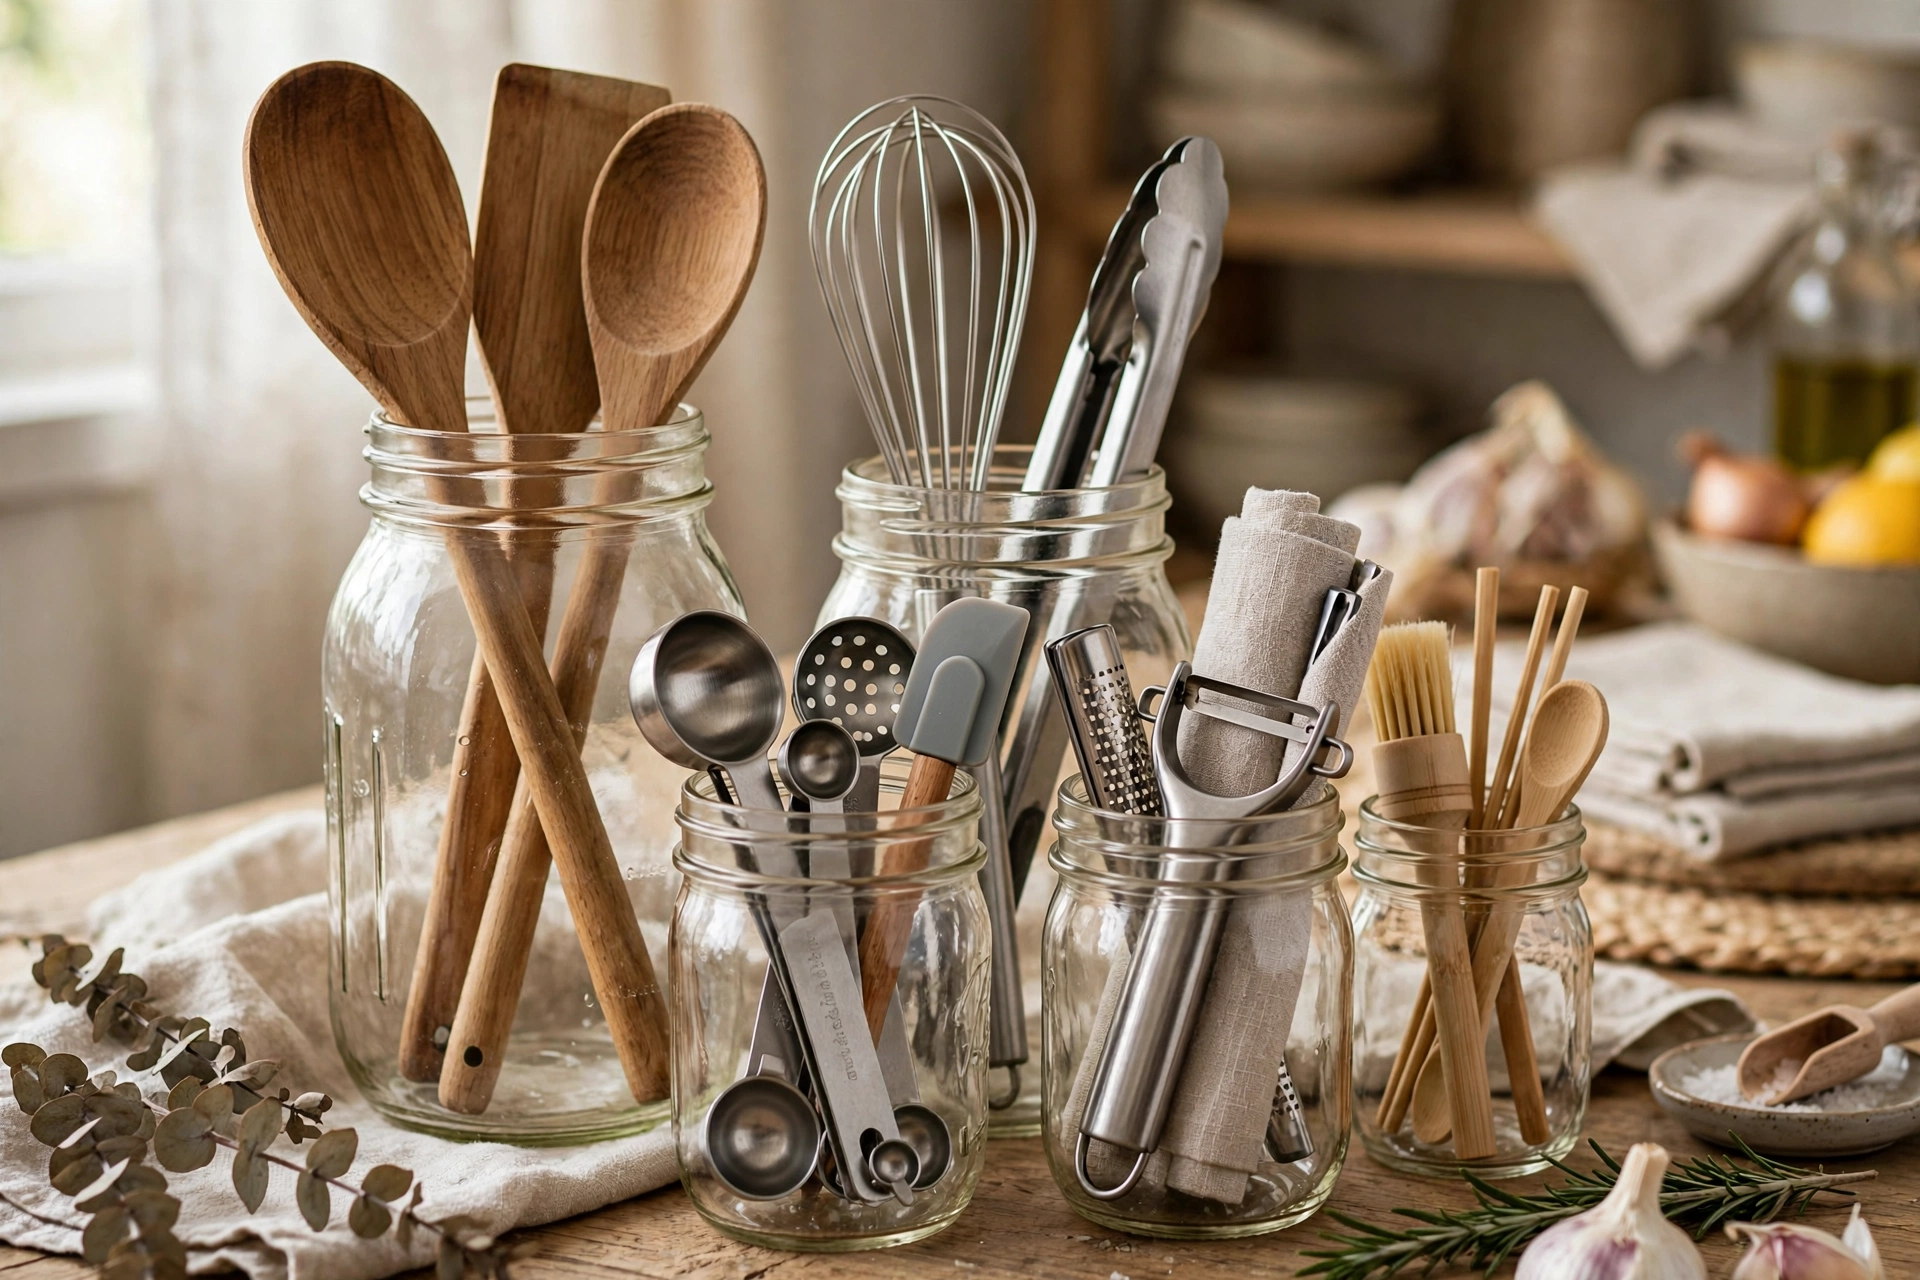
A cluster of mason jars in different sizes is the budget champion: nearly free, endlessly adaptable, and charmingly rustic. Use quart jars for long tools, pint jars for gadgets, and group them on a small wooden tray to keep the cluster tidy and movable for counter cleaning. The glass shows contents, so keep the jars for your prettiest wooden and silicone tools. Wide-mouth jars are essential — regular mouths trap utensil handles. This is the ideal starter solution, and many cooks never outgrow it.
13. Go Minimalist With a Matte Black Cylinder
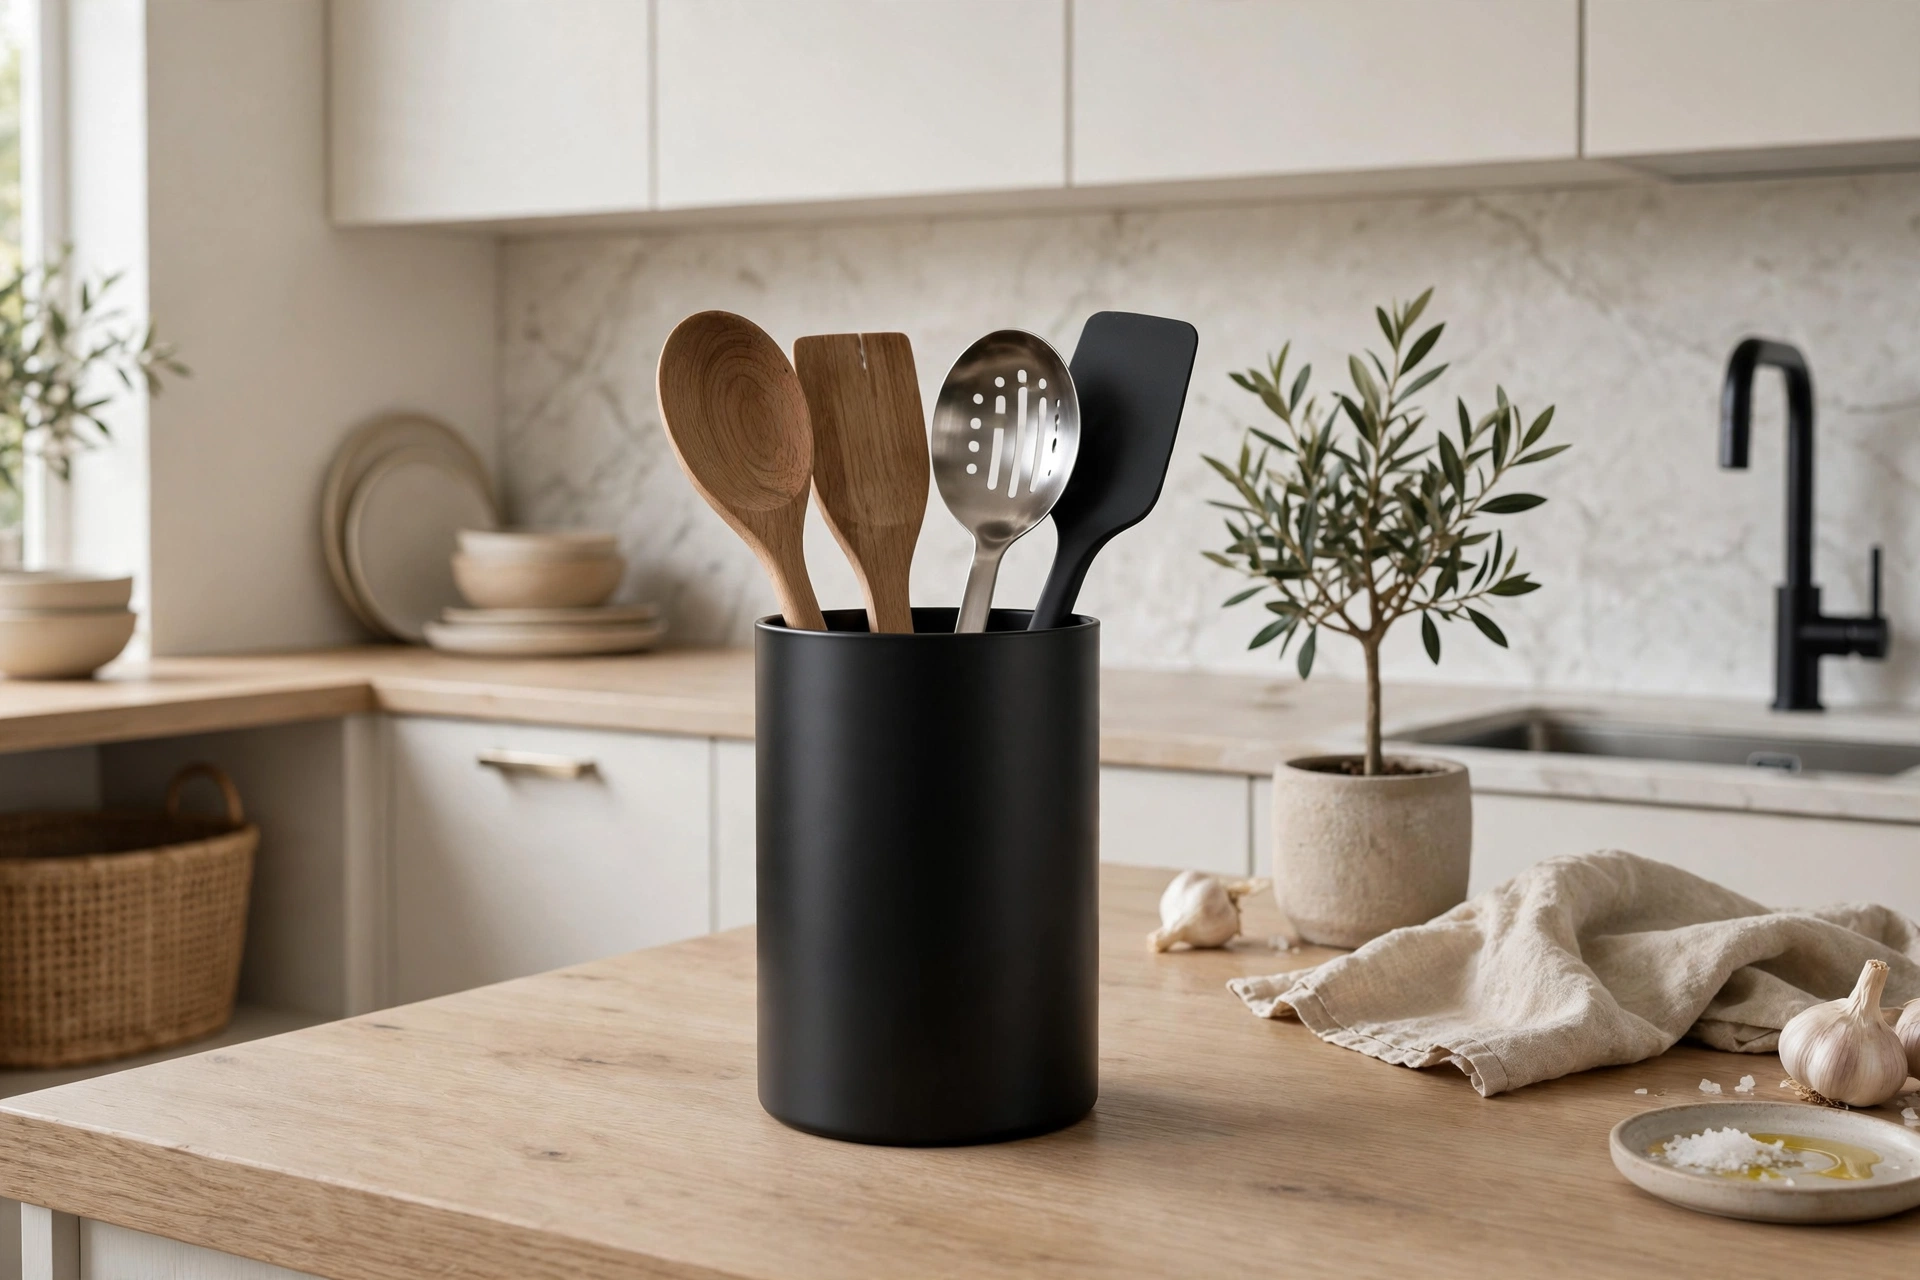
For modern kitchens, a simple matte black cylinder is the quiet luxury choice. Its clean lines disappear into dark cabinetry or contrast crisply against white counters, letting the tools themselves provide the visual interest. Powder-coated steel resists chips and wipes clean; weighted bases prevent tipping. Pair it with black faucet and hardware for a cohesive story, or let it be the single dark note in a light kitchen. Minimalist does not mean cheap — a well-made cylinder with real heft feels premium every time you reach for a spoon.
14. Try a Woven Basket Holder
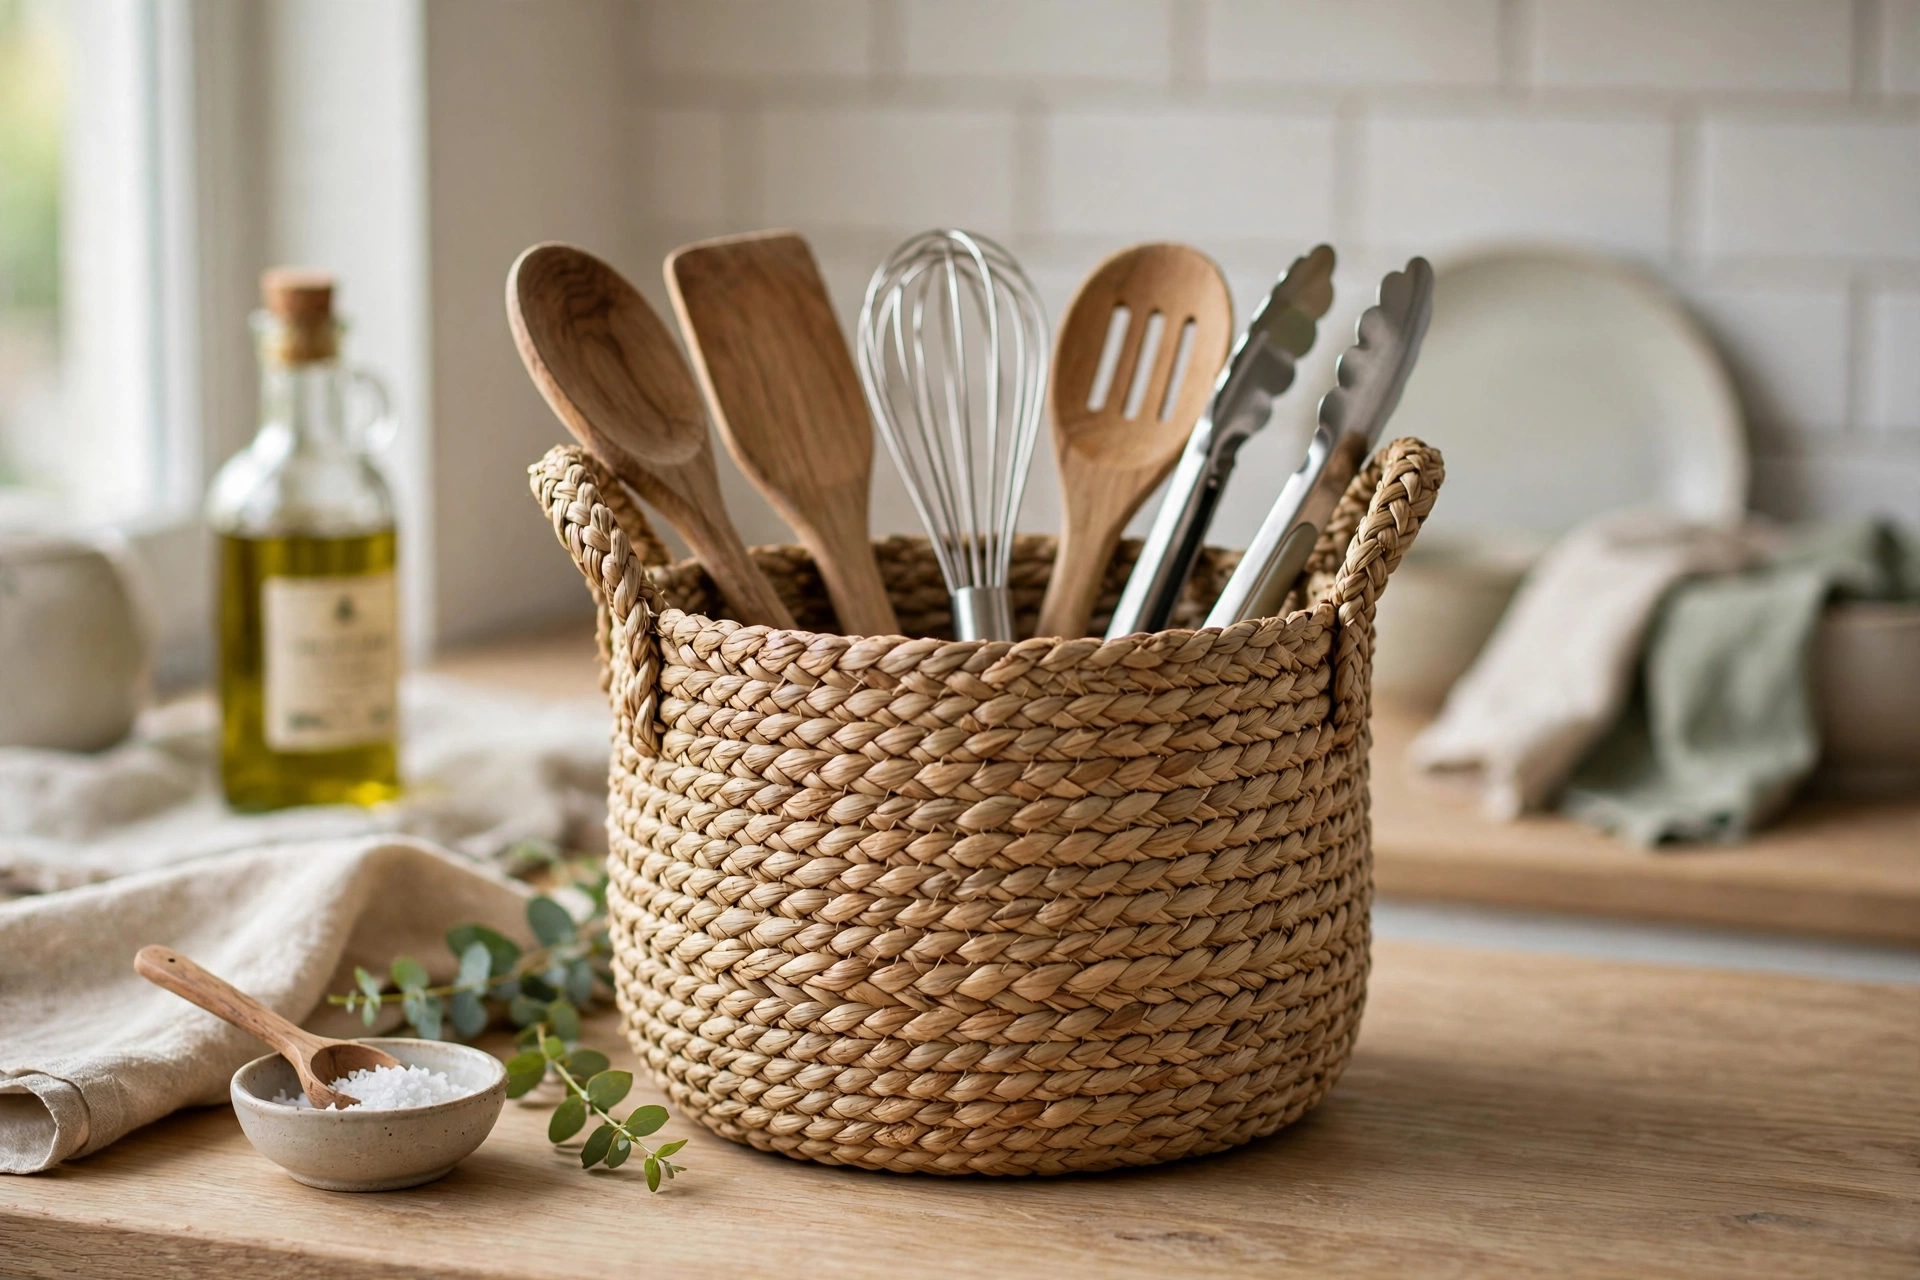
A woven seagrass or rattan holder adds texture and relaxed coastal-farmhouse warmth. Line it with a washable fabric liner or a glass insert to protect the weave from oily tool handles, and choose a tight weave that will not snag. Baskets are lightweight, so keep them away from counter edges and consider a heavier insert for stability. They suit kitchens with other natural textures — wood boards, linen curtains, stone counters. Replace the liner seasonally and the basket lasts for years, aging into an even prettier patina.
15. Mount a Countertop Pegboard Panel
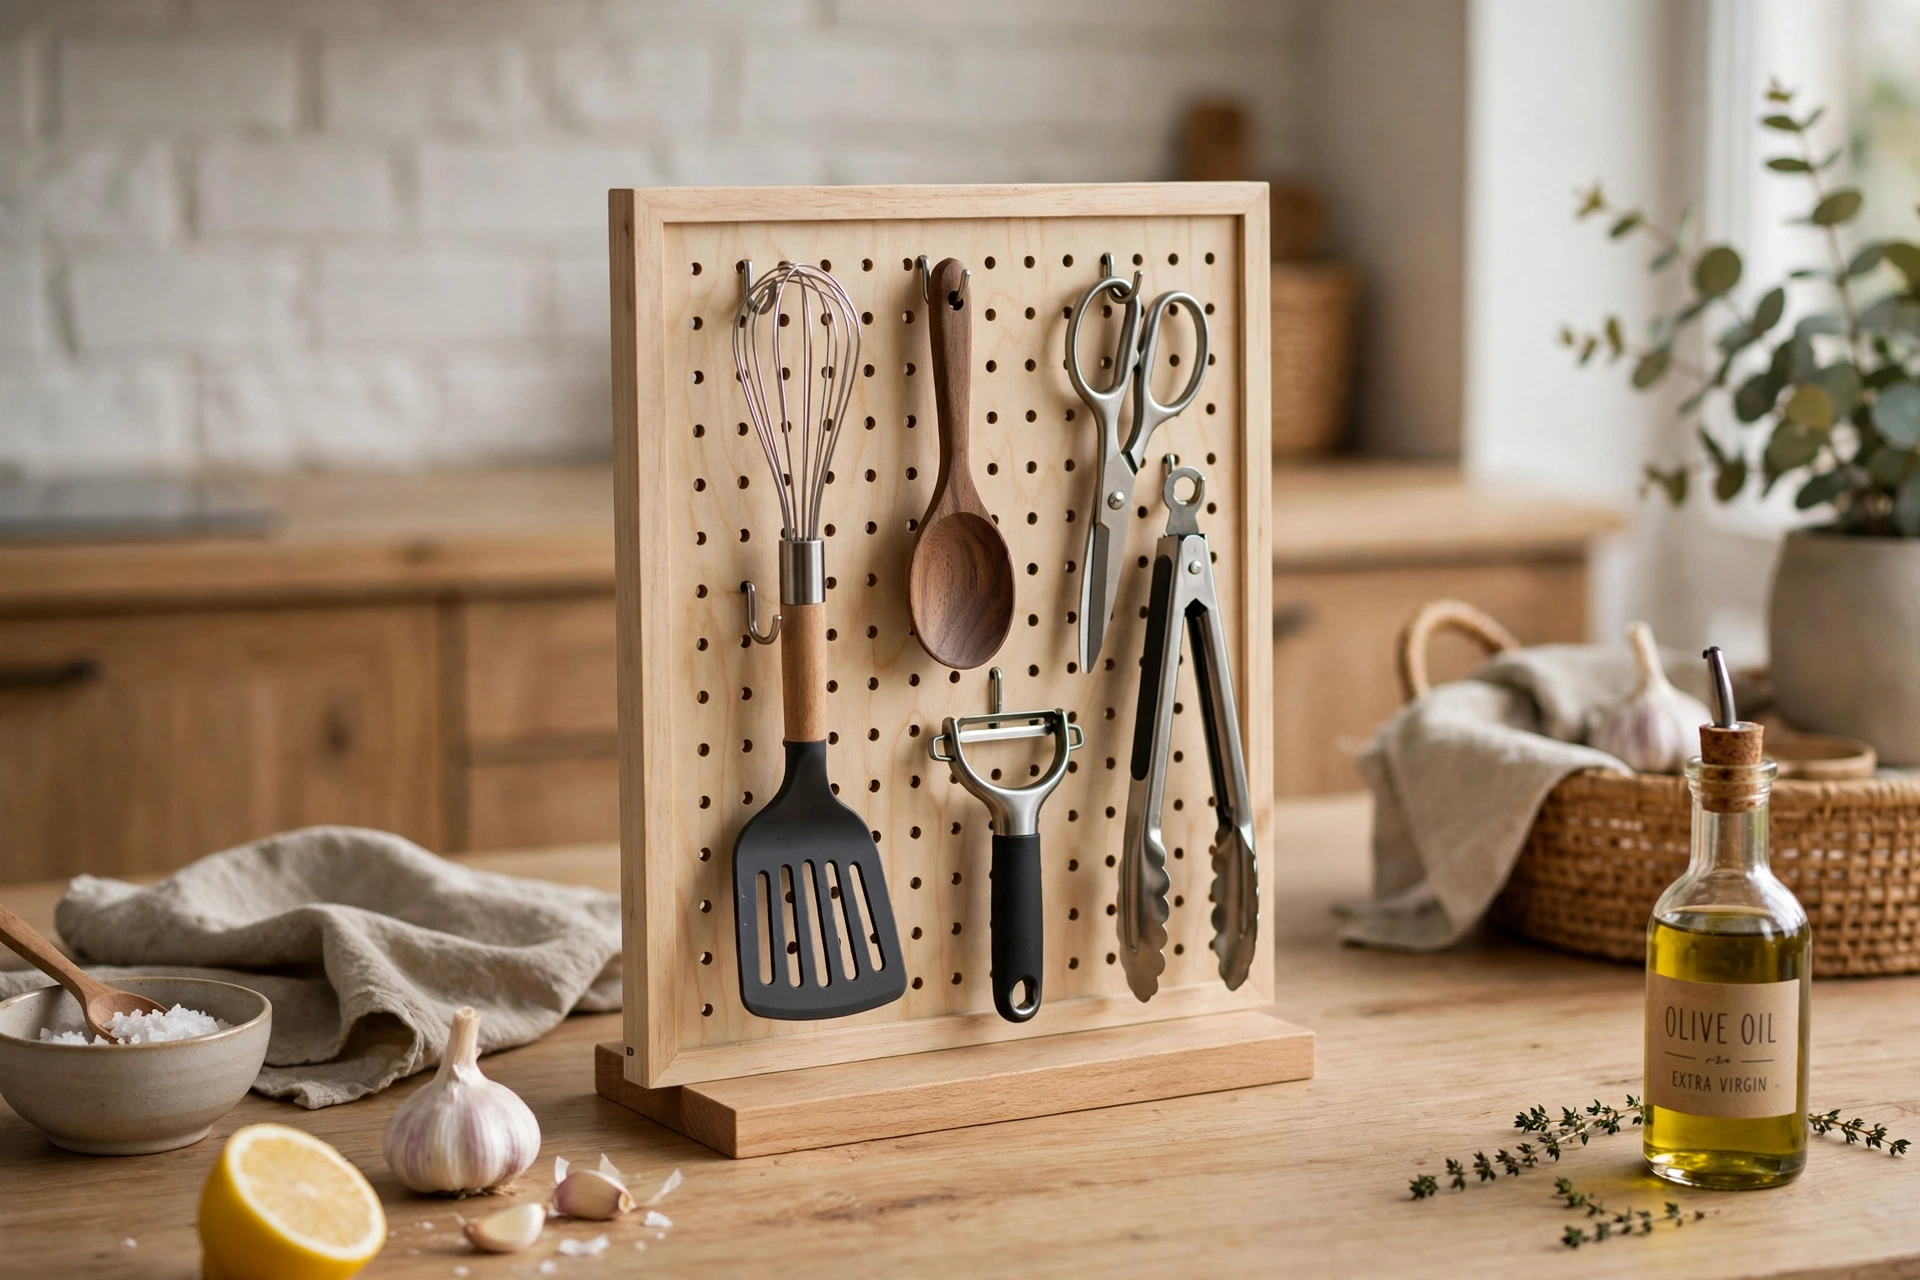
A small pegboard panel standing on the counter — in a frame or on little feet — creates a customizable utensil station. Hang tools on hooks, add a tiny shelf for spices, and rearrange whenever the collection changes. Paint it to match your cabinets or leave natural for contrast. IKEA’s kitchen organization range at ikea.com includes affordable pegboard panels and hooks sized for exactly this use. Keep the panel’s footprint modest so it organizes without dominating, and anchor tall panels so an enthusiastic grab does not topple the whole station.
FAQ
Where should I put my utensil holder?
Within arm’s reach of the stove’s working side — most cooking happens there, and every step saved matters mid-recipe. Keep it off the direct heat zone (at least 6 inches from burners) and away from the sink’s splash radius. If you prep far from the stove, a second small holder at the prep zone beats one long walk.
How many utensils should go in one holder?
Only the tools you use weekly — usually 8 to 12 pieces. Overstuffed holders tangle, tip, and look chaotic. Store specialty tools (turkey baster, melon baller) in a drawer and keep the holder for the daily crew: spatulas, tongs, wooden spoons, whisk, ladle. If you cannot see every handle at a glance, it is time to edit.
What is the best material for a utensil holder?
Stoneware and ceramic win for most kitchens: heavy enough to stay put, easy to clean, and available in every style. Wood adds warmth but needs oiling; metal suits modern looks and wipes clean; silicone collapses for storage but lacks heft. Avoid lightweight plastic — it tips, stains, and cheapens the counter. Match the material to your kitchen’s style and your tolerance for maintenance.
How do I keep a utensil holder from tipping over?
Choose a holder with a wide, weighted base and keep it less than two-thirds full. Place the heaviest tools in the center, not leaning on the rim. Non-slip pads under the base add grip on smooth counters. If tipping persists, the holder is too small for your collection — size up rather than fighting physics daily.
Can I put silicone utensils in any holder?
Yes — silicone is the most forgiving utensil material and works in ceramic, wood, metal, and glass holders. Unlike wood, it will not absorb odors from the holder; unlike cheap plastic, it will not melt against a warm crock near the stove. Just keep silicone heads out of prolonged contact with sharp metal edges that could nick them over time.
Keep Exploring
The right holder makes cooking smoother and the counter prettier in one move — audit your tools, pick the material and format that fits your kitchen’s style, and keep only the daily crew within reach. Revisit the lineup when your cooking changes; a holder that evolves stays useful for years. For the drawers that hold everything else, a tidy system matters just as much as the counter display — start with the tools you touch most and let the organization spread from there.