
There is a reason stylists reach for cutting boards in nearly every kitchen photoshoot: nothing adds instant warmth and texture faster. A few beautiful wooden boards leaning against the backsplash turn a cold stretch of counter into something that looks collected and loved — no drilling, no painting, no commitment. These kitchen cutting board decor ideas treat the humble board as a design material, showing you how to lean, layer, hang, and style boards so they earn their place as decor even when you are not chopping on them.
Start with the boards themselves. A cutting board is simply a durable flat surface for food prep, but as decor, the material is everything: warm hardwoods like walnut, acacia, cherry, and olive wood bring the grain, color variation, and organic shapes that make displays sing. Collect boards in different woods, sizes, and silhouettes — round, rectangular, paddle-shaped — the way you would collect art. Thrift stores and flea markets are gold mines for solid wood boards at a few dollars each. Oil them once a year and the wood keeps glowing for decades.
1. Lean a Row Against the Backsplash
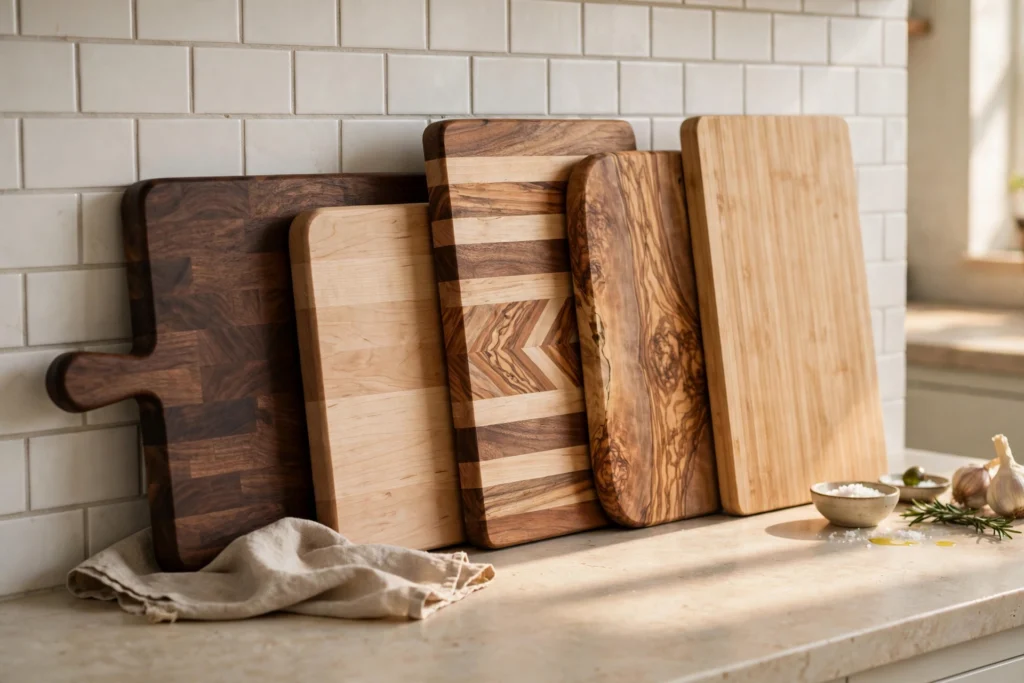
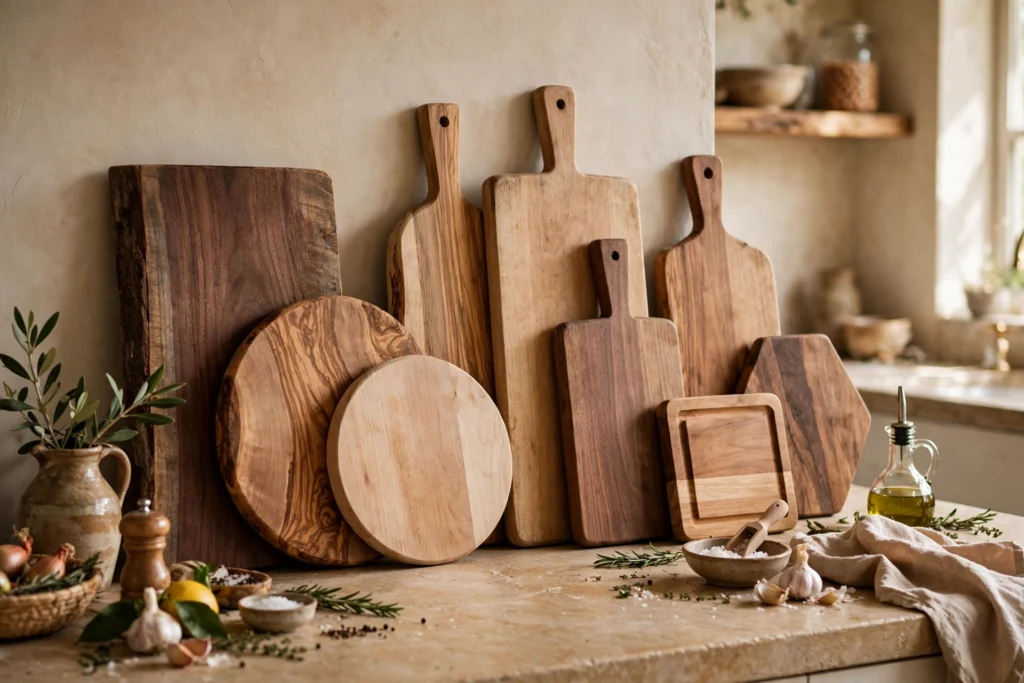
The classic move is also the easiest: line up three to five boards of varying heights along the counter against the backsplash. Vary the woods — a dark walnut paddle, a pale maple rectangle, a round acacia board — so the row reads as a collection rather than a set. Lean the tallest at the back and step down toward the front, like a skyline. This works on any counter with 6 inches of depth to spare and instantly warms up tile or stone.
2. Layer Two Boards for Depth
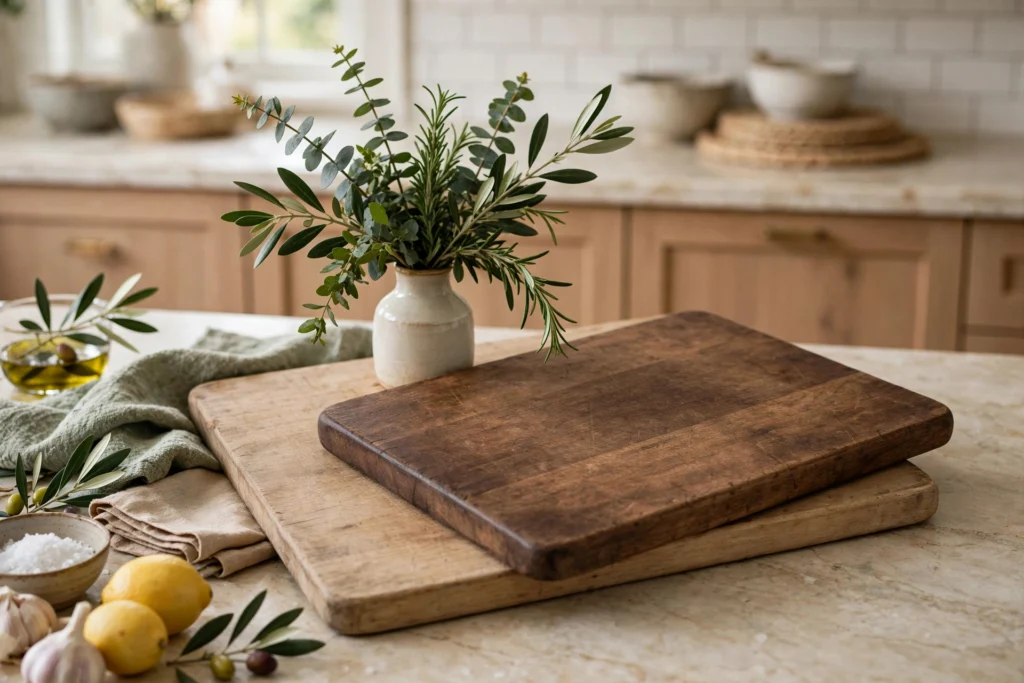
Layering is the stylist’s secret for making a display look intentional. Place a large rectangular board flat or leaning, then overlap a smaller round or paddle board in front of it at a slight angle. The overlap creates depth and shadow that a single board cannot, and the contrasting shapes keep the eye moving. Try a dark board behind a light one for maximum contrast, or two similar woods for a calm, tonal look. Add a small object in front — a bud vase, a salt cellar — and the vignette is complete. Our kitchen countertop decor ideas for a clutter-free styled look show how layering keeps counters styled without tipping into clutter.
3. Hang Boards on the Wall
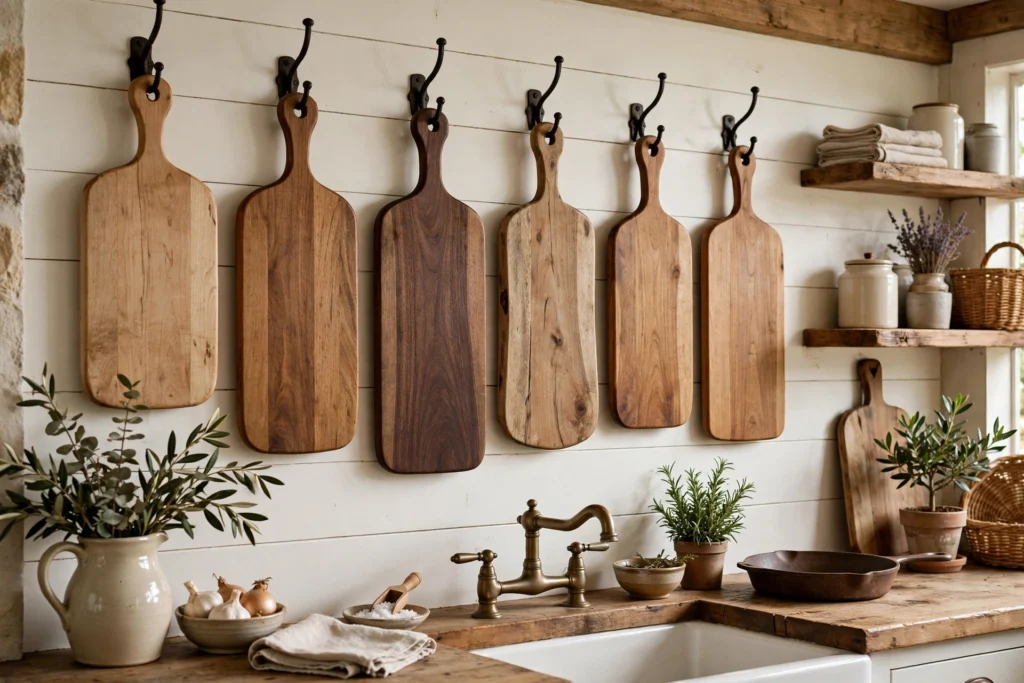
Boards with handles or hanging holes make wonderful wall art. A cluster of paddle boards hung on simple hooks or leather straps turns a blank wall into a warm, sculptural display — part gallery, part tool storage. Arrange them on the floor first to plan the composition, mixing sizes and wood tones, then hang with the bottom edge high enough to clear the counter. This approach shines in farmhouse, cottage, and rustic kitchens, where the boards’ honest materials feel at home. Use sturdy hooks anchored into studs; a walnut board is heavier than it looks.
4. Style a Board as a Serving Tray
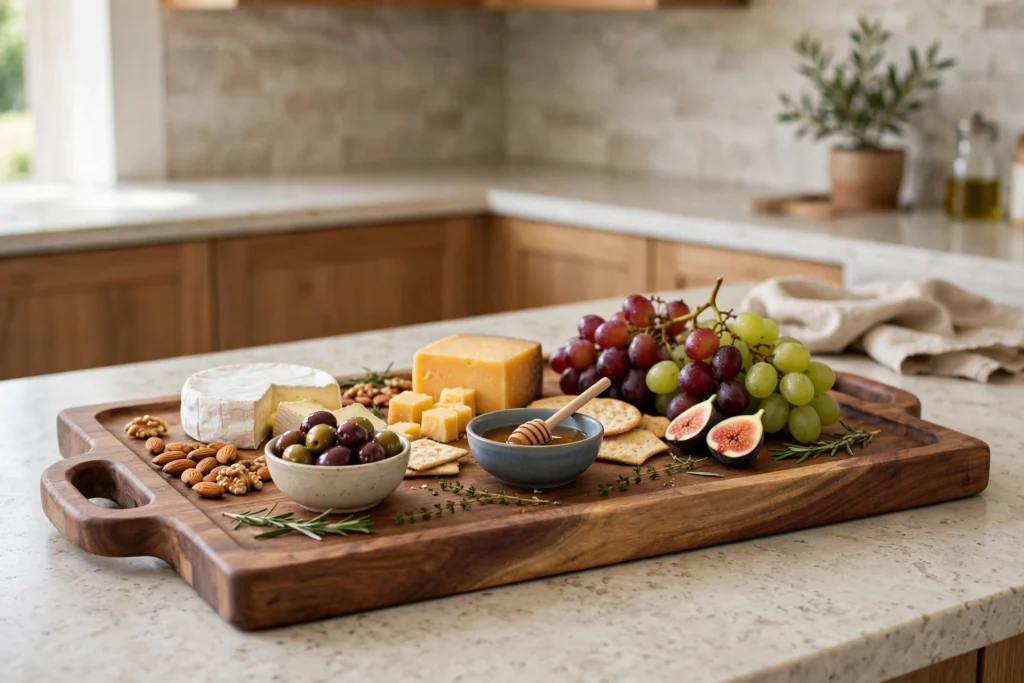
A large cutting board doubles as a serving tray with zero extra purchases. Style it with a cheese selection, a row of small bowls, or a casual charcuterie spread, and it moves from decor to the center of the party. Choose a board with a handle or juice groove for serving duty — the groove catches drips and the handle makes carrying easy. Between parties, the same board leans against the backsplash as decor. This dual life is the whole appeal of board styling: every piece in the display is genuinely useful, so the decor never feels like clutter.
5. Mix Woods for a Collected Look
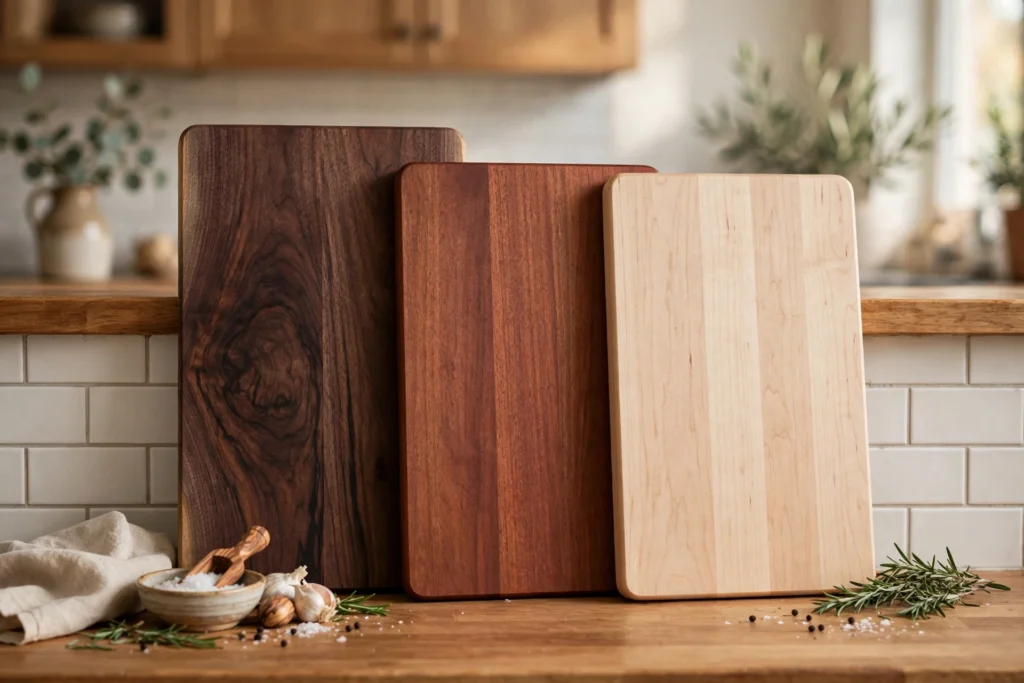
The fastest way to make board decor look expensive is to mix wood species deliberately. Walnut’s deep chocolate, cherry’s warm red-brown, maple’s pale gold, and olive wood’s dramatic grain each bring a different note, and together they read as a curated collection built over time. Avoid matching sets — identical boards look like a warehouse display. Instead, hunt one board at a time: a flea market walnut paddle here, an olive wood round there. The Spruce’s kitchen styling guides at thespruce.com often showcase this collected-over-time approach, which beats a matching set every time.
6. Add a Marble or Stone Board for Contrast
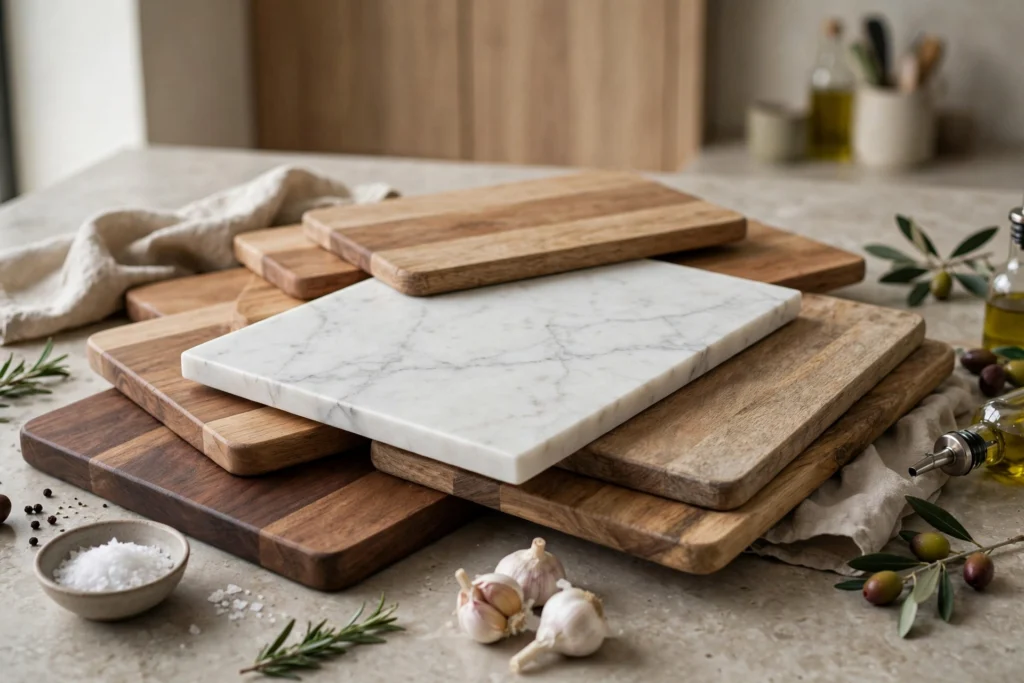
One stone board among the wood changes everything. A white marble slab or dark slate board introduces cool contrast, pattern, and a different texture that makes the wood around it look even warmer. Marble boards are brilliant for serving cheese and pastries — the cool surface keeps food fresh-looking — and they photograph beautifully. Style the stone board slightly forward in a leaning row so its veining catches the light.
7. Create a Coffee Station Backdrop
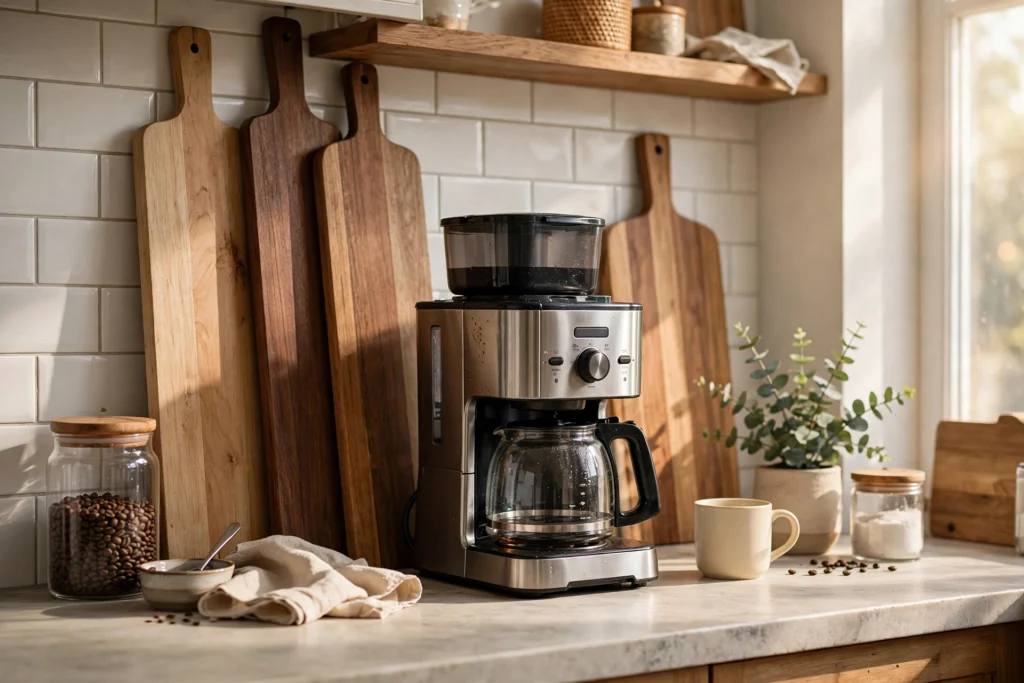
Boards make the perfect backdrop for a coffee station. Lean two or three tall boards behind the coffeemaker and mugs to give the station a finished, café-like presence — they hide cords, add warmth, and make the whole corner feel intentional. A narrow paddle board works in tight spaces; a wide rectangular board suits a full station. Coordinate the board tones with your mug collection for a cohesive look. This trick works on a kitchen cart too — our kitchen cart styling ideas for a stylish mobile hub show how a board backdrop elevates a rolling station from utility to feature.
8. Prop a Board on Open Shelving
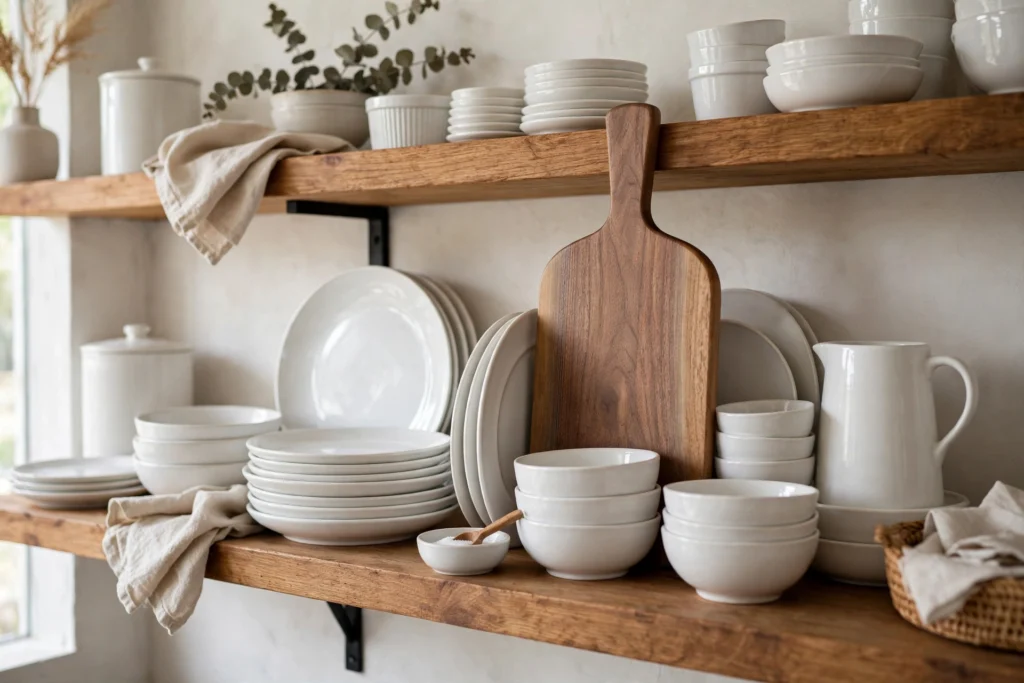
Open shelves beg for the vertical rhythm that boards provide. Tuck a paddle board upright between stacks of dishes or lean a small round board against the wall at the end of a shelf. The wood breaks up the monotony of white ceramics and adds the organic texture that makes styled shelves feel human. Choose boards in tones that echo other shelf elements — a walnut board near wooden bowls, a light maple board near cream ceramics. Keep the board near the front edge so it reads clearly, and make sure it is stable; a felt pad underneath prevents sliding on slick shelf surfaces.
9. Use End-Grain Boards as Sculpture
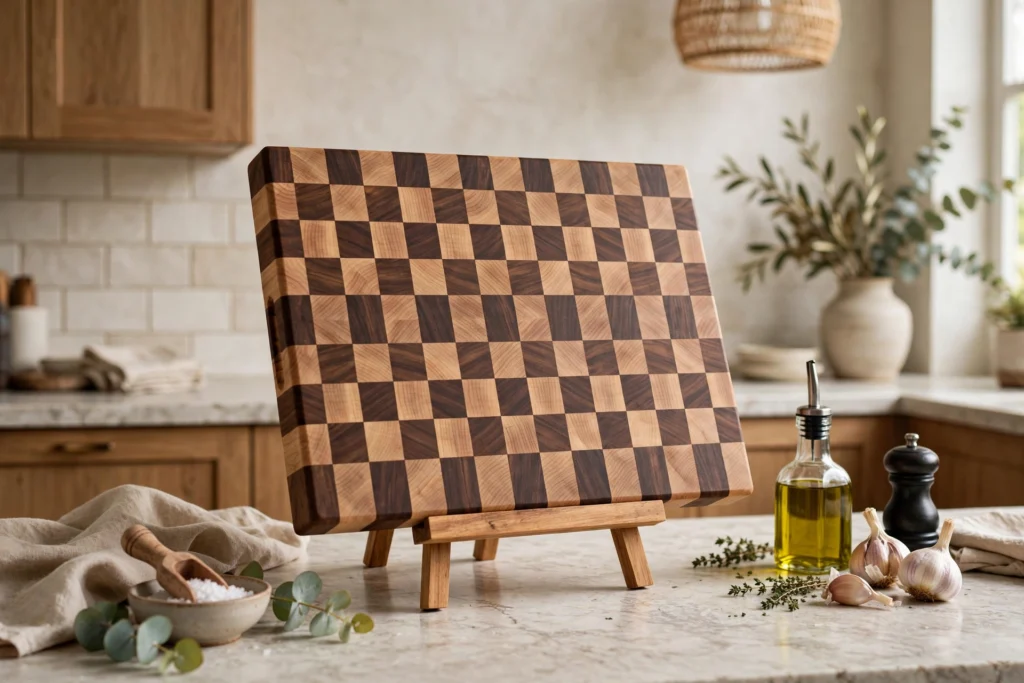
End-grain boards — the checkerboard-patterned ones — are the showpieces of the board world. Their geometric grain pattern reads almost like art, especially in contrasting woods. Display one propped on a small easel or plate stand on the counter, or lean it where the light catches the pattern. End-grain boards are also the kindest to knife edges, so this is one display piece you should actually use.
10. Style Seasonal Vignettes Around a Board
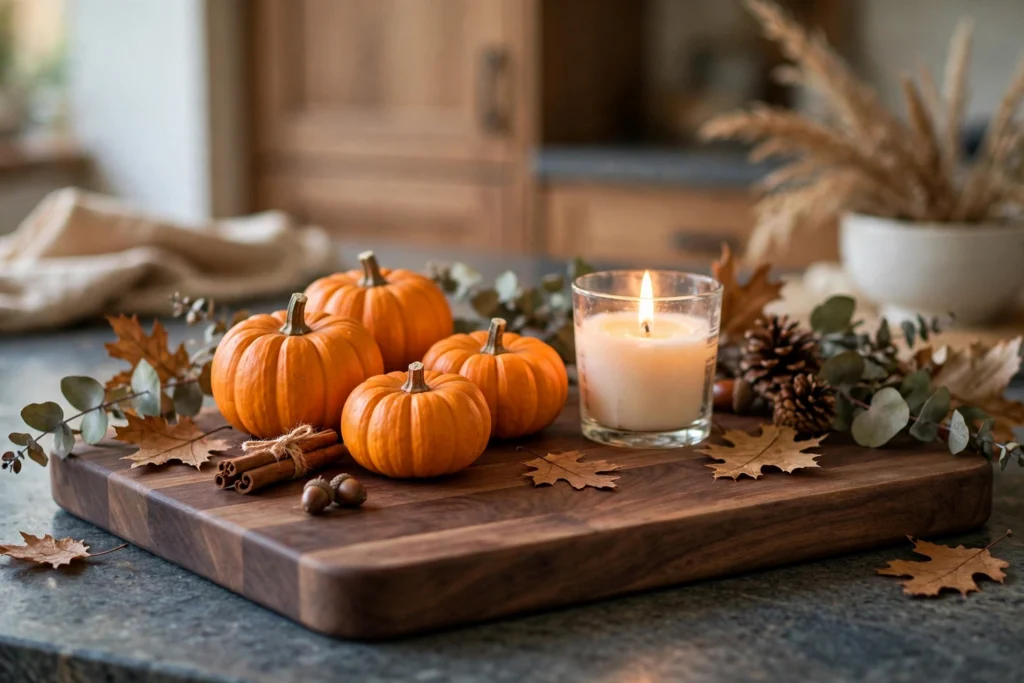
A cutting board is the perfect anchor for seasonal styling. In fall, lean a walnut board behind mini pumpkins and a candle; at Christmas, layer a round board with greenery and fairy lights; in spring, prop a light maple board behind a bud vase of fresh stems. The board gives the seasonal bits a stage so they look styled rather than scattered. Because boards are neutral, the same ones work year-round — you only swap the seasonal accents. This is the cheapest way to refresh kitchen decor four times a year without buying new foundations each season.
11. Hang Boards with Leather Straps
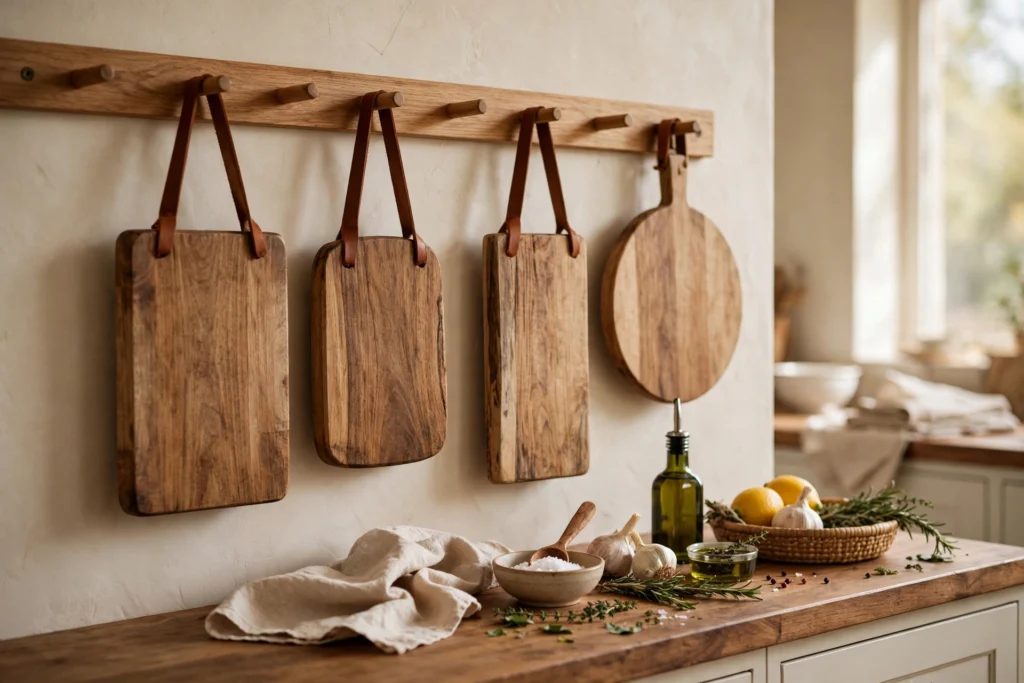
Leather straps elevate hung boards from rustic to refined. Loop a leather strap through each board’s hanging hole, knot it, and hang from a single hook or peg rail — the leather adds a tailored, craftsman detail that rope or wire cannot match. Choose straps in cognac or dark brown to complement the wood tones, and let the straps hang at slightly different lengths for a relaxed rhythm. This look suits modern rustic and Scandinavian kitchens especially well. Condition the leather once a year so it does not dry and crack near the stove’s heat.
12. Lean an Oversized Board as Art
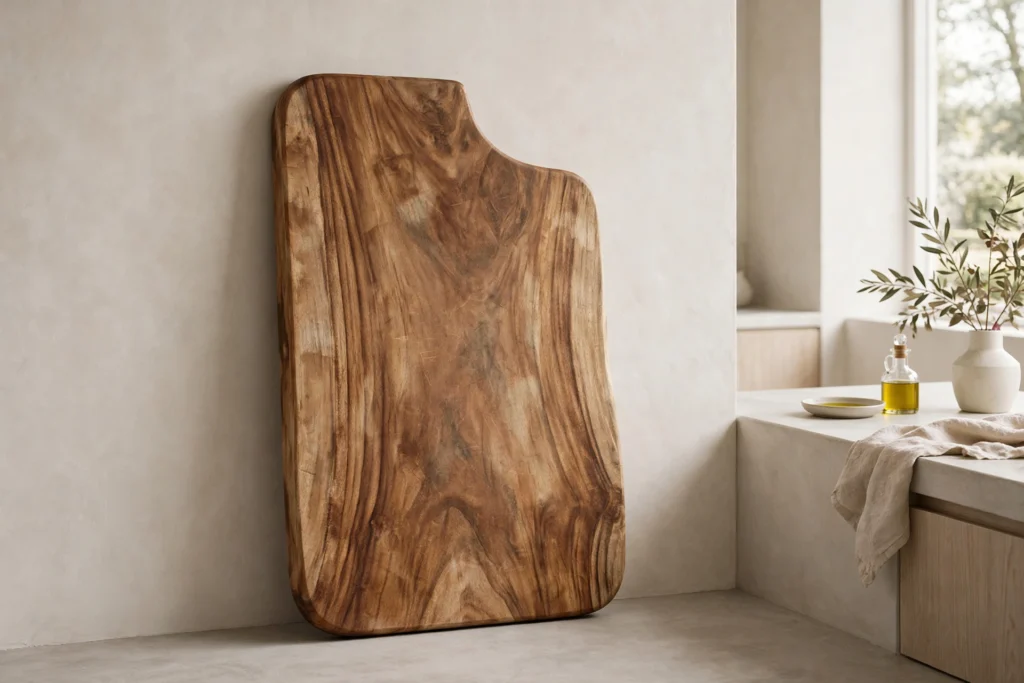
One giant board makes a bolder statement than five small ones. An oversized walnut or acacia board — 24 inches or taller — leaned against the wall reads as intentional art, especially in a minimalist kitchen where a cluster would feel busy. Let it stand mostly alone on a clear stretch of counter, perhaps with a single small object at its base. The scale does the work: the board’s grain becomes a landscape. Oversized boards are also genuinely useful for big prep sessions and party spreads, so this is style that earns its footprint. Check thrift stores for large boards; new ones at this scale get pricey.
13. Group Boards by Tone for a Calm Display
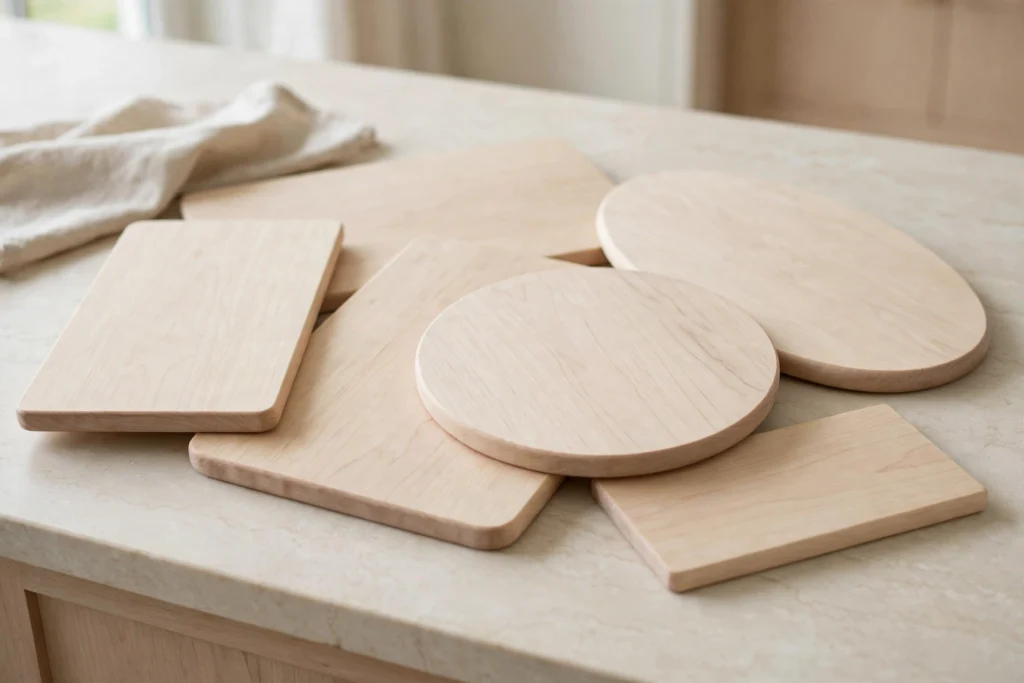
If mixed woods feel too busy for your kitchen, try a tonal grouping instead. Gather boards in the same wood family — all walnut, all pale maple, all olive wood — and let subtle variations in grain do the talking. A tonal display feels serene and high-end, like a gallery wall in one color. This approach suits modern and minimalist kitchens where restraint is the aesthetic. Vary the shapes within the tone family (round, paddle, rectangular) so the display still has visual interest. One contrasting board — a single dark walnut among pale maples — can be the deliberate exception that proves the rule.
14. Style Boards in a Basket or Crock
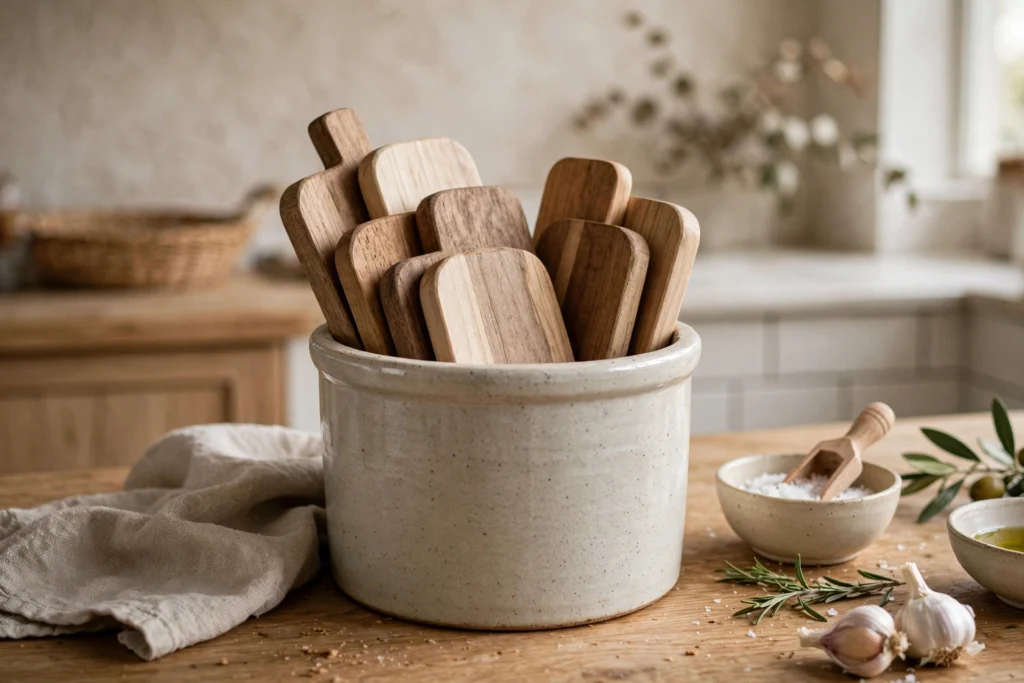
Not every board needs to lean or hang. A deep basket, large crock, or wooden crate corrals smaller boards upright on the counter or in a pantry, keeping them accessible and tidy. This is the best solution for the working boards you grab daily — they stay within reach but look intentional instead of piled. Choose a container with some visual weight — stoneware, woven seagrass, aged wood — so it reads as decor itself. Our open kitchen shelving ideas that look styled not cluttered use the same corral principle for keeping everyday items beautiful on display.
15. Oil and Maintain for a Lasting Glow
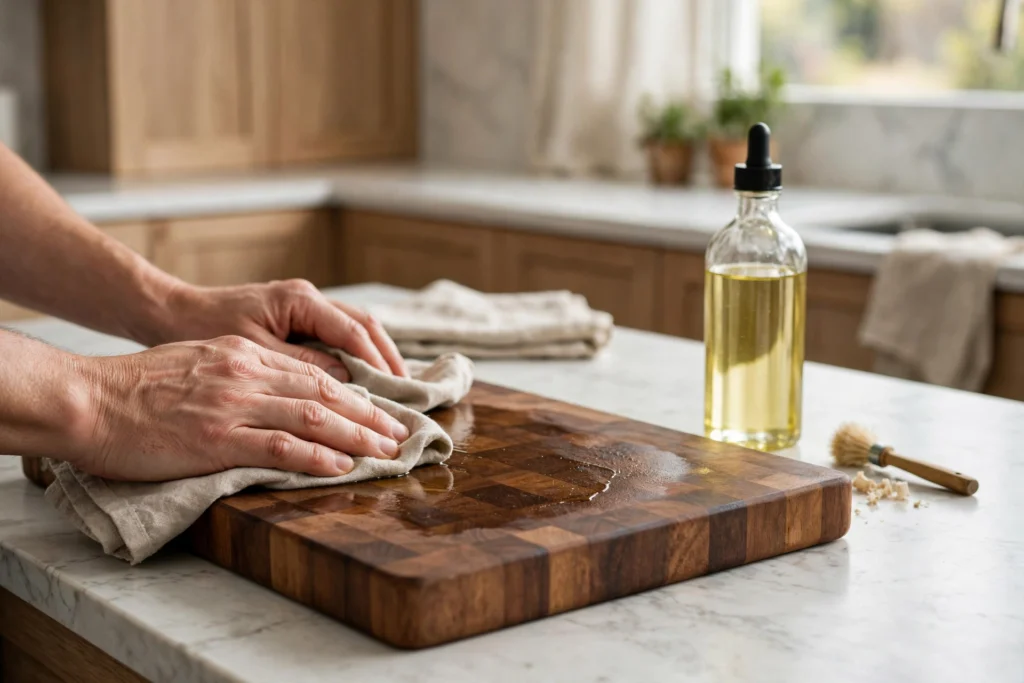
The difference between sad boards and stunning ones is maintenance. Once or twice a year — more if you use them hard — sand any rough spots lightly, then rub in food-grade mineral oil until the wood stops drinking it in. Follow with a beeswax conditioner for a soft sheen that repels water. Oiled wood deepens in color and the grain pops, which is exactly what makes board displays look rich rather than dry. Never put wooden boards in the dishwasher or soak them; hand wash, dry upright, and they will outlast most of your other kitchen tools. A well-kept board collection only gets more beautiful with age.
FAQ
How do I keep leaning cutting boards from falling?
Choose boards with enough depth to lean stably — very thin boards topple easily. Lean them at a slight angle against the backsplash with the bottom edge a few inches out from the wall, and place the tallest, heaviest boards at the back. A small bead of museum putty under the front edge adds invisible security, especially in homes with curious kids or wobbly counters.
Can I use decorative cutting boards for actual food prep?
Yes, if they are food-safe wood finished with mineral oil or beeswax — which most quality boards are. Reserve heavily decorated or painted boards for display only, since paint and unknown finishes do not belong near food. Keep one or two workhorse boards for daily chopping and let the prettiest ones live mostly as decor with occasional light-duty serving.
What is the best wood for display cutting boards?
Walnut, cherry, acacia, and olive wood photograph and display best thanks to their rich color and interesting grain. Maple and beech are paler and suit light, Scandinavian-style kitchens. Whatever you choose, solid hardwood with visible grain always looks better than laminated or composite boards.
How many cutting boards should I display?
Three to five is the sweet spot for most counters — enough to look like a collection, few enough to avoid clutter. Odd numbers photograph better than even ones. If you have a large stretch of counter, you can go bigger, but leave breathing room around the group so it reads as styling rather than storage overflow.
Will cutting boards damage my backsplash?
Leaning boards are gentle on tile, stone, and sealed surfaces. On painted drywall, heavy boards can scuff over time — add small felt pads to the back top edge where the board contacts the wall. Hanging boards need proper anchors, but a single hook hole is easy to patch if you ever remove the display.
Keep Exploring
Cutting boards might be the lowest-effort, highest-reward styling in the entire kitchen: no tools, no holes, no budget required — just beautiful wood doing what beautiful wood does. Start with three boards you love, lean them where the light hits, and watch the whole counter come alive. From there, the instinct spreads: the shelf that wants a board, the coffee corner that needs a backdrop, the wall that is begging for a cluster. Let the collection grow one board at a time, and your kitchen will keep getting warmer without a single renovation.