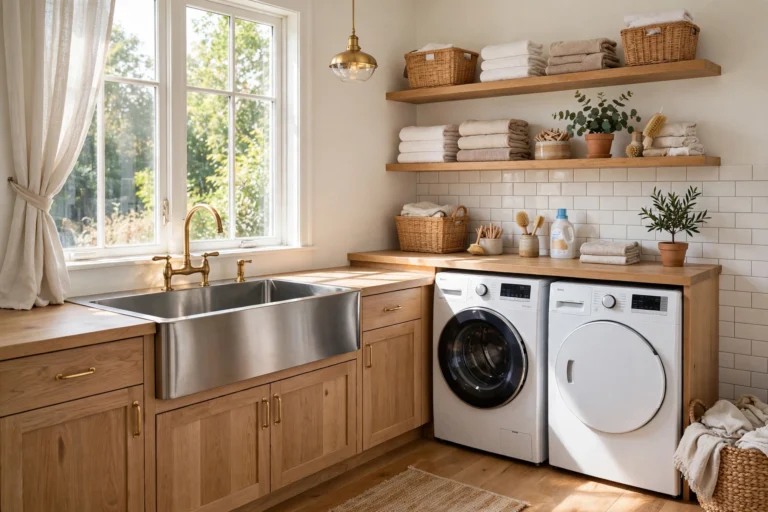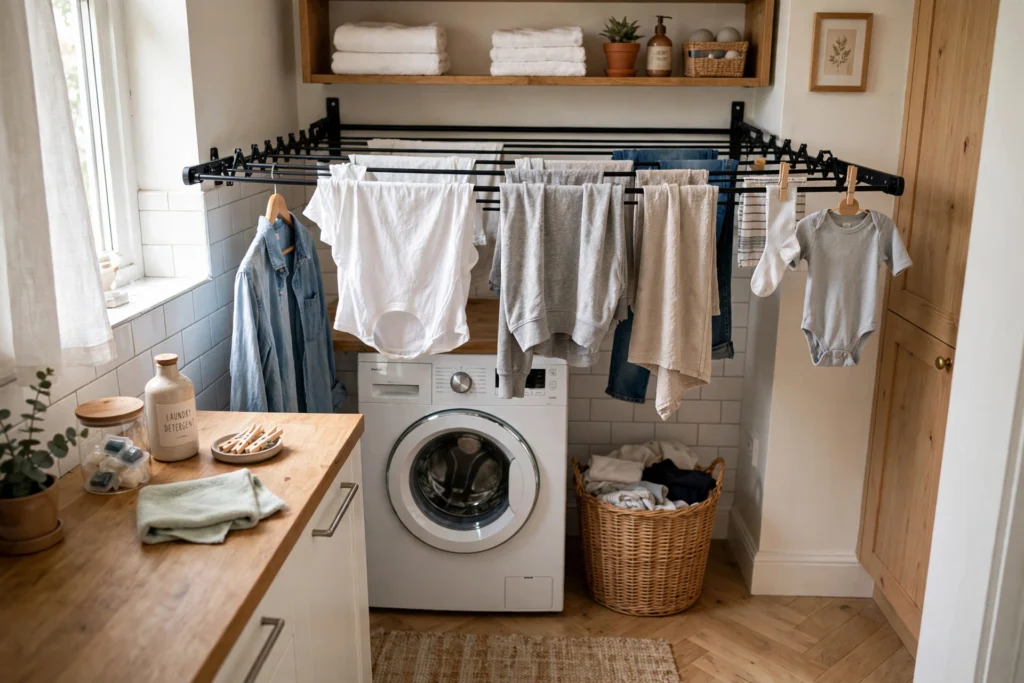

Delicates, activewear, wool sweaters, and anything you want to last longer should skip the dryer — but air-drying in a small laundry room feels impossible when floor space is measured in inches. These laundry room drying rack ideas solve exactly that: racks that fold flat against the wall, lines that retract into a cassette, pulleys that lift laundry to the ceiling, and racks that borrow the backs of doors. Every option below is chosen for tight footprints, with real measurements and mounting guidance so you can pick what fits your room.
Before you choose, measure three things: the clear wall area you can dedicate (height and width), the distance to a heat source or airflow (drying slows dramatically in still, cool air), and your typical load size — a family of four needs roughly 20–30 linear feet of drying line per full wash day. Pair your rack plan with smart storage so the room stays workable; our laundry room organization ideas for a tidy efficient space shows how to keep supplies corralled around any drying setup.
1. Wall-Mounted Fold-Down Drying Rack
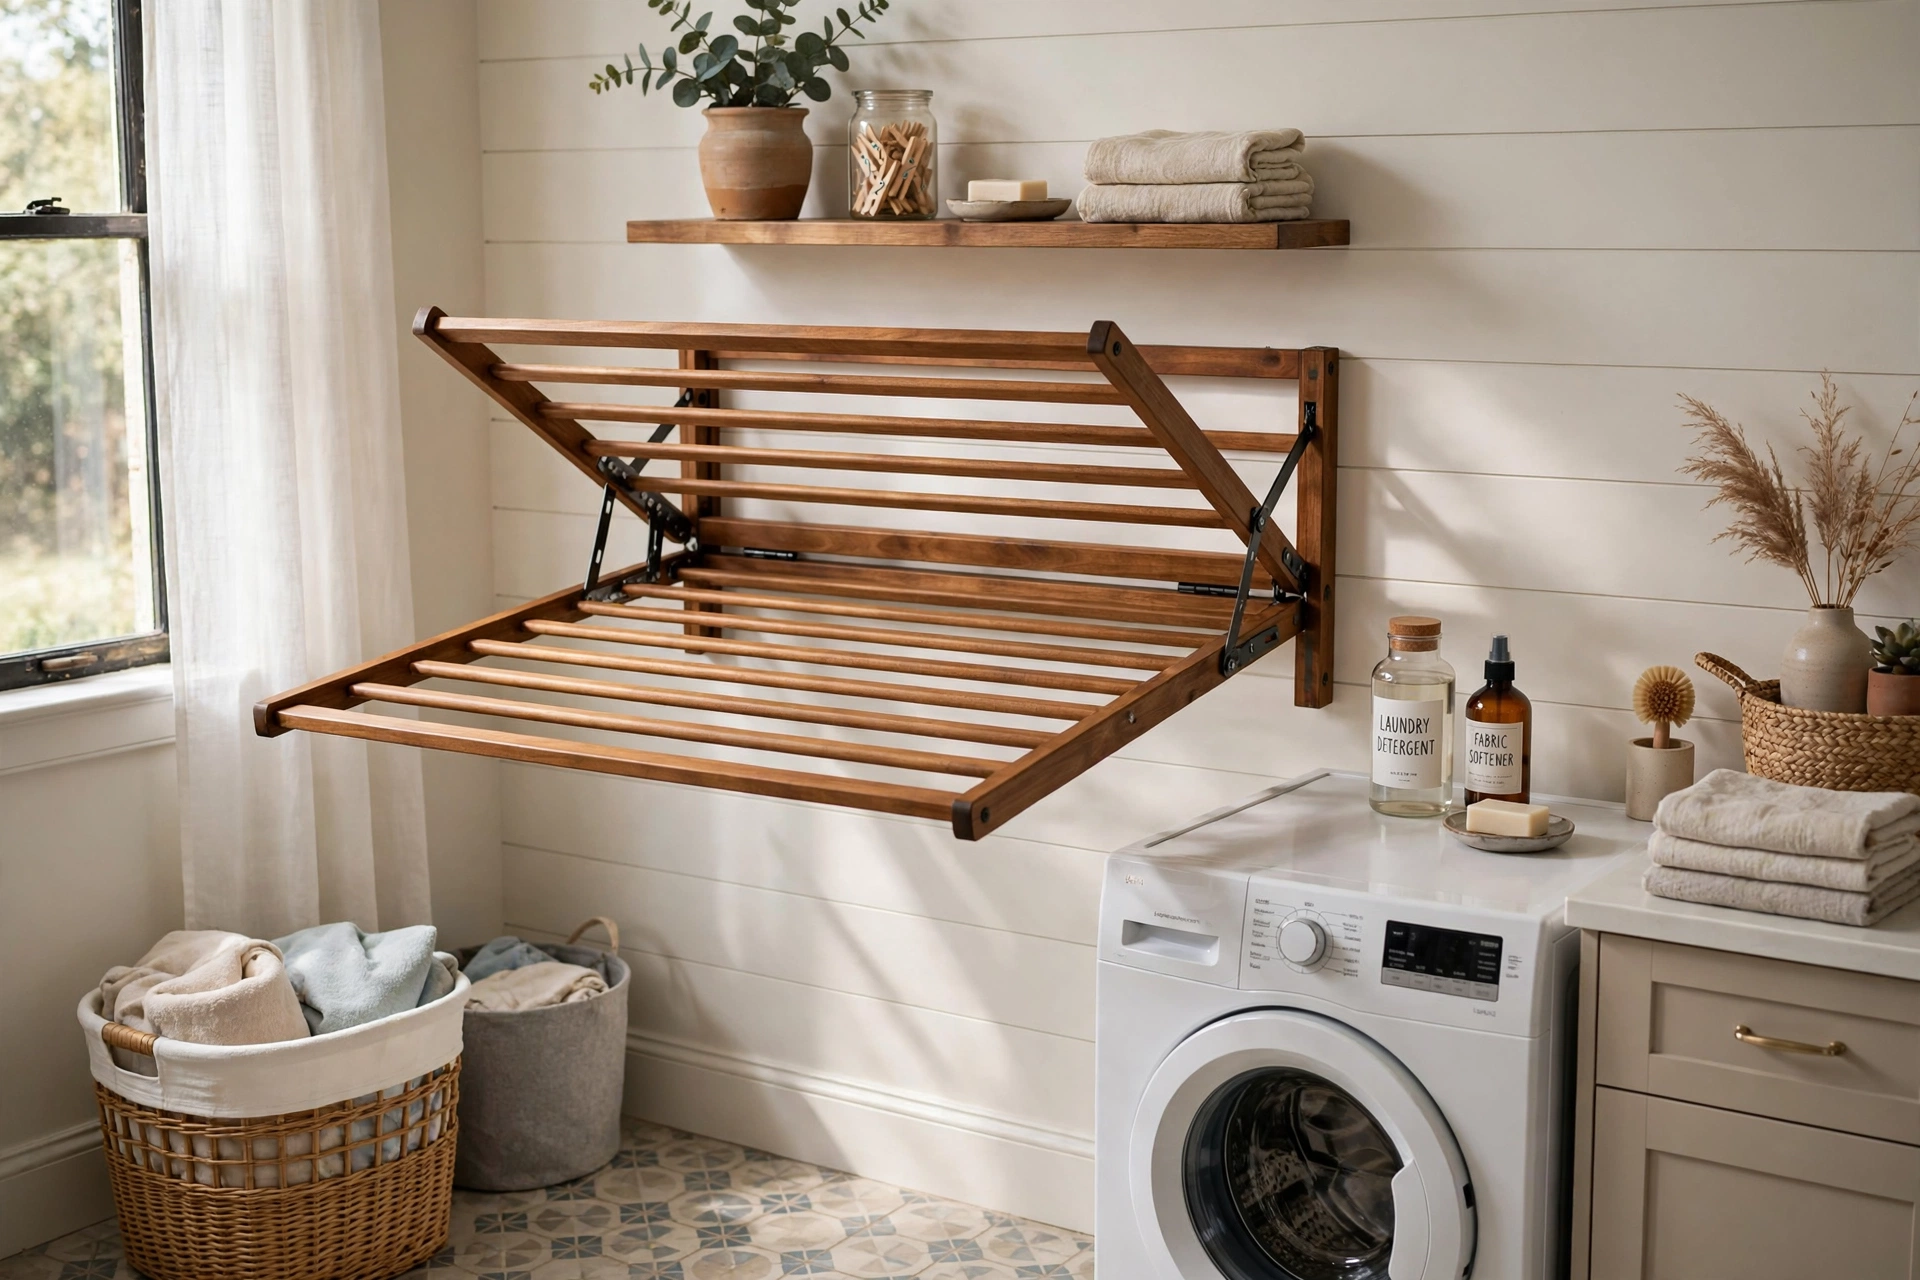
The fold-down rack is the small-laundry-room classic: a framed grid of dowels or rods hinged at the bottom that folds flat against the wall when empty and drops to horizontal when loaded. A 24×36-inch unit offers about 20 linear feet of drying space yet protrudes only 2–3 inches when folded. Mount it with the hinge at 36–42 inches from the floor so the open rack sits at a comfortable loading height and clears the washer lid below.
Anchor into studs with 2.5-inch screws — a wet load of jeans can weigh 15–20 pounds, and drywall anchors alone will eventually pull out. Look for models with a locking arm or chain that holds the rack level under load, and choose sealed hardwood or powder-coated steel over raw pine, which warps in humidity. When folded, the best designs look like a simple framed panel; add a small top shelf to the frame and it doubles as decor. Leave 30 inches of clear space in front for the open rack plus your body.
2. Retractable Clothesline Cassette
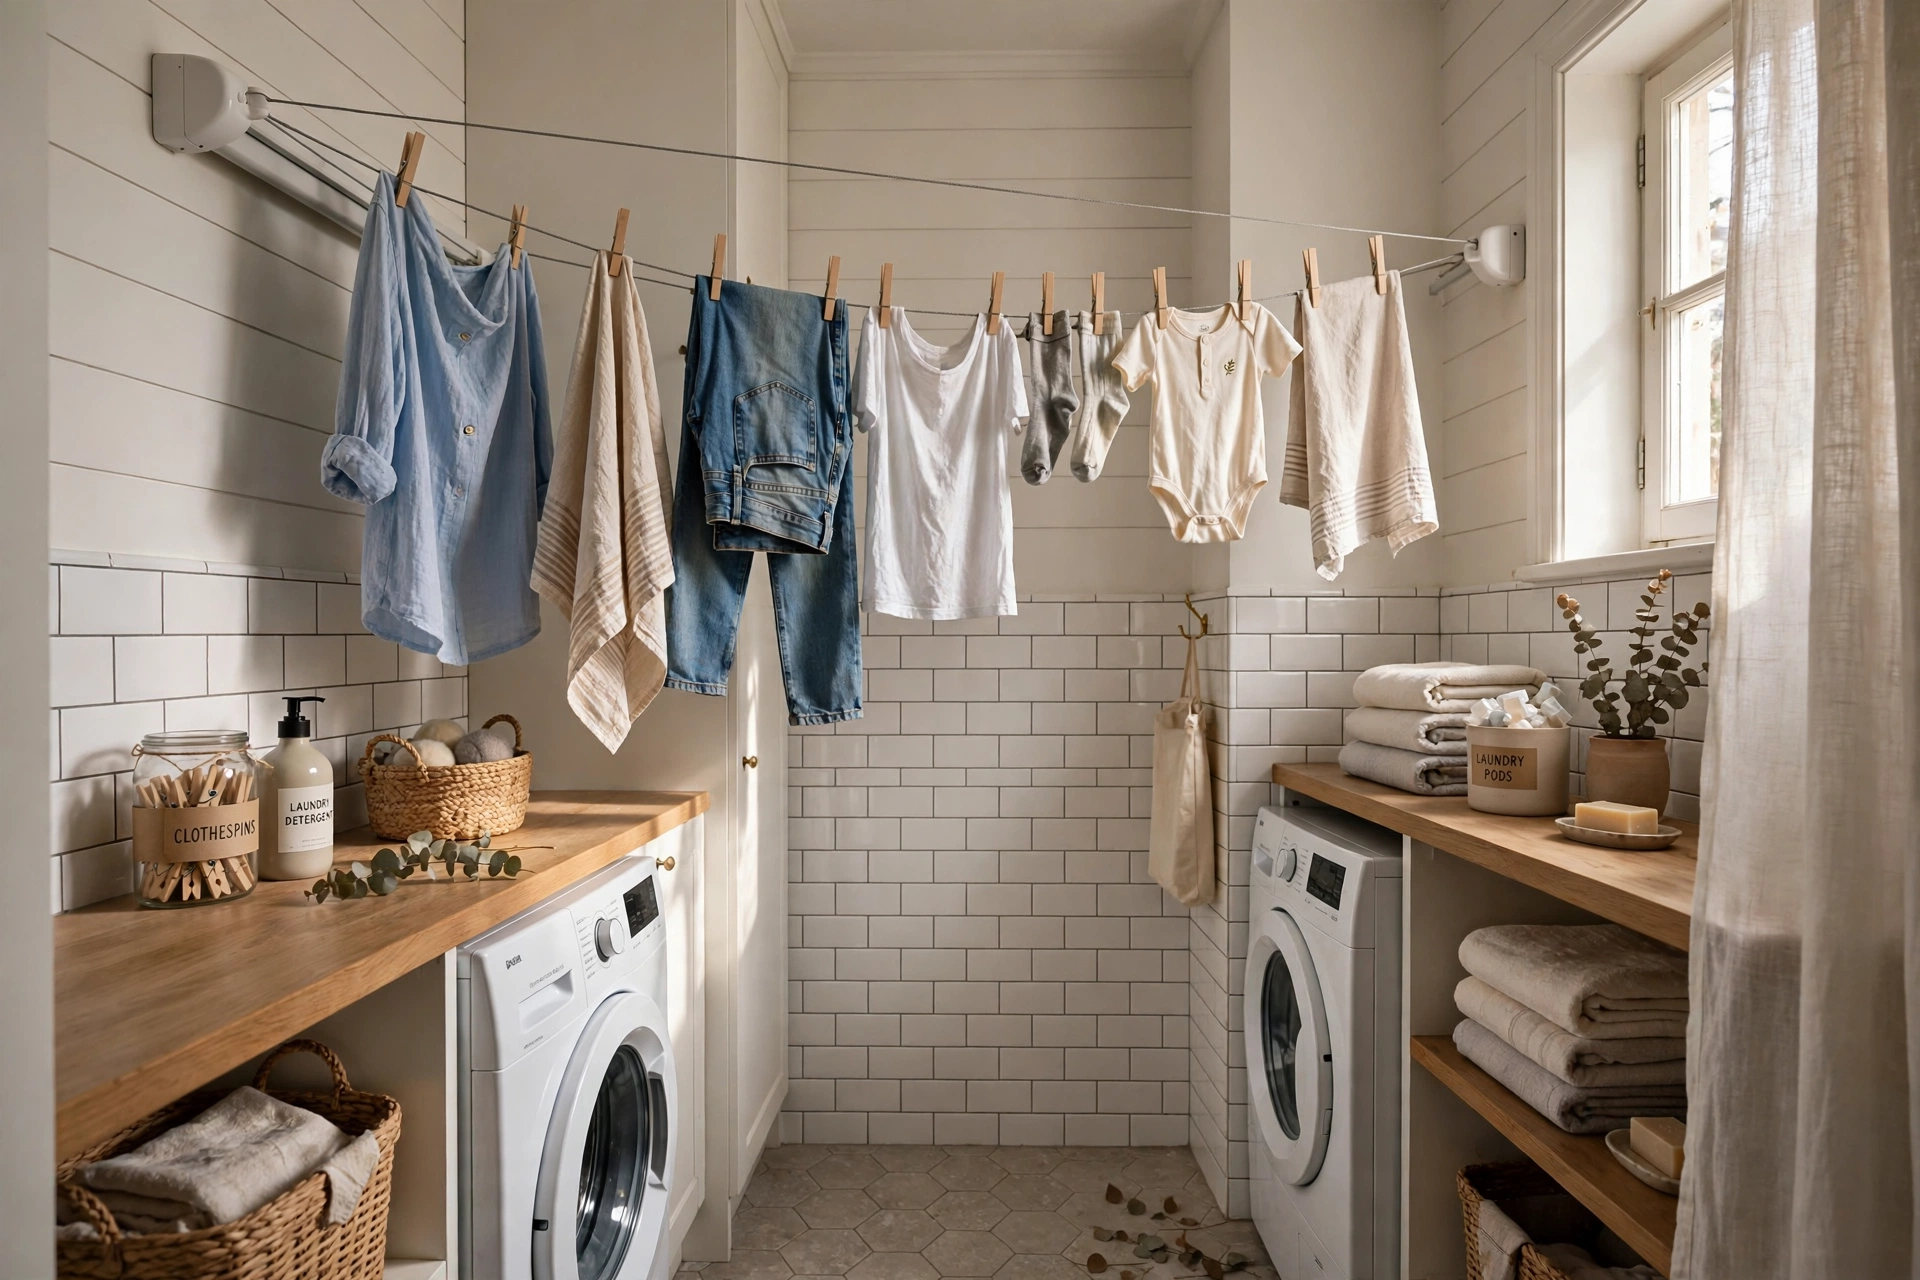
A retractable line is essentially a tape measure for laundry: a wall-mounted cassette holds up to 30–40 feet of braided cord that pulls out to a hook on the opposite wall and retracts when done. It costs little, installs in minutes, and disappears completely between uses — ideal above a washer-dryer stack or across a narrow galley laundry.
Mount the cassette at 60–66 inches high and the receiving hook at the same height on the opposite wall, up to 12–15 feet away depending on the model. Screw both ends into studs or solid blocking; a sagging line dumps wet clothes on the floor. Run two parallel lines 12 inches apart for double capacity, and wipe the cord with a damp cloth monthly — dust on the line transfers to clean clothes. Because the line is a single span, it suits long, lightweight items like shirts and sheets best; heavy jeans do better on a rigid rack. The clothes line history and designs page shows how this simple concept has evolved.
3. Ceiling Pulley Rack (Sheila Maid Style)
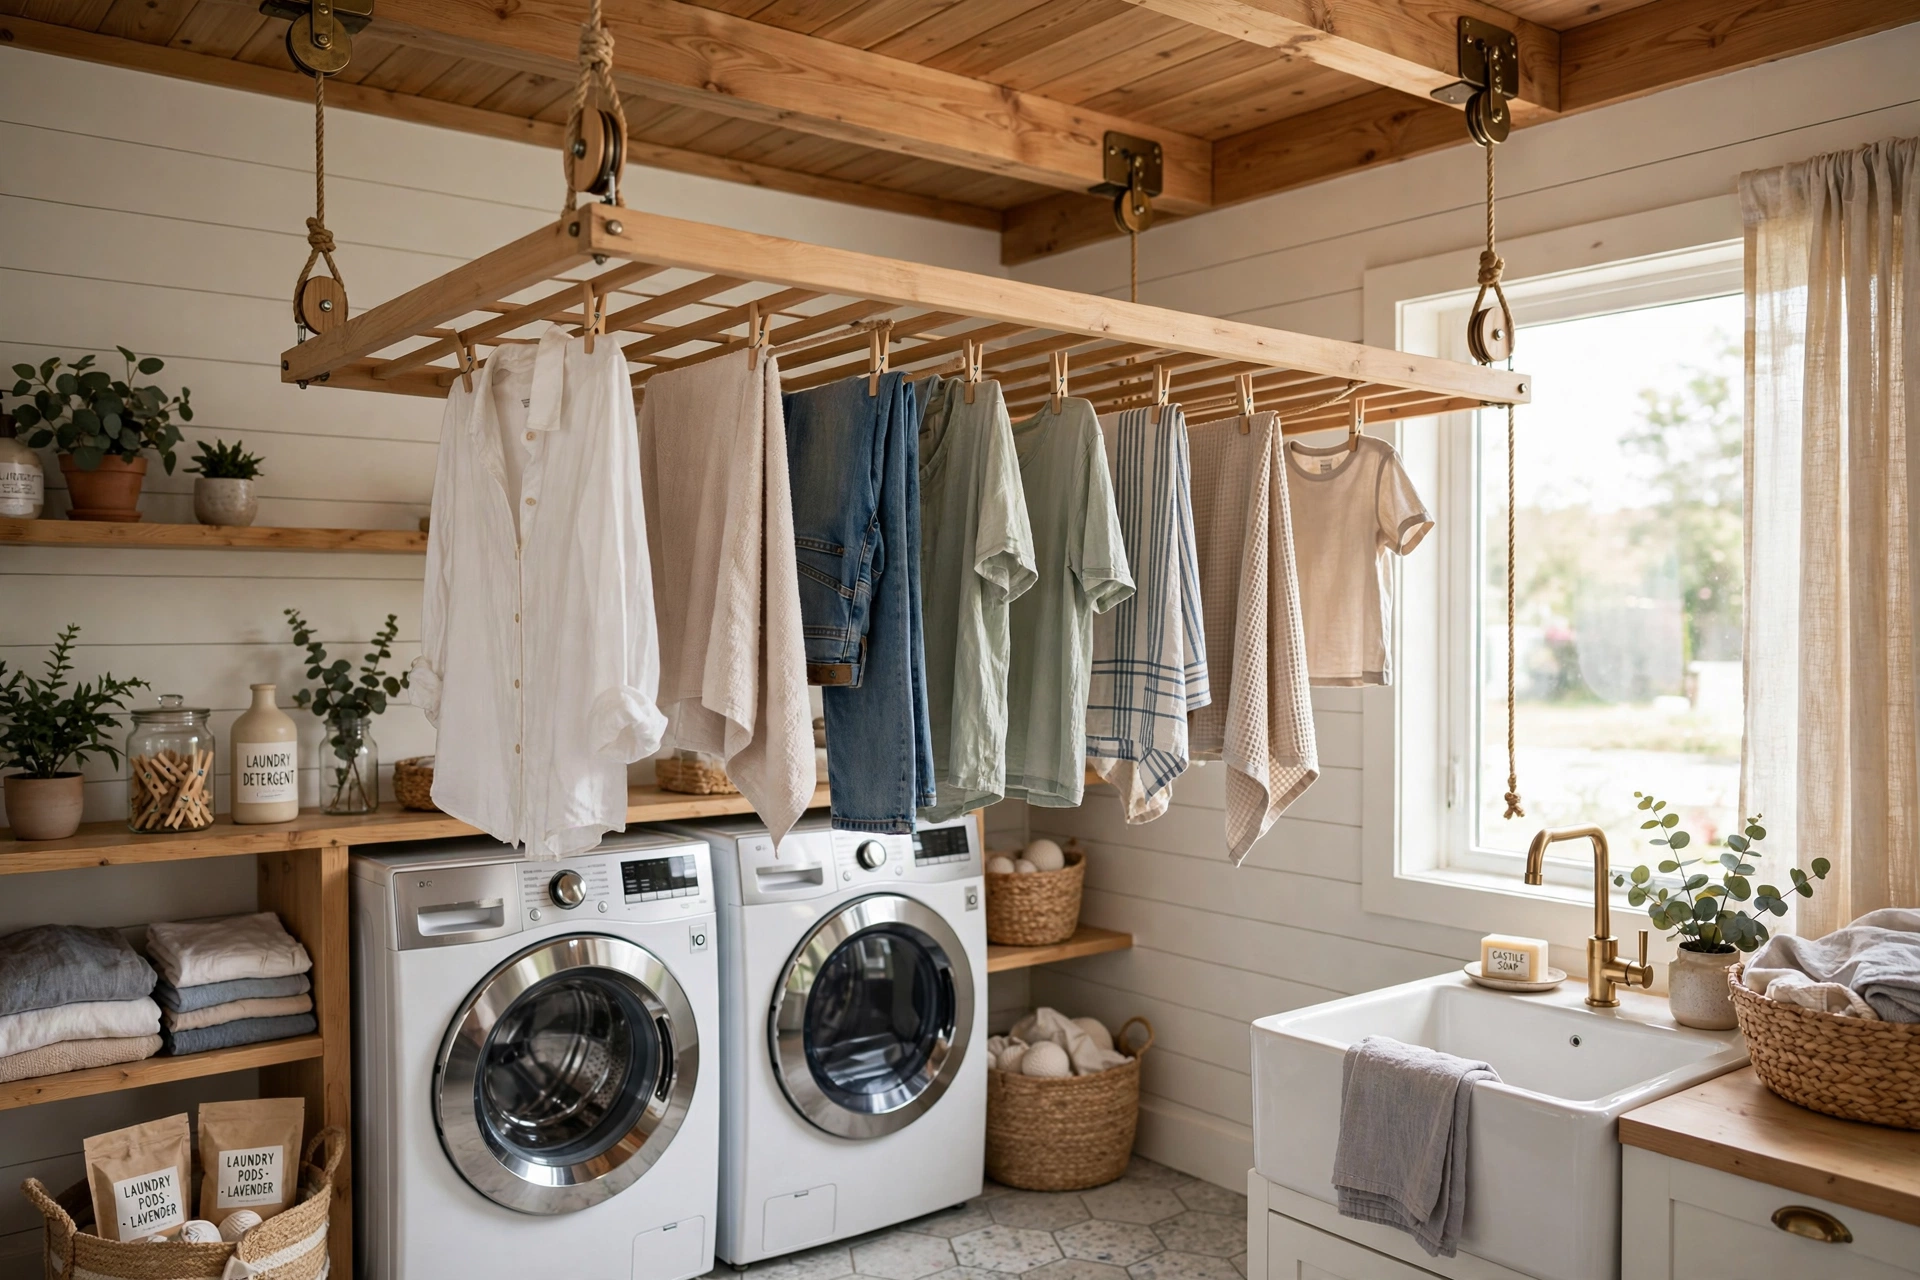
Victorian sculleries dried laundry on ceiling-mounted pulley racks, and the design is unbeatable for small rooms: a wooden or metal frame hangs from ropes over pulleys, cranks down to loading height, then hoists the whole load to the ceiling where warm air rises. A 4-foot rack gives roughly 24 linear feet of line while occupying zero floor or wall space.
Install into ceiling joists — never drywall alone — using the included pulley brackets spaced to match your joists (typically 16 inches on center). Position it over the washer or a tiled area in case of drips, and keep at least 6 inches of clearance from light fixtures and 12 inches from sprinkler heads. The rope-and-cleat system should lock positively; test with a full wet load before trusting it. In rooms with 8-foot ceilings, the lowered rack sits at about 4.5 feet — comfortable for loading — and rises to within a foot of the ceiling. This is the highest-capacity-per-square-foot option on this list.
4. Over-the-Door Drying Rack
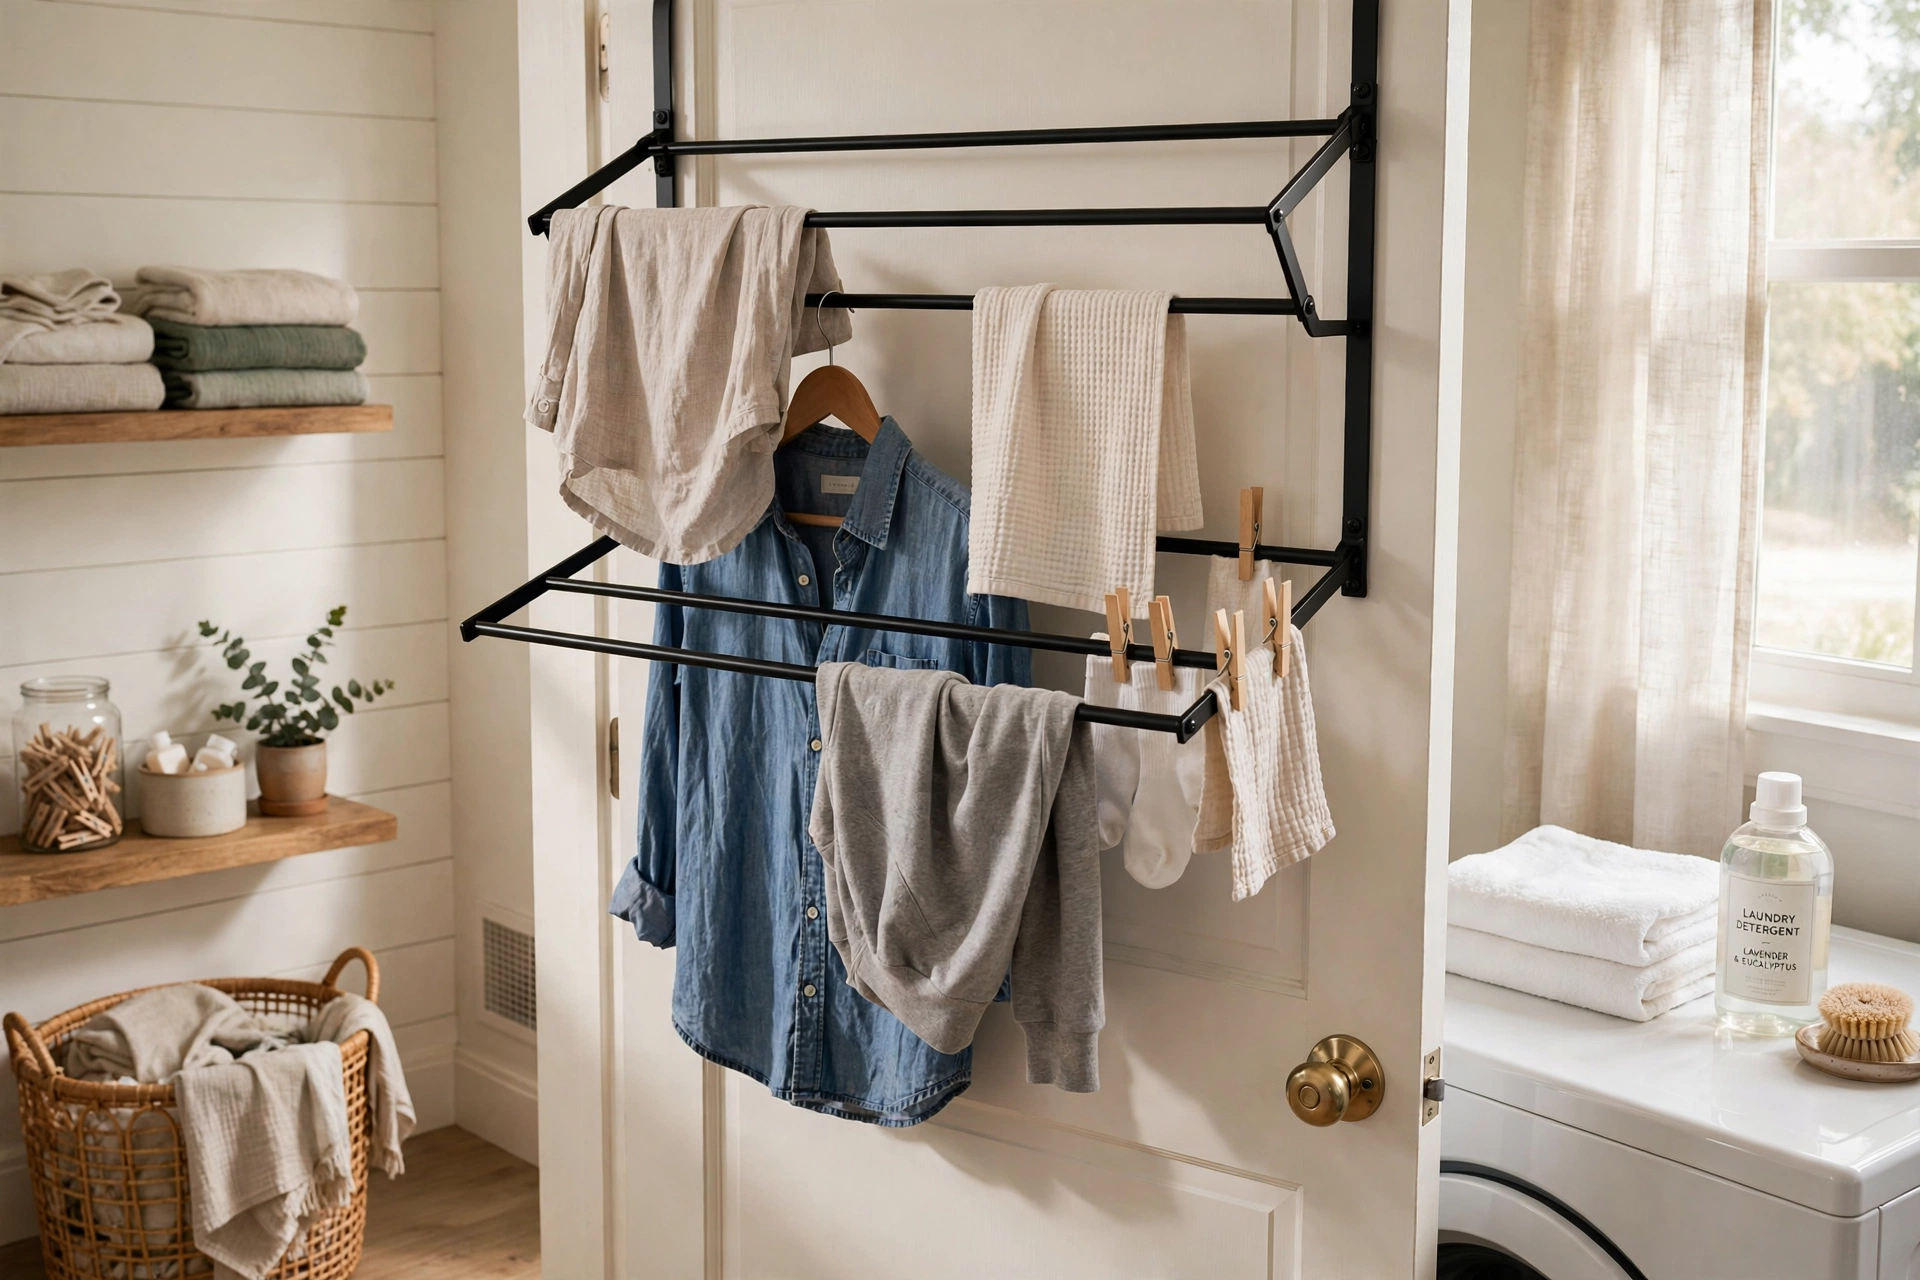
The back of the laundry room door is free real estate. Over-door racks hook over the top of any standard interior door (1⅜-inch thick) with padded brackets — no drilling — and offer 5–10 hanging bars or a mesh panel for flat drying. They are perfect for the “delicates only” household: bras, swimwear, and hand-wash items that need a little air, not a full line.
Check door clearance first: the rack adds about 3–4 inches of depth, so make sure the door still closes and does not hit the washer. Choose hooks with foam or silicone padding to protect the door’s finish, and keep loads under 10–12 pounds to avoid stressing hinges. A two-sided design — bars on one face, mesh shelf on the other — handles both hanging and flat-dry items like sweaters. When guests come, lift the whole rack off in seconds. For renters, this is the zero-commitment entry point to air-drying.
5. Accordion-Style Wall Rack
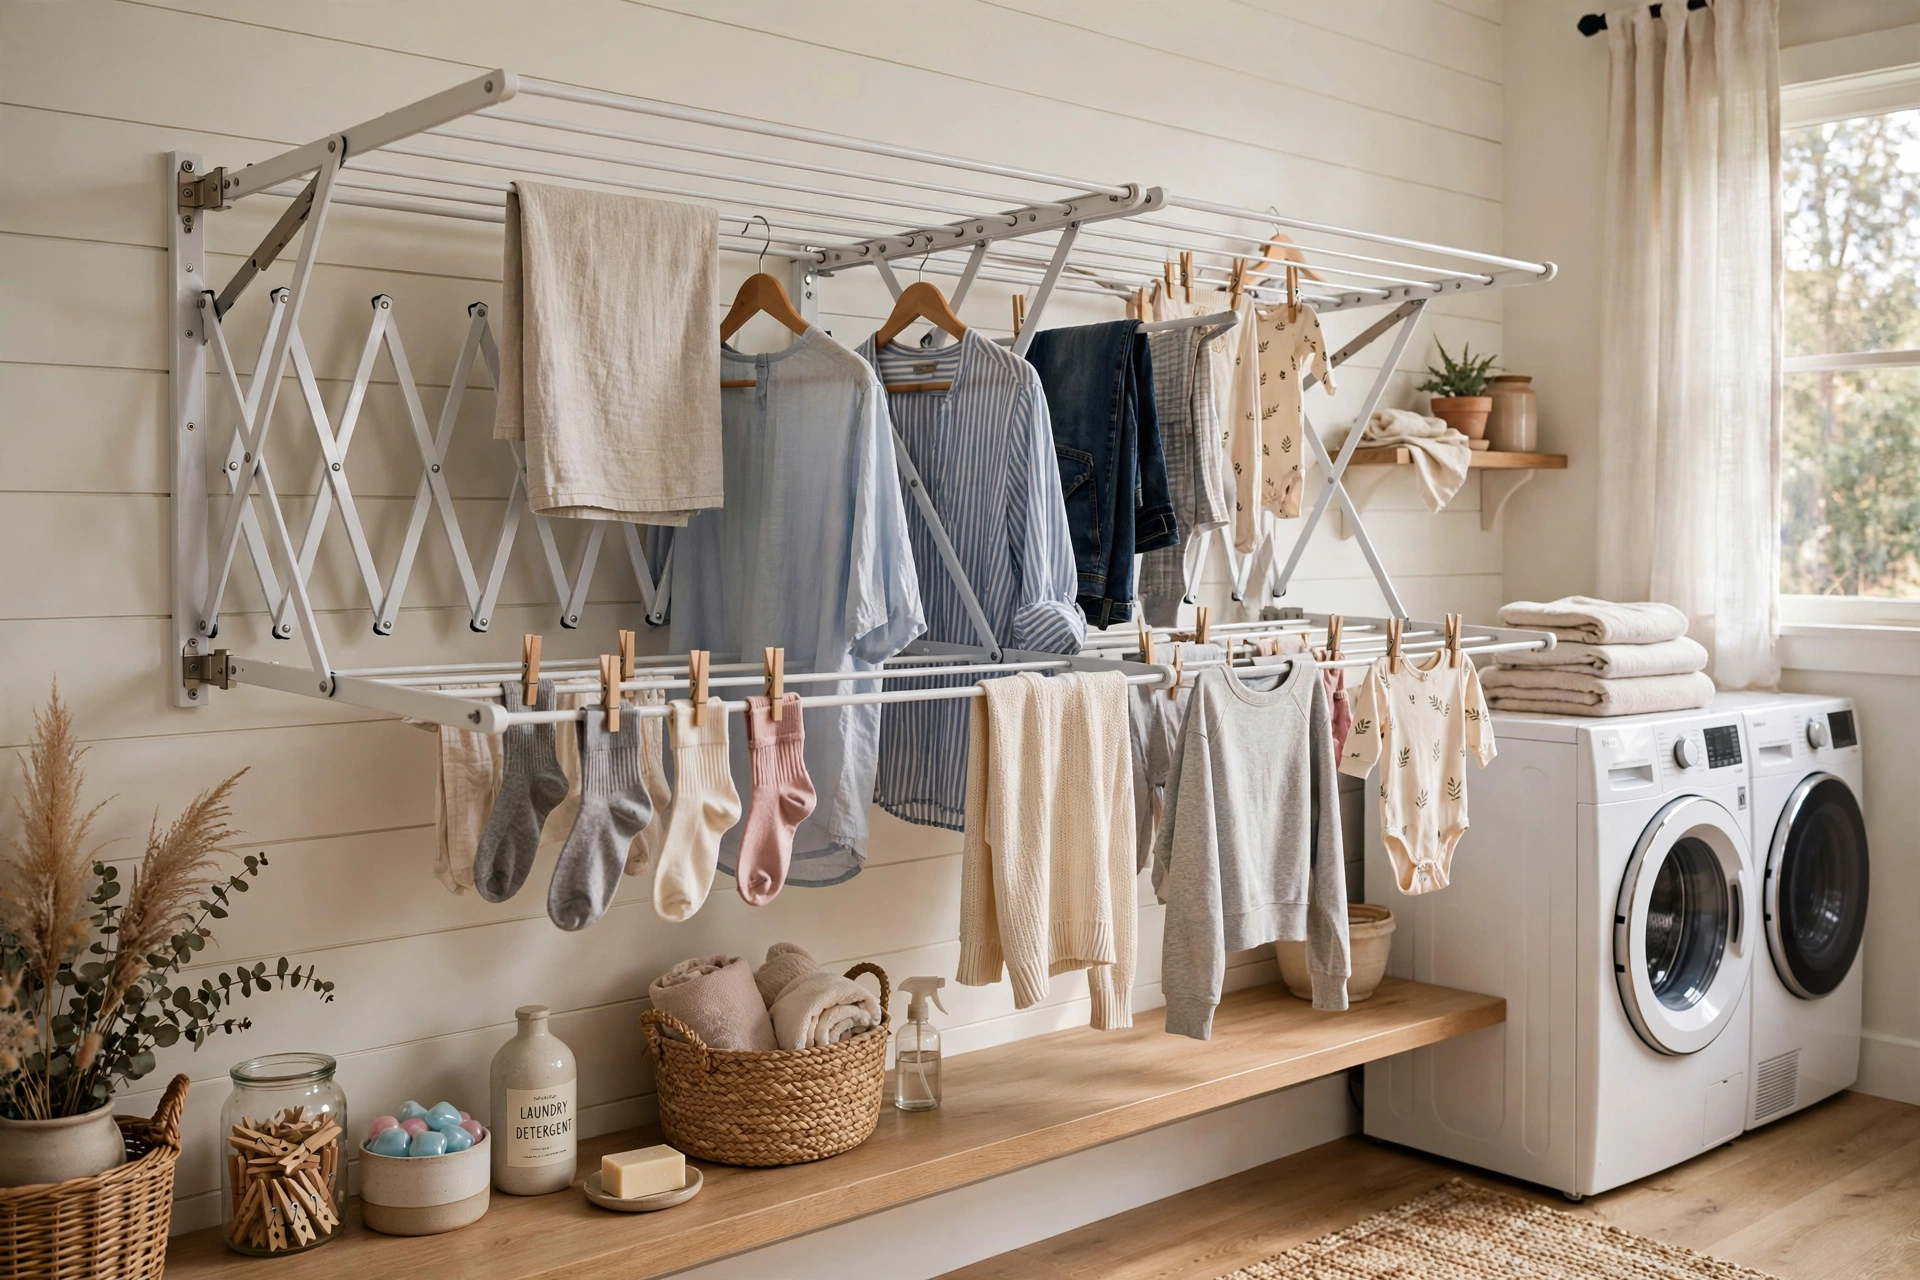
Accordion racks expand like a concertina: wall-mounted scissor arms pull out to 20–30 inches deep, offering multiple dowel rungs, then collapse to a 4-inch-deep profile. A typical 28-inch-wide unit provides 30+ linear feet of drying space — enough for a full load — while nearly vanishing when closed.
Mount at 48–54 inches high into studs, since the cantilevered load multiplies force on the fasteners; use 3-inch lag screws into solid wood. The scissor mechanism should glide smoothly and lock open — test the display model in store if possible. Hardwood dowels (maple or beech) resist warping better than pine, and a quick annual rub with mineral oil keeps them smooth. Position it on the wall opposite the machines so wet clothes do not drip onto the dryer controls, and allow 36 inches of pull-out clearance in front. The accordion is the best choice when you need full-load capacity in a room with one free wall.
6. Freestanding Folding A-Frame Rack
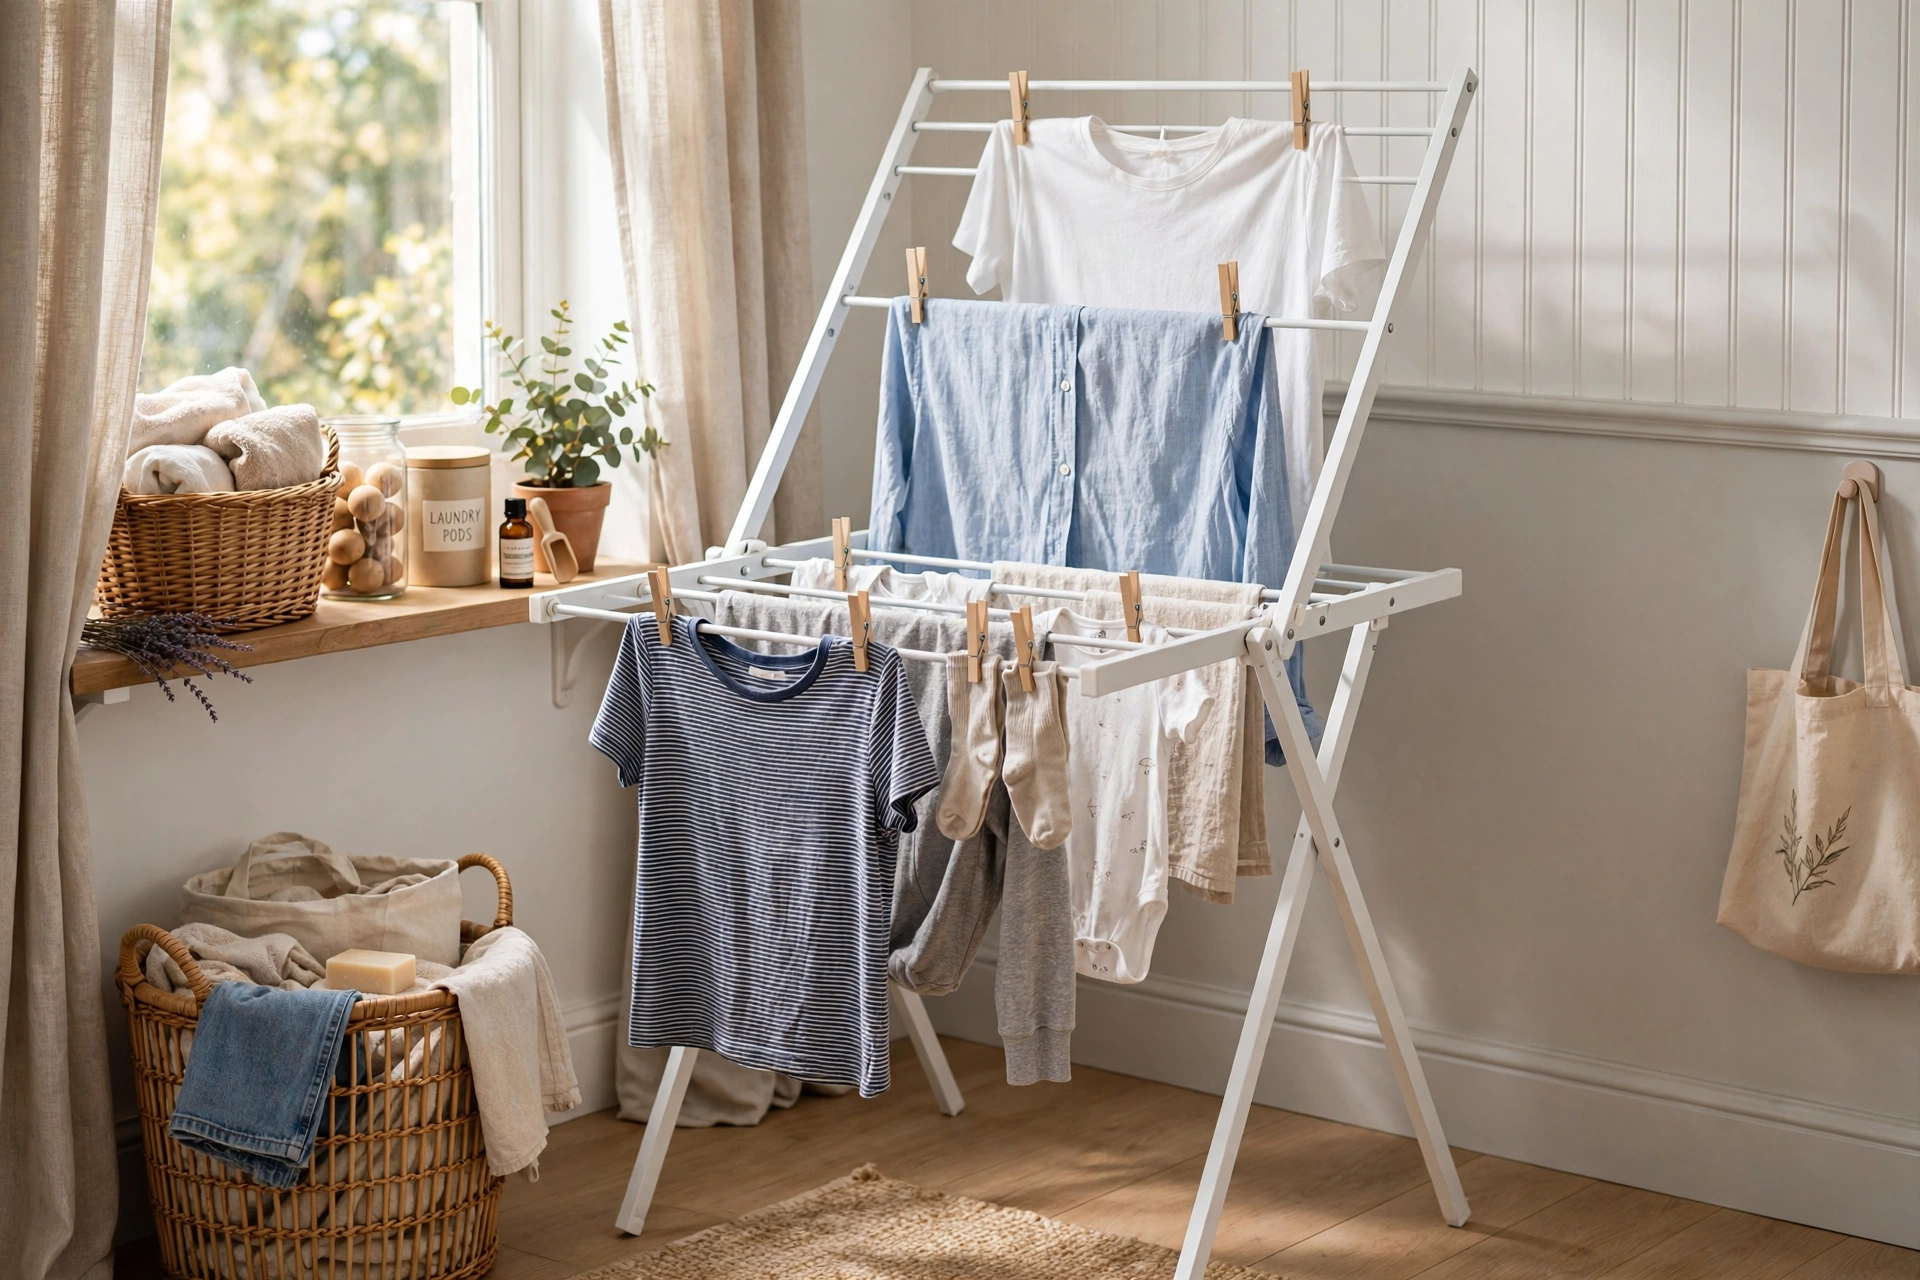
Sometimes the simplest answer is a rack you unfold, load, and put away. A-frame (winged) racks open to about 40×20 inches with two or three tiers of rods plus top bars for hangers, handling a medium load, then fold to 3 inches flat for sliding behind the washer or into a closet. No installation, no commitment, under $40 for a sturdy steel model.
Look for a frame rated to at least 25 pounds with locking hinges that cannot collapse under a wet load. Mesh-wing models add flat-drying space for sweaters on the side panels. Place it near airflow — a cracked window or the room’s vent — because still air doubles drying time; a small clip-on fan aimed at the rack is the cheapest drying accelerator there is. When choosing a home for the folded rack, measure your narrowest gap: most fold to under 4 inches, fitting between the washer and wall. Keep one in a laundry closet as backup even if you install a permanent rack.
7. Heated Drying Rack
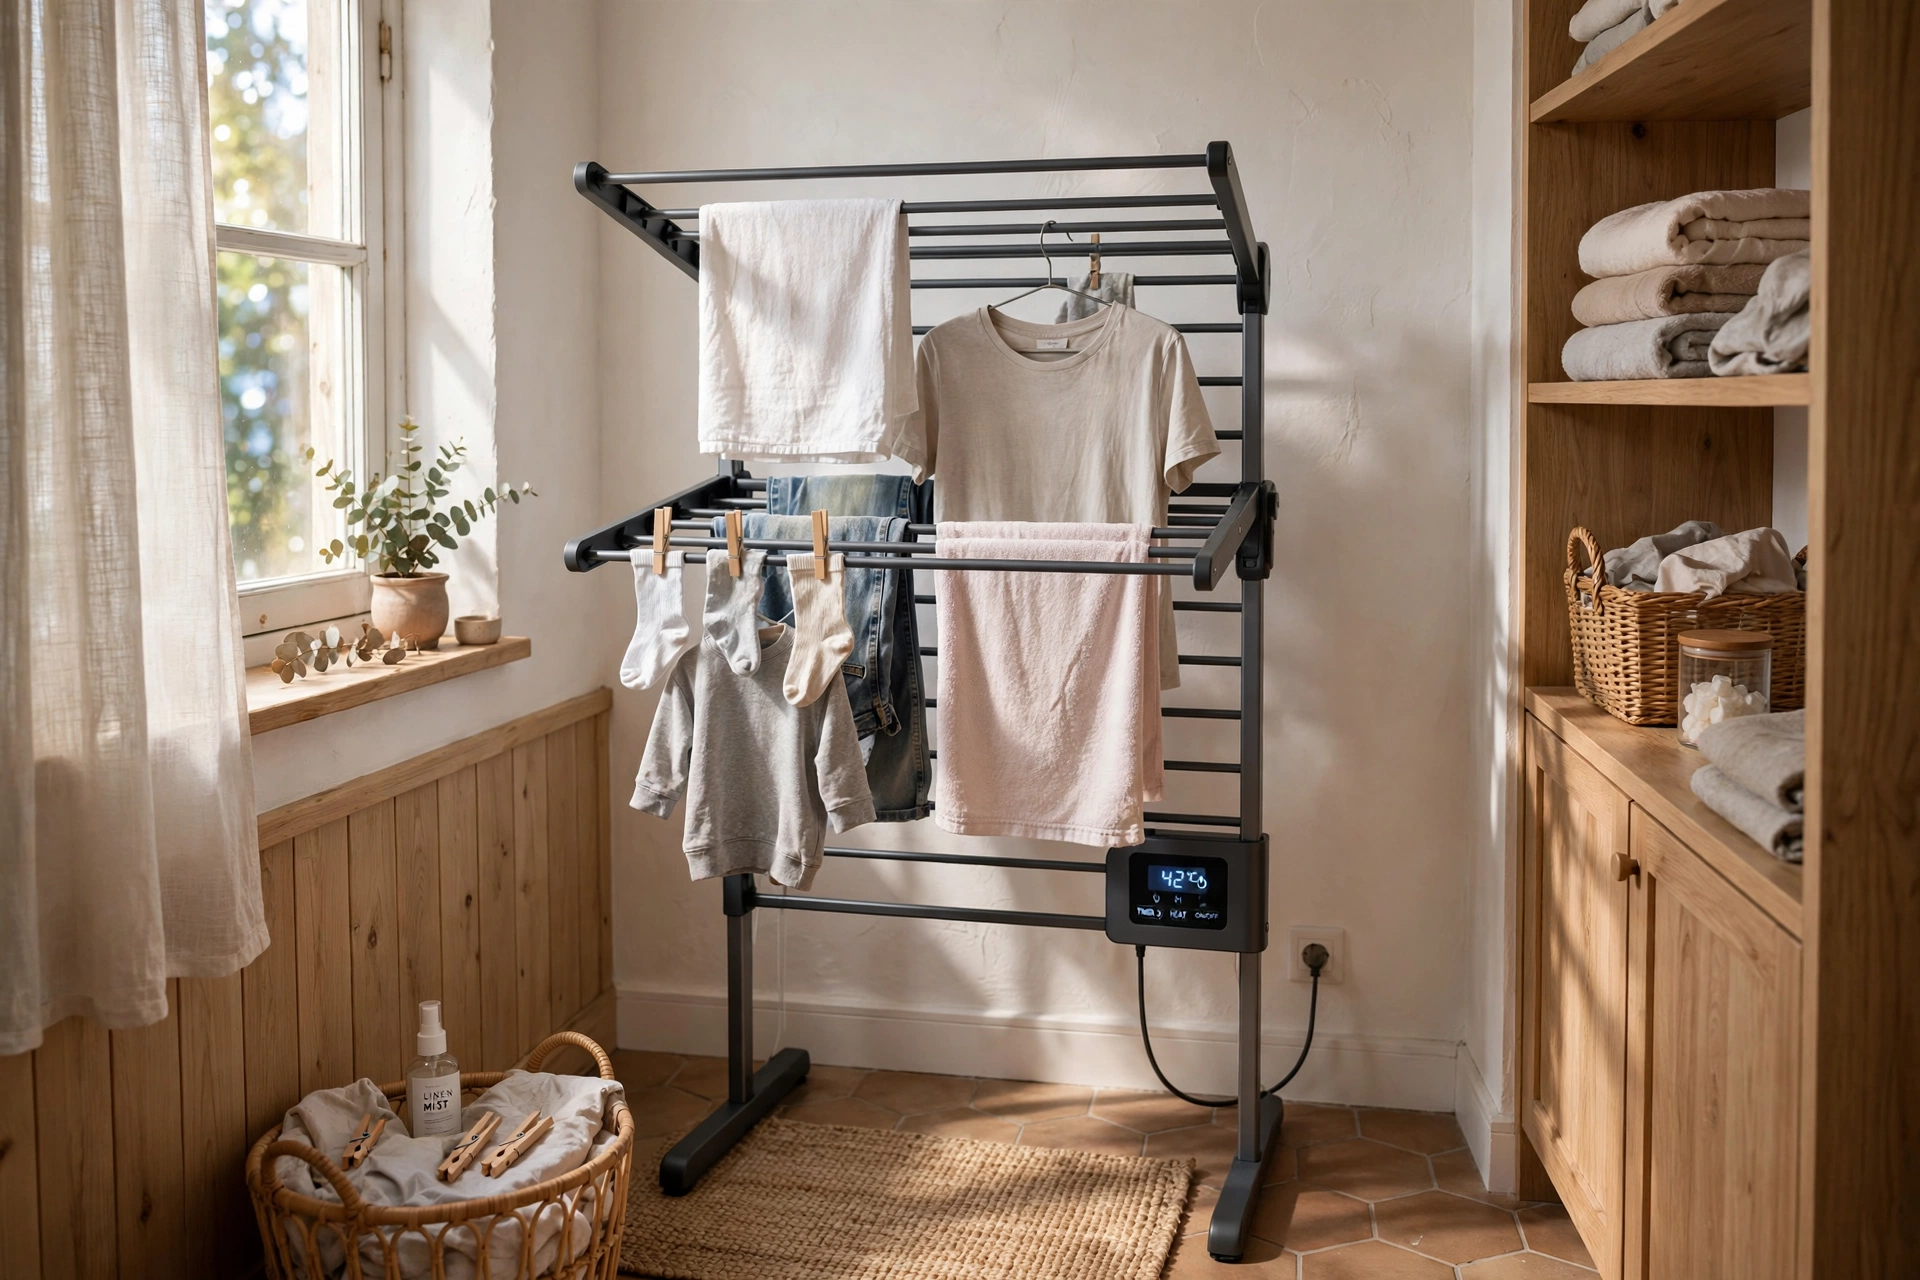
A heated rack looks like a standard A-frame but its aluminum rungs warm to about 130°F (55°C), drying clothes in 2–4 hours instead of overnight while using roughly 100–230 watts — far less than a tumble dryer. In damp climates or windowless laundry rooms, it is the difference between air-drying working and mildewing.
Place it on a level, heat-safe floor away from walls (6 inches of clearance) and never drape plastic or leather over the heated bars. Drape items loosely rather than folding them over rungs — airflow between fabric layers is what carries moisture away. Most models fold flat like standard A-frames for storage. Check your electricity rate: at typical prices, a 4-hour cycle costs a fraction of a dryer run, and the gentle heat is kinder to elastic and prints. Do not use it as a space heater or leave it running unattended overnight; a timer plug adds safety and convenience.
8. Shower-Rod Drying Trick
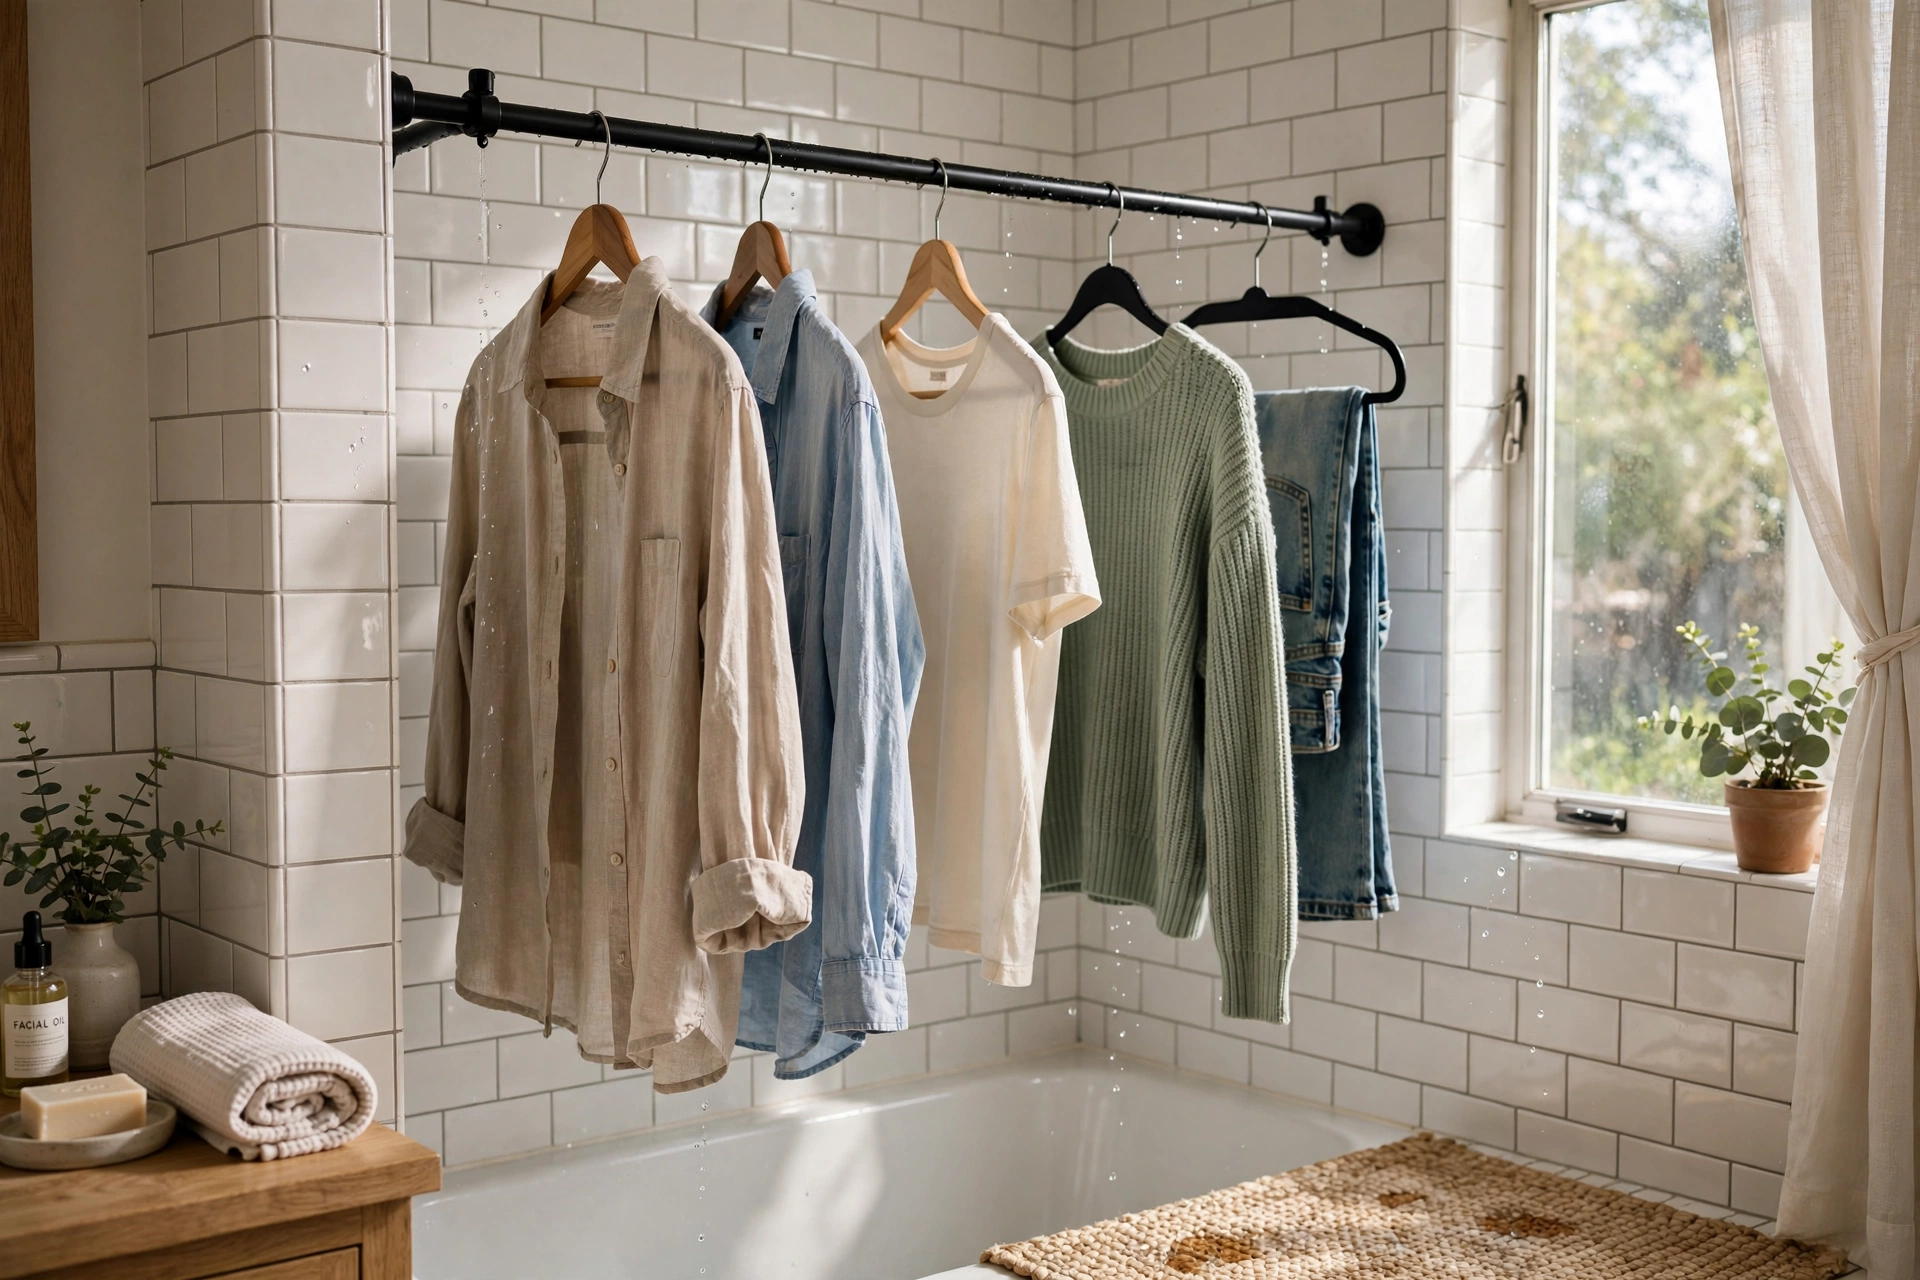
No laundry room at all? The bathroom shower rod is a legitimate drying station. A tension rod rated for 20+ pounds (or the existing shower curtain rod) holds a dozen hangers of shirts, delicates, and activewear, and the tub catches every drip. Run the bathroom exhaust fan during drying — it is already ducted to expel moist air, which is exactly what wet laundry needs.
Upgrade to a curved shower rod for extra hanging depth, or add a second tension rod across the tub at 60 inches high dedicated to laundry so you are not displacing the curtain daily. Use velvet or rubber-coated hangers so lightweight items do not slide into a bunch. This method shines for the “few delicates per week” routine and costs nothing if the rod exists. Wipe rods dry afterward in humid bathrooms to prevent rust spots on metal.
9. Rolling Garment Rack
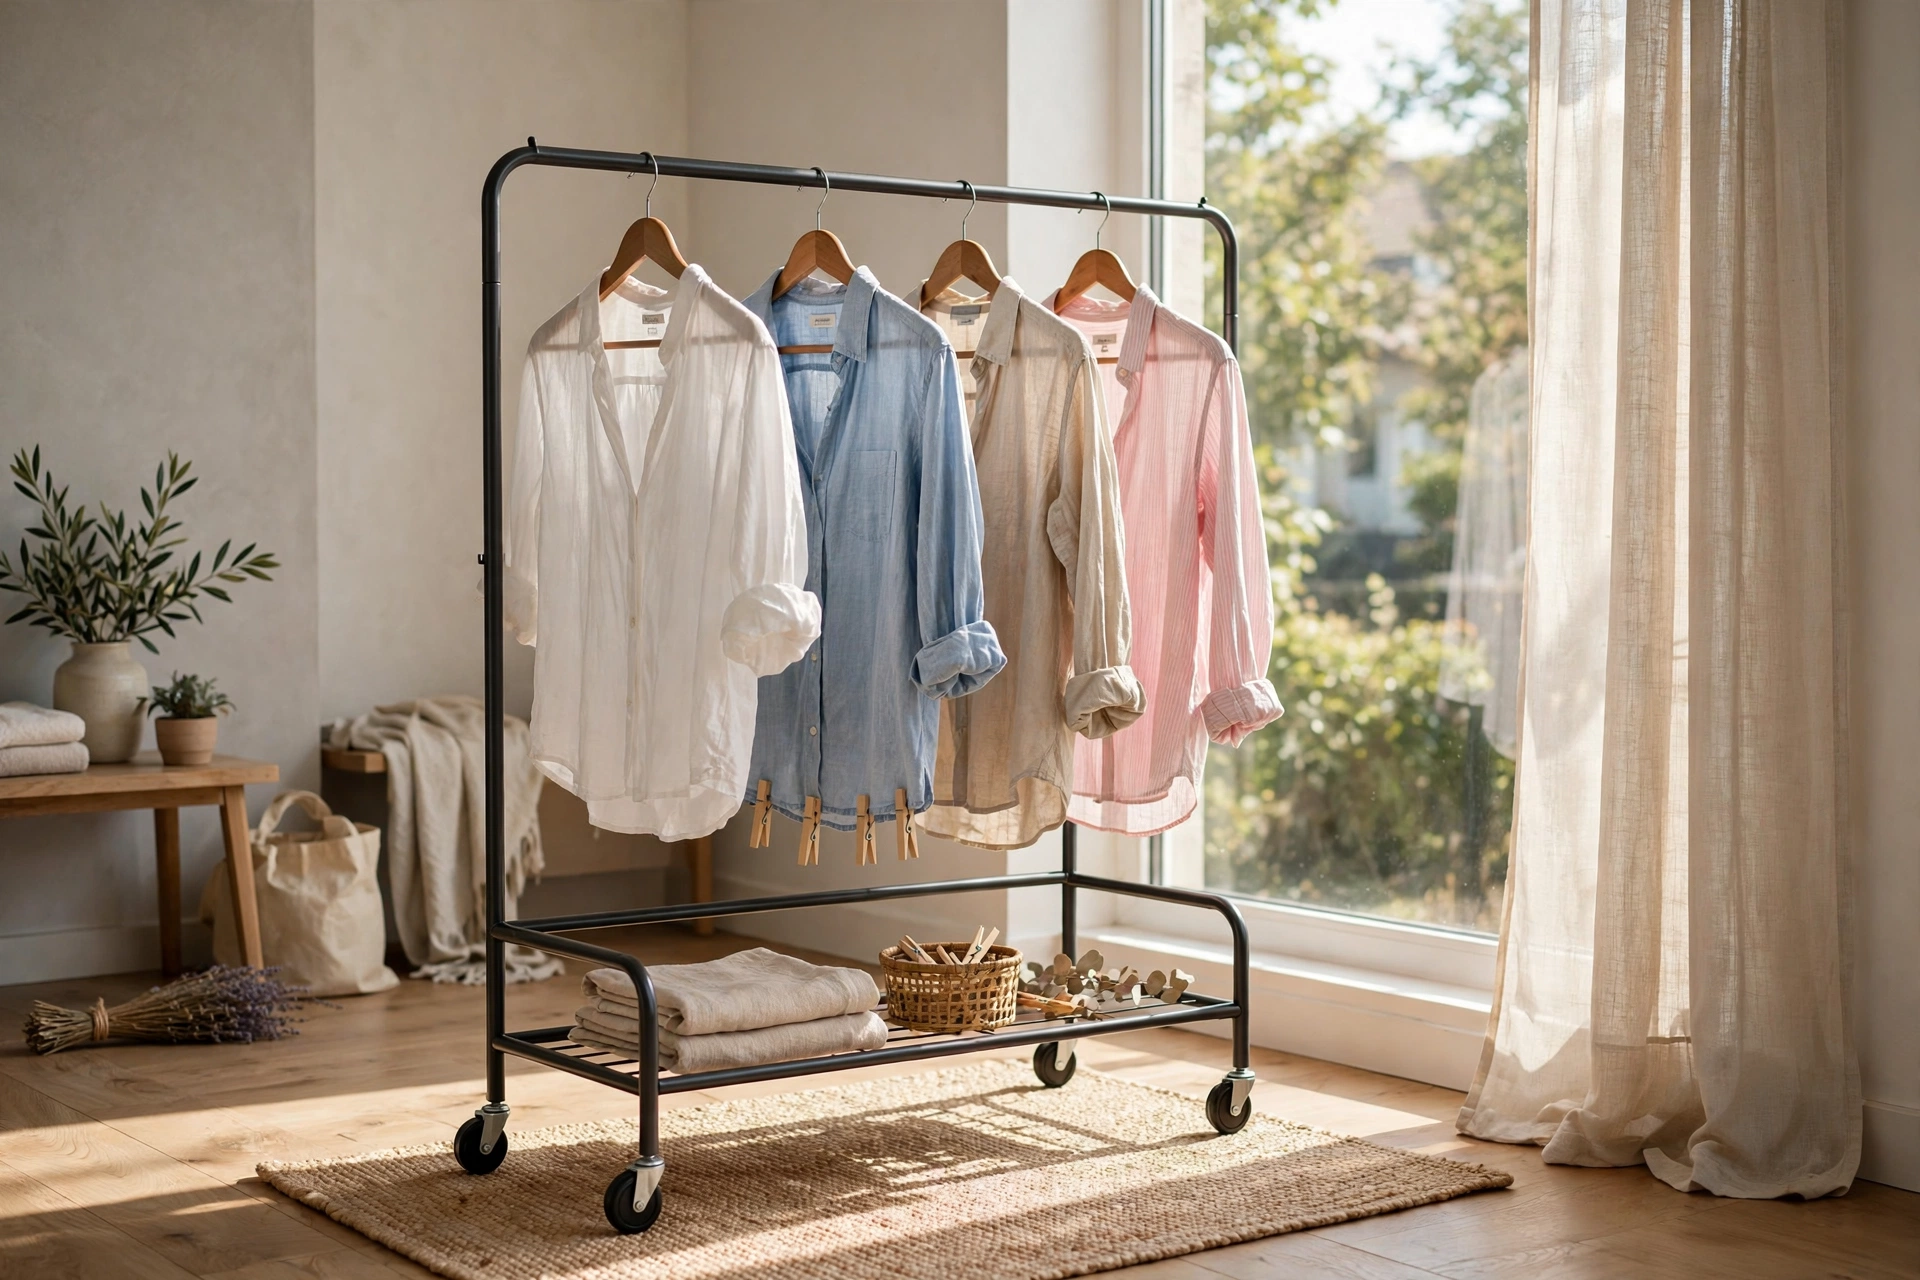
A rolling garment rack (the boutique-store kind) gives you 4–5 feet of hanging space on casters that rolls wherever drying conditions are best — near a sunny window by day, back to the laundry closet at night. Choose a single-rail model rated for 50+ pounds with locking casters; the Z-base style is the most stable.
Hang shirts on hangers with 1–2 inches between them for airflow, and use the lower bar (on double-rail models) for pants folded over hangers. A rack parked in a sunny spot dries clothes noticeably faster thanks to radiant warmth — just rotate items halfway through. When not in use, collapse it or roll it into a closet; most break down without tools. If your laundry setup is split across rooms, as in many small homes covered by our small laundry room design ideas that work hard and look good, the rolling rack bridges the gap elegantly.
10. Pull-Out Under-Counter Drying Rack
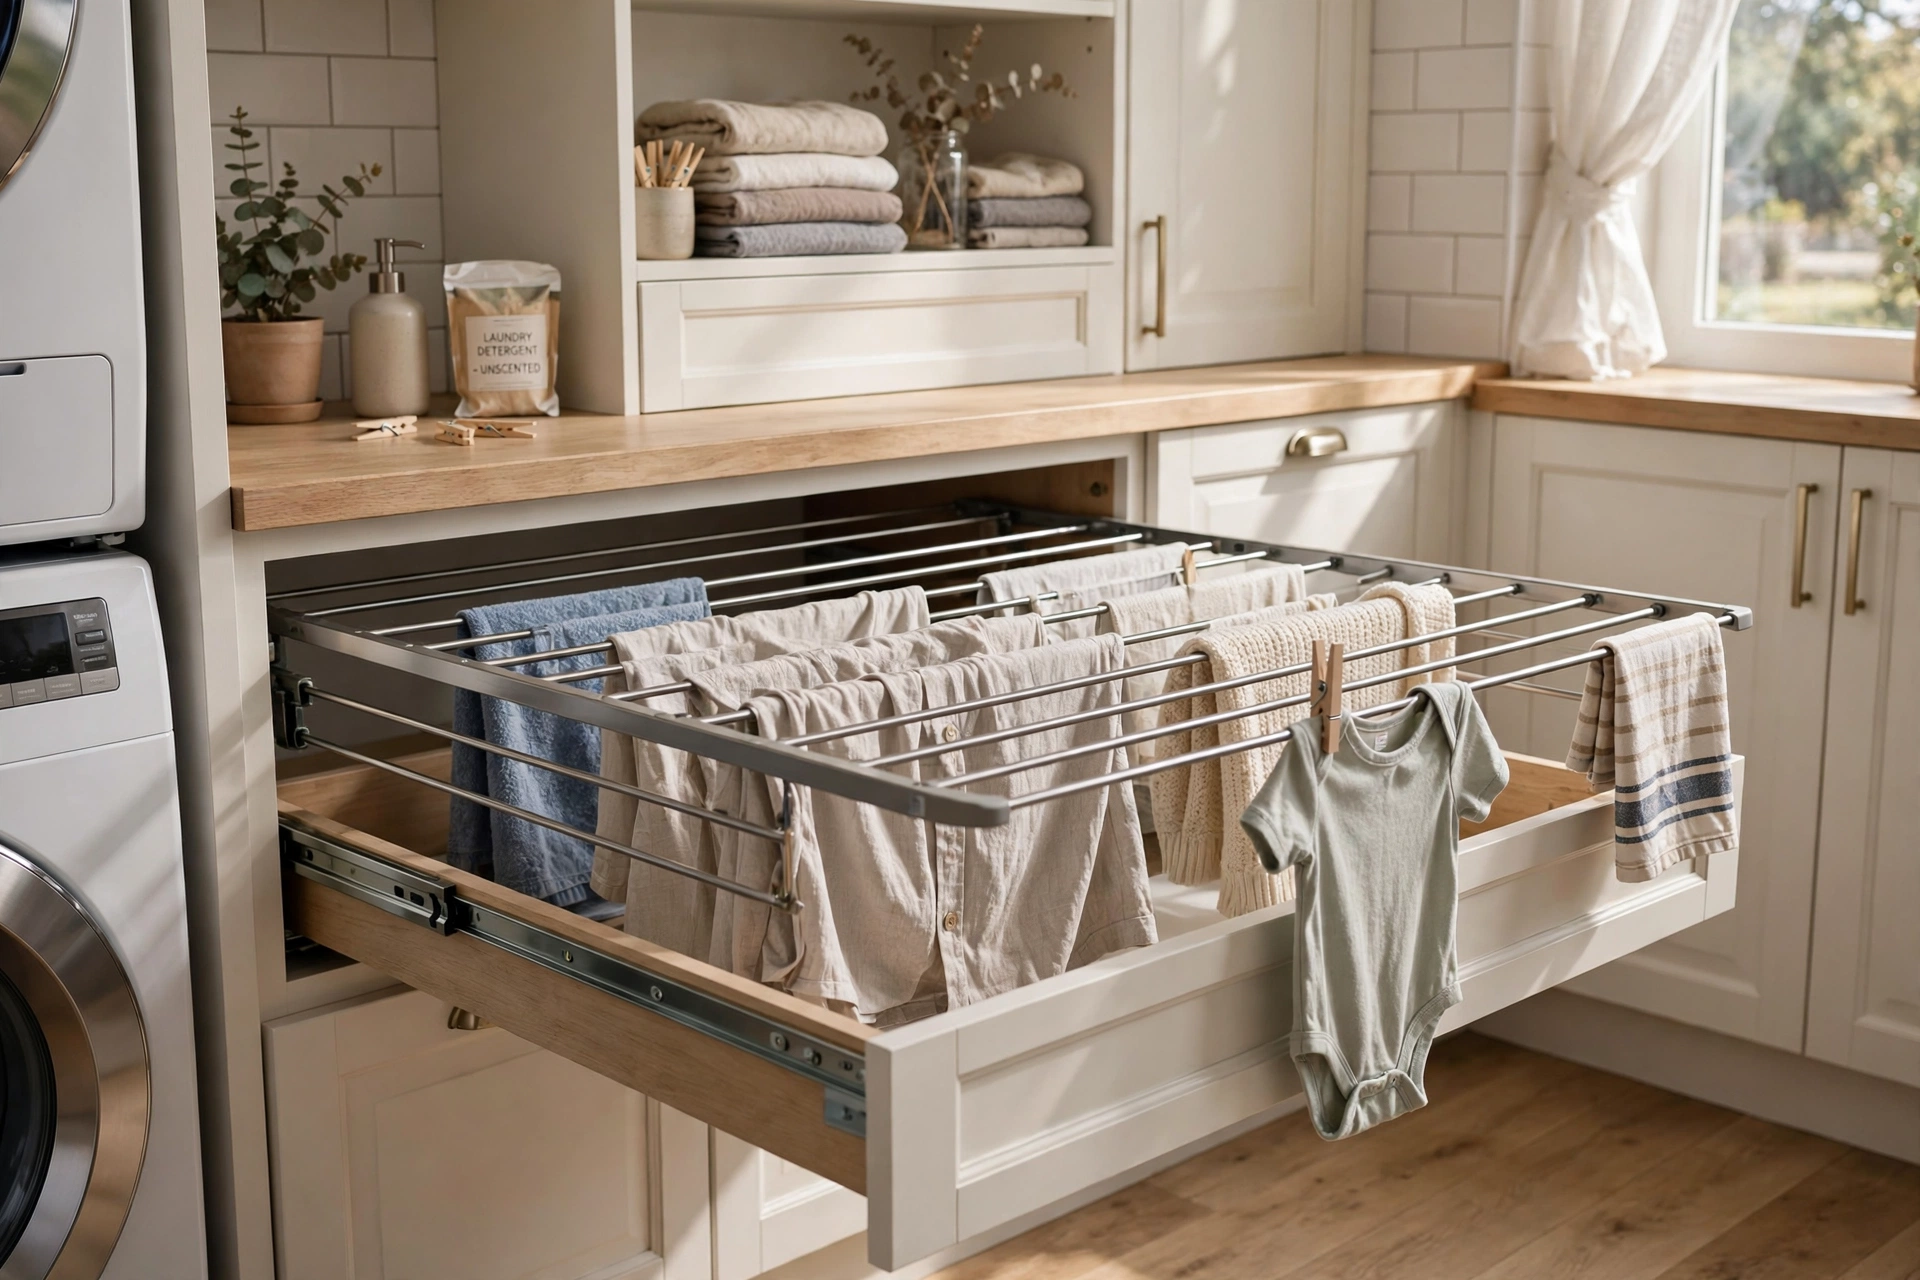
For laundry rooms with base cabinets, a pull-out rack hides inside a drawer cavity: a shallow drawer fitted with dowels or a mesh panel that slides out for loading and vanishes when pushed closed. It is invisible, protected from dust, and keeps drying laundry off every visible surface — the tidiest solution on this list.
Retrofit kits fit a standard 18–24-inch drawer opening; remove the drawer box, install full-extension slides rated for 50+ pounds, and mount the rack frame. Drill a few 1-inch ventilation holes in the cabinet back or leave the drawer cracked an inch while drying — trapped moisture must escape or clothes stay damp and the cabinet swells. Line the cavity with a waterproof mat to catch drips. This suits households that dry small daily batches (activewear, uniforms) rather than full loads, since capacity is limited to the drawer footprint.
11. Leaning Ladder Rack
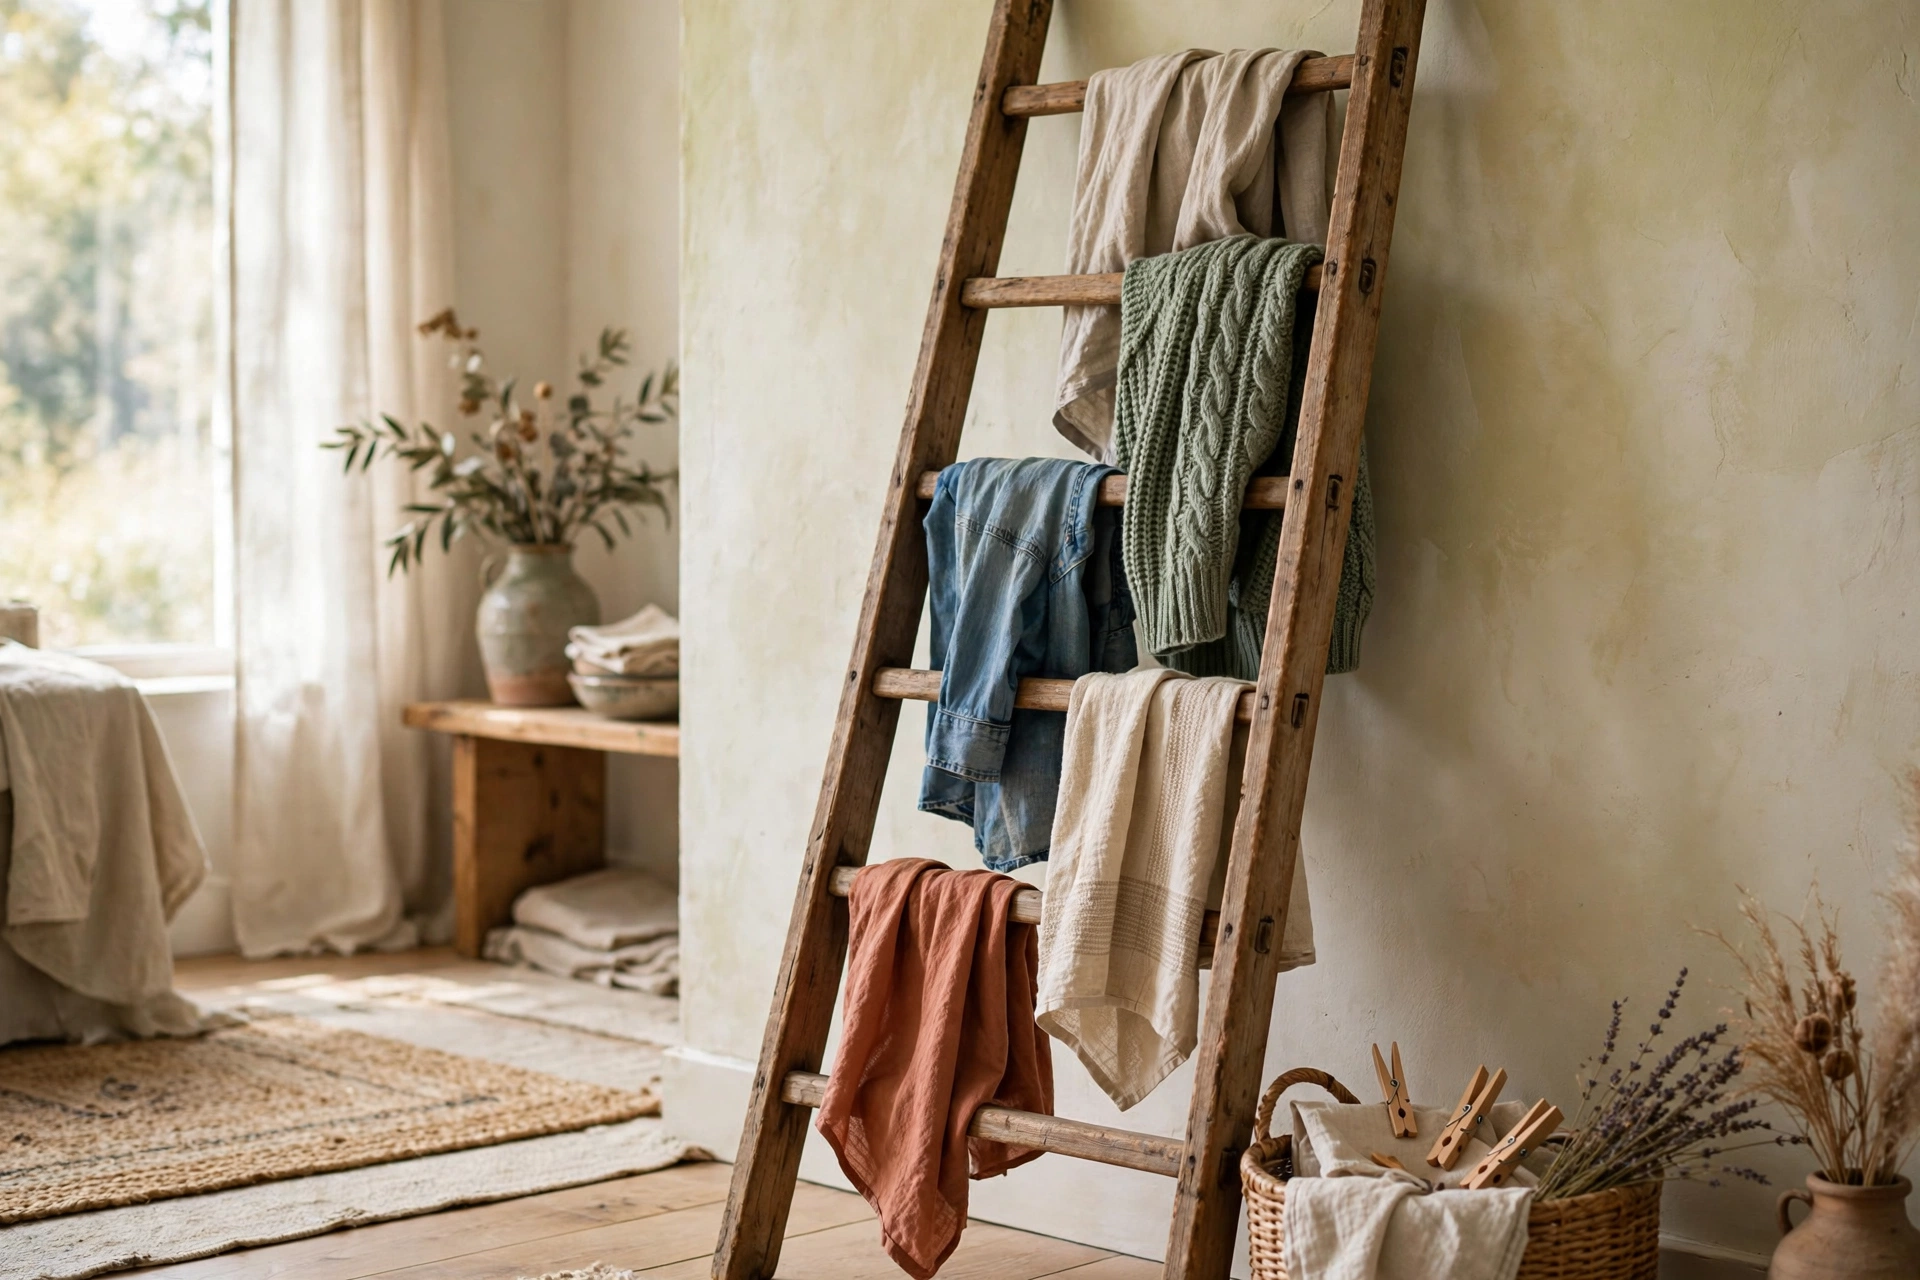
A wooden ladder leaned against the wall at a 75-degree angle gives you 4–5 rungs of drying space with genuine farmhouse charm. A 5-foot ladder with 18-inch-wide rungs handles shirts, towels, and delicates while occupying only about 2 square feet of floor. Sand and seal the wood with water-based polyurethane so damp clothes do not raise the grain.
Secure the top to the wall with a small L-bracket or anti-tip strap — a loaded ladder can walk forward on slick floors. Space rungs 10–12 inches apart for airflow; if building your own, that spacing also keeps the ladder’s proportions pleasing. Drape a trailing plant over the top rung when laundry day is done and it becomes decor. This is a strong pick for laundry corners in bathrooms or mudrooms where a pretty, furniture-like piece beats anything utilitarian. Felt pads on the feet protect floors.
12. Tension-Rod Window Drying Station
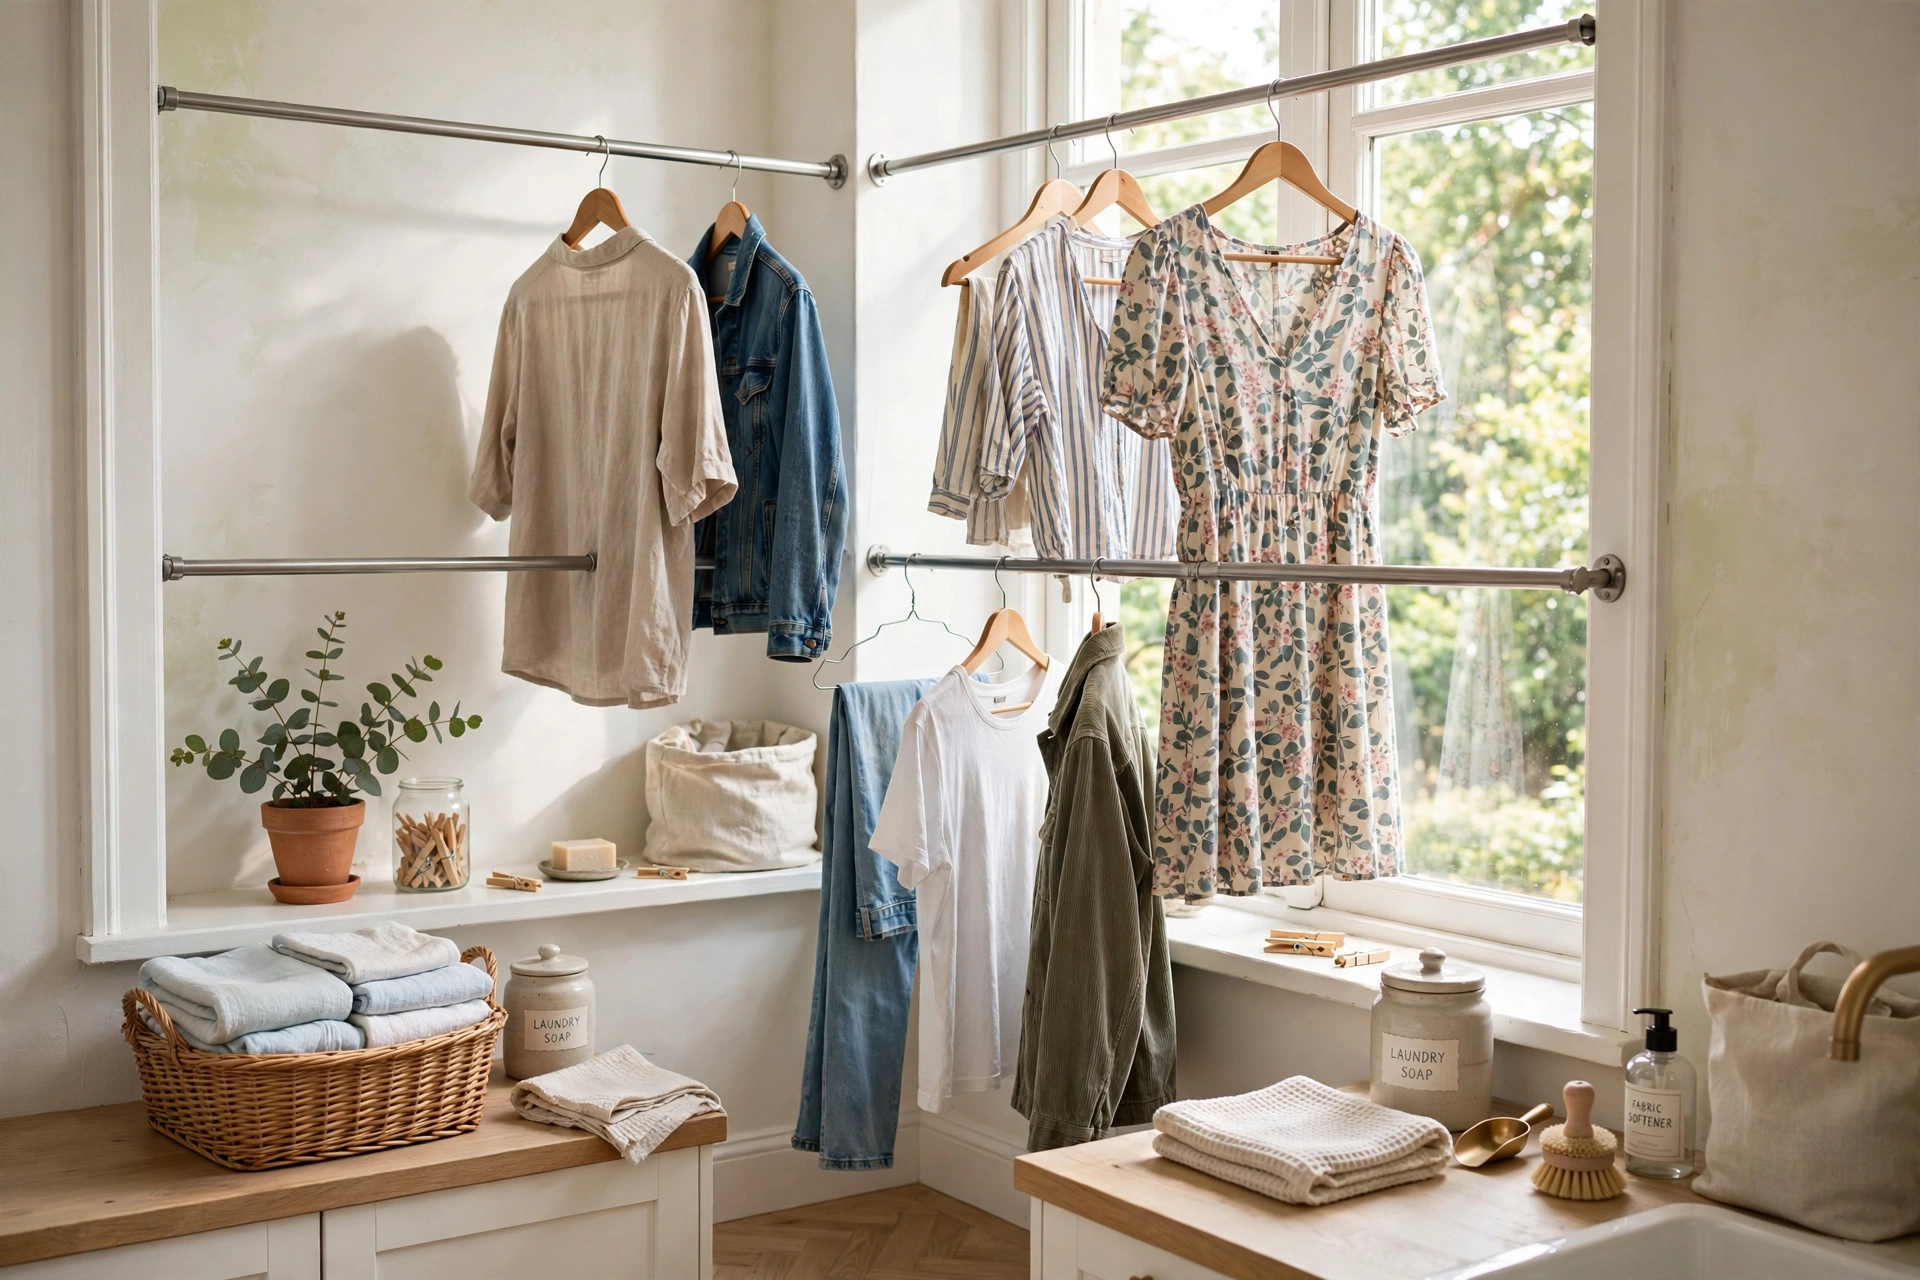
A sunny window is a free dryer, and two tension rods turn it into a station. Mount one rod across the window recess at 60 inches and a second at 40 inches (using the side walls of a deep recess, or a tension-rod frame), creating two tiers for hangers and draped items. Sunlight’s UV is a natural sanitizer and brightener for whites — one genuine advantage over indoor-only drying.
Use rods rated for the span; beyond 36 inches, add a center support or choose twist-to-lock rods with rubber ends that grip tile and drywall. Keep fabrics from pressing directly against glass, which can cause uneven fading and heat damage to synthetics — leave a 2-inch gap. Close the setup with a café curtain on a third rod and the whole station disappears behind fabric. Rotate items once so both sides get sun, and bring colors in before peak afternoon sun bleaches them.
13. Wall-Mounted Drying Cabinet
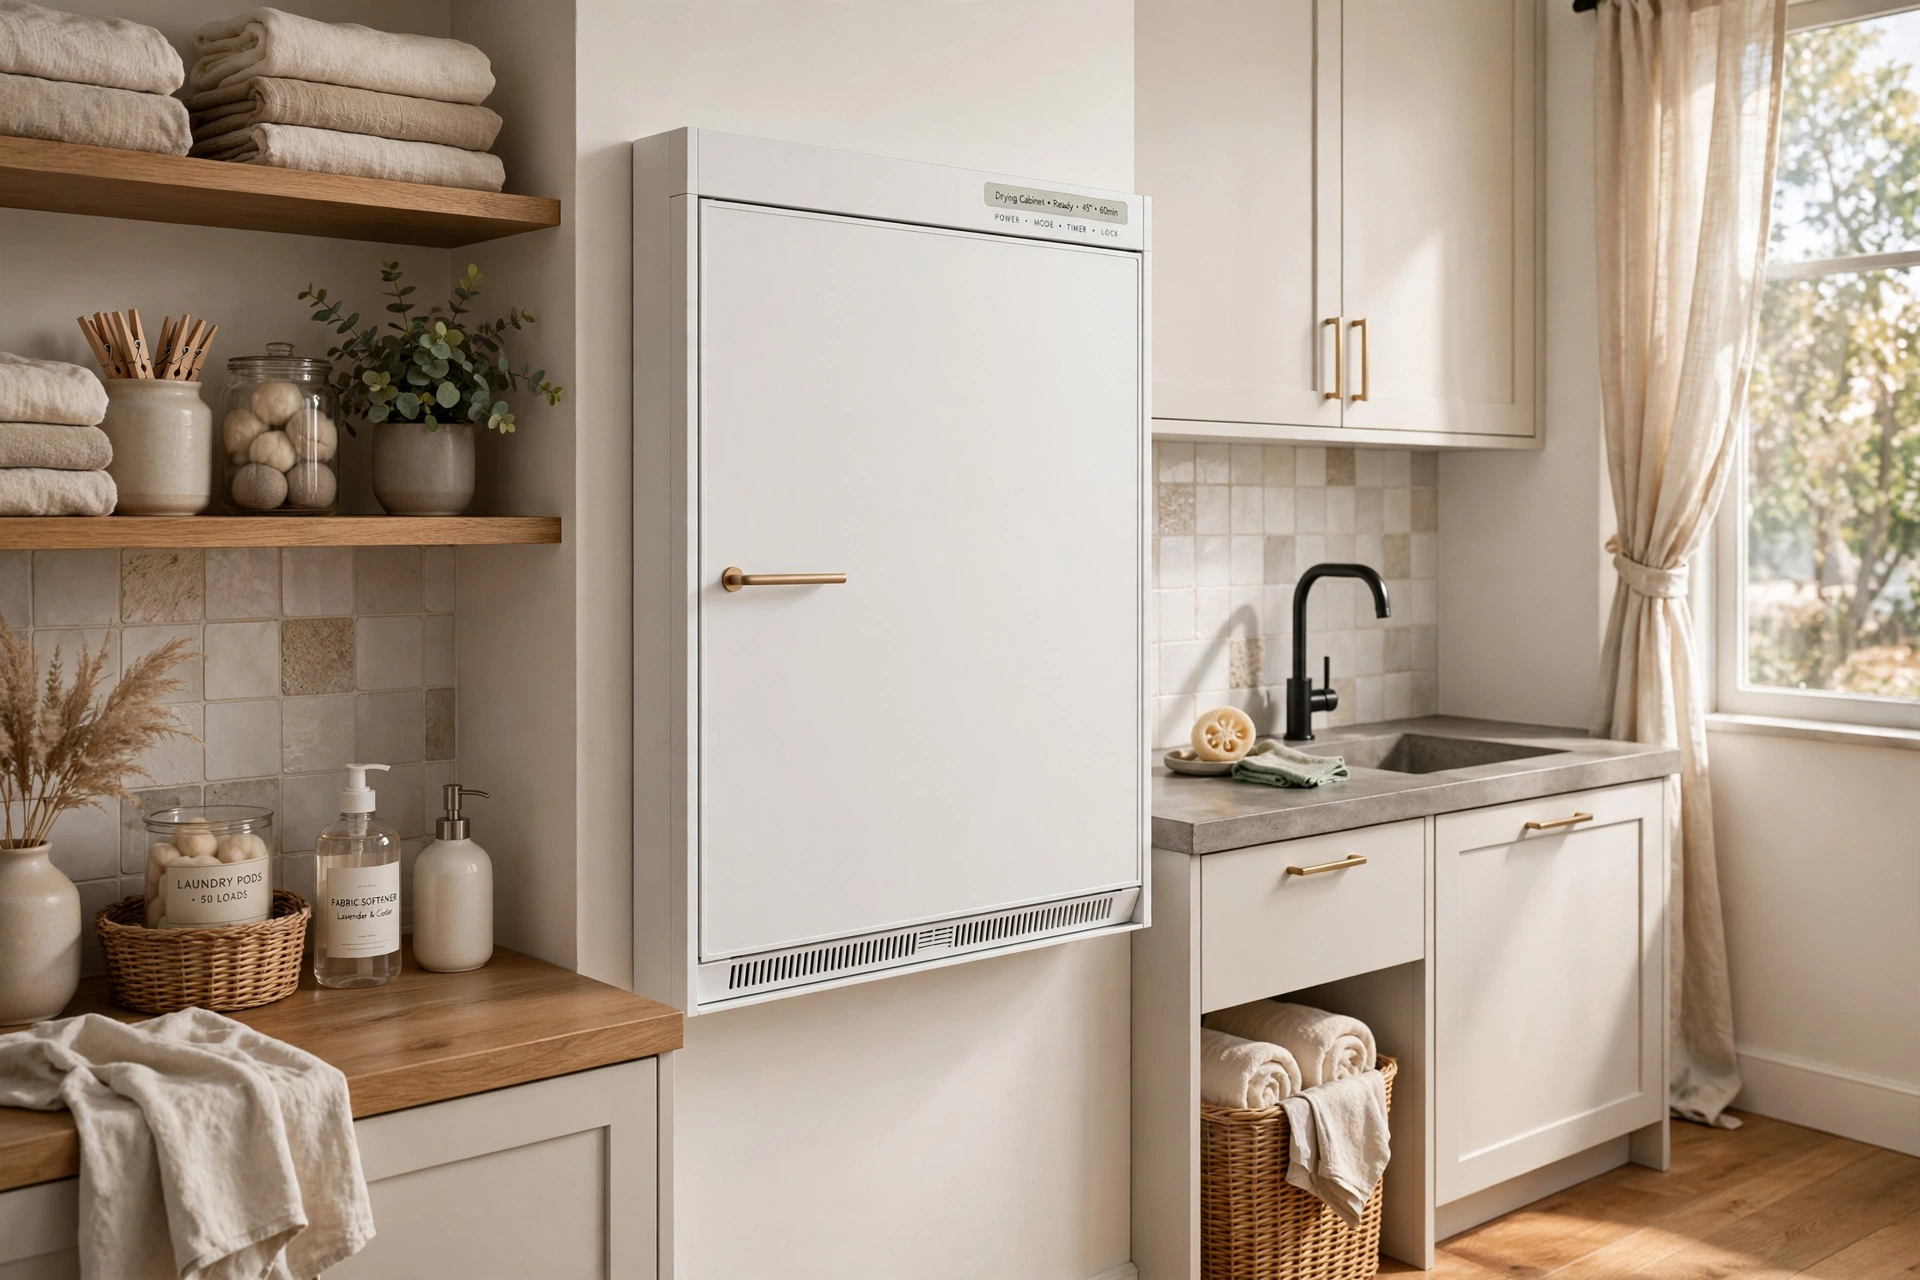
A drying cabinet is a tall, shallow wall cabinet (about 24×16×48 inches) with ventilated shelves and a low-wattage fan or heating element inside — clothes dry enclosed, dust-free, and out of sight in 2–5 hours. It hangs like a kitchen wall cabinet and suits households where laundry must never be visible, such as open-plan laundry corners.
Mount into studs with cabinet screws; a loaded cabinet can weigh 40+ pounds. Choose a model with a washable lint filter and a timer — set it and forget it. The enclosed warmth (around 100–120°F) is gentle enough for wool and silk that would felt or scorch in a dryer. Vent the cabinet’s moist exhaust toward the room’s existing vent or crack a nearby window; recirculating humidity defeats the purpose. While pricier than passive racks, it replaces both a rack and the visual clutter of drying laundry entirely. The clothes dryer overview puts heated drying options in context.
14. Dual Wall-Mount Retractable Unit
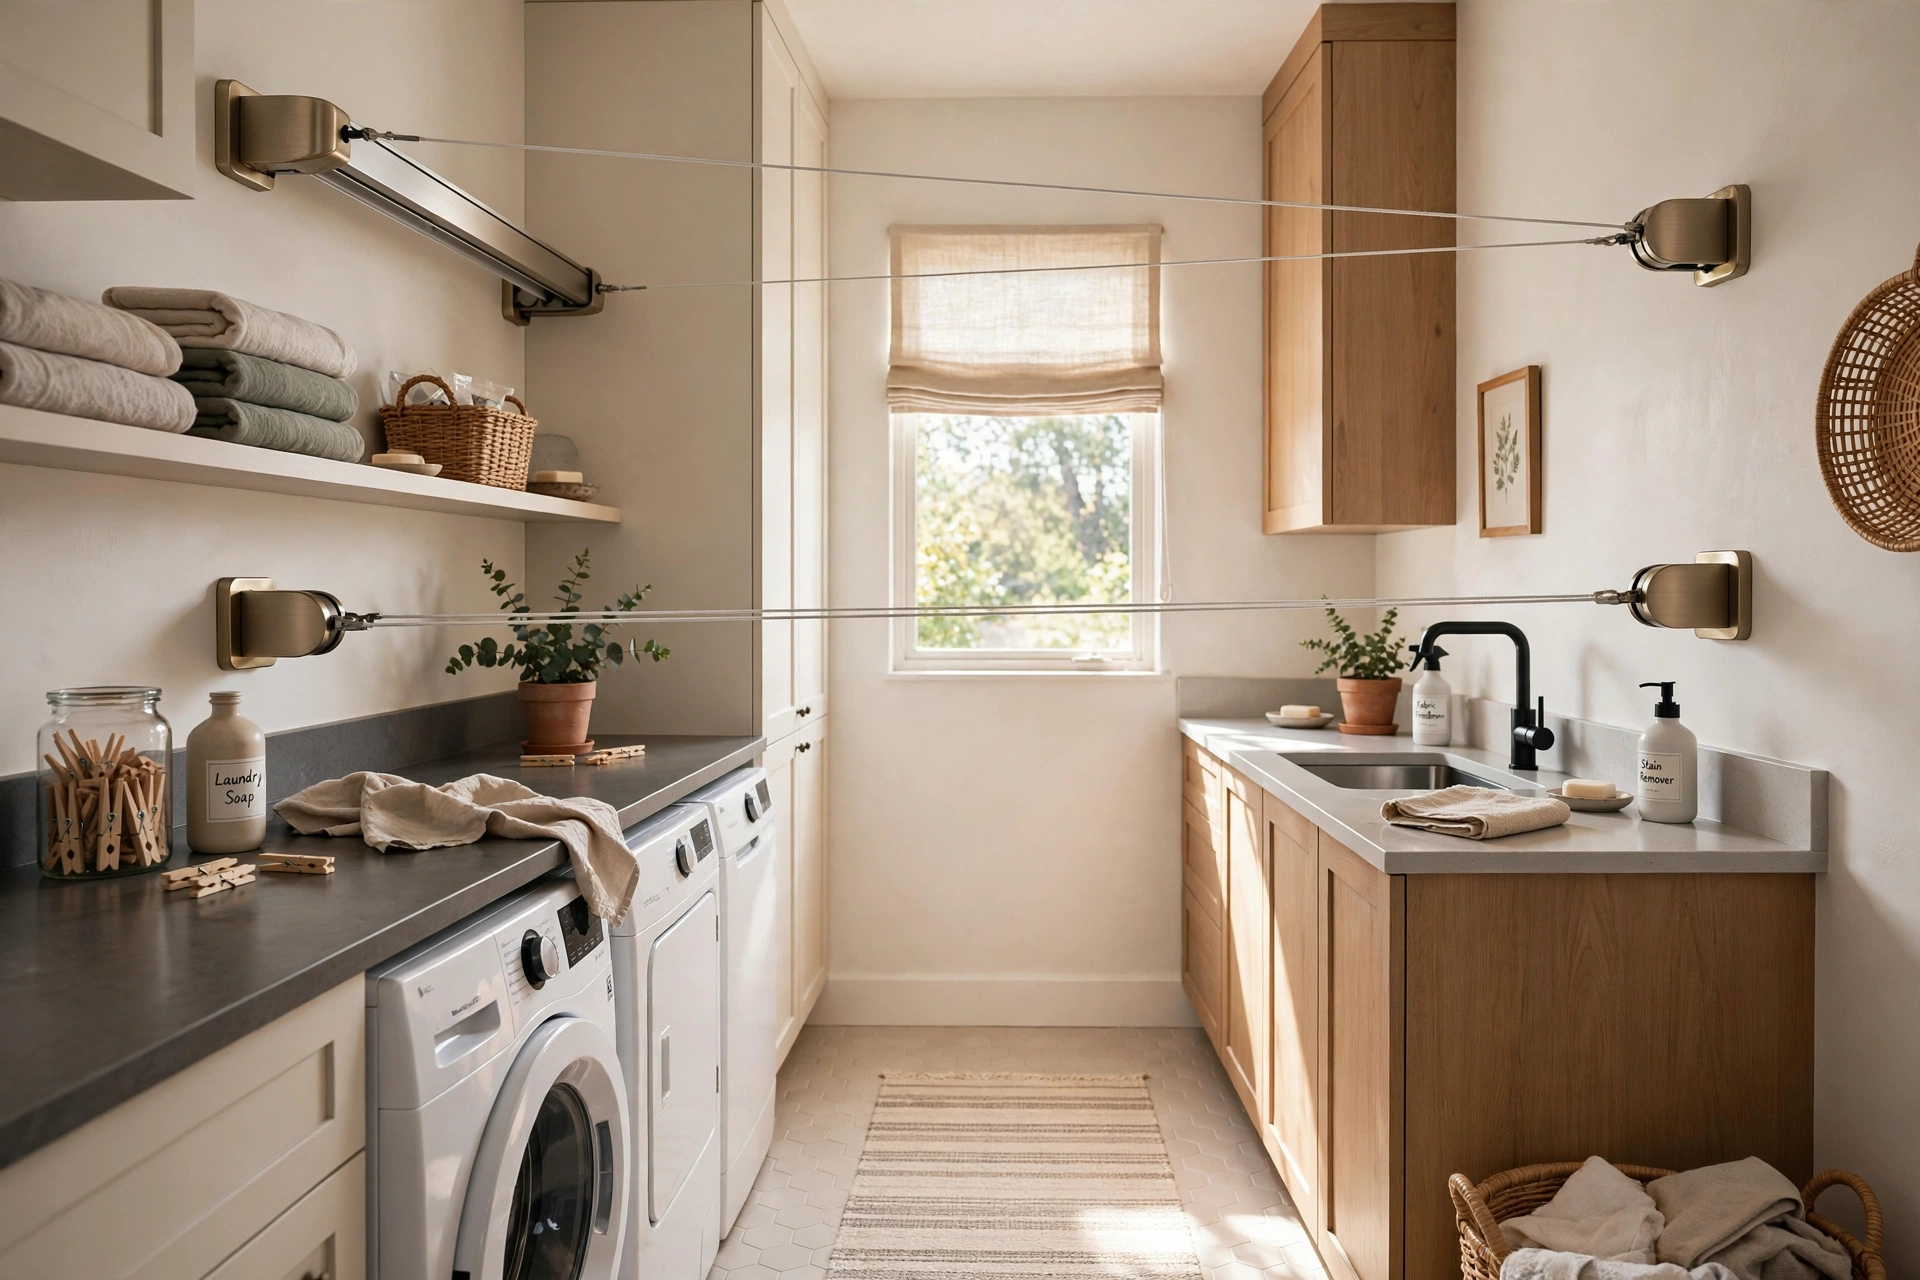
For narrow rooms, mount two retractable cassettes — one high (66 inches) for long items, one low (36 inches) for shirts and delicates — on the same wall, pulling to hooks on the opposite wall. The staggered heights prevent clothes from touching and double capacity in the same footprint, giving up to 60–80 linear feet in a hallway-width laundry.
Keep 12 inches of vertical separation so hangers on the lower line clear garments on the upper. Label the hooks “long” and “short” so the household uses the system correctly. Because both lines share the same two walls, alignment matters: use a laser level or a chalk line to keep cassettes and hooks perfectly matched, or lines will sag diagonally. This is the maximum-capacity answer for galley laundries under 4 feet wide — essentially a full clothesline that vanishes when guests arrive.
15. Laundry-Closet Door-Back System
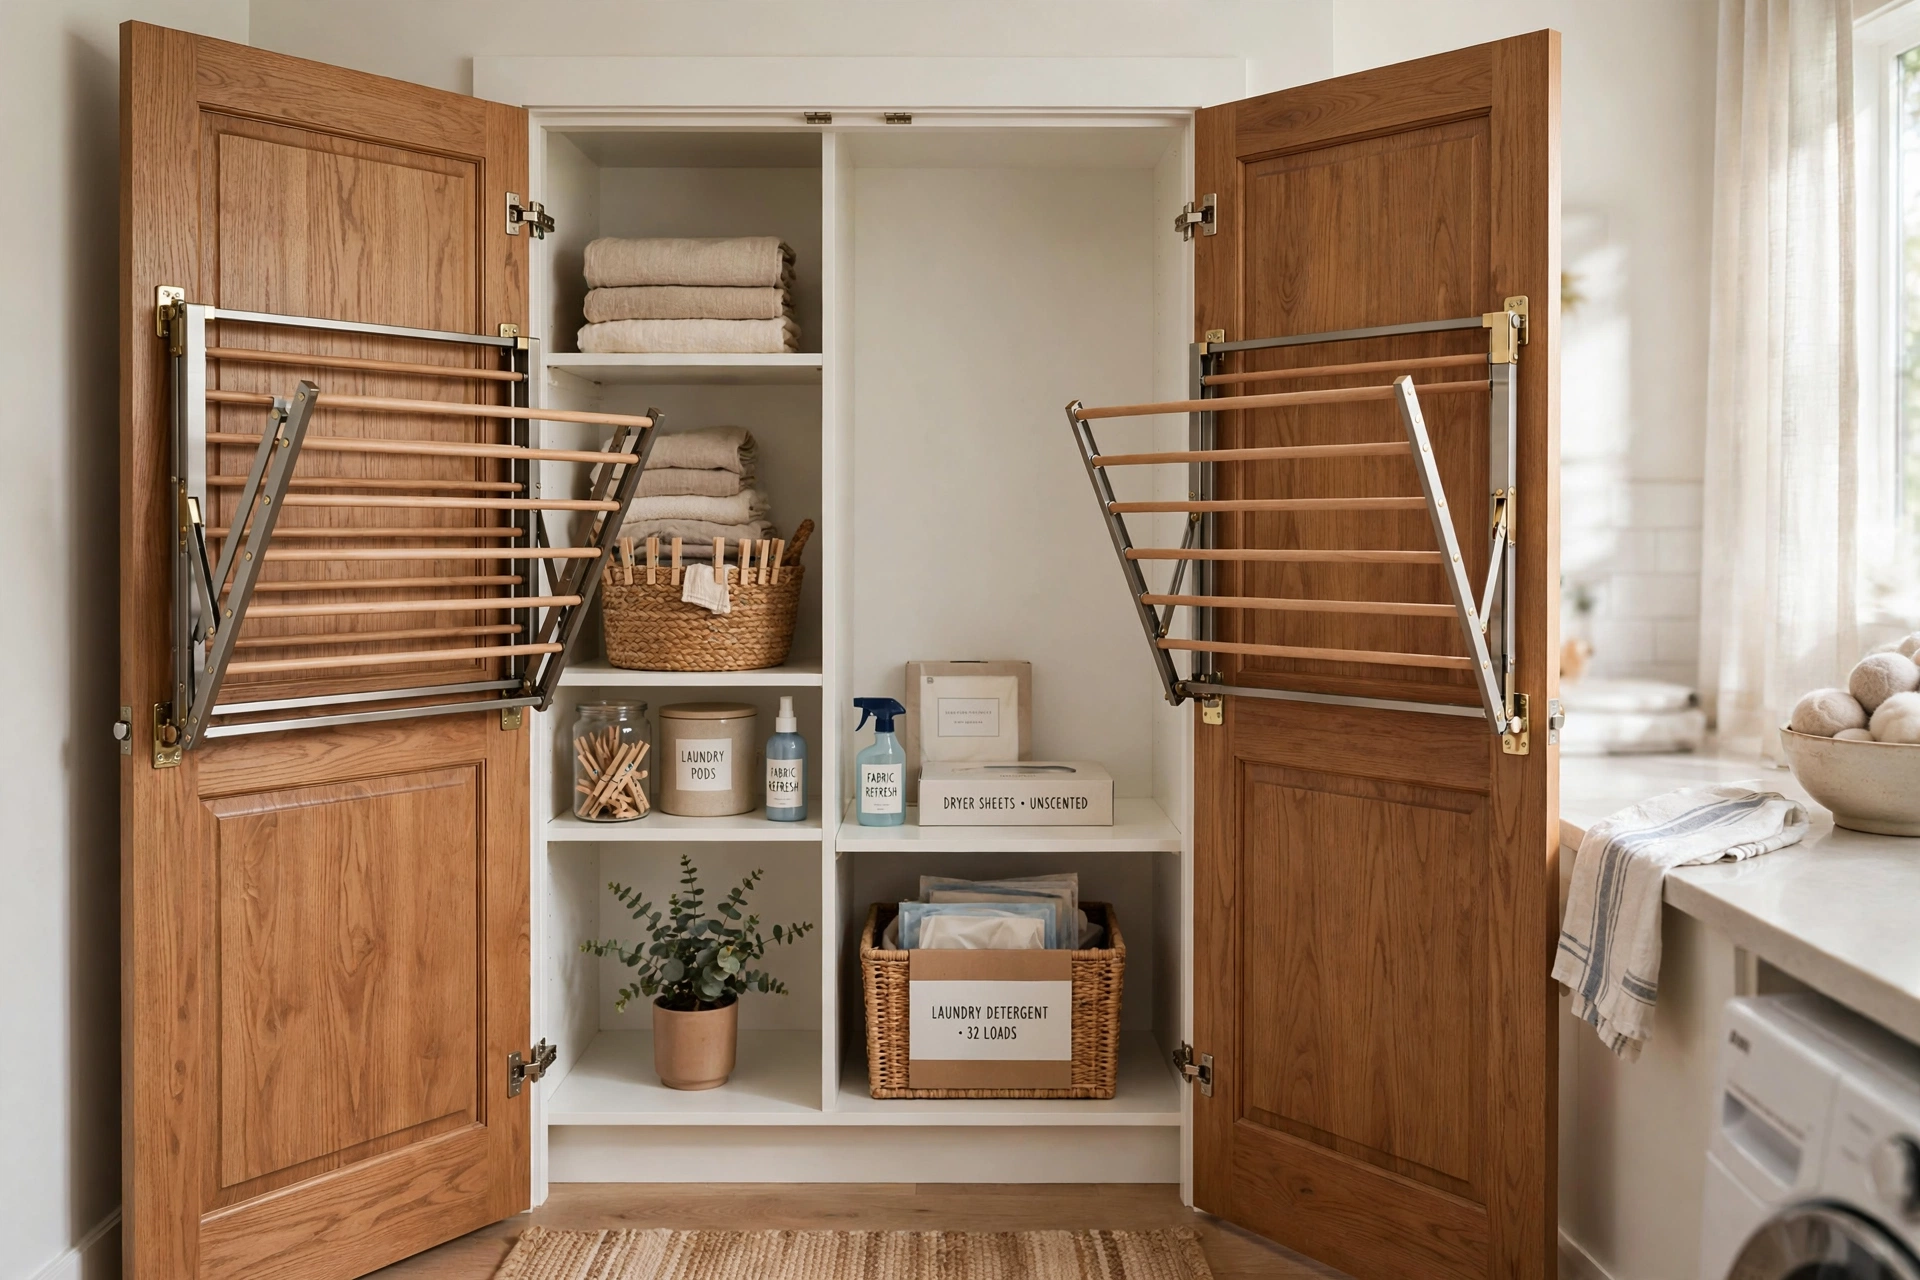
In a closet laundry, mount a fold-down rack on the inside face of each bifold or sliding door: with doors closed the racks hide completely, and opening the doors reveals two ready drying stations. Use ultra-slim racks (under 2 inches deep when folded) so doors still close, and keep loads light — 8–10 pounds per door — to protect hinges and tracks.
Reinforce bifold pivots if needed; the extra weight changes how doors swing. Add adhesive hooks on the door frame for a mesh delicates bag and a small hanging scale-free lint roller. Because closet laundries trap humidity, always leave the doors ajar while drying and run the nearest exhaust fan — or crack a window — to move moist air out. This system turns the least promising laundry space into a genuinely functional one, and our laundry closet ideas for small space efficiency has more ways to maximize every inch of a closet setup.
Frequently Asked Questions
How much drying space do I need for a family?
Plan on 20–30 linear feet of line or rod space per full wash day for a family of four — roughly one wall-mounted accordion rack plus a retractable line, or a ceiling pulley rack alone. Delicates-only households can manage with 8–12 feet (an over-door rack or single fold-down). When in doubt, choose the expandable option; unused capacity folds away, but too little means laundry draped over every chair.
Will air-drying make my laundry room too humid?
It adds real moisture — a full load releases roughly a liter of water into the air. Always ventilate: run the exhaust fan, crack a window, or place a small fan to move air across the clothes. In windowless interior laundries, a compact dehumidifier or a heated rack shortens drying time and controls humidity. If you see condensation on walls or a musty smell, you need more airflow, not less laundry.
How do I keep air-dried clothes from feeling stiff?
Stiffness comes from detergent residue and still air. Use half the recommended detergent, add half a cup of white vinegar to the rinse cycle, and shake each garment sharply before hanging. A 10-minute no-heat tumble after line-drying (where the dryer is available) softens everything dramatically. Hanging shirts by the hem rather than the shoulders also reduces hanger marks and stiffness at stress points.
Can I mount a drying rack on drywall without studs?
Light loads (under 10 pounds) can hang on high-quality toggle bolts, but any rack holding a wet load belongs in studs or solid blocking — wet denim is heavy, and a pulled-out rack damages the wall far worse than a few screw holes. Use a stud finder and 2.5–3-inch screws for fold-down, accordion, and pulley racks. When studs are not where you need them, mount a horizontal 1×4 pine ledger board into two studs first, then attach the rack to the ledger.
What is the fastest way to air-dry clothes indoors?
Combine warmth, airflow, and spacing: a heated rack or a regular rack placed near a heat vent with a fan blowing across it, garments spaced 2+ inches apart and never doubled over. Wring or spin clothes on the machine’s highest spin setting first — the most effective “drying” step happens in the washer. In good conditions, lightweight synthetics dry in 1–2 hours and cotton shirts in 3–5.
Keep Exploring
Match the rack to your reality: renters start with over-door or freestanding options, small dedicated rooms shine with fold-down or accordion racks, and ceiling pulleys win on pure capacity. Whichever you choose, ventilate well and give each garment its breathing room — your clothes, your energy bill, and your fabrics will all thank you.