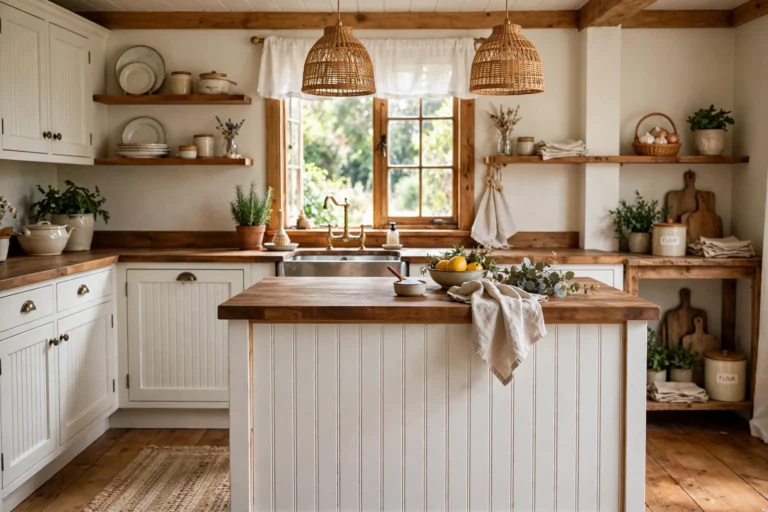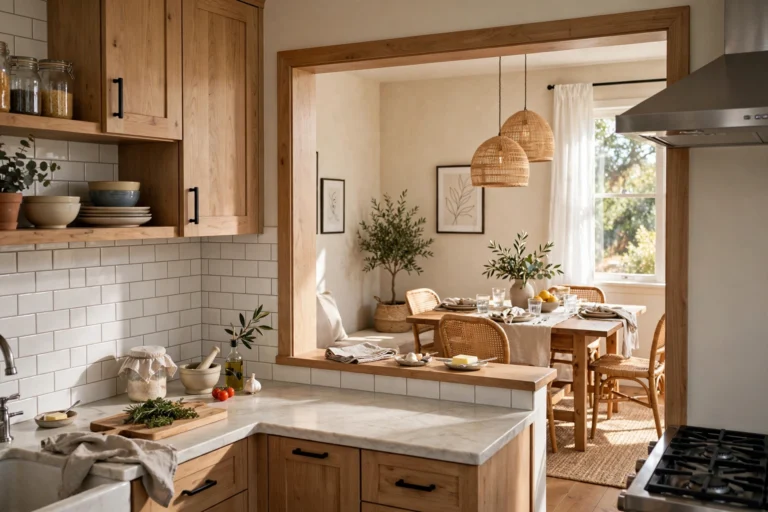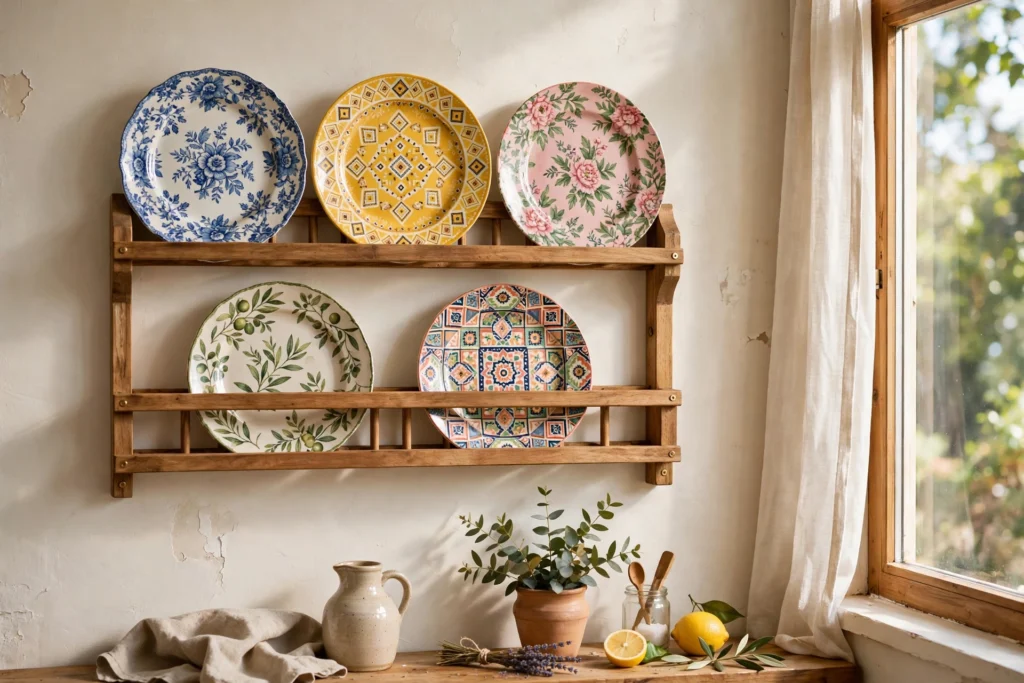

Kitchen plate rack ideas turn everyday dishware into the decor. A plate rack — whether it is a wall-mounted rail with grooves, a freestanding wooden stand, or slotted shelving built into cabinetry — holds plates upright so their rims and patterns face the room instead of hiding in a dark stack. The result is storage that doubles as display, which is exactly why plate racks have anchored cottage, farmhouse, and country kitchens for generations.
Unlike open shelving, where plates lie flat and disappear, or china cabinets that seal dishes behind glass, plate slots show off your collection at a glance while keeping it within arm’s reach. The fifteen ideas below cover wall-mounted racks, built-in slots, and freestanding designs with the practical measurements and mounting details that make each one work in a real kitchen.
1. Wall-Mounted Plate Rail Above the Counter
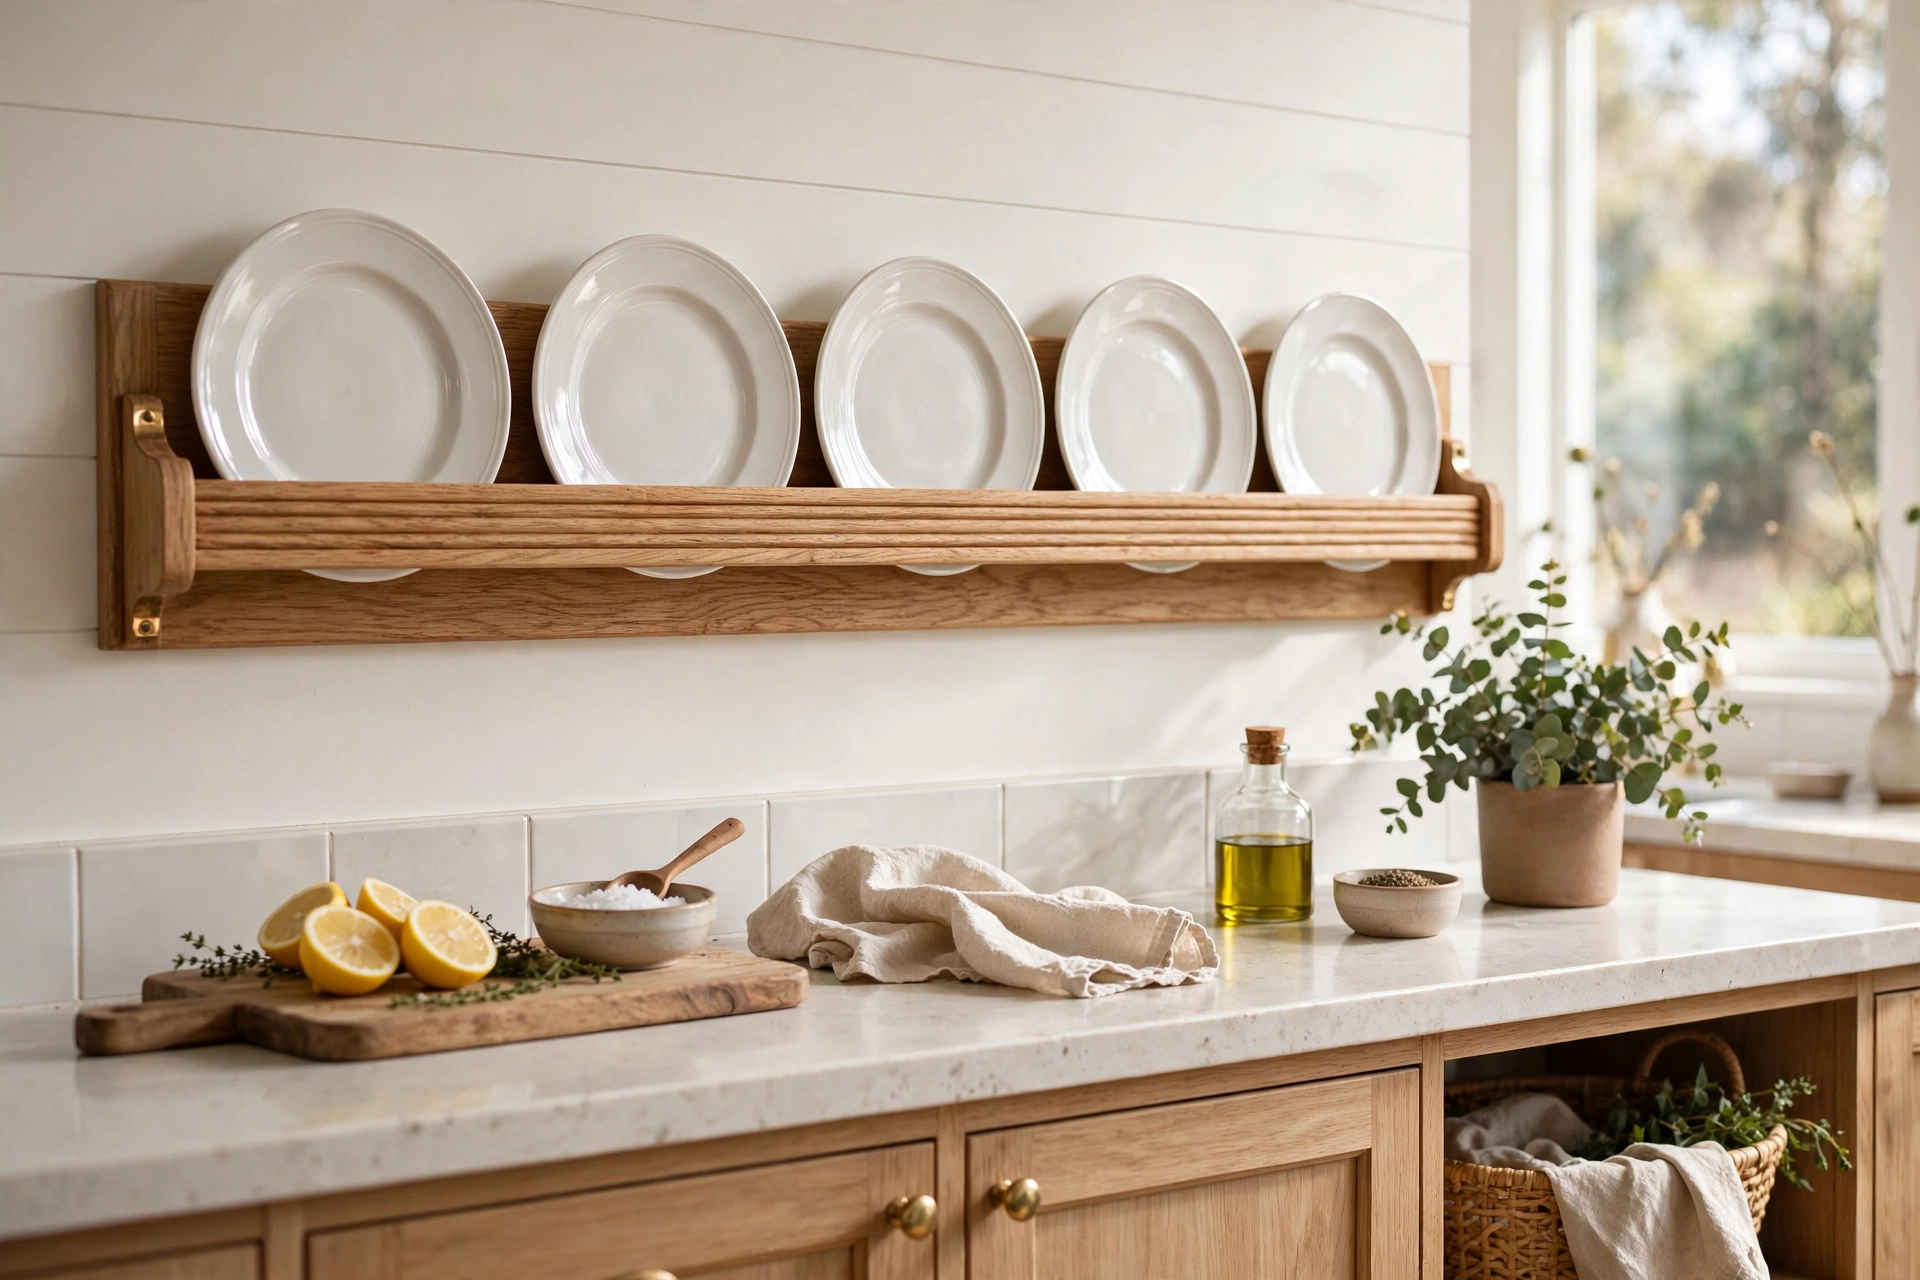
A wall-mounted plate rail is the classic way to turn a blank stretch of wall into a display. The design is simple: a wooden backboard with two horizontal grooves (a plate groove) spaced to match your plate diameters, plus a small ledge at the bottom. For standard dinner plates of ten to eleven inches, space the grooves about seven inches apart vertically and set the plate groove depth to roughly half an inch so plates sit securely without tipping.
Mount the rack into wall studs with two-inch screws — a loaded plate rack is heavy, and drywall anchors alone will eventually pull out. This style looks best in painted wood that matches your cabinetry, and it is ideal for showing off a set of patterned dishes you actually use daily, since grabbing a plate is as easy as lifting it from its slot. For more ways to make kitchen walls work harder, see our kitchen wall decor guide.
2. Plate Slots Built Into Open Shelving
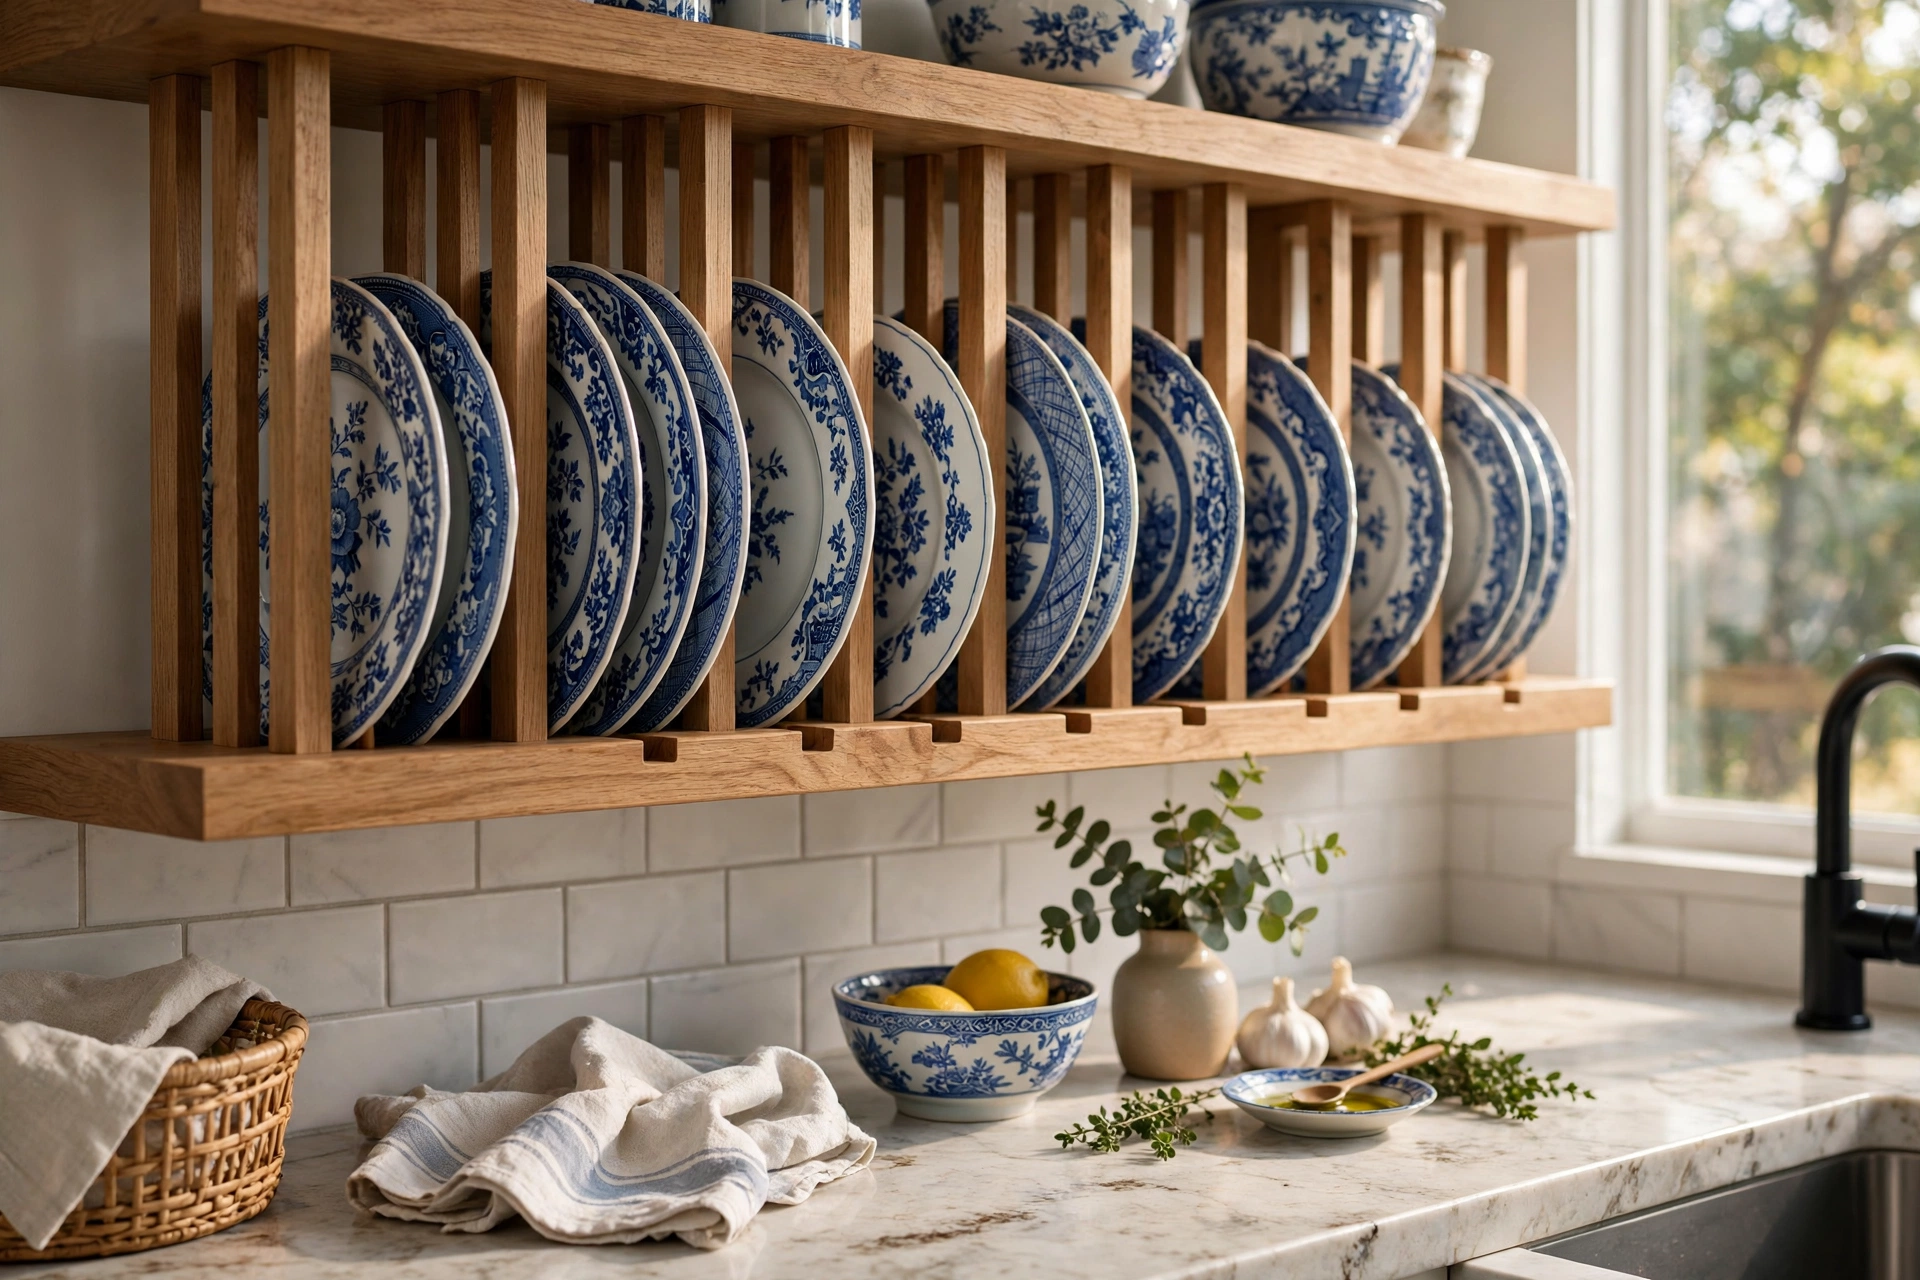
If you already have open shelves, adding plate slots is a small carpentry upgrade with a big payoff. Cut a narrow groove — about three-eighths of an inch wide and half an inch deep — into the shelf surface with a router, running the full length of the shelf about two inches from the front edge. Plates then slot into the groove and lean back against the wall at a slight angle, their faces fully visible.
This works best on shelves at least ten inches deep so plates lean securely. Sand the groove smooth and seal it with the same finish as the shelf to prevent chipping on plate rims. Interior designers note that upright plates create a stronger visual rhythm than flat stacks, a point Houzz’s editorial on plate arrangements makes well: grouping plates by size and color turns dishware into a deliberate design layer (Houzz’s guide to great plate arrangements).
3. Freestanding Countertop Plate Rack
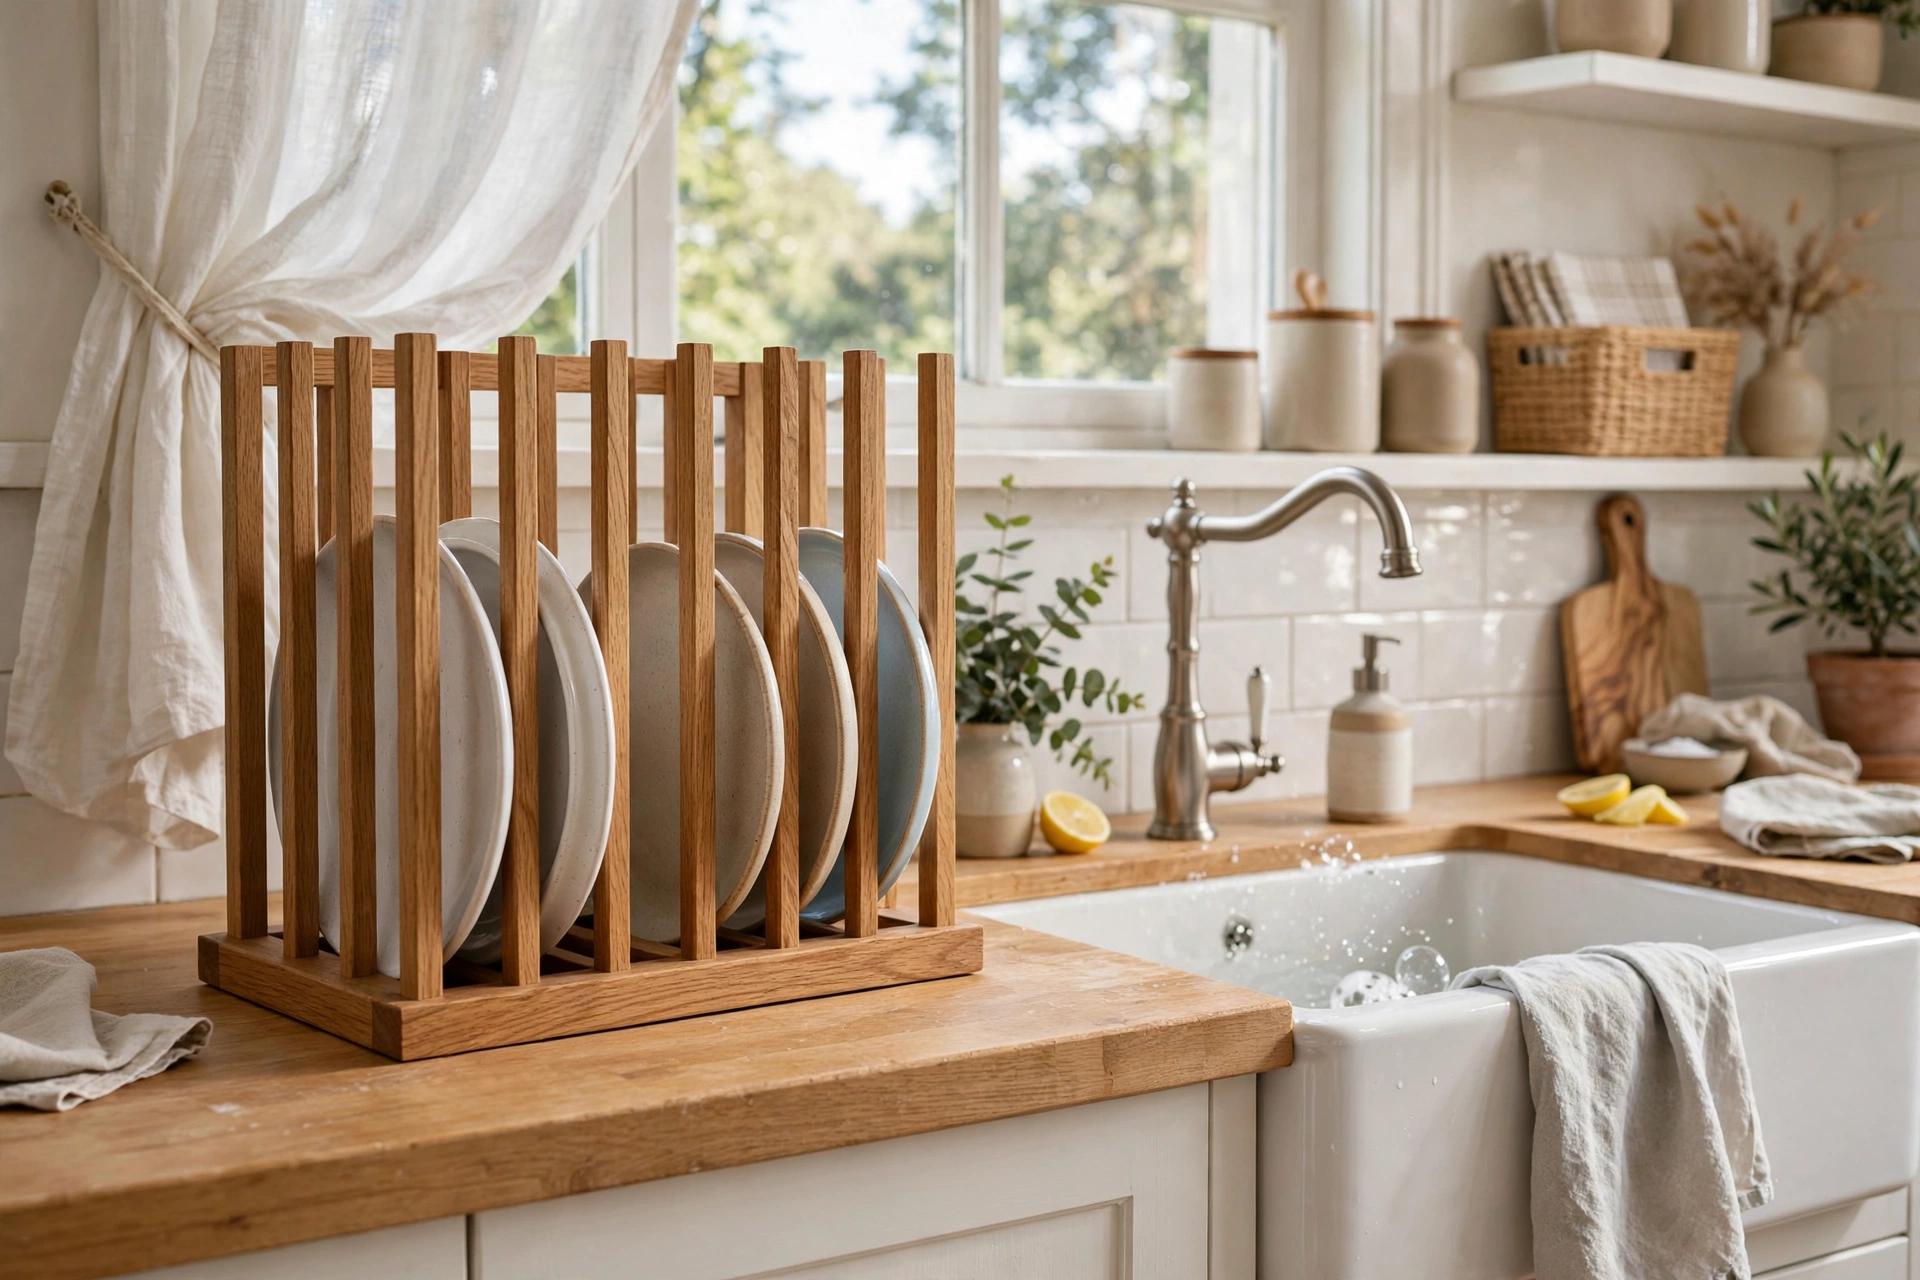
A freestanding countertop rack needs no installation at all — set it on the counter beside the stove or sink and load it with your daily dishes. Wooden folding racks with vertical slats are the most common style; look for one at least twelve inches tall with slots wide enough for your plates (measure your thickest plate, including stoneware rims, before buying).
Because it sits at eye level, this is the best rack for plates you want to admire: hand-painted ceramics, a collected set, or holiday dishes between seasons. Keep the rack within arm’s reach of where you serve food so it functions as a landing spot for hot plates too. Wipe the slats monthly — grease settles on anything near the stove.
4. Over-the-Sink Plate Rack for Drip-Dry Display
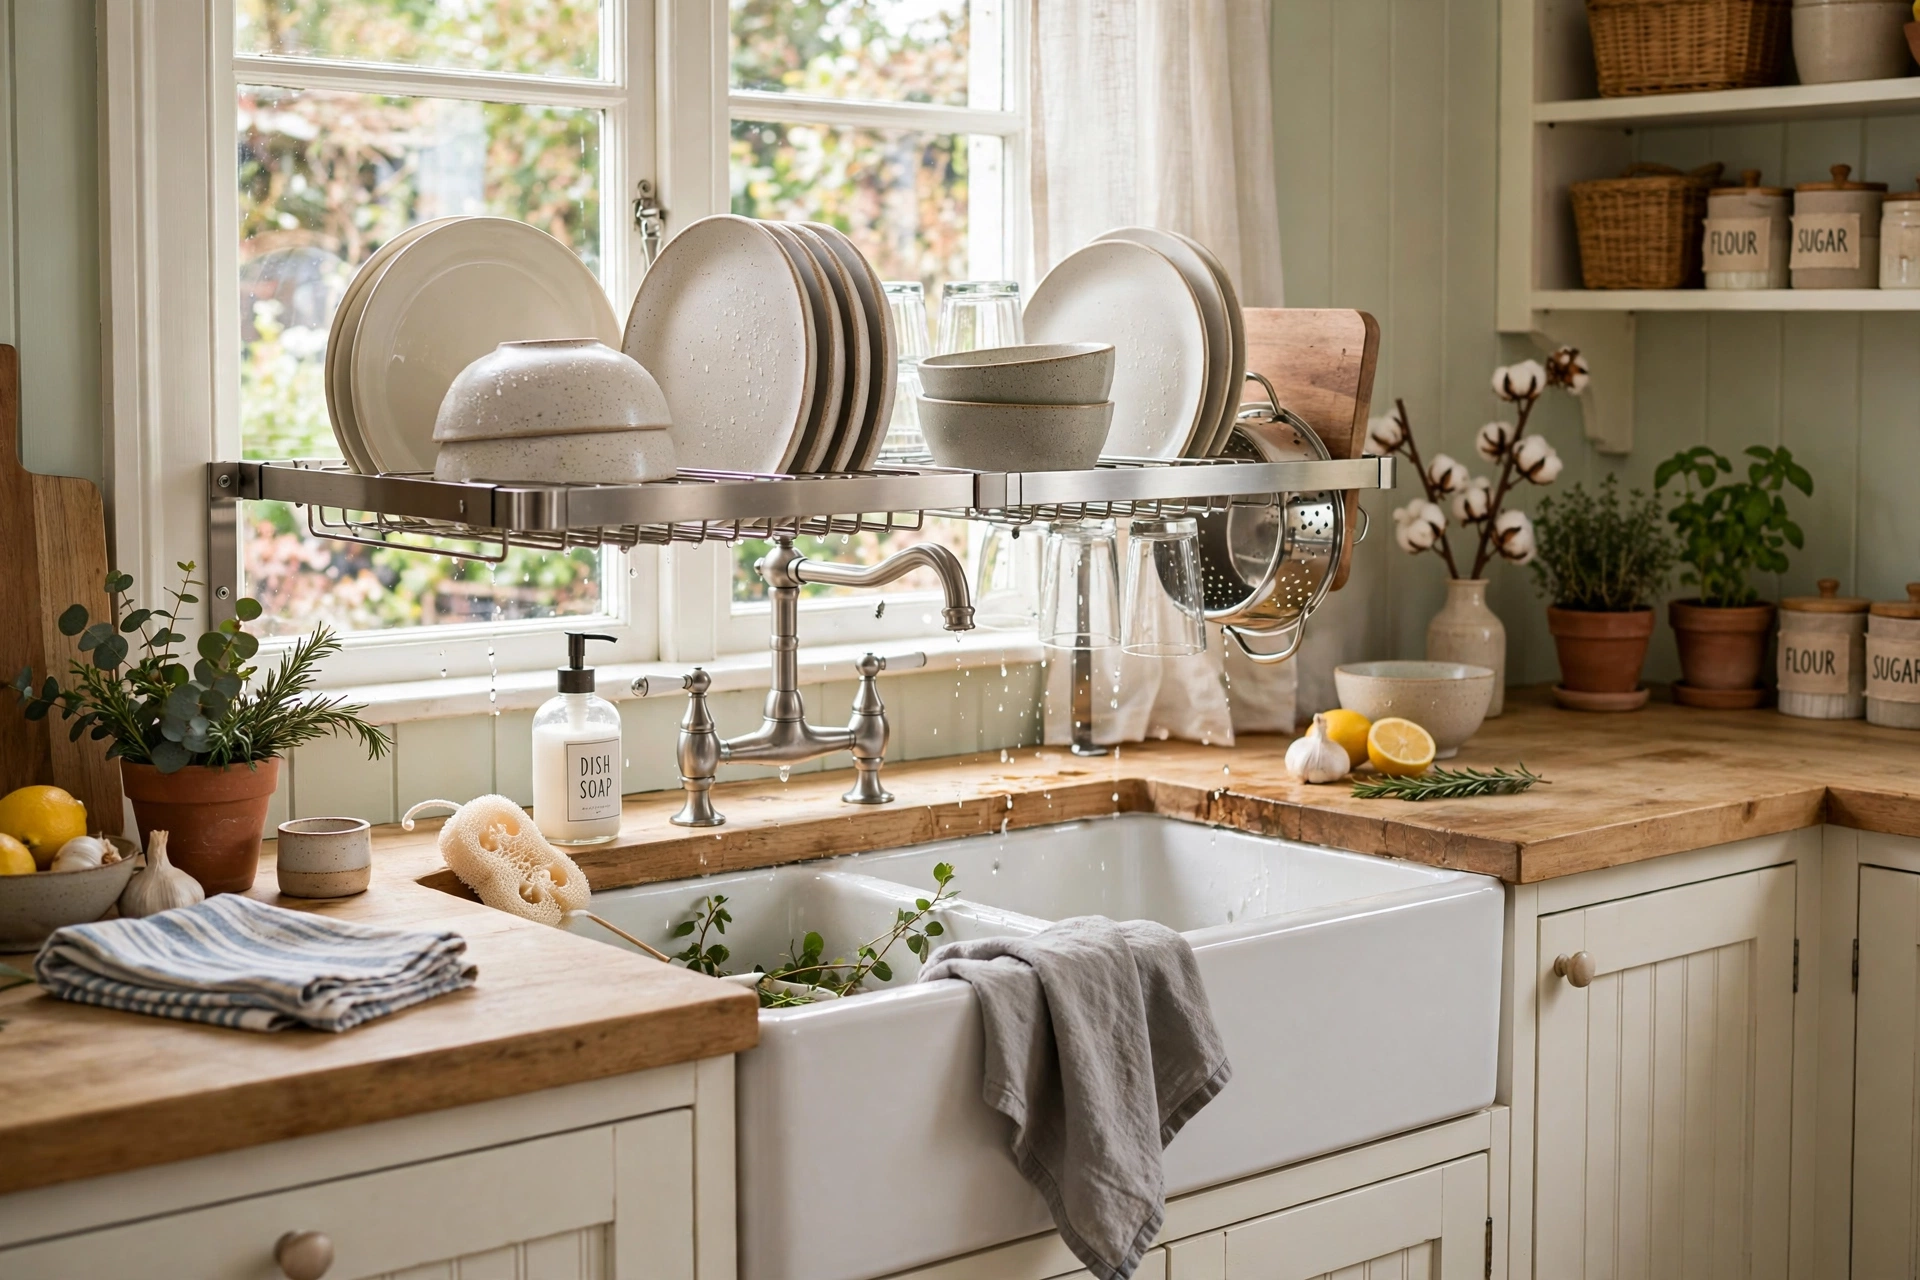
In many European kitchens, the plate rack lives directly over the sink as a drip-dry station, and the idea translates beautifully to cottage kitchens. A wall-mounted rack with open slats and a slight forward tilt lets washed plates drain straight into the sink while displaying them. Stainless or powder-coated steel versions resist rust in this wet zone; wooden racks need a marine-grade sealant if they will catch drips daily.
Size the rack to your sink: a thirty-inch sink pairs well with a twenty-four-inch rack centered above it, hung so the bottom of the rack clears the faucet by at least four inches. This single fixture replaces a countertop dish drainer and a cabinet of hidden plates in one move — function and display fused together.
5. Vintage Dresser Repurposed as a Plate Rack
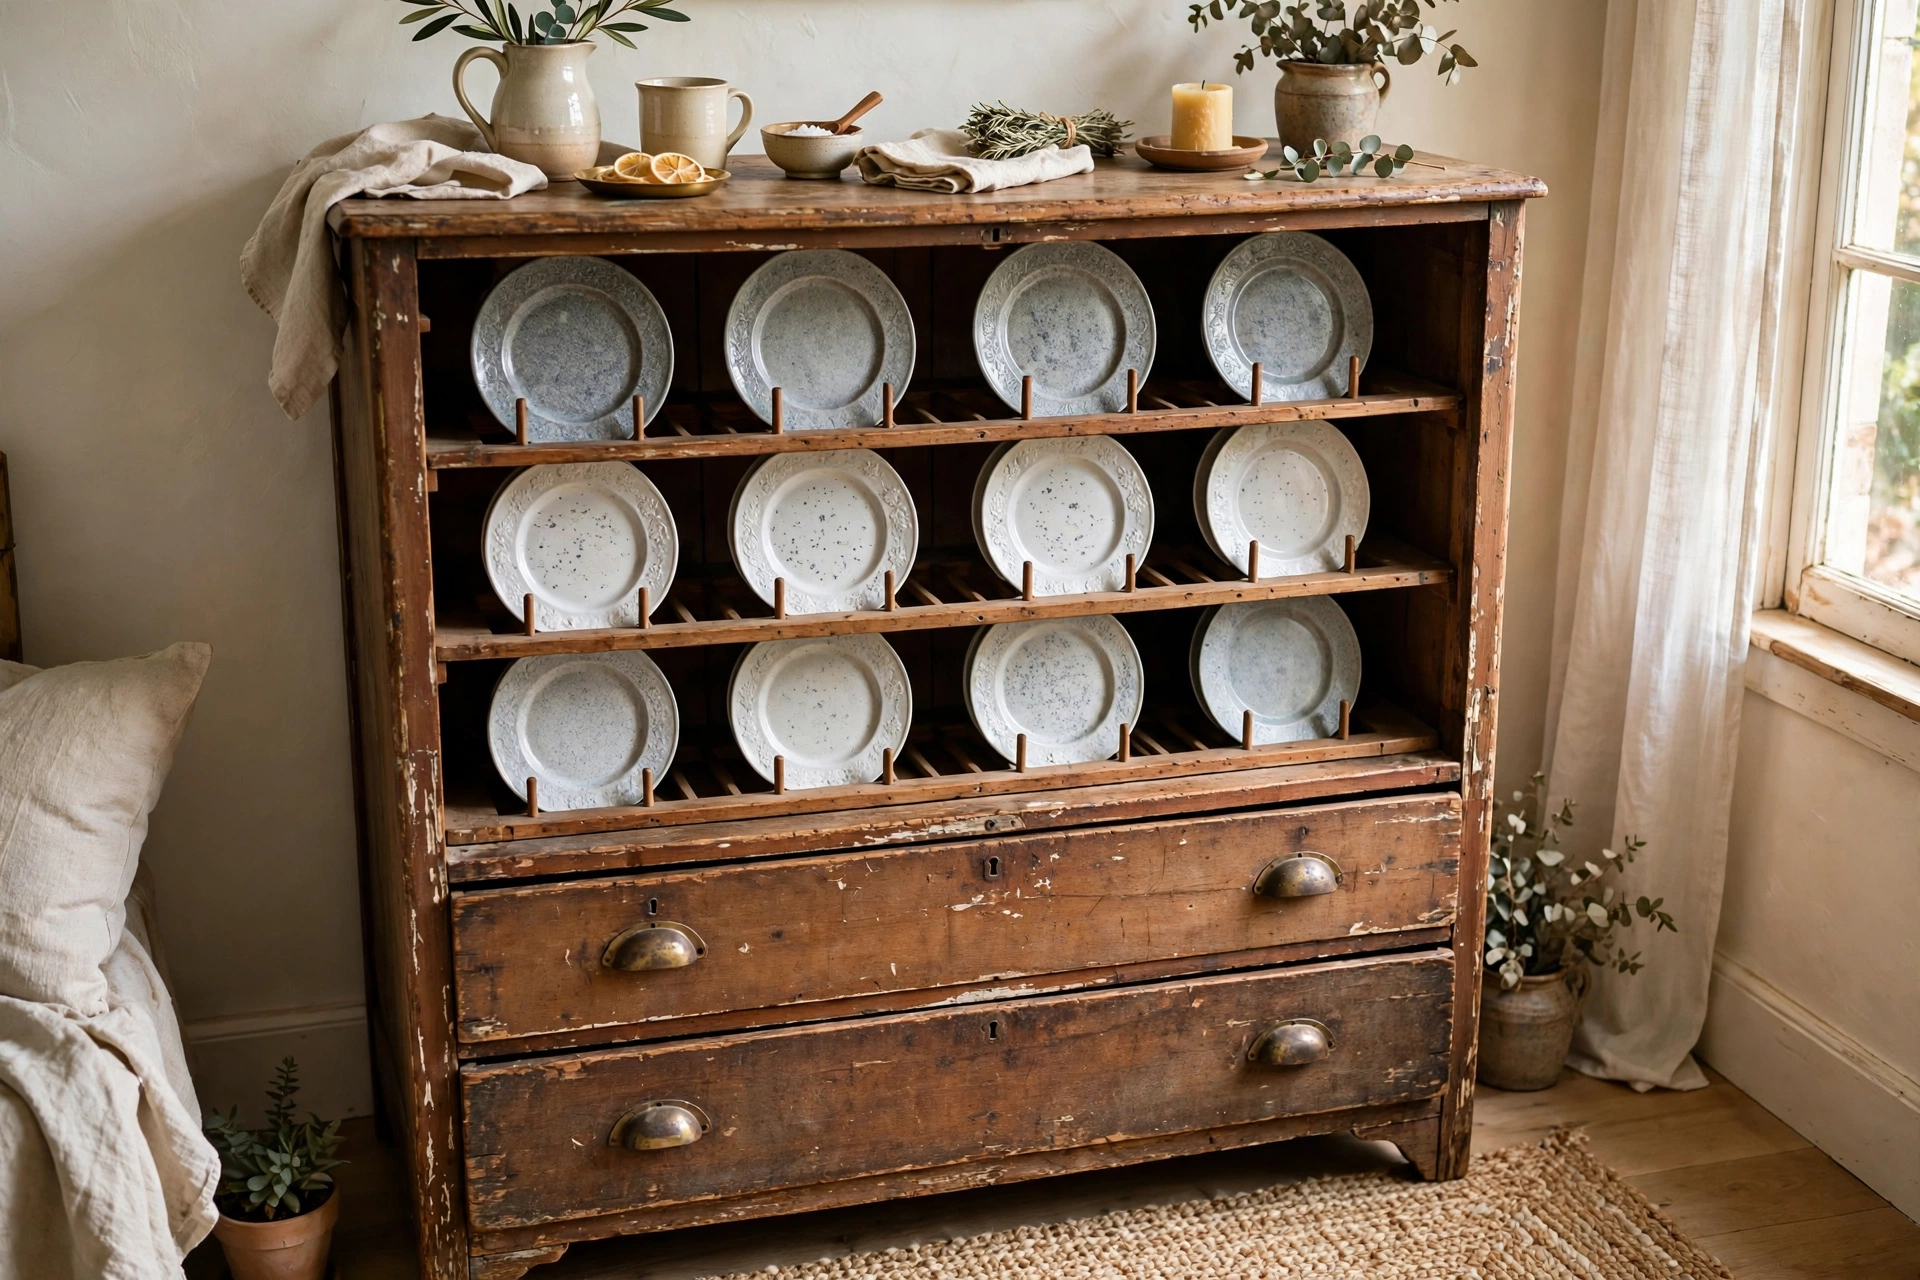
A vintage dresser or Welsh dresser — the tall, open-backed hutch with shelving above a cupboard base — is essentially a giant plate rack waiting to happen. Add plate grooves to the existing shelves or line them with upright plate stands, and the dresser’s deep shelves become tiered display space. Look for dressers with shelf spacing of at least twelve inches between the back boards so full-size plates fit upright.
Paint a mismatched dresser to match your kitchen for a built-in look, or leave original patina for farmhouse character. The cupboard base below is perfect for storing table linens and serving pieces. This is one of the most charming kitchen plate rack ideas because the furniture itself becomes the focal point — see how similar display furniture styles dishes in our china cabinet ideas.
6. Peg Rail with Plate Ledges
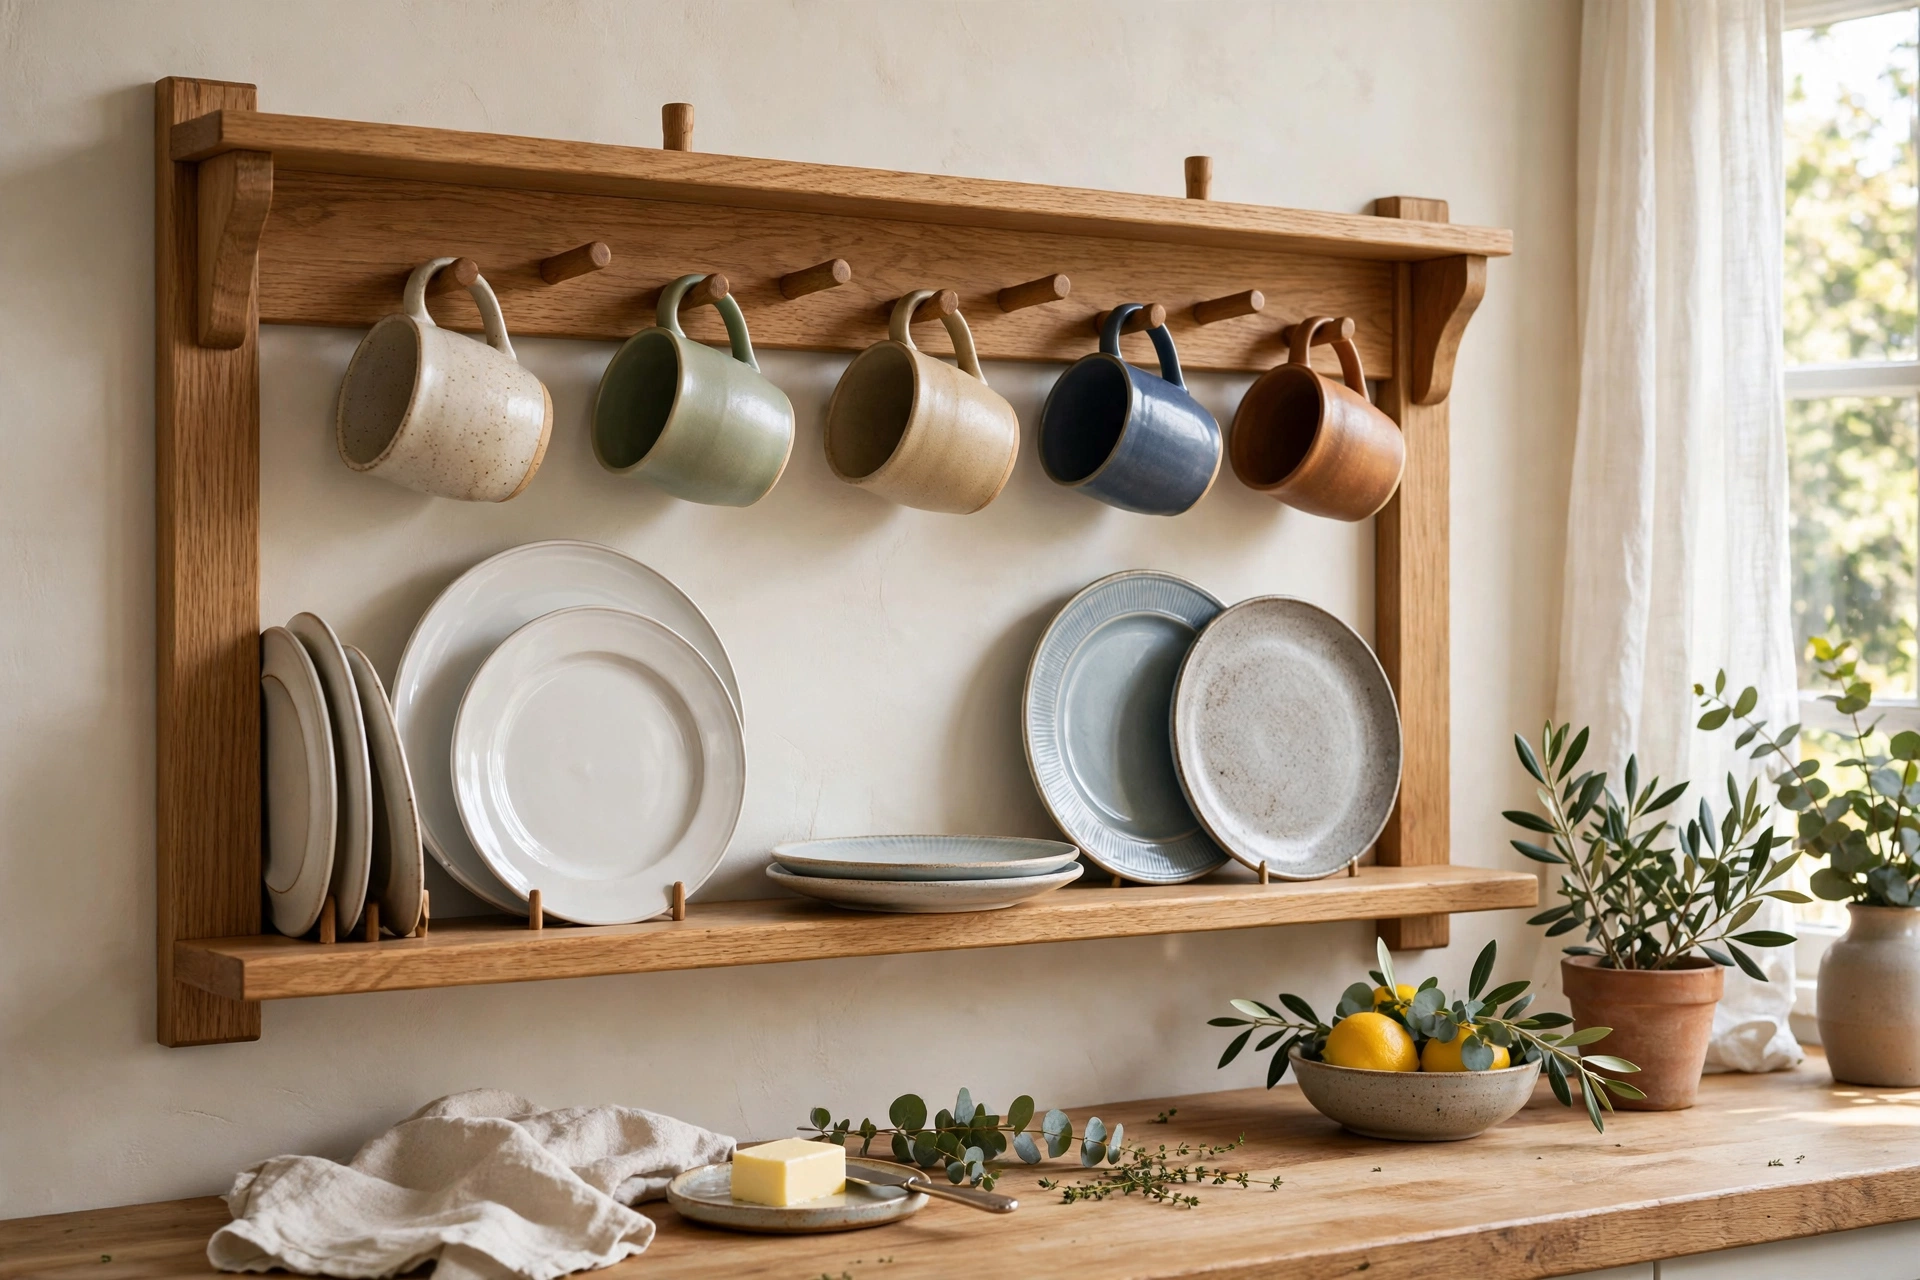
A Shaker-style peg rail with a narrow plate ledge beneath it combines hanging storage and plate display in one slim profile. Mount a wooden rail with turned pegs about sixty inches off the floor, then fix a two-inch-deep ledge with a small plate groove twelve inches below the pegs. Mugs and utensils hang from the pegs while plates stand on the ledge, leaning against the wall.
This system is wonderfully flexible: slide plates along the groove to rearrange, and swap hanging items with the seasons. Stain or paint the rail to match your trim work so it reads as architecture rather than an add-on. Because plates lean rather than slot, keep this version away from high-traffic doorways where a bump could topple the display.
7. Corner Plate Rack for Awkward Angles
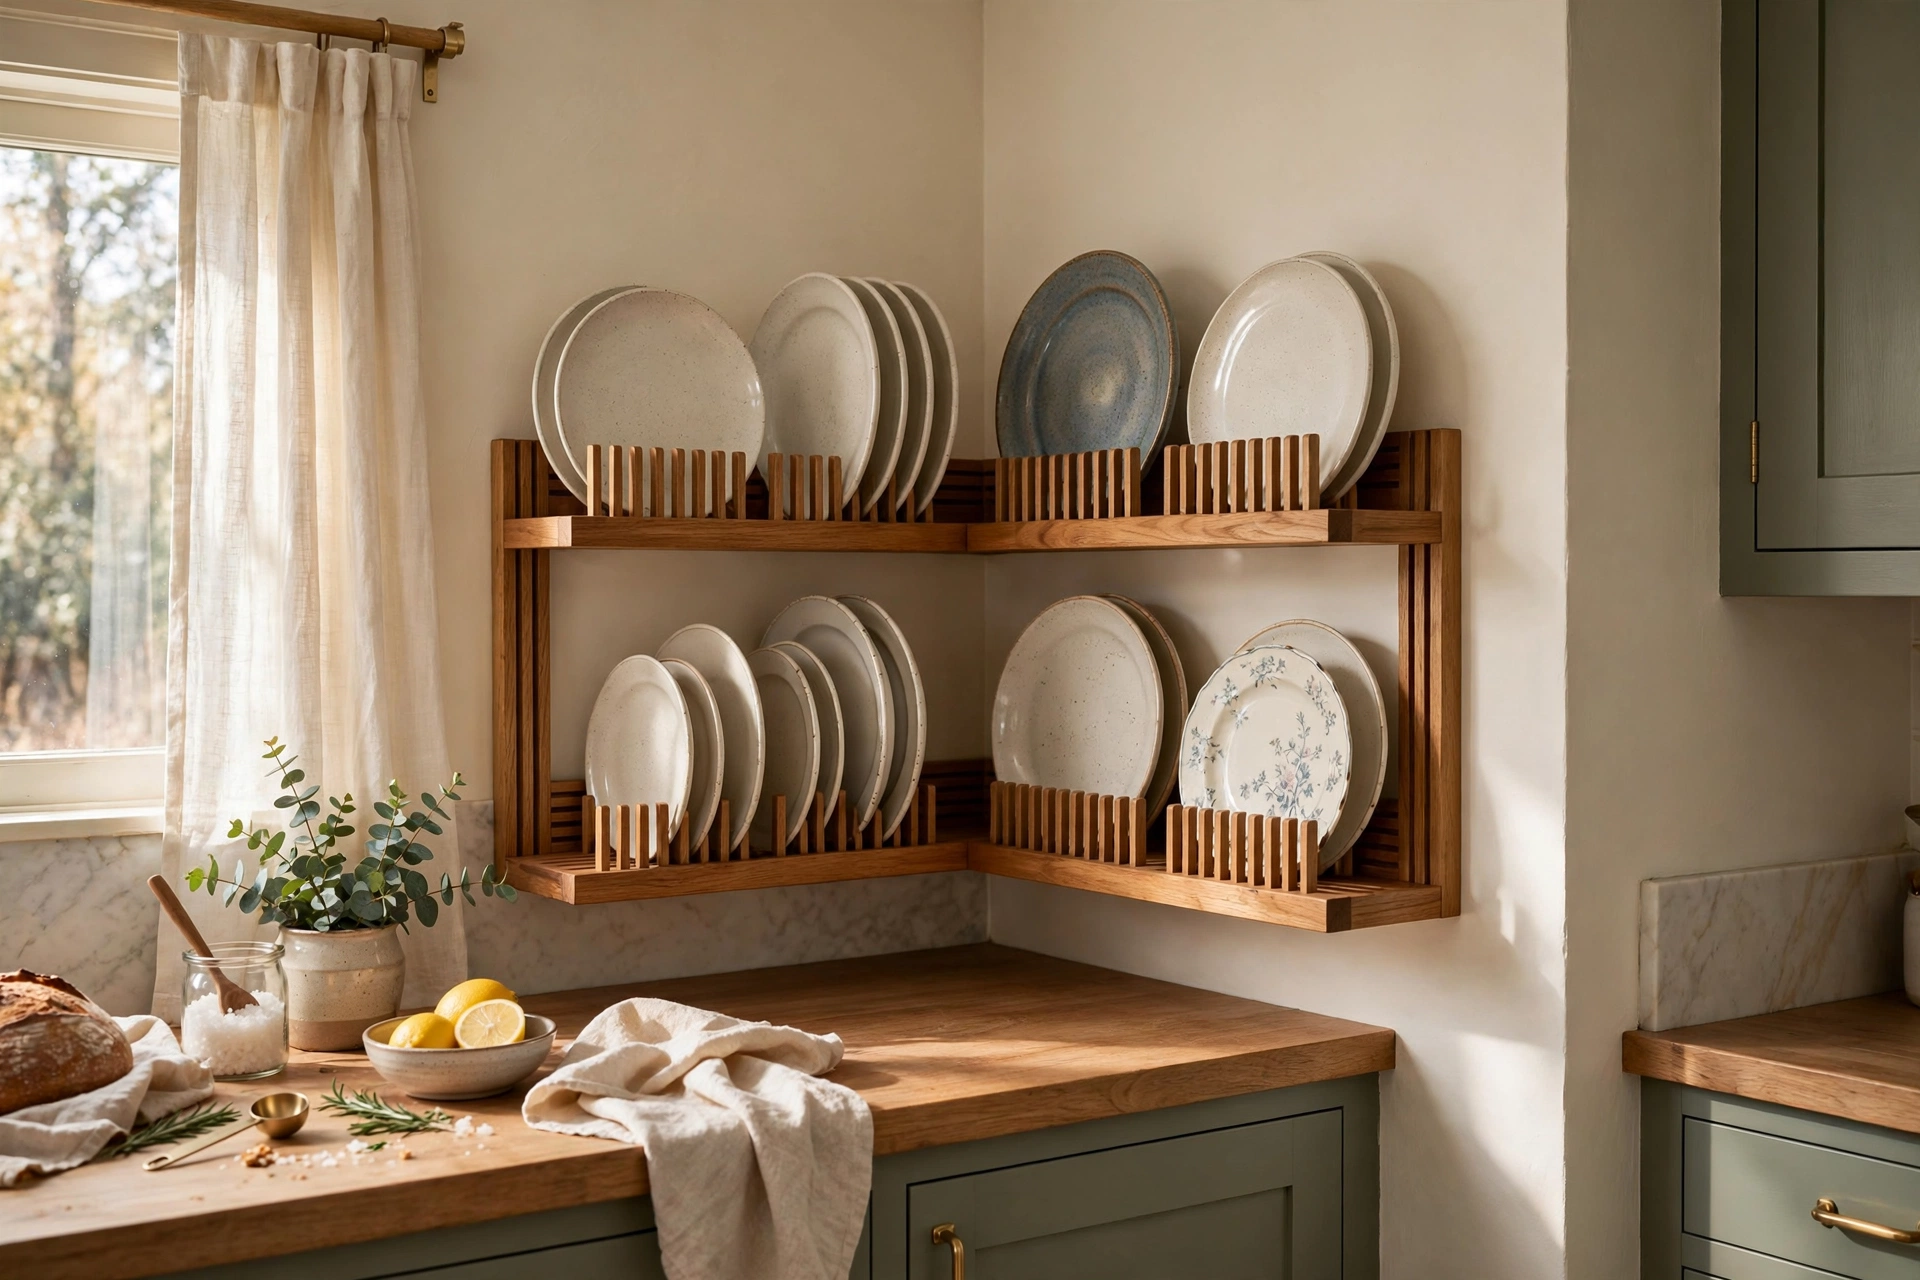
Corners waste more kitchen wall space than any other spot, and a corner plate rack reclaims it. Buy or build an L-shaped rack with plate grooves running along both walls of the corner, or use a triangular corner shelf unit fitted with a plate groove on each tier. A two-tier corner rack holds eight to twelve plates in a footprint of about eighteen inches per wall.
Paint the rack the same color as the walls to make it recede, or use a contrasting wood tone to make the corner a deliberate feature. This is an especially smart fix for galley kitchens where every inch of wall is precious — the corner display adds storage without narrowing the walkway at all.
8. Plate Rack Inside a Glass-Front Cabinet
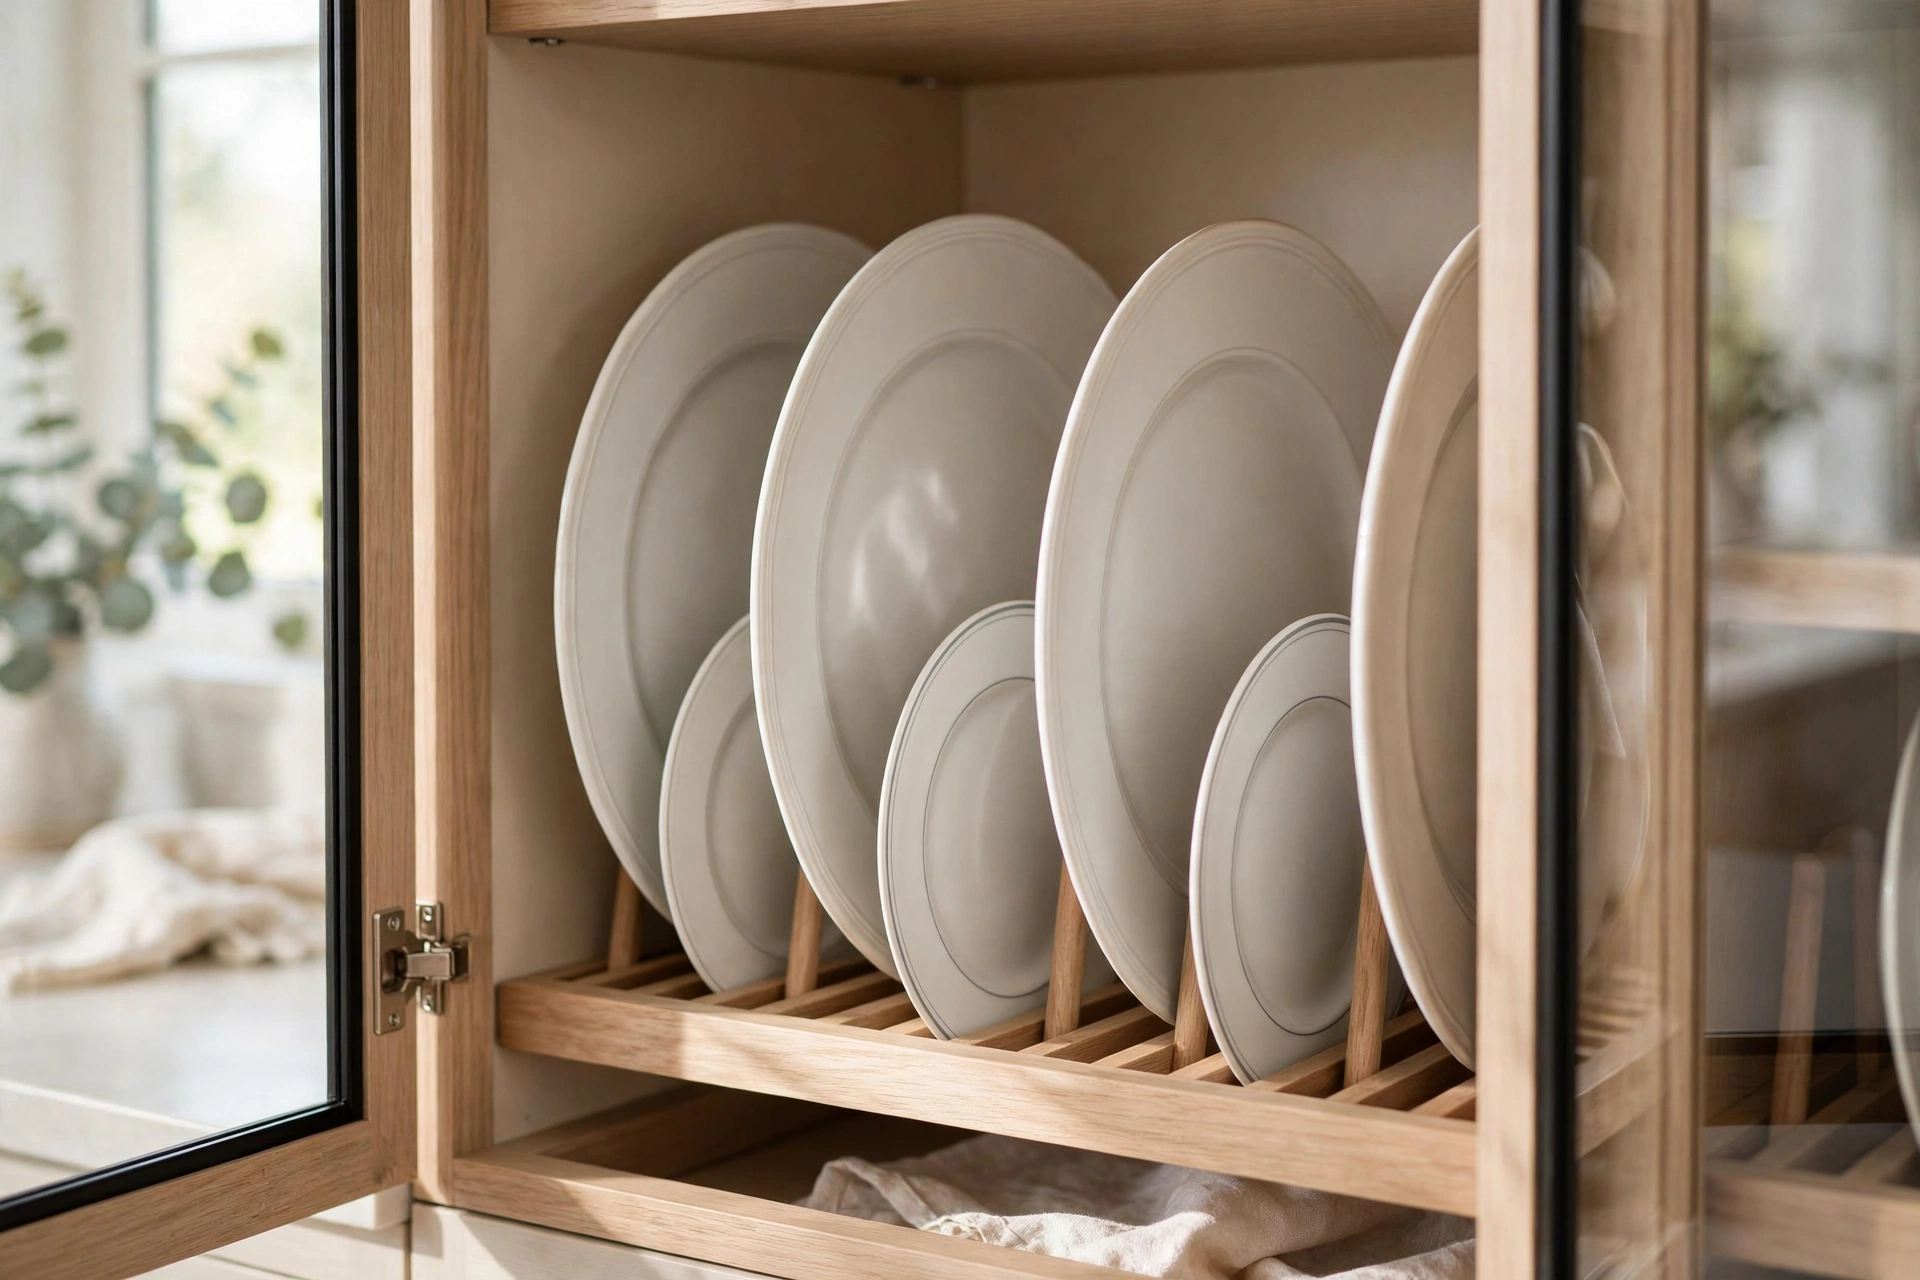
For a dust-free version of the plate-rack look, add plate grooves to the shelves inside a glass-front cabinet. The glass doors protect dishes from cooking grease while the upright display keeps the charm — it is the best of both the rack and the china cabinet worlds. Retrofit existing shelves by routing a plate groove into each one, or order replacement shelves with grooves pre-cut.
Arrange plates by height within each compartment, tallest at the back, and leave at least an inch of clearance above each plate for easy lifting. Back the cabinet interior with beadboard or a contrasting paint color to make the plates pop. Our glass-front cabinet guide has more ideas for styling dishes behind glass.
9. DIY Dowel Plate Rack
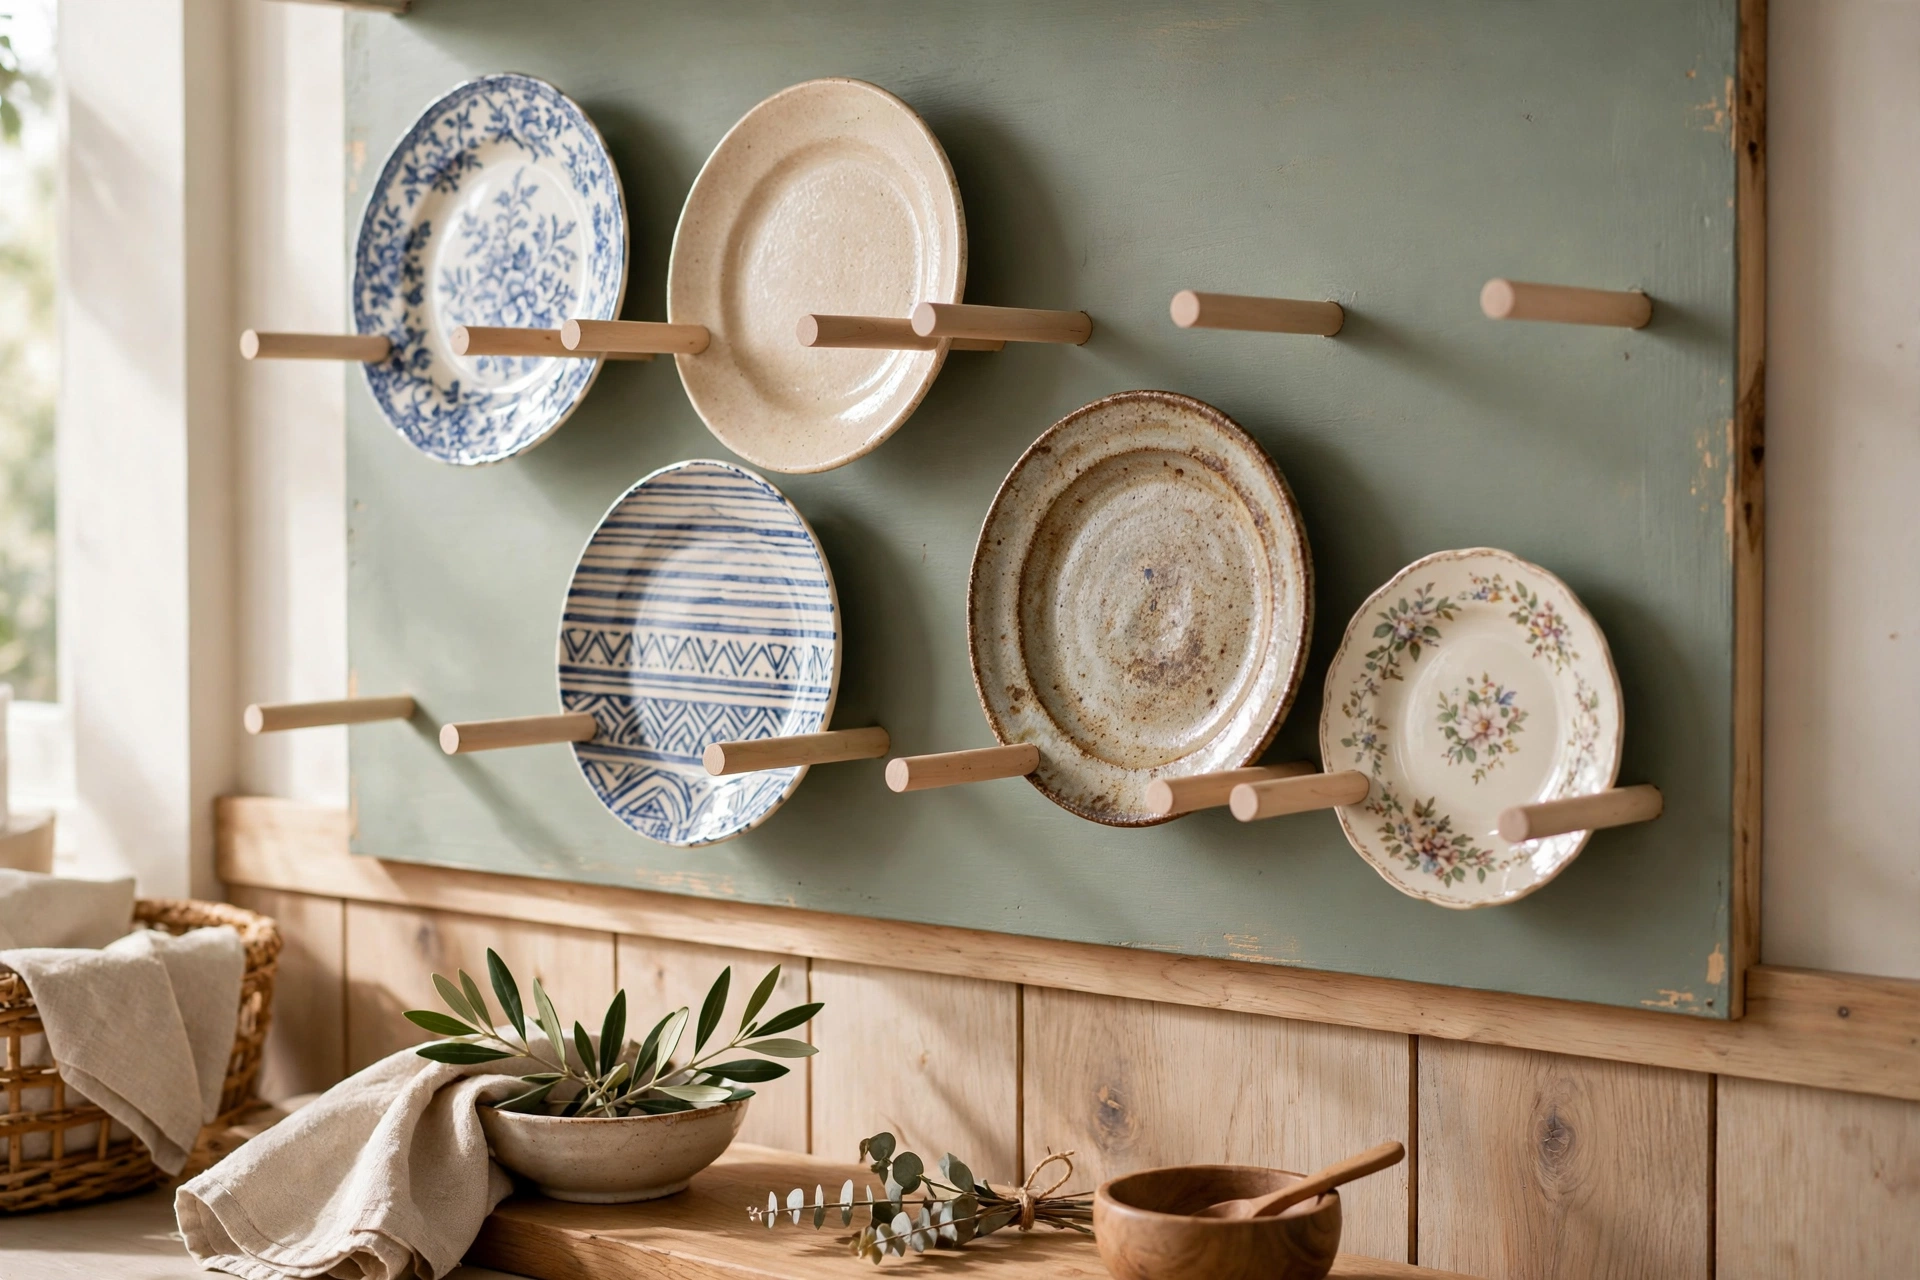
A dowel plate rack is the simplest DIY build on this list: a backboard with two rows of wooden dowels sticking out, spaced so plates rest between the dowel rows. Use three-quarter-inch dowels cut to four-inch lengths, drilled into the backboard at a slight upward angle so plates lean back safely. Space the lower dowel row two inches above the shelf ledge and the upper row to match your plate height.
One sheet of plywood and a bag of dowels yields a rack for under twenty dollars, and painting it takes an afternoon. This is a great first woodworking project — straight cuts, simple drilling, immediate payoff. Houzz’s editorial on adding display space to kitchens notes that even a small built-in rack breaks up the bulk of overhead cabinetry while freeing a drawer for less attractive kit (Houzz’s display-space ideas).
10. Plate Rack End Panel on the Island
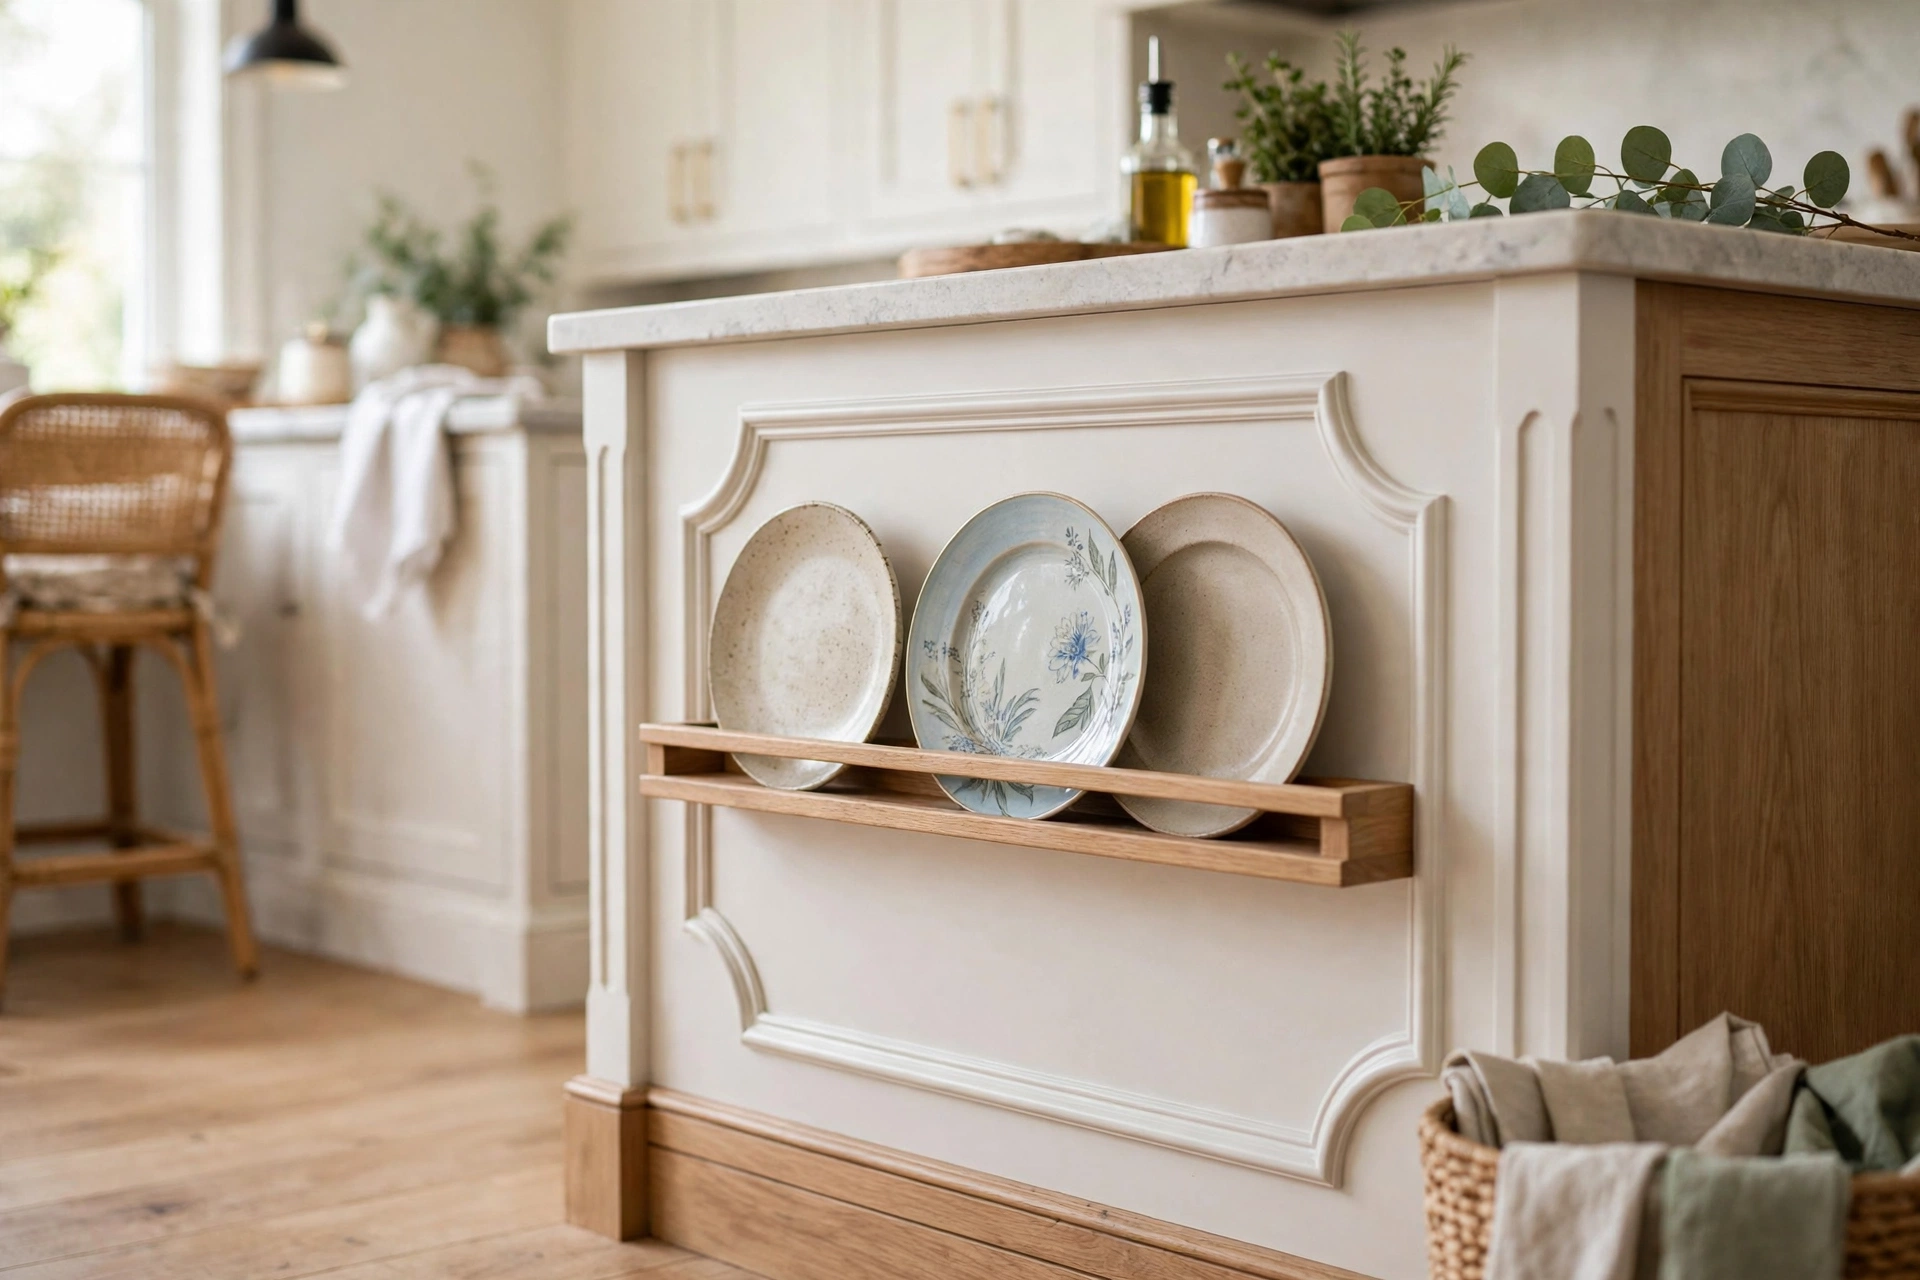
The end panel of a kitchen island is dead space in most kitchens — a plate rack turns it into a display. Mount a shallow plate rail (no more than three inches deep) on the island’s decorative end panel, sized to hold four to six plates. Because the rack projects only slightly, it does not interfere with seating or traffic on that side.
This works best on the side of the island facing the dining area, where the plates read as decor for the whole room. Choose a rack style that echoes the island’s design — a beadboard-backed rack on a beadboard island, for example. Keep the plates on this rack decorative rather than daily-use, since reaching around the island for dinner plates gets old fast.
11. Tiered Plate Stand for the Counter or Table
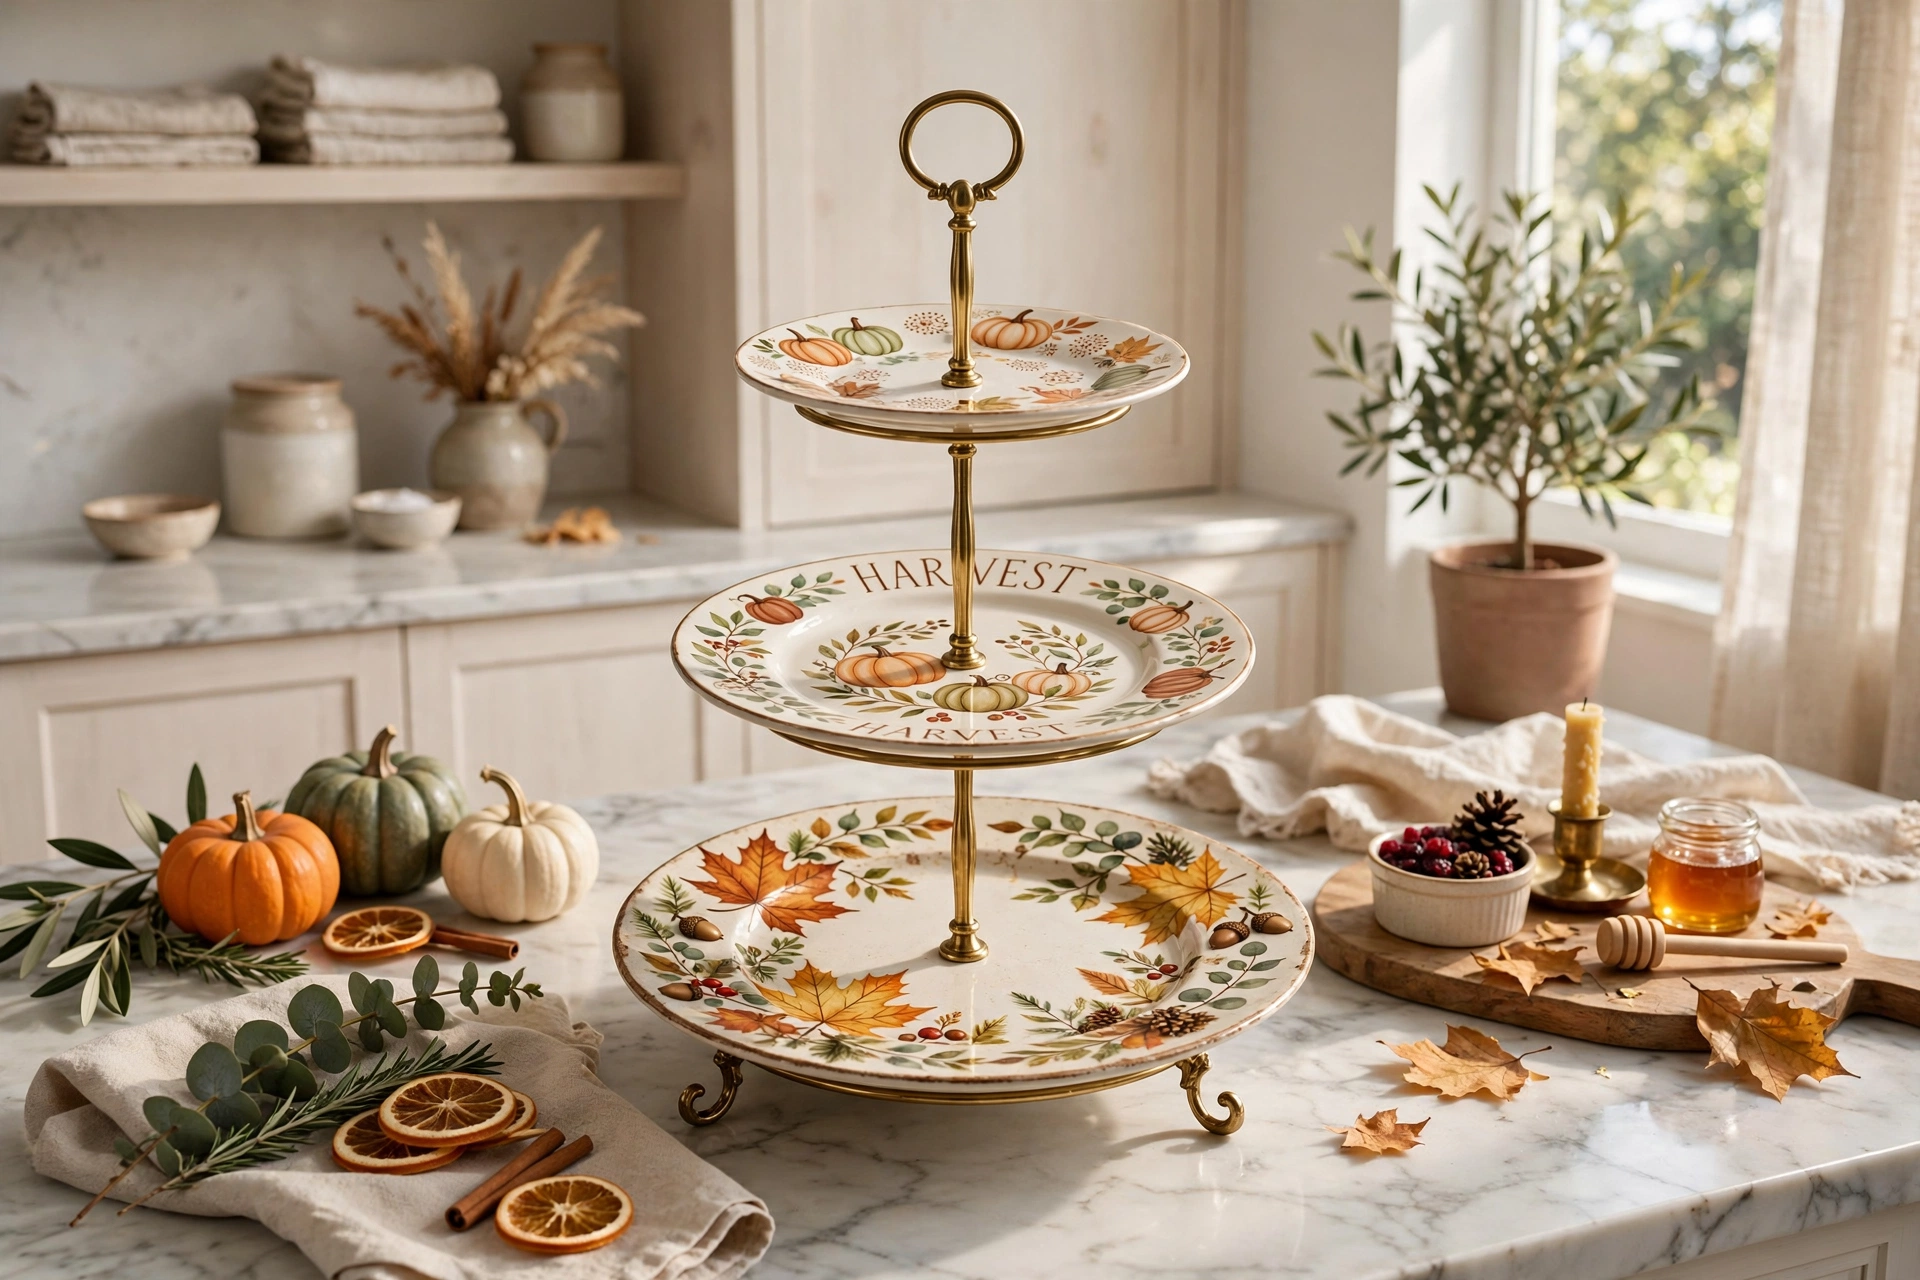
A tiered plate stand — two or three circular plates stacked on a central rod — displays a few special pieces at varying heights. Use it on the counter for a rotating showcase (a new seasonal plate each month), or as a table centerpiece when entertaining. The footprint is small, typically ten to twelve inches across, so it fits even crowded counters.
This is the lowest-commitment of all kitchen plate rack ideas: no mounting, no building, just a stand and the plates you love most. Pair it with a small trailing plant or a candle to complete the vignette. When choosing a stand, make sure the plate grooves are deep enough for your plates’ thickness — thick stoneware needs wider slots than fine china.
12. Plate Rack Above the Range Hood
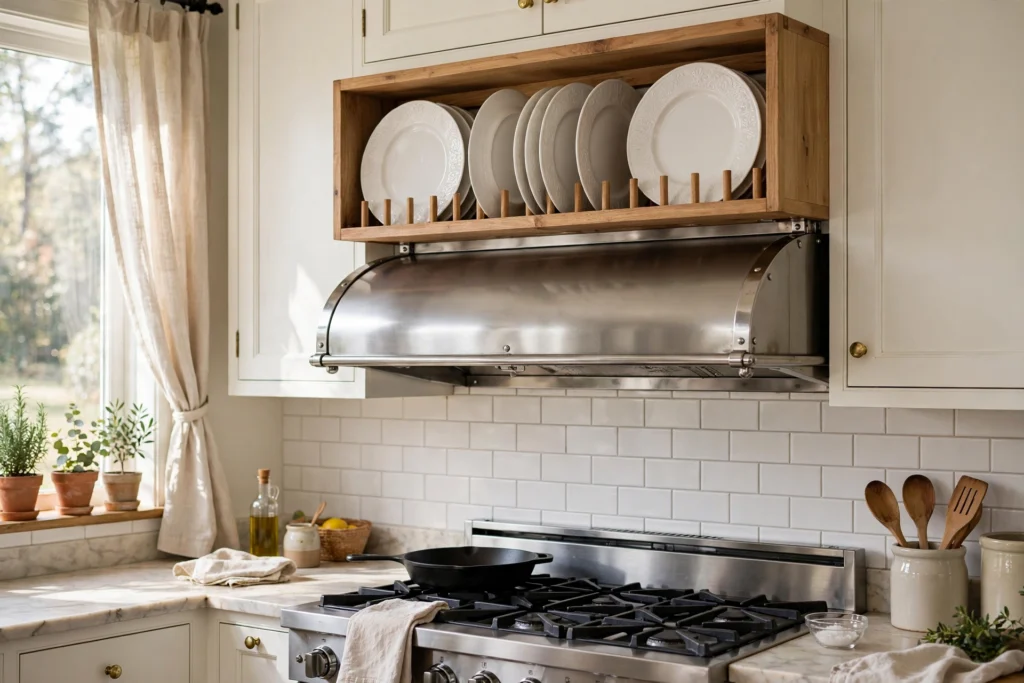
The wall space above a range hood is often too high and too greasy for art, but a plate rack thrives there if you choose the right plates. Hang a sturdy rack on the chimney breast of the hood or the wall just above it, and display inexpensive, washable plates — white ironstone or melamine lookalikes that can go straight in the dishwasher when grease settles.
Mount with masonry-grade anchors if the wall is tile, and keep a small step stool nearby for the monthly wipe-down. The height actually works in your favor here: plates at eye level and above read as architecture, adding pattern and rhythm to an otherwise blank vertical expanse. Limit this spot to four to six plates so the arrangement stays light and airy.
13. Plate Groove on the Backsplash Ledge
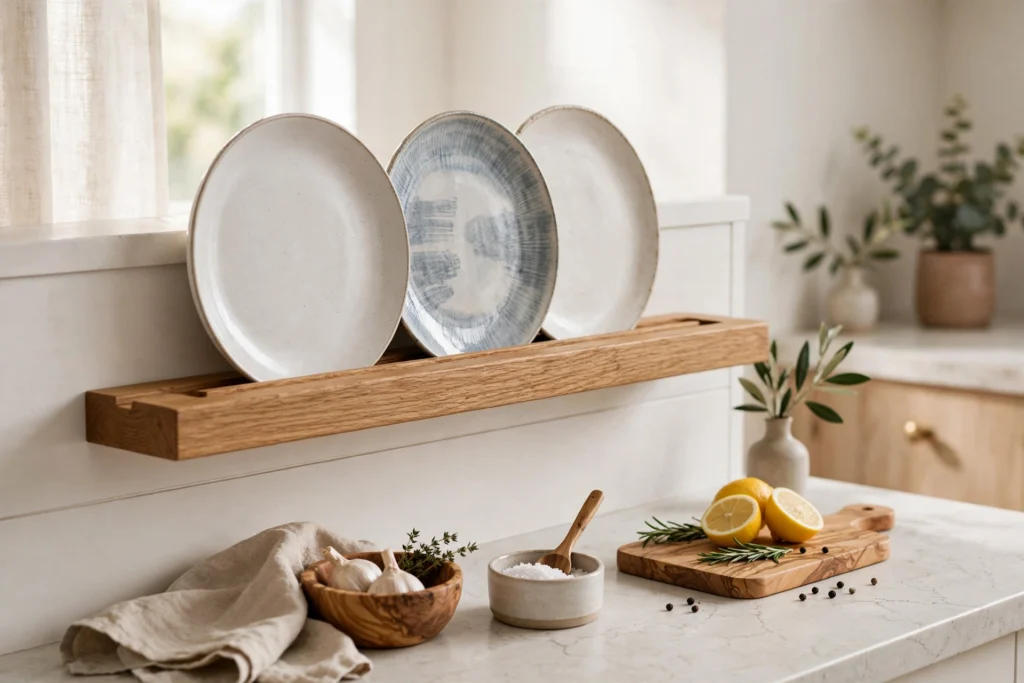
Some kitchens have a natural ledge where the backsplash meets a deeper windowsill or a half-wall — a plate groove routed into a wooden cap along this ledge creates a slim, integrated rack. The plates sit right above the counter, perfectly positioned for serving, and the display runs the full length of the backsplash for a strong horizontal line.
This is a custom carpentry detail, so plan it during a backsplash or countertop project rather than as a retrofit. Use a hardwood cap like oak or maple, sealed against moisture, with a groove sized to your plate thickness. The result looks original to the kitchen — a detail guests will assume came with the house.
14. Hanging Plate Rack from the Ceiling
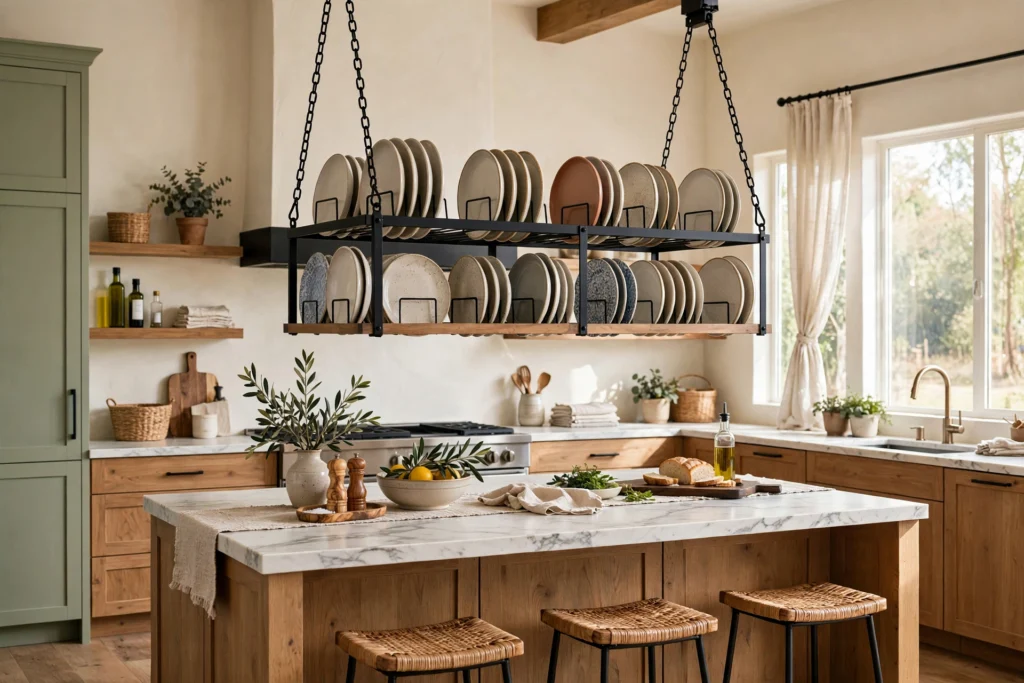
In kitchens with high ceilings or a beam, a hanging plate rack suspends the display in midair. Build a shallow wooden frame with plate grooves on both faces, hang it from the ceiling with chains or black metal rods, and load both sides with plates. Hang it over an island or a dining nook where it reads as a chandelier of dishes.
Keep the bottom of the rack at least six feet off the floor — above head height for anyone walking under — and anchor into ceiling joists, never drywall alone. This is a dramatic choice best suited to larger kitchens; in a small space it can feel like it is looming. When it works, though, it is unforgettable: a floating gallery of your favorite plates.
15. Mix-and-Match Collected Plate Wall
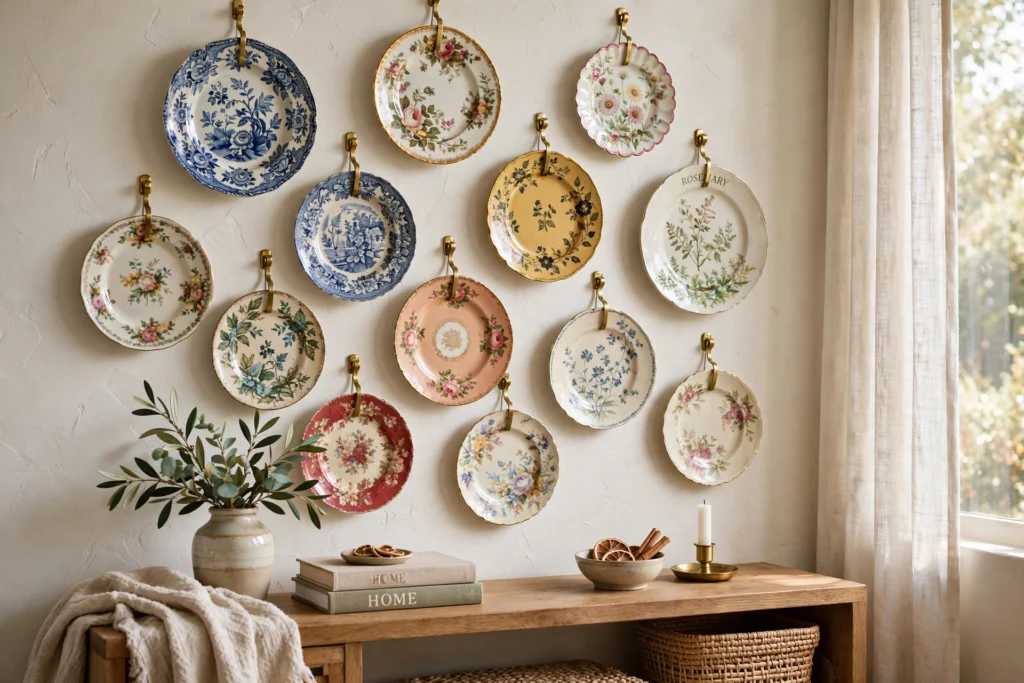
Not every plate rack needs slots. A collected wall of plates — each hung on an individual plate hanger or adhesive disc — creates the loosest, most personal version of the look. Start with a large anchor plate in the center, then build outward in a loose oval or rectangle, mixing sizes, patterns, and eras. Step back every few plates to check the balance.
Use proper plate hangers sized to each plate (wire hangers grip the rim; adhesive discs stick to the back) and hang on a wall away from door swings. This approach suits inherited china, thrifted finds, and travel souvenirs — plates that do not match but tell a story together. It is display in its purest form, and rearranging it is half the fun.
Frequently Asked Questions
What is the difference between a plate rack and open shelving?
A plate rack holds plates upright in grooves, slots, or on ledges so their decorated faces show; open shelving stacks plates flat, hiding the pattern. Racks are specifically designed for display and easy one-handed grabbing, while open shelves are general storage. Many kitchens use both — racks for the pretty everyday set, shelves for everything else.
How do you keep plates from falling off a plate rack?
Size the groove or slot to the plate: the groove should be about half an inch deep and snug enough that the plate cannot rock. Lean plates back against the wall at a slight angle rather than standing them perfectly vertical, mount wall racks into studs so nothing shifts, and keep racks away from doorways and high-traffic bumps. For heavy stoneware, choose racks rated for the weight.
Can you put a plate rack over the stove?
You can, but choose your plates wisely — cooking grease settles on everything above the range, so display inexpensive, dishwasher-safe plates there rather than heirlooms. Mount the rack securely, leave clearance above the hood, and plan on a monthly wipe-down. A rack on the wall beside the stove, rather than directly over it, stays cleaner.
How far apart should plate rack slots be?
Space vertical slots or grooves to match your plate diameters plus an inch of breathing room — for ten-inch dinner plates, roughly eleven inches of horizontal space per plate. For tiered shelves with plate grooves, allow vertical clearance of the plate diameter plus two inches so plates lift out easily. Always measure your actual plates, including thick rims, before building.
Do plate racks collect a lot of dust?
Upright plates do collect some dust, but far less than flat stacks where dust settles into every rim. Plates you use daily stay clean through use; decorative plates benefit from a quick wipe every month or two. If dust is a real concern, choose a glass-front cabinet with plate grooves inside — you get the display look with the doors closed against dust and grease.
Keep Exploring
Kitchen plate rack ideas prove that storage can be the prettiest thing in the room. Start with one wall, one shelf, or one freestanding rack, load it with the plates you already love, and let your everyday dishes do the decorating. The most charming kitchens are the ones where nothing beautiful is hidden away.