
Few kitchen upgrades deliver as much quiet luxury per dollar as a pot filler. This wall-mounted tap sits right above your cooktop and swings out to fill heavy pots where they already sit — no more lugging a sloshing stockpot across the kitchen. What started as a fixture for restaurant kitchens has become one of the most requested features in home remodels, and once you cook with one, the old sink-to-stove shuffle feels absurd. These kitchen pot filler ideas cover every style, finish, and budget so you can choose the one that fits the way you cook.
Before you fall in love with a finish, think about placement and plumbing. A pot filler needs a cold-water line stubbed out in the wall above the range, ideally 18 to 24 inches above the cooktop surface — high enough to clear your tallest stockpot, low enough that the arm folds neatly out of the way. If you are planning the whole cooking zone, our kitchen range hood ideas with statement style pair perfectly with a pot filler, since both live on that wall.
1. Go Classic with Polished Chrome
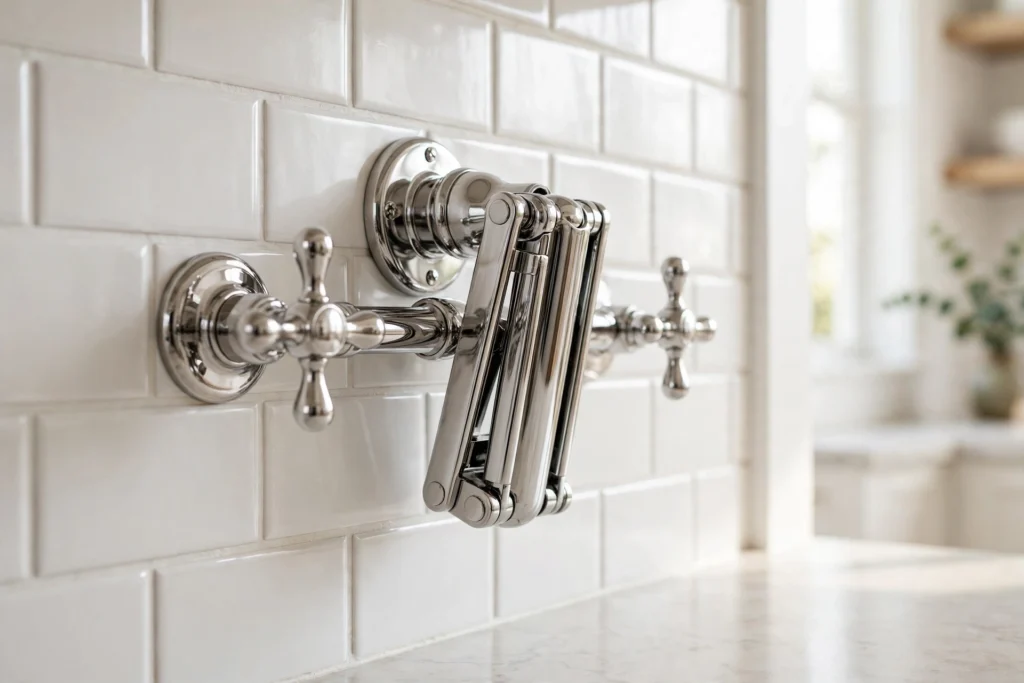
Polished chrome is the original pot filler finish, and it still looks right in nearly any kitchen. The mirror-bright surface bounces light around the cooking zone and matches stainless appliances, chrome cabinet hardware, and classic bridge faucets without a second thought. Chrome is also the most forgiving finish to maintain — a quick wipe keeps it sparkling, and it resists the fingerprints that plague darker finishes. Choose a traditional cross-handle or lever design for a timeless look that will not feel dated in a decade.
2. Make a Statement in Matte Black
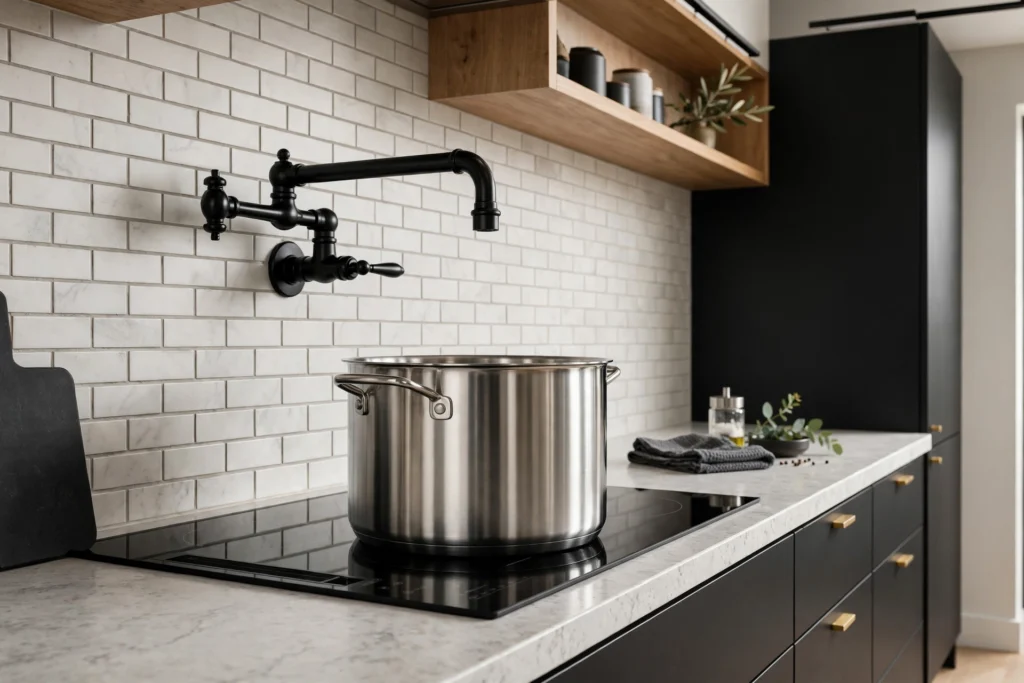
Matte black pot fillers photograph beautifully and anchor modern, farmhouse, and industrial kitchens alike. The dark finish creates a striking focal point against light tile or marble backsplashes, and it coordinates effortlessly with black window frames, pendant lights, and cabinet pulls. One caution: black finishes show water spots and mineral deposits more readily than chrome, so a quick daily wipe with a soft cloth keeps it looking crisp.
3. Warm Things Up with Brushed Brass
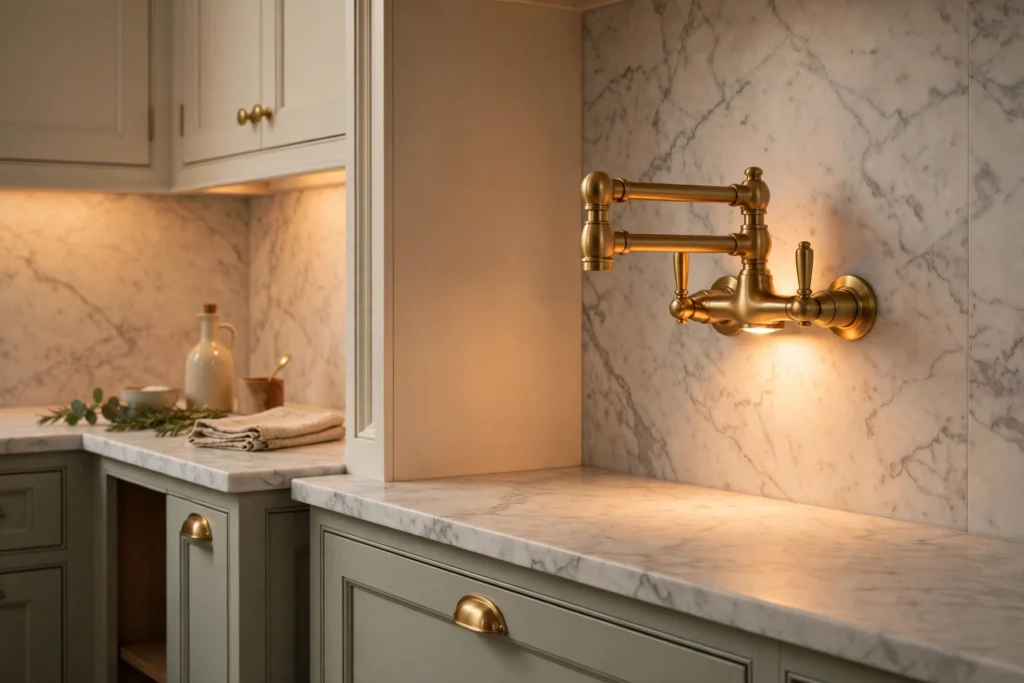
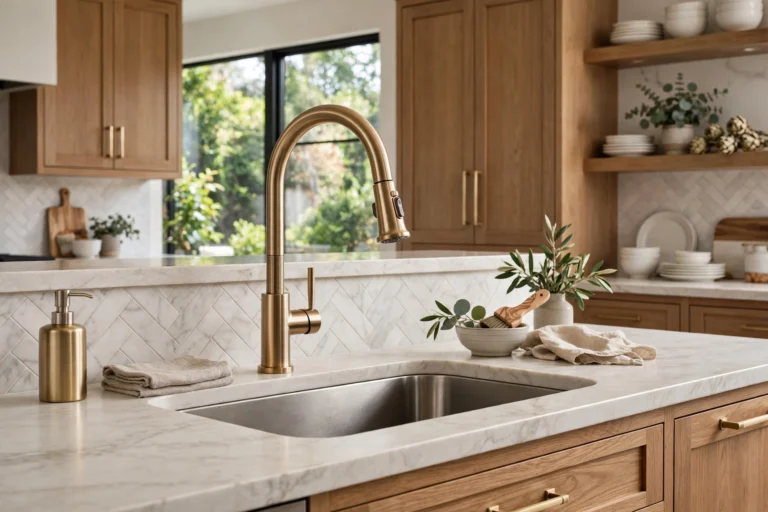
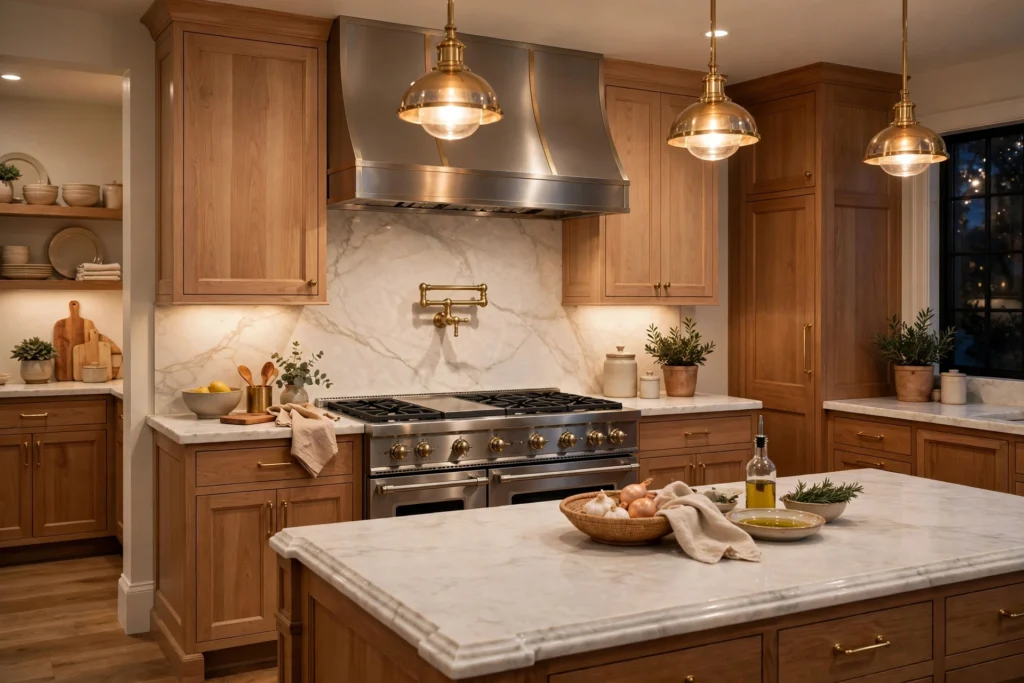
Brushed brass brings instant warmth and jewelry-like richness to the cooking wall. Unlike polished gold, the brushed finish has a soft, muted glow that sits comfortably in traditional, transitional, and even modern kitchens. It pairs beautifully with white marble, sage green cabinetry, and warm wood tones. Brass is naturally antimicrobial, which is a nice bonus in a food zone, though you will still wipe it down like any fixture. Look for solid brass construction rather than plated zinc — it ages gracefully and can be refinished if it ever dulls.
4. Choose a Double-Joint Articulating Arm
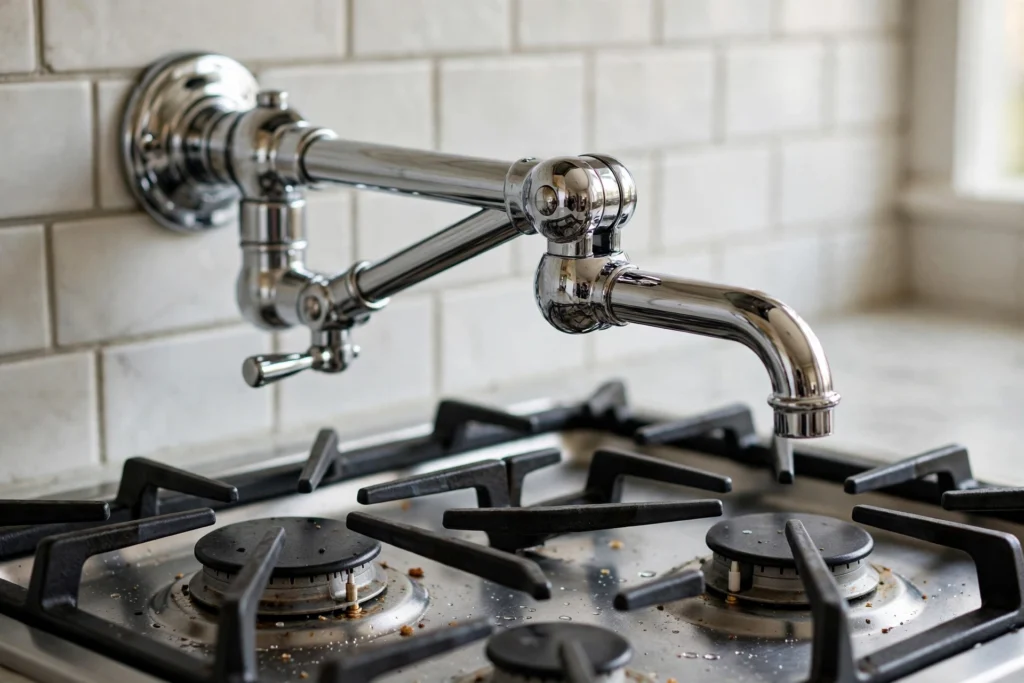
The double-joint articulating arm is the defining feature of most pot fillers, and it is worth understanding before you buy. Two pivot points let the spout swing out over the burners, rotate side to side, and fold completely flat against the wall when you are done. This full range of motion is what makes a pot filler genuinely useful rather than decorative — you can reach the back burners, dodge simmering pots, and park the arm flush when the wall needs to look clean. A pot filler typically has exactly this two-joint folding design, which lets it stay out of the way between uses. Test the swing in the showroom: it should move smoothly and hold its position without drifting.
5. Keep It Slim with a Single-Joint Fold-Flat Arm
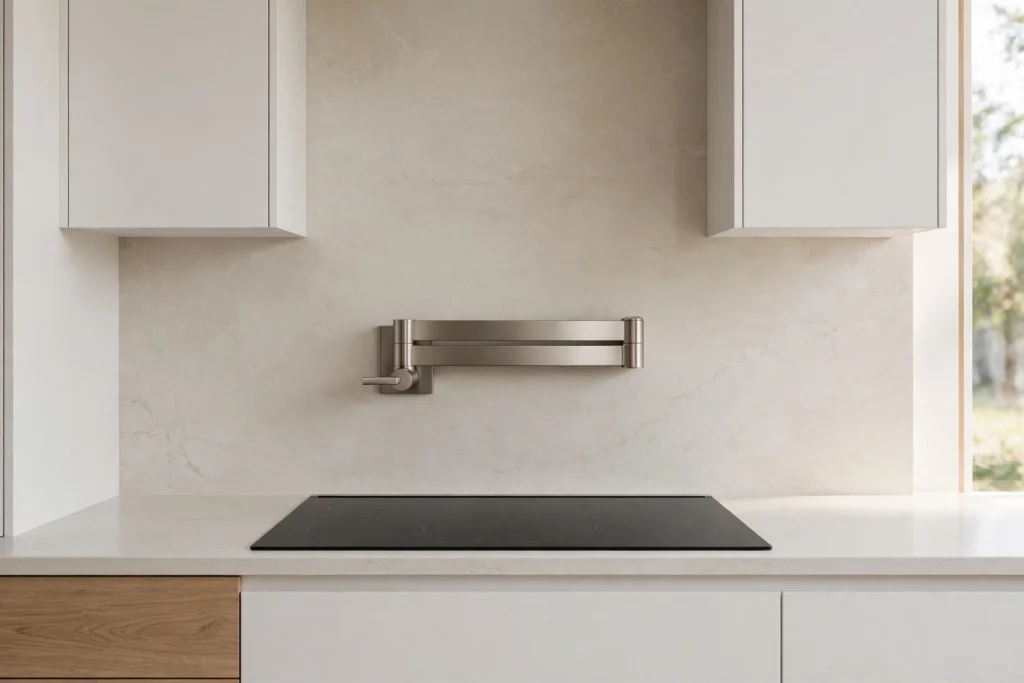
Not every kitchen needs maximum reach. A single-joint arm pivots at the wall only, folding straight back when idle, and its slimmer profile suits minimalist kitchens where visual clutter is the enemy. These models work best over smaller ranges and cooktops, where one pivot gives you all the coverage you need. The simpler mechanism also means fewer washers and seals to maintain over time.
6. Try a Bridge-Style Farmhouse Filler
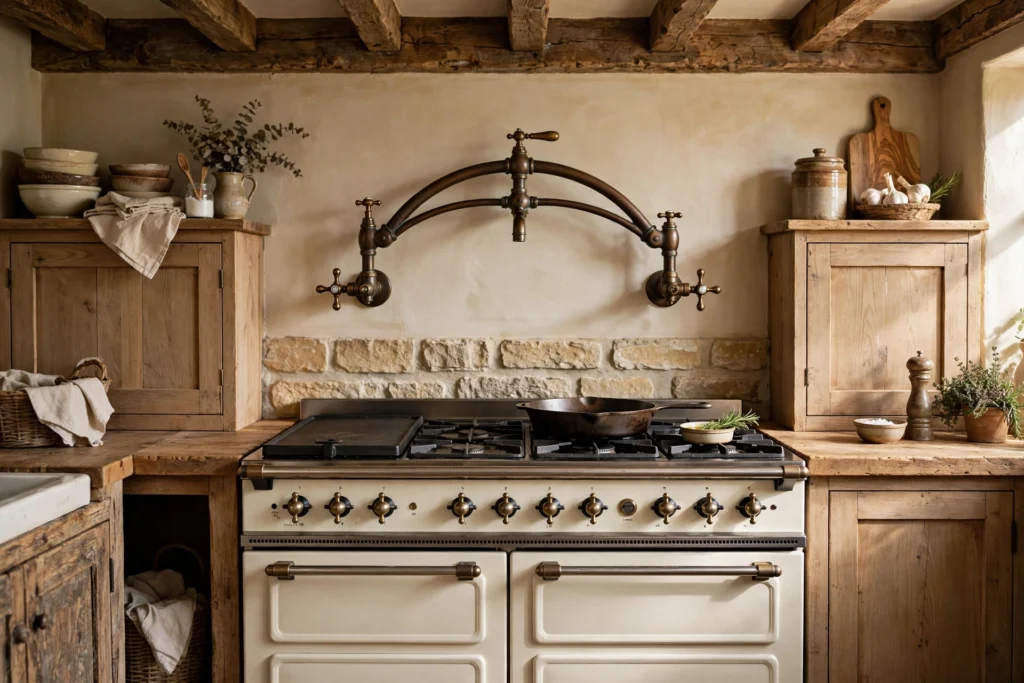
Bridge-style pot fillers echo the classic bridge faucets of farmhouse kitchens, with an arched, almost Victorian silhouette that feels collected rather than installed. The gentle curve of the arm softens the hard lines of a range and hood, making it a natural fit for cottage, farmhouse, and traditional kitchens. Pair it with a porcelain apron-front sink and unlacquered brass or oil-rubbed bronze hardware for a cohesive vintage feel. Our kitchen sink ideas with farmhouse charm show how to carry that character through the whole sink wall while the pot filler owns the stove wall.
7. Go Modern with a Square Profile
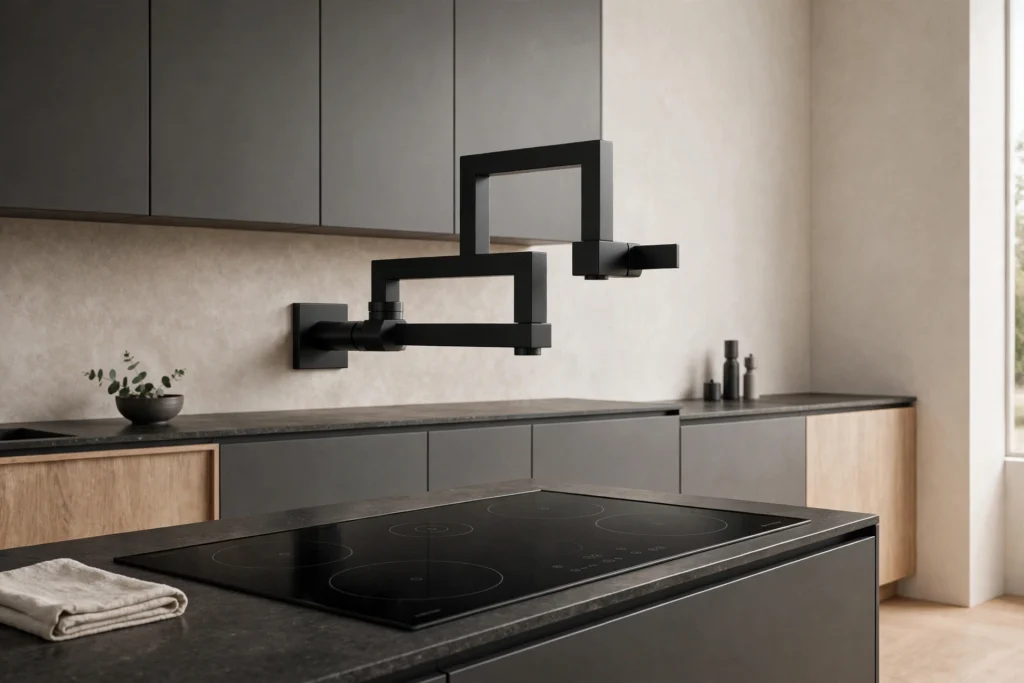
Square and rectangular profiles give pot fillers a crisp, architectural look that suits contemporary and Scandinavian kitchens. The geometric lines echo slab cabinet fronts and handleless drawers, keeping the whole cooking zone visually calm. Look for a model with a low-profile wall flange and a concealed pivot for the cleanest effect — the arm should read as a simple line against the backsplash. Matte black or brushed stainless square fillers are the most popular pairing; polished chrome square models can feel slightly retro, which is lovely in a mid-century-inspired kitchen but less so in a strict minimalist one.
8. Channel a Commercial Restaurant Kitchen
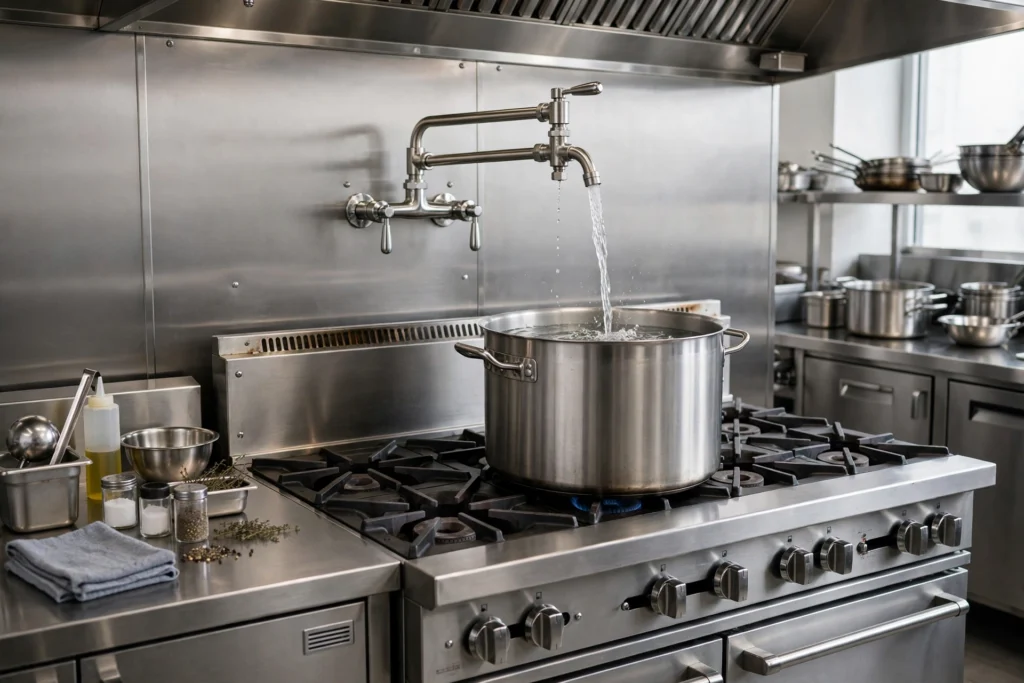
For serious home cooks, a commercial-style pot filler delivers the drama of a professional kitchen. Look for heavy-duty construction, a longer reach arm, and industrial details like exposed fasteners or a chunky lever handle. These models are built to swing out, fill a 20-quart stockpot, and fold back hundreds of times without loosening — the mechanism is the star. They pair best with a professional-style range, stainless backsplash panels, and open shelving stocked with real cookware. Be honest about scale: a restaurant-duty filler can overwhelm a 30-inch apartment range, so match the fixture to your cooktop’s size.
9. Match It to Your Main Faucet
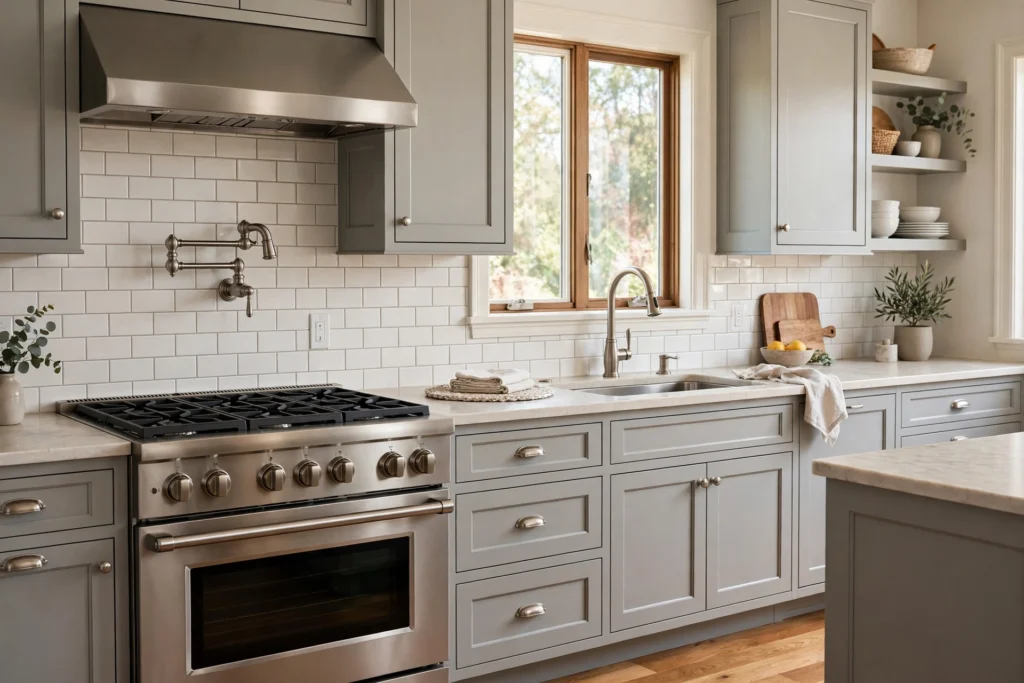
A pot filler that echoes your main sink faucet makes the kitchen feel designed rather than assembled. Manufacturers sell many faucet lines with matching pot fillers, so choose the pair at the start of a remodel and you never have to hunt later. The match does not need to be identical — the same finish, handle style, and spout profile is enough to read as intentional. If your main faucet is a high-arc pull-down in brushed nickel, a brushed nickel pot filler with a similar silhouette ties the two water zones together. Mismatched finishes are one of the fastest ways a kitchen looks pieced together.
10. Embrace Cold-Water-Only Simplicity
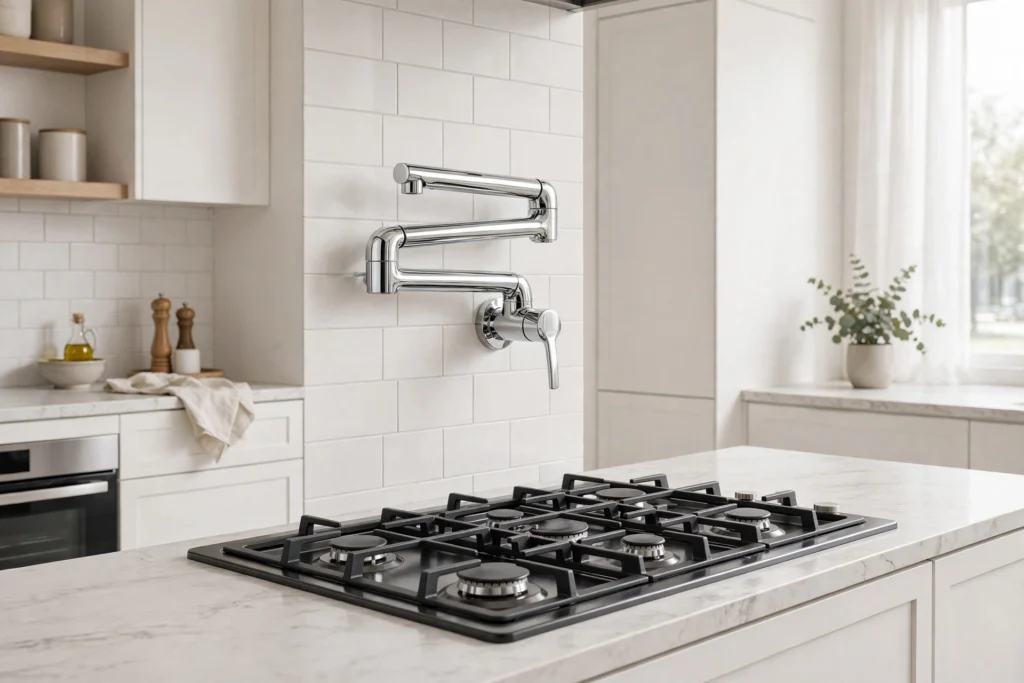
Nearly all pot fillers deliver cold water only, and that is a feature, not a limitation. A single cold line means simpler plumbing, fewer valves to fail, and no risk of scalding when you bump the handle reaching for a back burner. The water heats in the pot within minutes anyway, so you lose nothing in practice. When shopping, confirm the model is rated for your home’s water pressure; very low pressure can make filling a large pot feel slow, and a pressure-boosting whole-house solution beats blaming the fixture.
11. Add a Sprayer Attachment Model
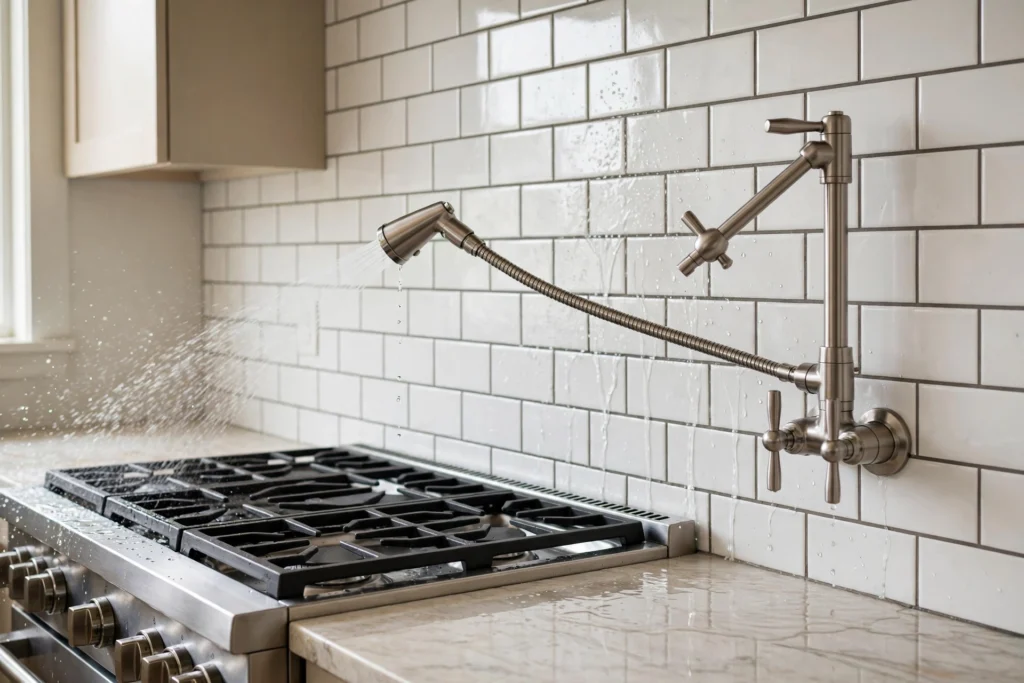
Some pot fillers include a pull-out sprayer or a secondary rinse function, which extends the fixture from pot-filling into light cleanup duty. A sprayer is handy for rinsing the backsplash after a splattery stir-fry or filling the coffee reservoir without moving it. The trade-off is complexity: more moving parts and a hose that lives in a hot zone, so choose a reputable brand with a strong warranty on the spray mechanism. If you want absolute simplicity, skip the sprayer — but if your cooktop doubles as your main prep surface, the extra function earns its keep.
12. Style It Over a Statement Backsplash
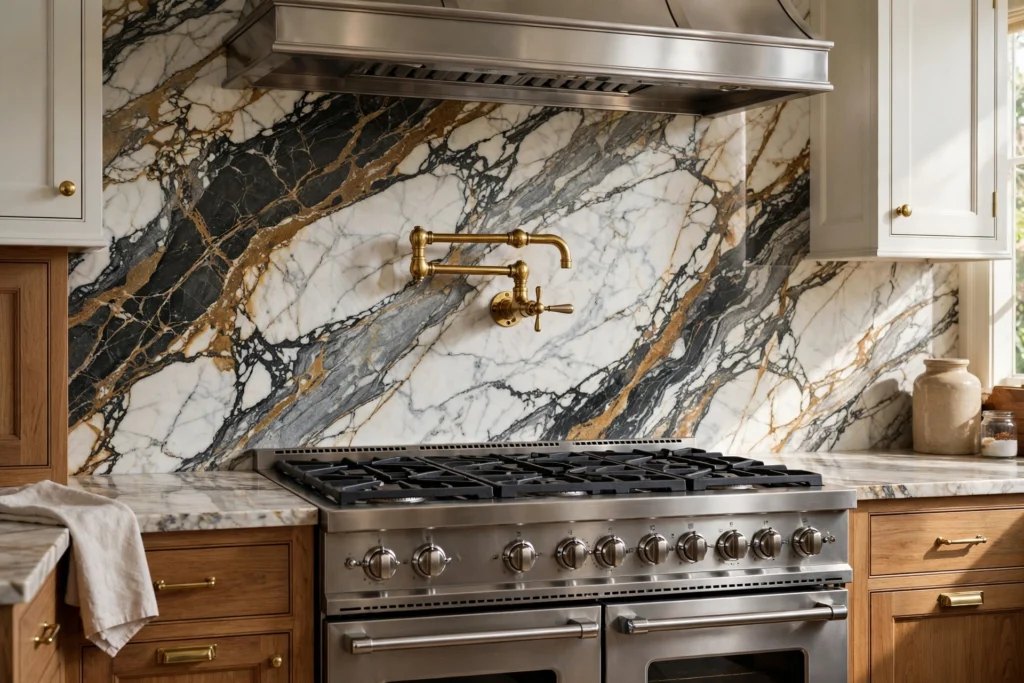
A pot filler deserves a backdrop that shows it off. Bold backsplashes — hand-painted tile, dramatic marble veining, moody zellige — turn the cooking wall into the kitchen’s focal point, and the filler becomes jewelry on the wall rather than a plumbing afterthought. Keep the area directly behind the spout in easy-clean materials: glazed tile or a stainless panel wipes down in seconds, while raw plaster or wallpaper will suffer. Our kitchen backsplash ideas for a stunning focal point are full of materials that handle heat and splatter beautifully behind a pot filler. The Spruce’s kitchen decorating guides at thespruce.com also have strong examples of pairing statement tile with brass fixtures.
13. Get the Mounting Height Right
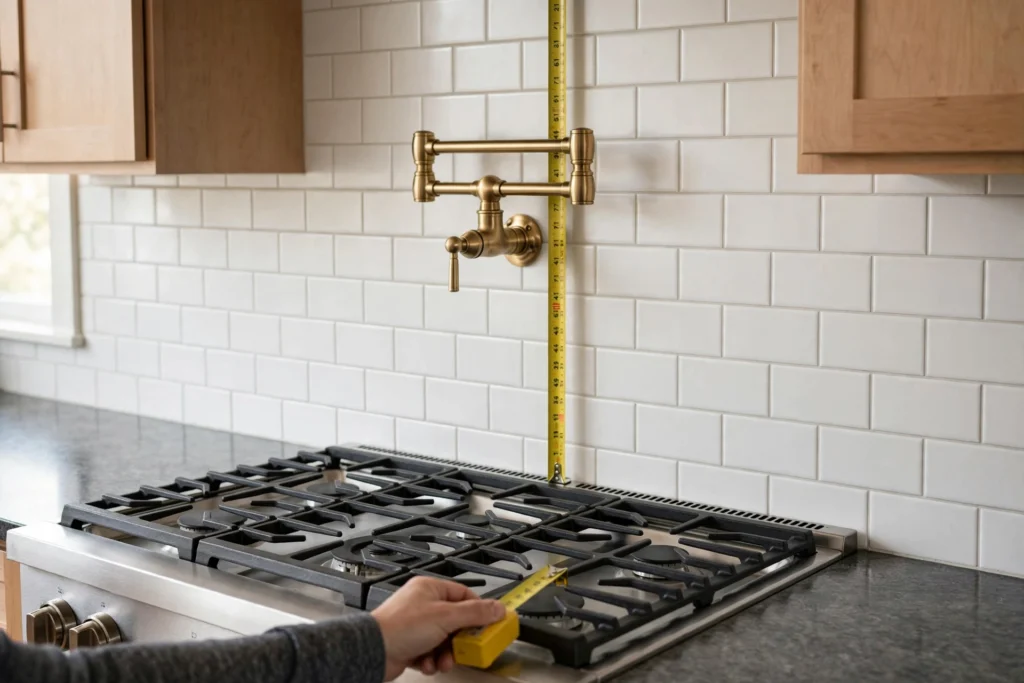
Height is the most common pot filler mistake, and it is worth measuring twice. Mount the valve 18 to 24 inches above the cooktop: lower than that and your tallest stockpot will not fit under the spout; higher and the arm looks stranded while splashing increases. Consider your tallest pot with its lid handle — measure it, add an inch of clearance, and that is your minimum. If you have young kids, a shut-off valve tucked inside the adjacent cabinet gives you a hidden master control.
14. Pick a Finish That Hides Water Spots
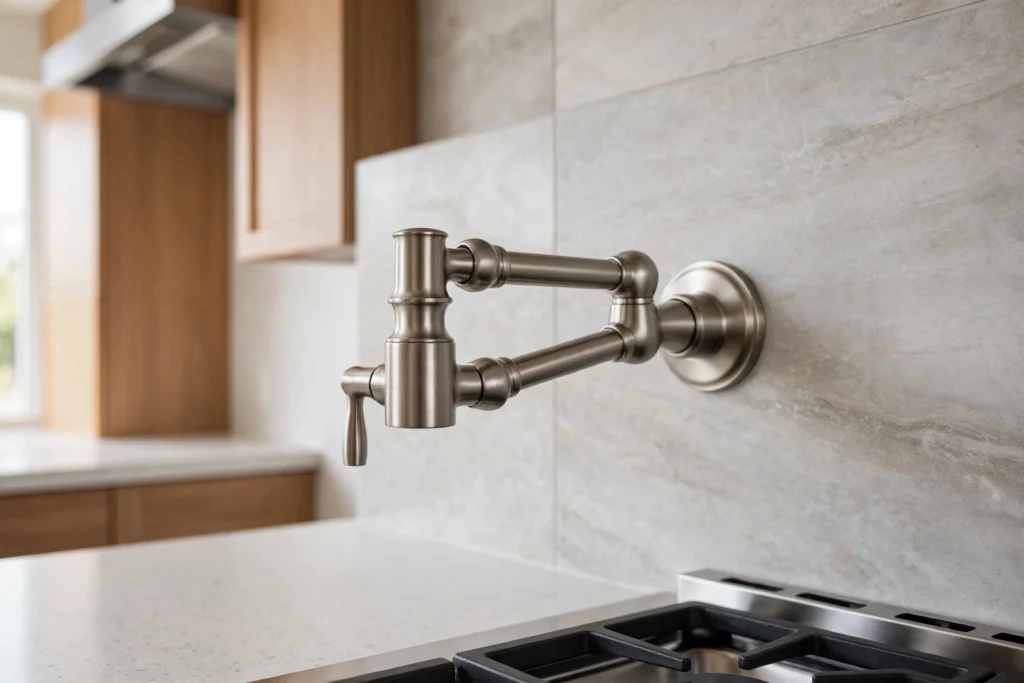
Life with a pot filler means water spots — the spout lives over a steamy, splattery zone. Brushed and satin finishes (brushed nickel, satin brass, matte black) camouflage spots and fingerprints far better than polished chrome or polished gold, which show every droplet. If you love a polished finish, commit to a quick wipe after heavy cooking sessions; it takes ten seconds and keeps the shine. Hard water areas should lean brushed regardless of style — mineral deposits etch polished surfaces over time. When in doubt, order finish samples and hold them against your backsplash in real kitchen light before committing.
15. Plan Maintenance Access from Day One
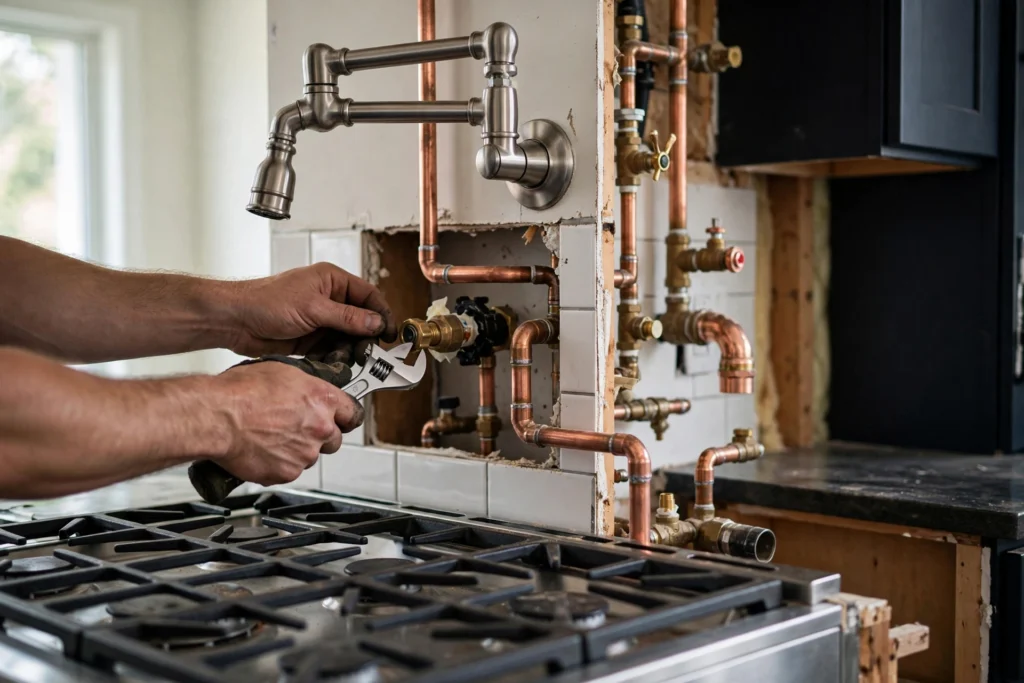
A pot filler is plumbed inside the wall, so think about access before the drywall goes up. Install an accessible shut-off valve in the cabinet or basement below — if a washer ever fails, you want to kill the water in seconds, not call a plumber to open the wall. Choose a model with a replaceable cartridge and ceramic disc valves, which last far longer than old-style compression washers. Every year or two, exercise the handle and check the pivot joints for drips; tightening a packing nut early prevents a slow leak from staining the backsplash. Five minutes of prevention protects a fixture that should last decades.
FAQ
Do I really need a plumber to install a pot filler?
Yes, in almost every case. A pot filler requires a cold-water line run inside the wall to the exact spot above your range, plus a shut-off valve and proper anchoring to a stud or blocking. This is straightforward during a remodel or new build but involves opening drywall in an existing kitchen.
Can I add a pot filler to an existing kitchen?
You can, but it is more work than in new construction. The wall behind the range must be opened to run the water line, which means patching and repainting the backsplash area afterward. Many homeowners time pot filler installation with a backsplash replacement or range upgrade so the wall is already being disturbed. The result is worth the mess if you cook with large pots often.
How far should a pot filler reach?
Most pot fillers extend 20 to 24 inches from the wall, which covers the front and middle burners of a standard 30-inch range. For 36-inch professional ranges, look for long-reach models that extend 24 inches or more so the spout can reach the back burners. Check the manufacturer’s reach specification against your cooktop’s depth before buying.
Are pot fillers worth it for resale value?
They are a strong nice-to-have rather than a must-have. In mid-range and luxury markets, buyers recognize pot fillers as a premium touch and they photograph well in listings. They will not single-handedly sell a house, but alongside a quality range and hood they reinforce a high-end cooking story. In budget markets, the plumbing cost rarely pays back directly.
What is the best finish for a pot filler near a gas range?
Any quality finish survives near a gas range — heat rises, and the filler sits well above the flame zone. The bigger concern is grease and splatter, so choose a finish that cleans easily: polished chrome, brushed nickel, and stainless all wipe down well. Avoid living finishes like unlacquered brass if you dislike patina, since cooking grease accelerates the darkening.
Keep Exploring
A pot filler is one of those upgrades you notice every single time you cook — the kind of detail that makes a kitchen feel like it was designed around you rather than around a catalog. Start with the finish that matches your faucet, get the height right, and give it a worthy backsplash. From there, the whole cooking wall starts to come together: the hood, the range, the tile, and now a tap that saves your back and your floors. Keep browsing for the next detail that earns its place, and your kitchen will keep getting better one thoughtful choice at a time.