
Few storage upgrades do as much for a workspace as a pegboard. One affordable panel turns a blank wall into a living command center for pens, cables, notebooks, headphones, and the small things that quietly swallow desk space. Unlike drawers — where supplies go to disappear — a pegboard keeps everything visible, reachable, and re-arrangeable in seconds. Whether you are outfitting a dedicated study or a corner of the living room, these home office pegboard ideas will help you build a setup that works as hard as you do. They also pair beautifully with broader tidy-desk strategies like our home office organization ideas for a clutter-free space, which covers the whole-room habits that keep a workspace calm.
Before you buy anything, take stock of what actually lives on your desk. The most common mistake is grabbing a pegboard first and filling it with random organizers afterward. Instead, gather every item that currently crowds your work surface — charger cables, scissors, sticky notes, the headphones you drape over the monitor — and plan zones for them. A pegboard shines when it holds the things you reach for daily and displays the few that deserve a spotlight. With that quick inventory in hand, every idea below becomes a concrete plan rather than a wish list.
1. Hang the Pegboard Right Above the Desk
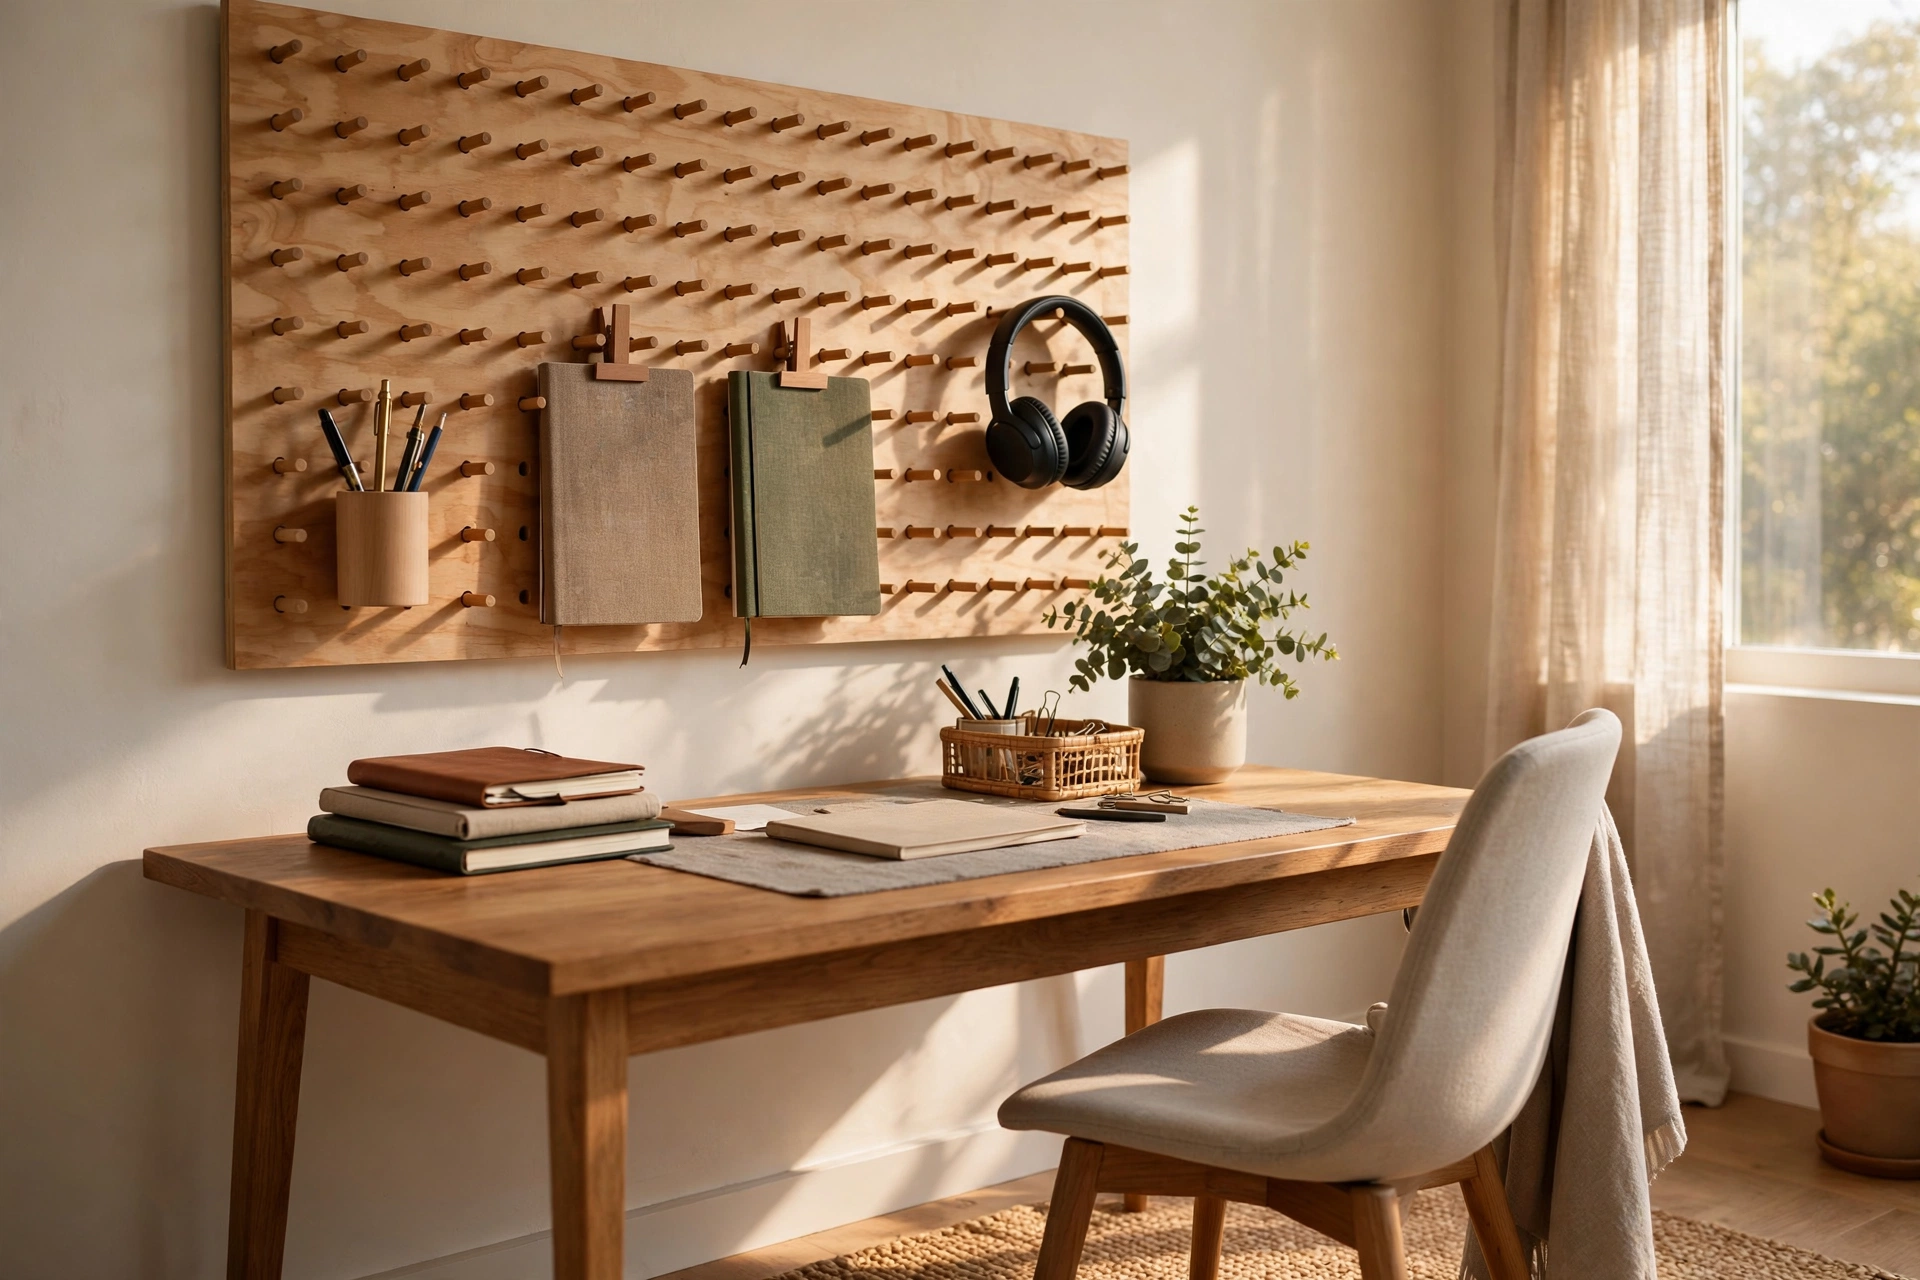
The single highest-impact placement is dead center above your desk, about 15 to 25 centimeters above the work surface. This puts pens, notepads, and phone chargers within a comfortable arm’s reach while you are seated — no swiveling, no standing up mid-task. A panel roughly the width of your desk keeps the zone compact and avoids the cluttered sprawl that comes from boards that are too large. If your desk sits under a shelf, mount the pegboard in the gap between them so the whole vertical strip becomes one working column. Reserve the top rows for reference items you grab weekly, like envelopes or a planner, and the middle rows — the golden zone — for daily tools. Anything you touch multiple times a day belongs in that middle band, not at the board’s edges.
2. Start With a Wood Pegboard for Warmth
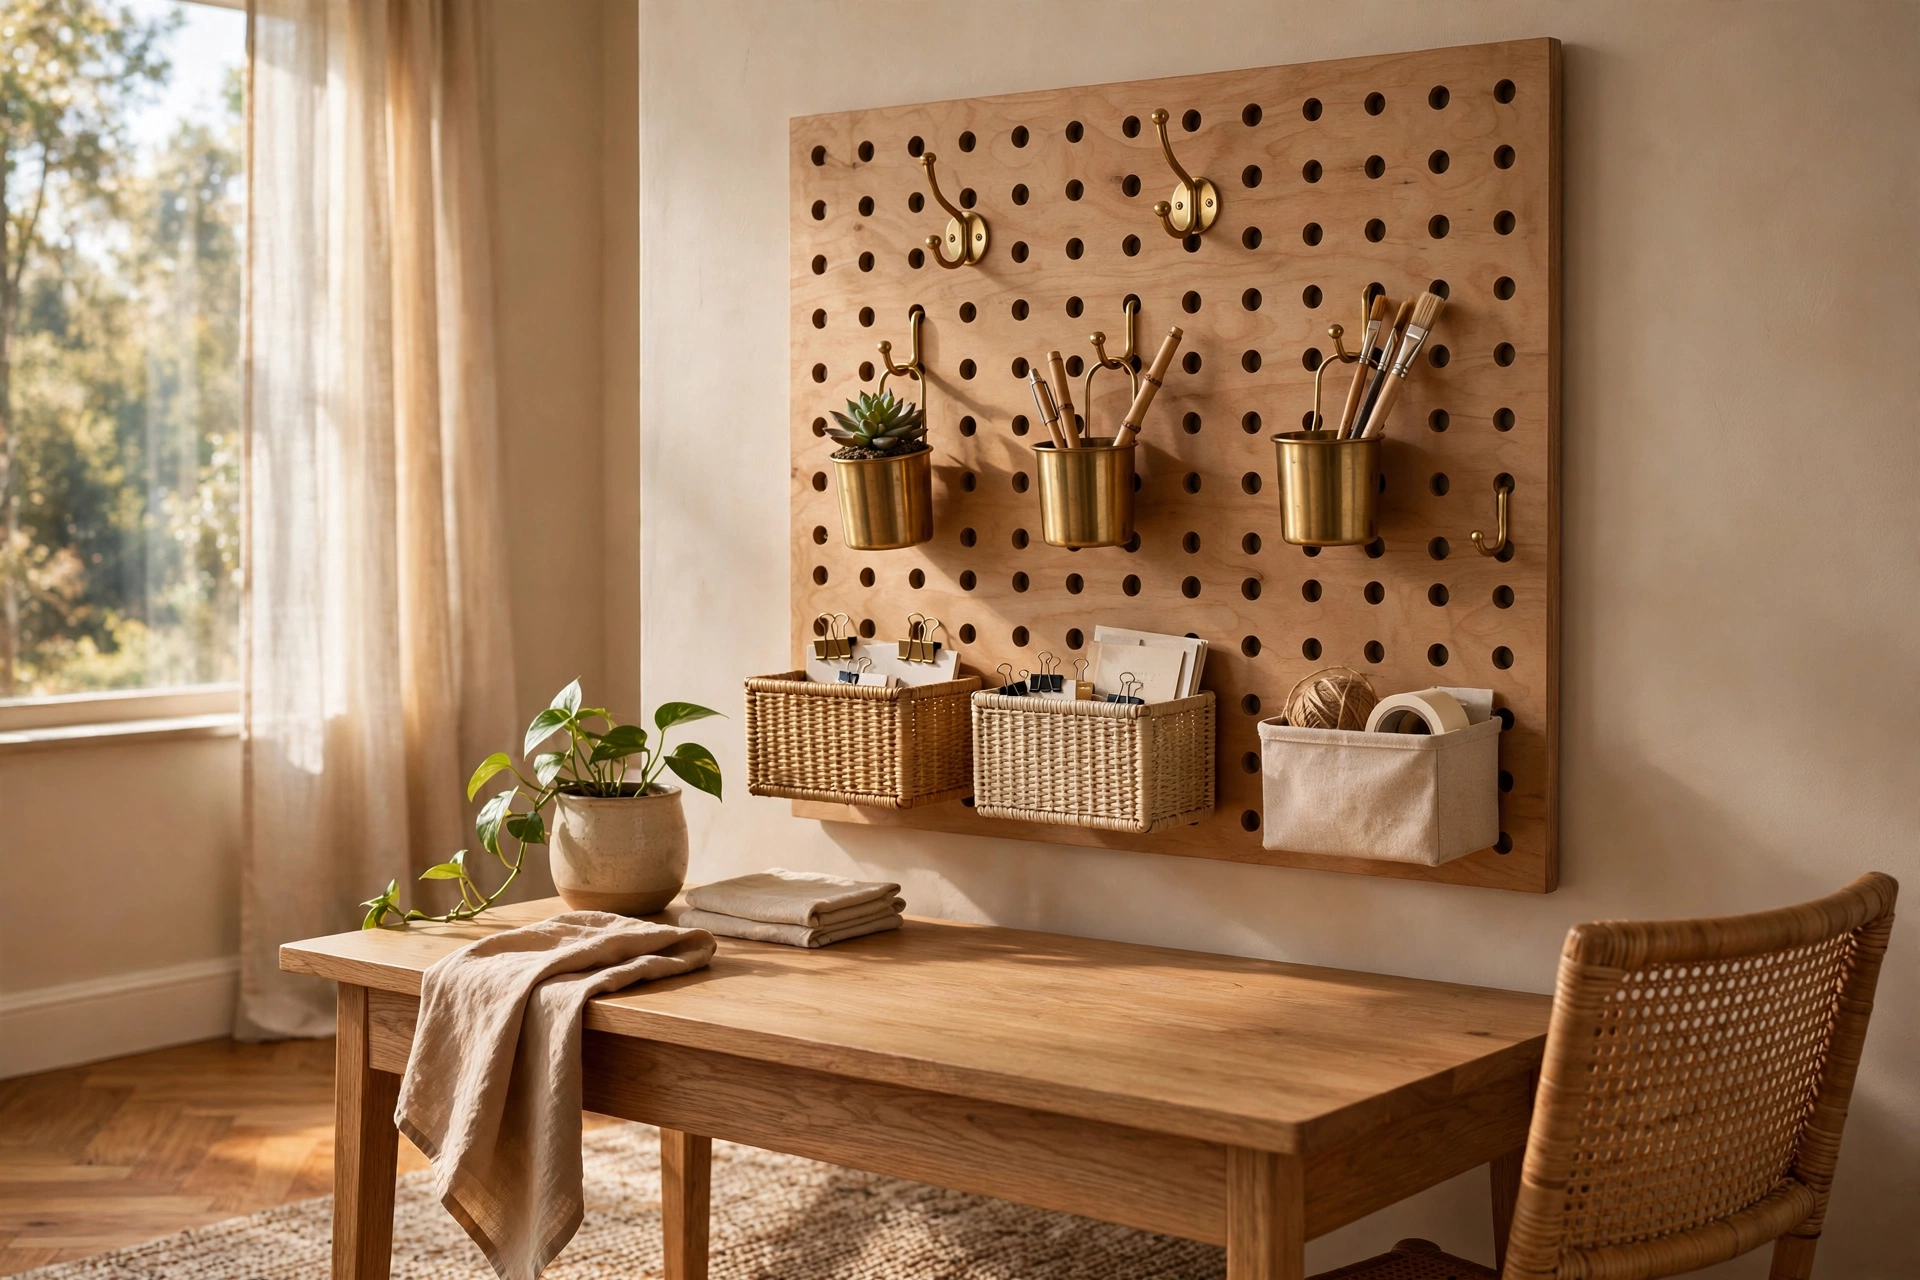
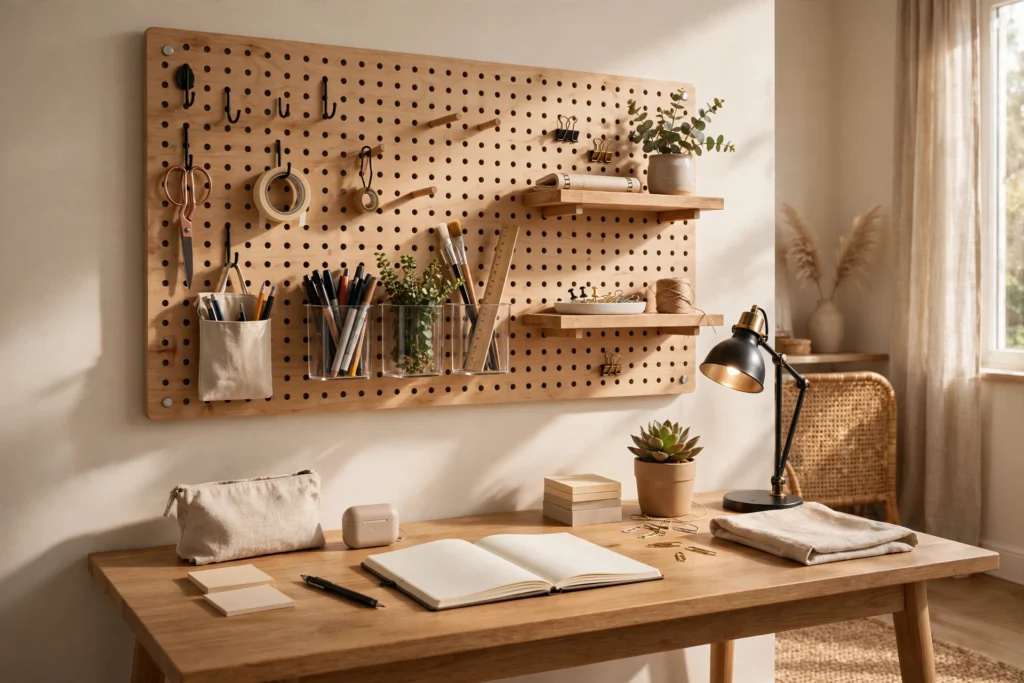
A natural wood pegboard — bamboo, birch plywood, or a stained pine panel — softens a workspace instantly and suits Scandinavian, rustic, and warm-minimal interiors far better than raw hardboard. Wood’s grain makes the board itself part of the decor, so even a sparsely hung board looks finished rather than empty. Choose a light stain if your desk is dark wood to create tonal variety, or go whitewashed to keep a small room bright. Since wood boards take paint beautifully, you can also stain once and change your mind later. Match your hooks and accessories to the mood: brass or leather-cup hooks feel intentional on wood, while bright plastic clips would look like an afterthought. For a tidy feel, limit yourself to one or two wood tones across the board, frame, and accessories.
3. Try a Sleek Metal Pegboard for Modern Offices
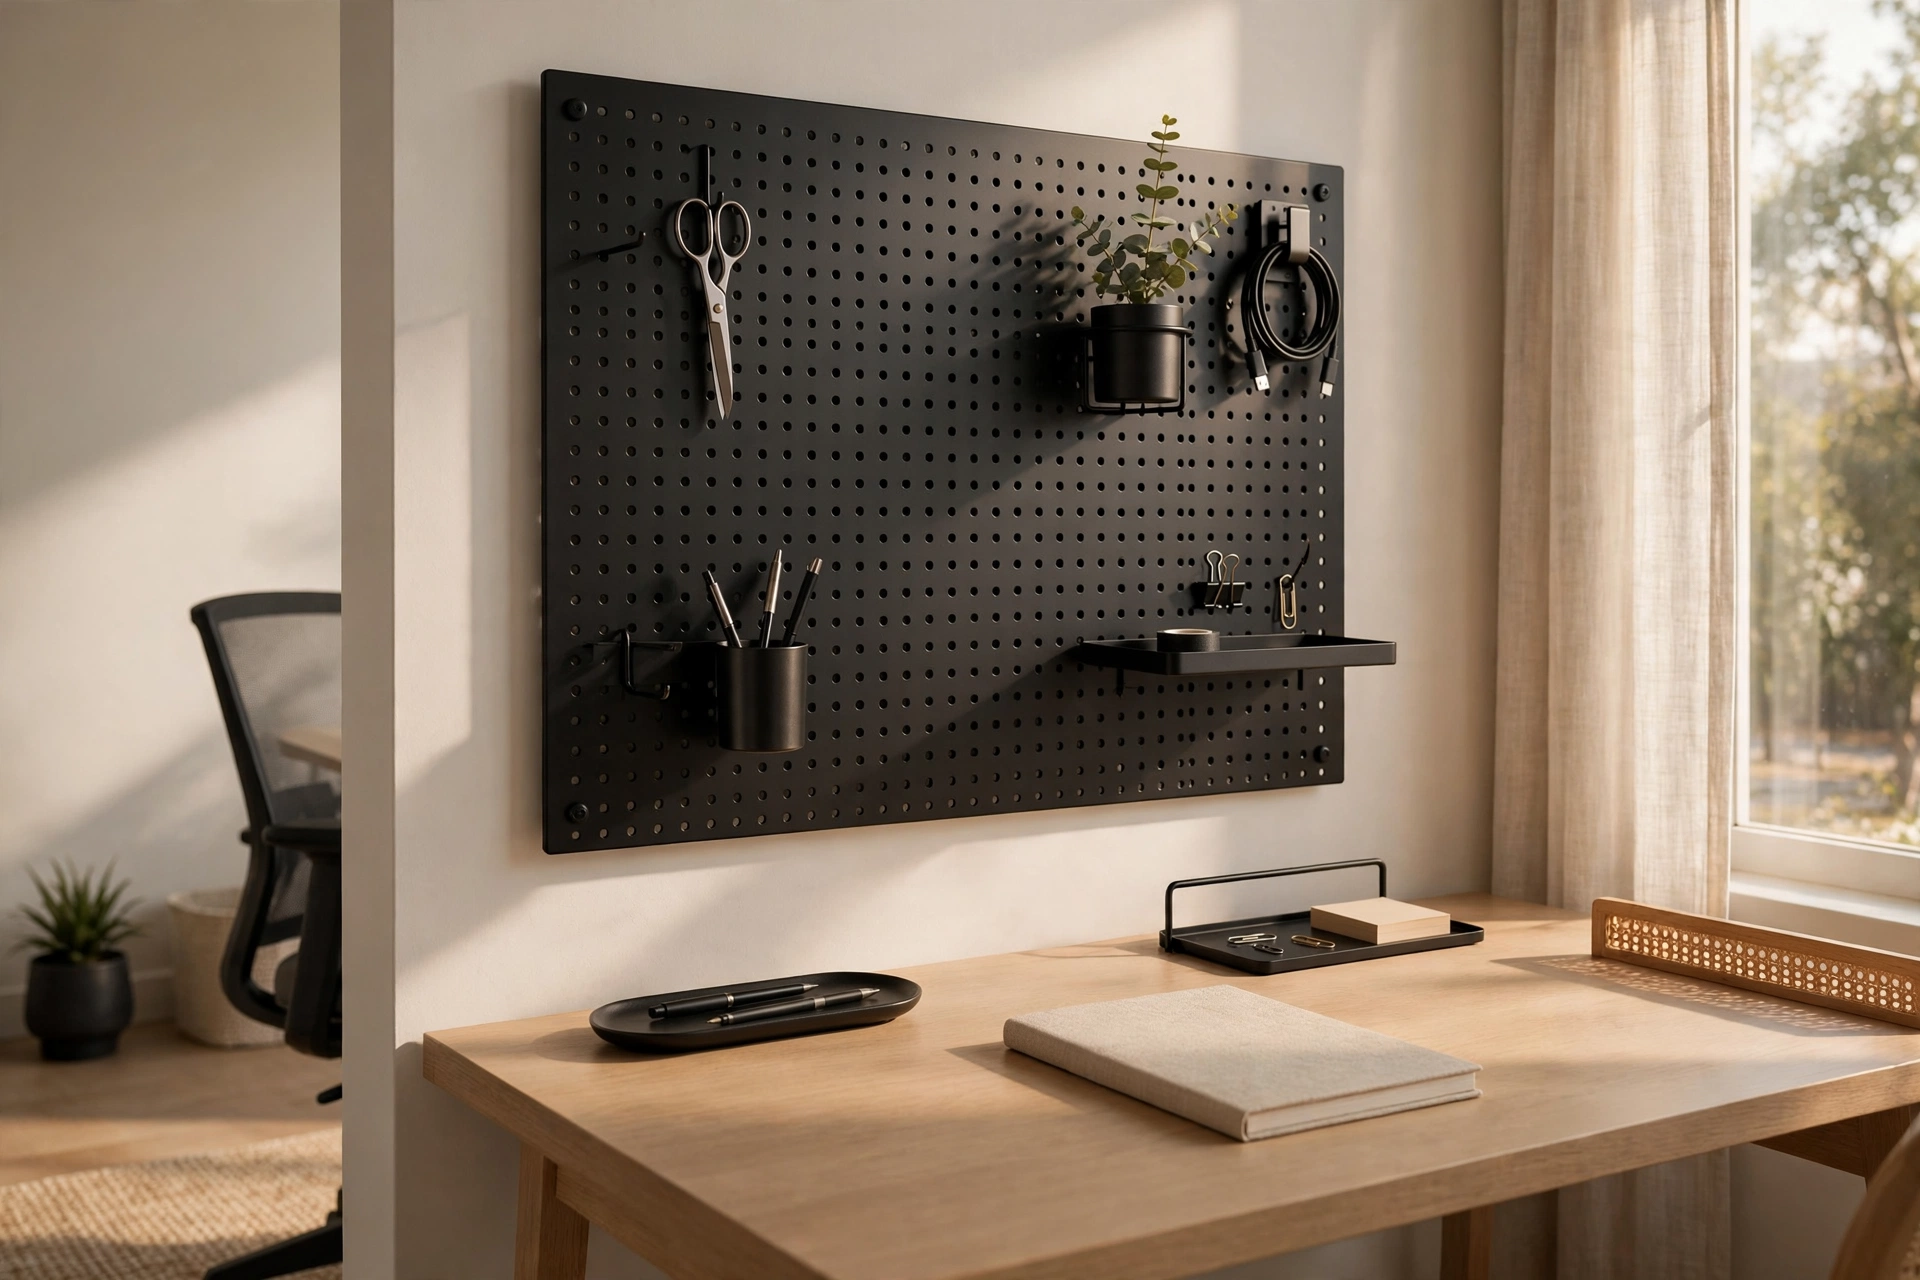
Metal pegboards — powder-coated steel panels in black, white, or gunmetal — bring a crisp, graphic look that hardboard can’t match, and they are nearly indestructible. The uniform grid reads as intentional design even before you hang anything, which makes metal boards ideal for minimalist or industrial workspaces. Practical bonus: most steel panels are magnetic, so you can stick notes and photos directly to the surface without any hardware at all. This doubles your attachment options — hooks through the holes, magnets across the face. Metal boards tend to be pricier than hardboard, but a single panel lasts through multiple moves and never warps in humidity. Pair with matte-black accessories for a cohesive gallery-wall feel, or add a few wooden cups to keep the metal from reading too cold.
4. Paint Your Pegboard Your Accent Color
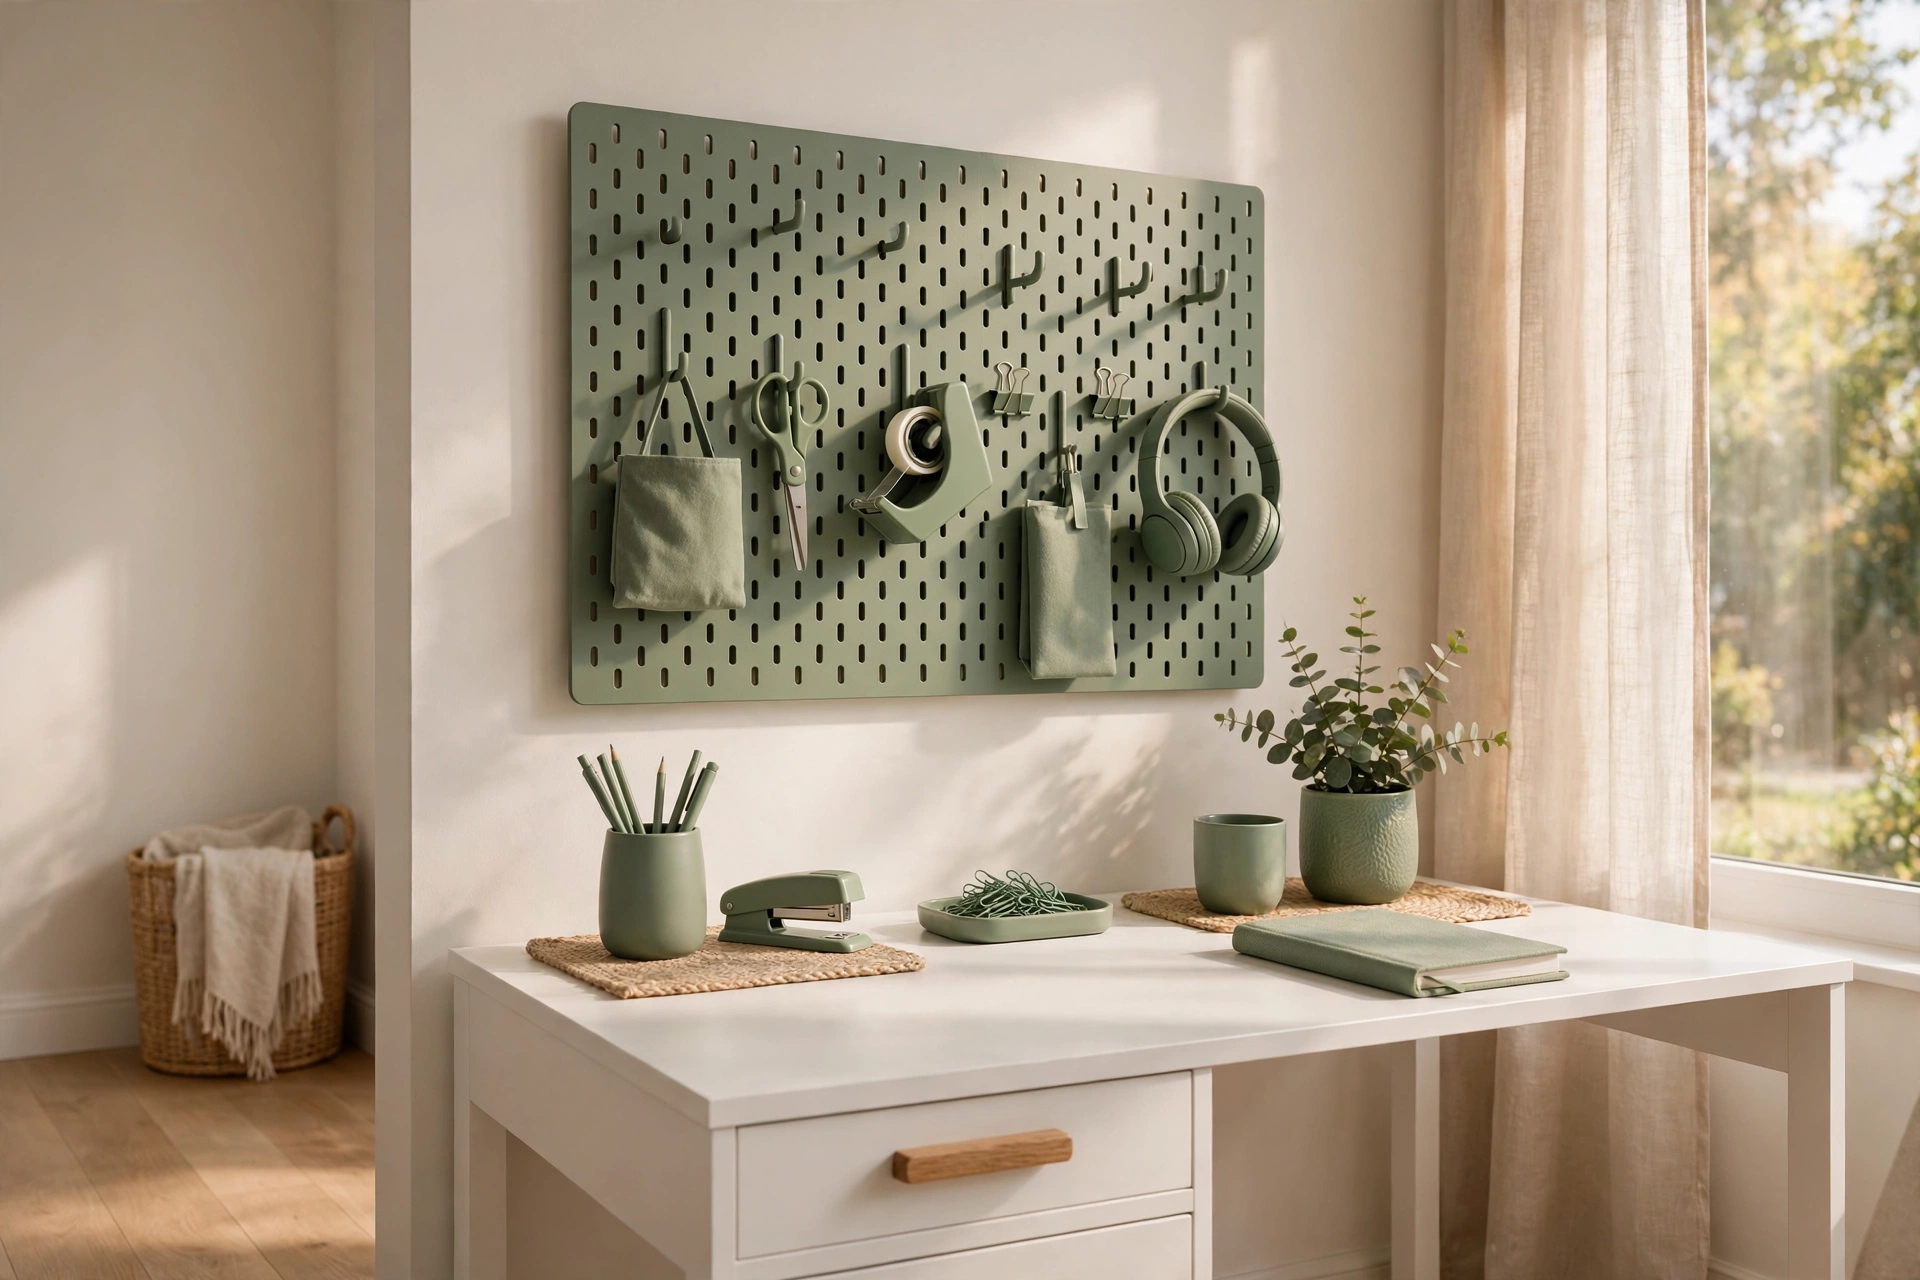
Painting a plain pegboard is the cheapest way to make it look custom. A coat of primer followed by two light coats of semigloss paint transforms a boring brown panel into a design feature — sage green, terracotta, or navy can echo your room’s accent color and tie the whole wall together. The key detail is technique: roll the paint on thinly so it doesn’t clog the holes, and let each coat dry fully before the next. Glossy or semigloss finishes wipe clean, which matters in a working office where fingers touch the board all day. If you want the holes to pop visually, paint the board dark and use brass or natural-wood accessories against it. And keep a small jar of the paint for touch-ups — painted boards show scuffs wherever hooks get moved, and a quick dab every few months keeps it looking new.
5. Go Frameless for a Floating Built-In Look
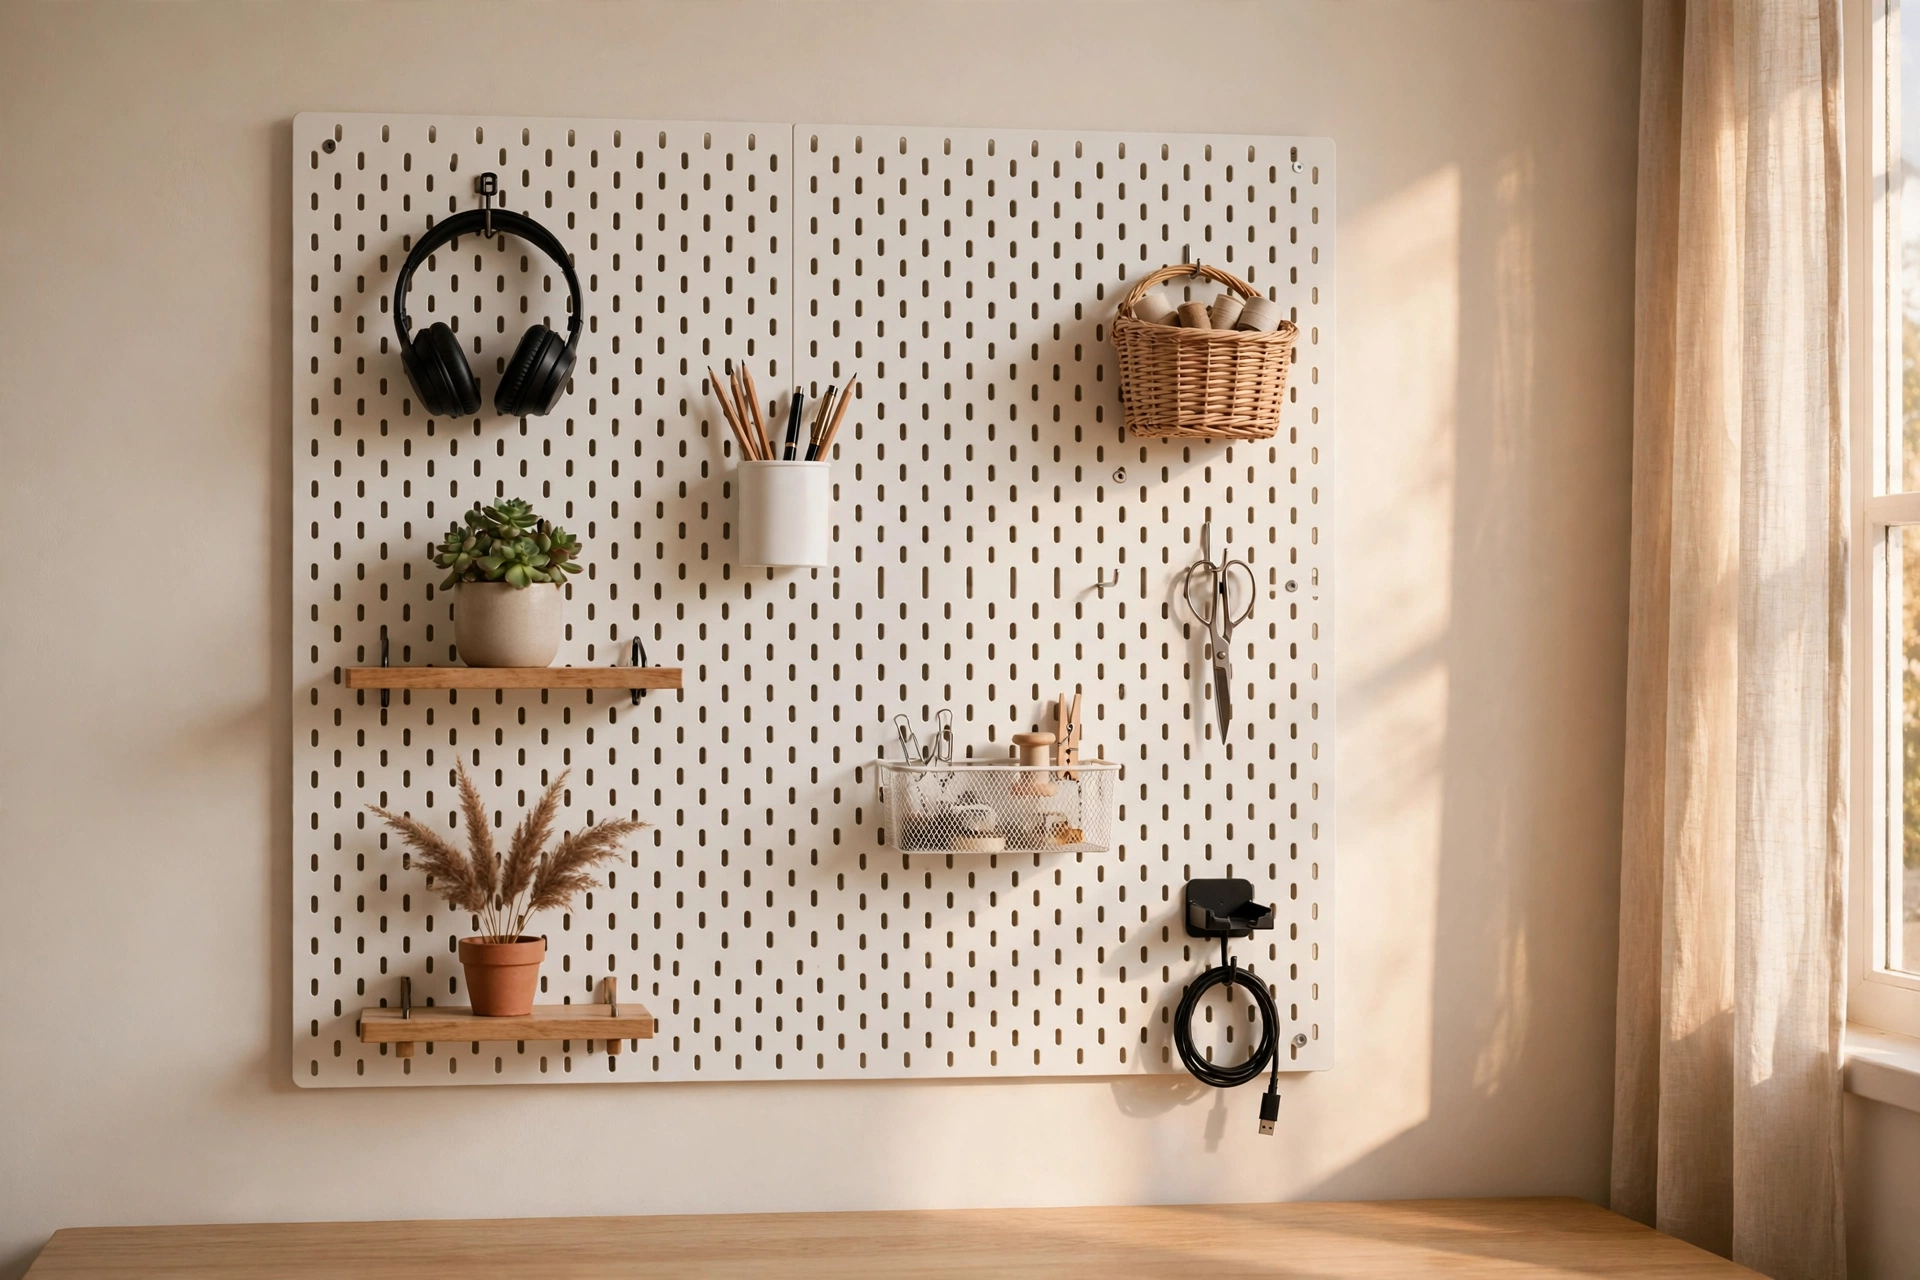
A frameless pegboard mounted flush to the wall reads like a built-in feature rather than an add-on. The trick is using standoff spacers — small blocks or washers placed behind the board — to leave the half-inch gap that peg hooks need to insert and lock. Once mounted, the board sits flat with no visible frame, and the clean rectangle of pegholes becomes a textural pattern on the wall. This approach works especially well when the board matches the wall color exactly, creating a subtle tone-on-tone effect that adds function without visual noise. It is also the best route for renters who can use adhesive-mounted standoffs with heavy-duty strips on smaller boards. Just test the hold on a small section first and keep the load light — scissors and pens, not books.
6. Build a Full Pegboard Wall
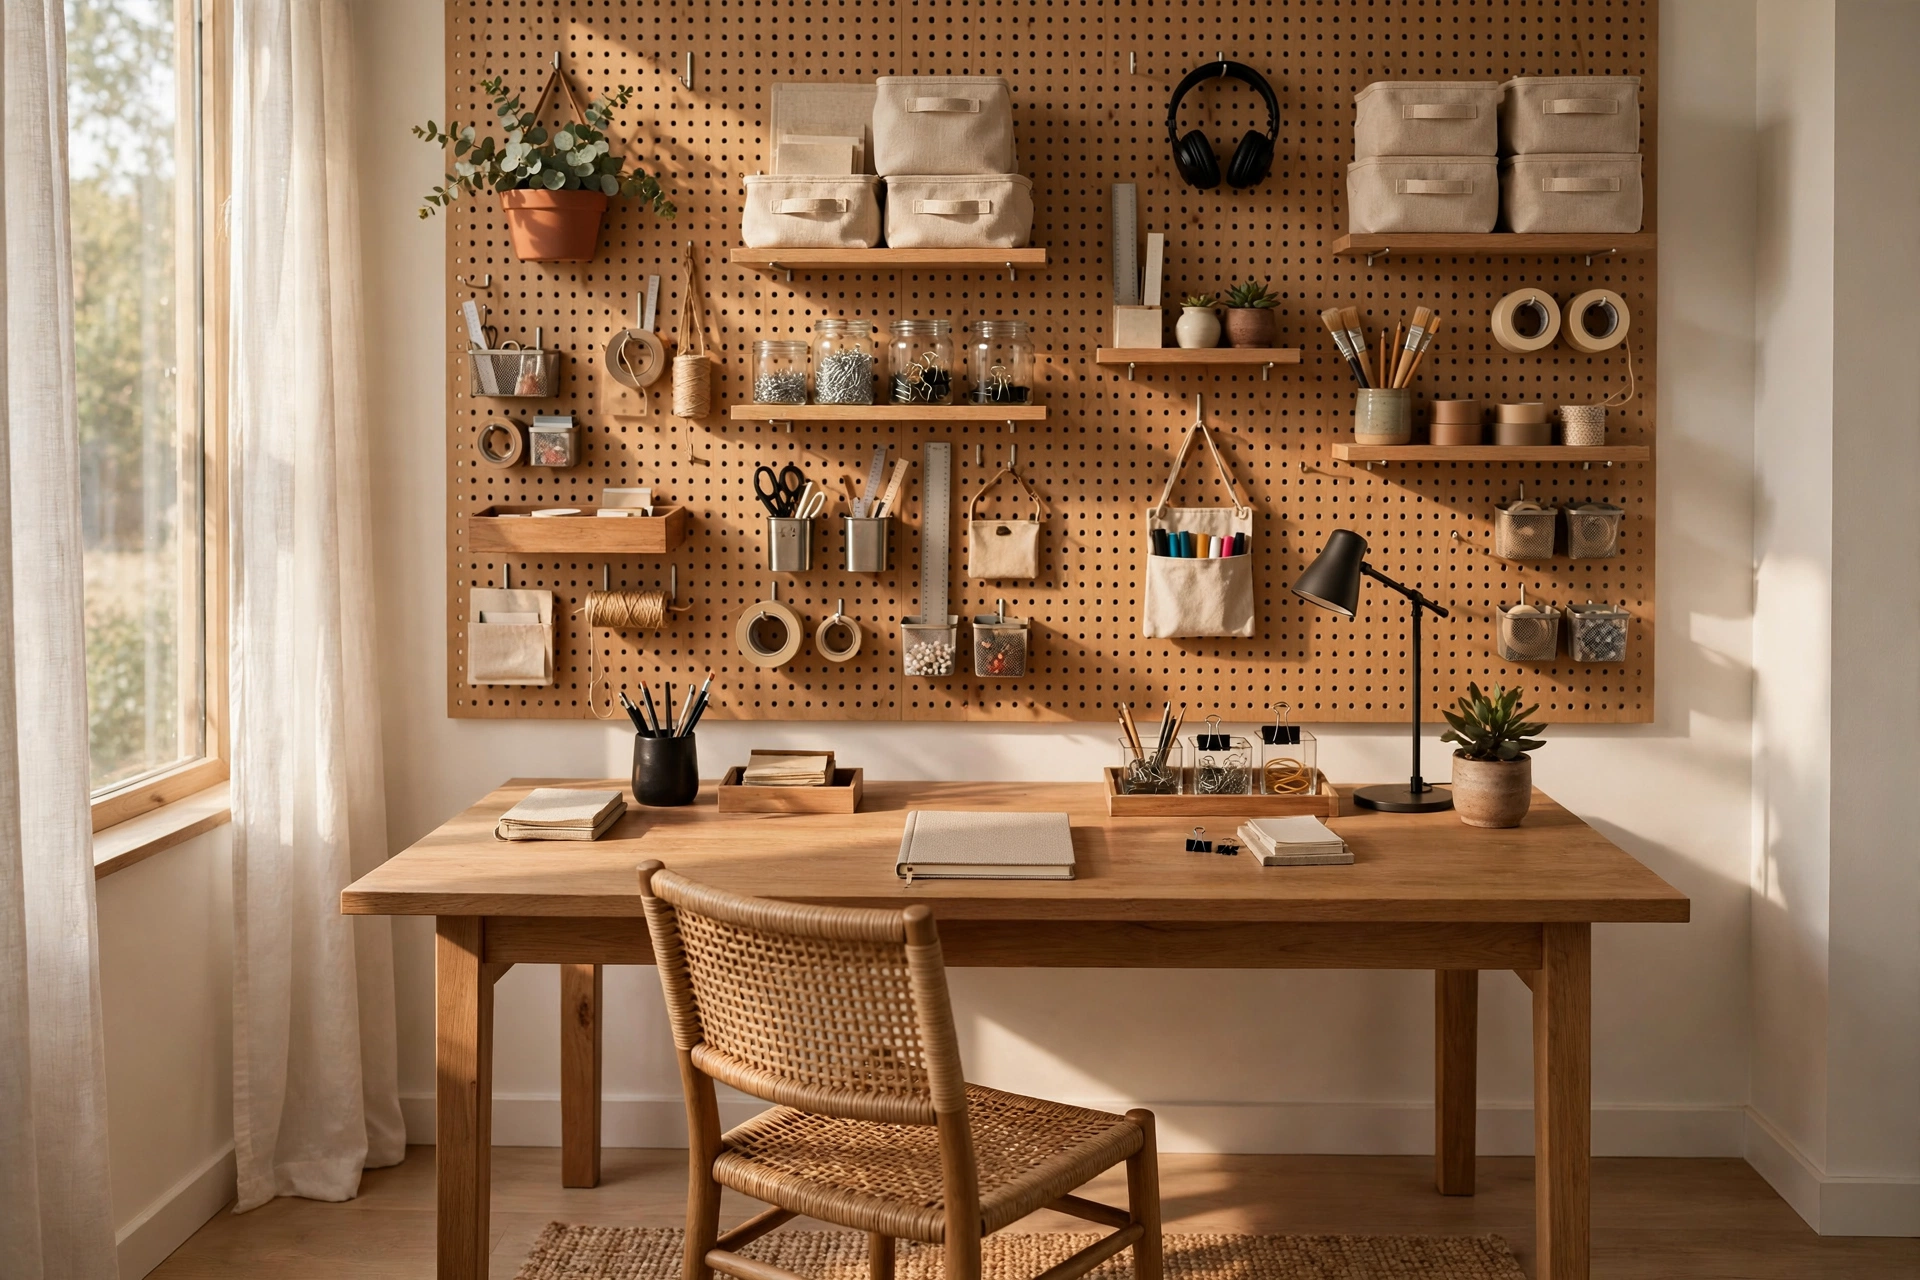
If your work genuinely involves lots of gear — a designer with samples, a crafter with tools, a student with references — consider covering the entire wall behind the desk, floor to monitor height or even wider. A full pegboard wall turns storage into architecture: every hook, shelf, and bin finds a natural home, and the room gains an unmistakable identity. The secret to keeping it from looking chaotic is a strict grid discipline — group like items together, repeat accessories in the same finish, and leave breathing room between zones. Paint the whole wall of boards one color for cohesion, and use the bottom row for a narrow ledge shelf that catches items sliding off hooks. Done right, a pegboard wall is both the most functional and the most personal wall in the house. If your desk habits ever change, the layout re-configures in minutes rather than requiring new furniture.
7. Use Double-Sided Panels in a Room Divider Office
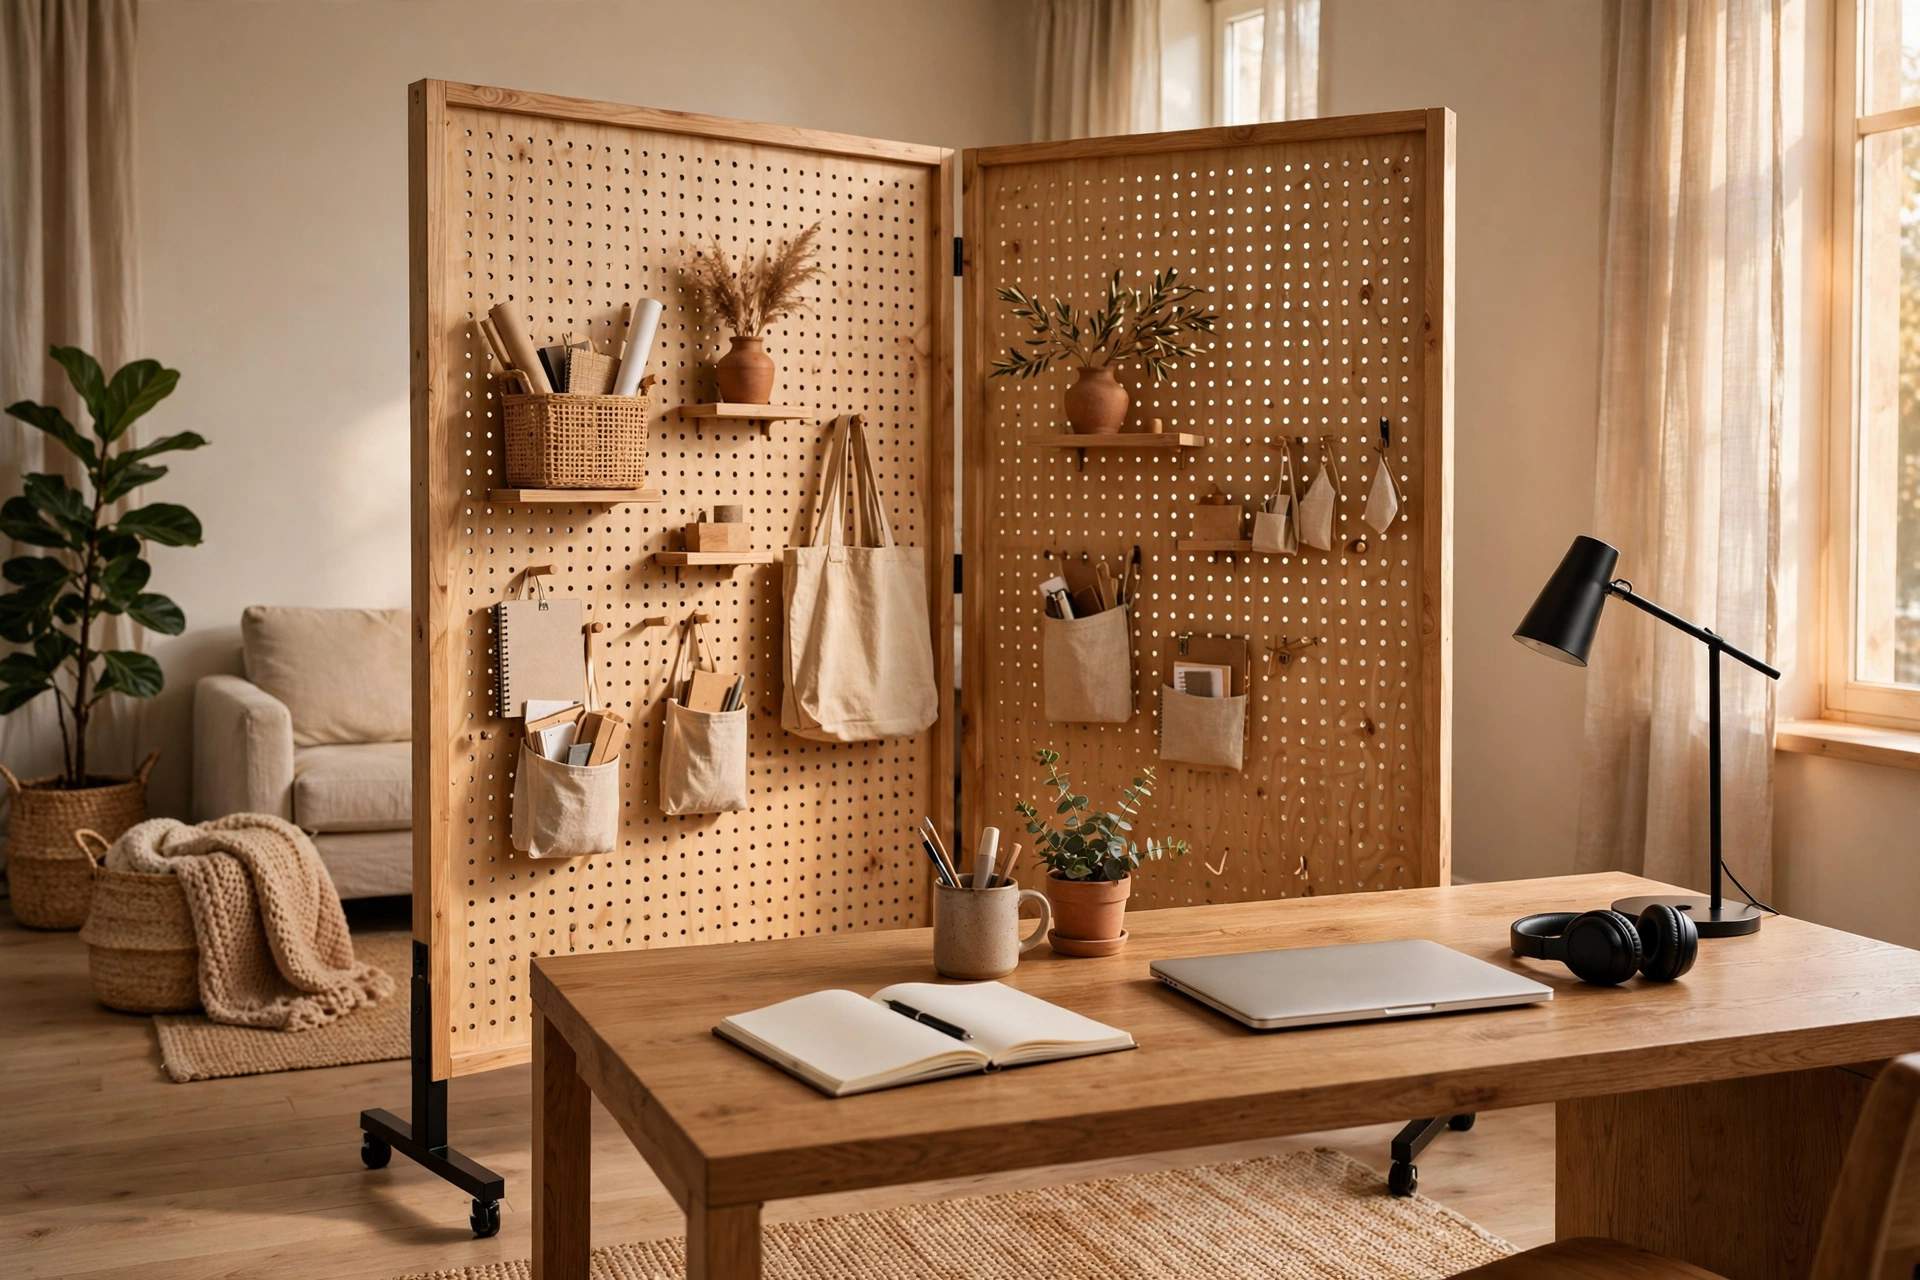
When your office floats in the middle of a larger room — a desk in a living room corner or a work nook behind the sofa — a freestanding double-sided pegboard panel gives you organization and a soft visual boundary at once. Mount a panel (or two joined side by side) on legs or a rolling base so it stands behind the desk like a privacy screen. The desk side holds work supplies; the room side can display art, plants, and decor that face the living space. This solves the classic open-plan problem of staring at the back of a messy workspace from the sofa. Keep the board’s height below seated eye level from the room side so the divider feels like furniture, not a wall. Rolling bases add flexibility for cleaning or rearranging, and lockable casters keep it steady during the workday.
8. Mount a Small Pegboard for Tight Corners
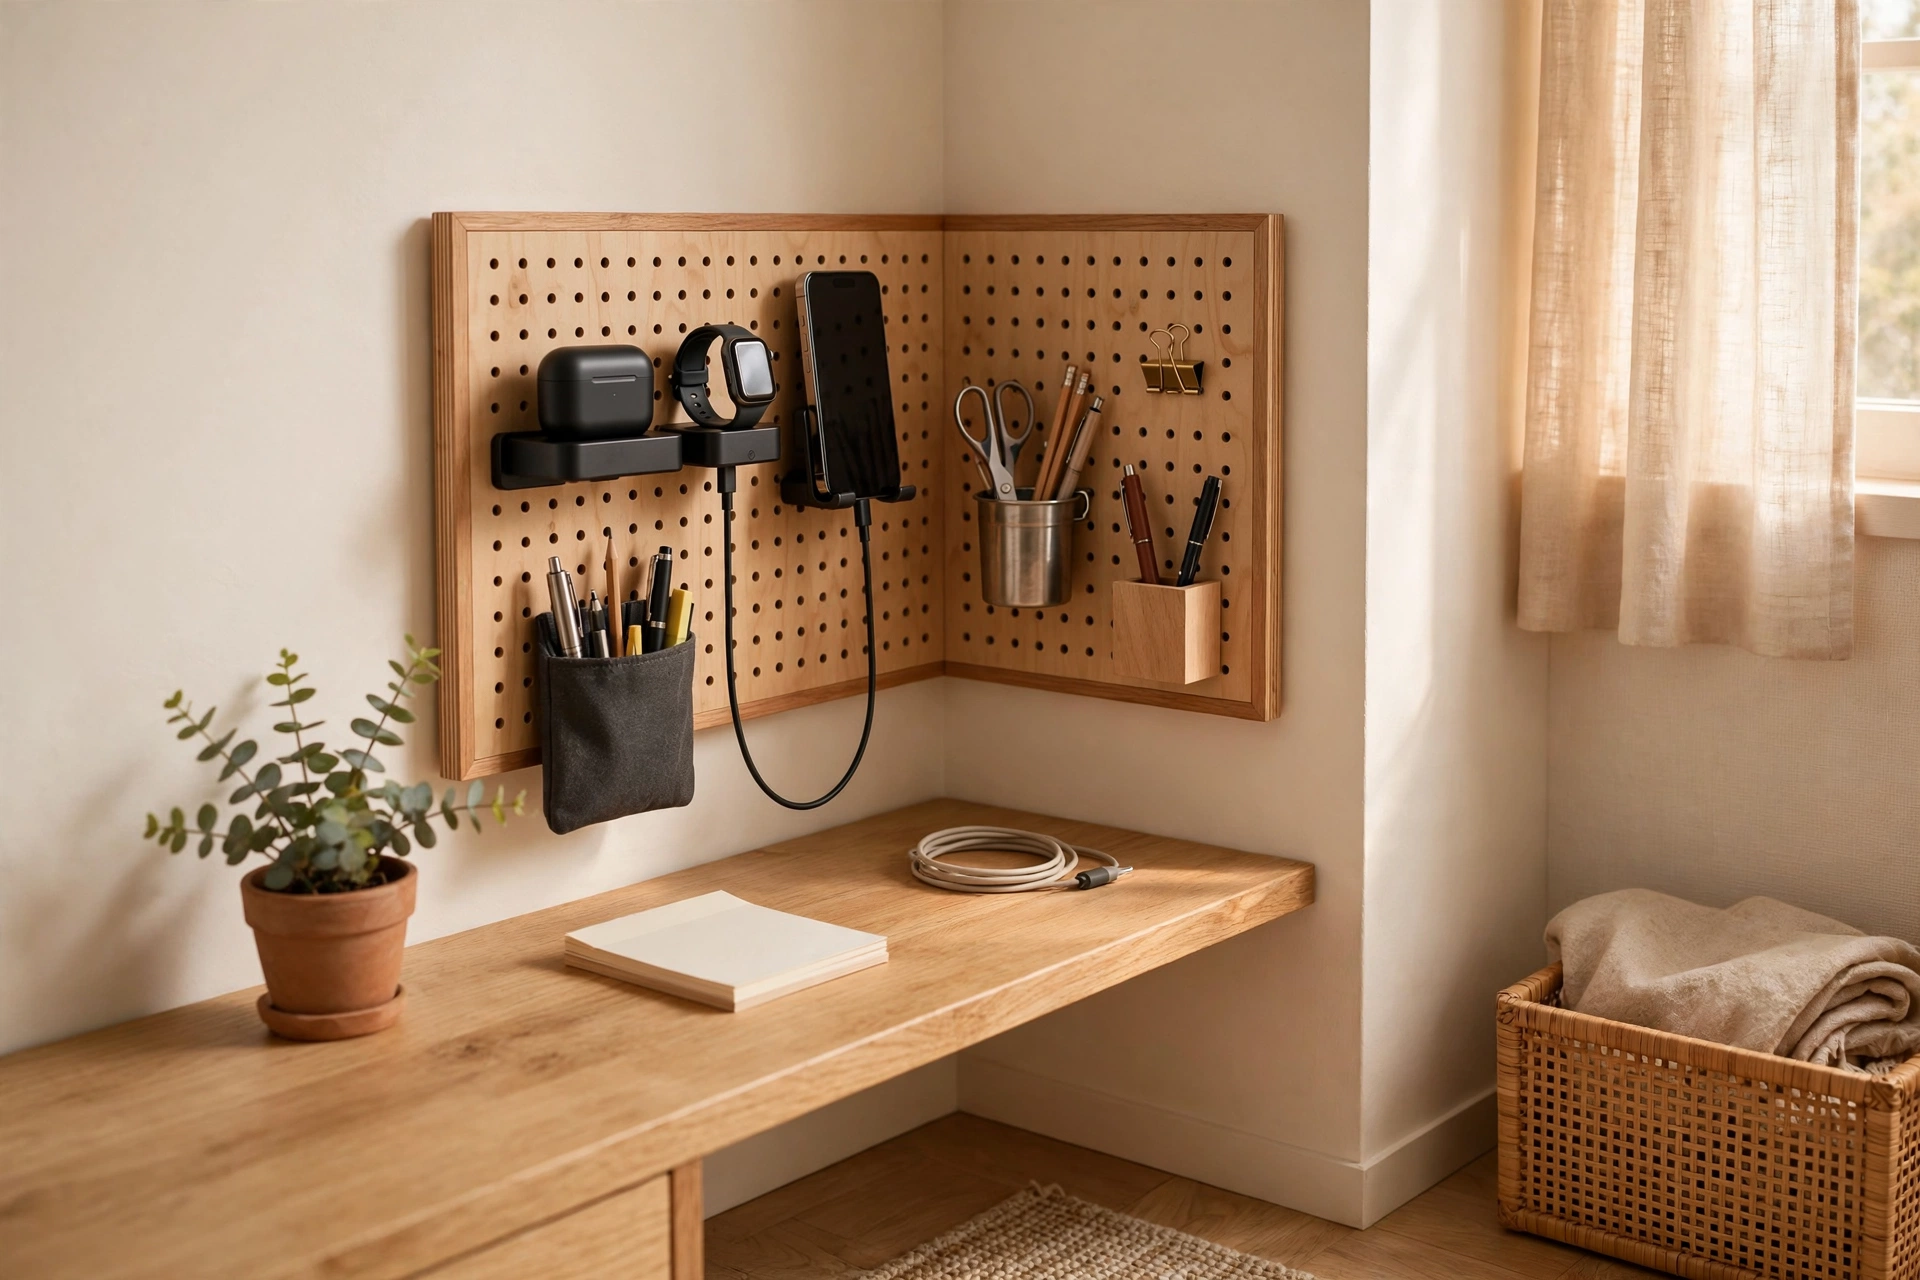
Not every home office gets a full wall. A compact board — 30 by 40 centimeters or thereabouts — mounted at seated eye level beside the desk delivers 80 percent of the benefit in a fraction of the space. Small boards work beautifully as dedicated single-purpose stations: a charging dock with cable hooks, a writing-tool cluster beside a journaling chair, or a headset-and-mic hanger for video calls. Because the area is small, curate ruthlessly — five well-chosen items beat fifteen crammed ones. Look for boards with built-in frames so they mount easily in awkward spots like the side of a bookshelf, the inside of a closet-door office, or a narrow strip of wall between windows. In rental setups, a small board on adhesive hooks (rated honestly for the weight) gives you pegboard convenience with zero holes. Complement a compact workstation with these home office desk setup ideas for focus and comfort to make every inch of the tight corner ergonomic too.
9. Zone Your Accessories: Hooks, Shelves, Bins, and Cups
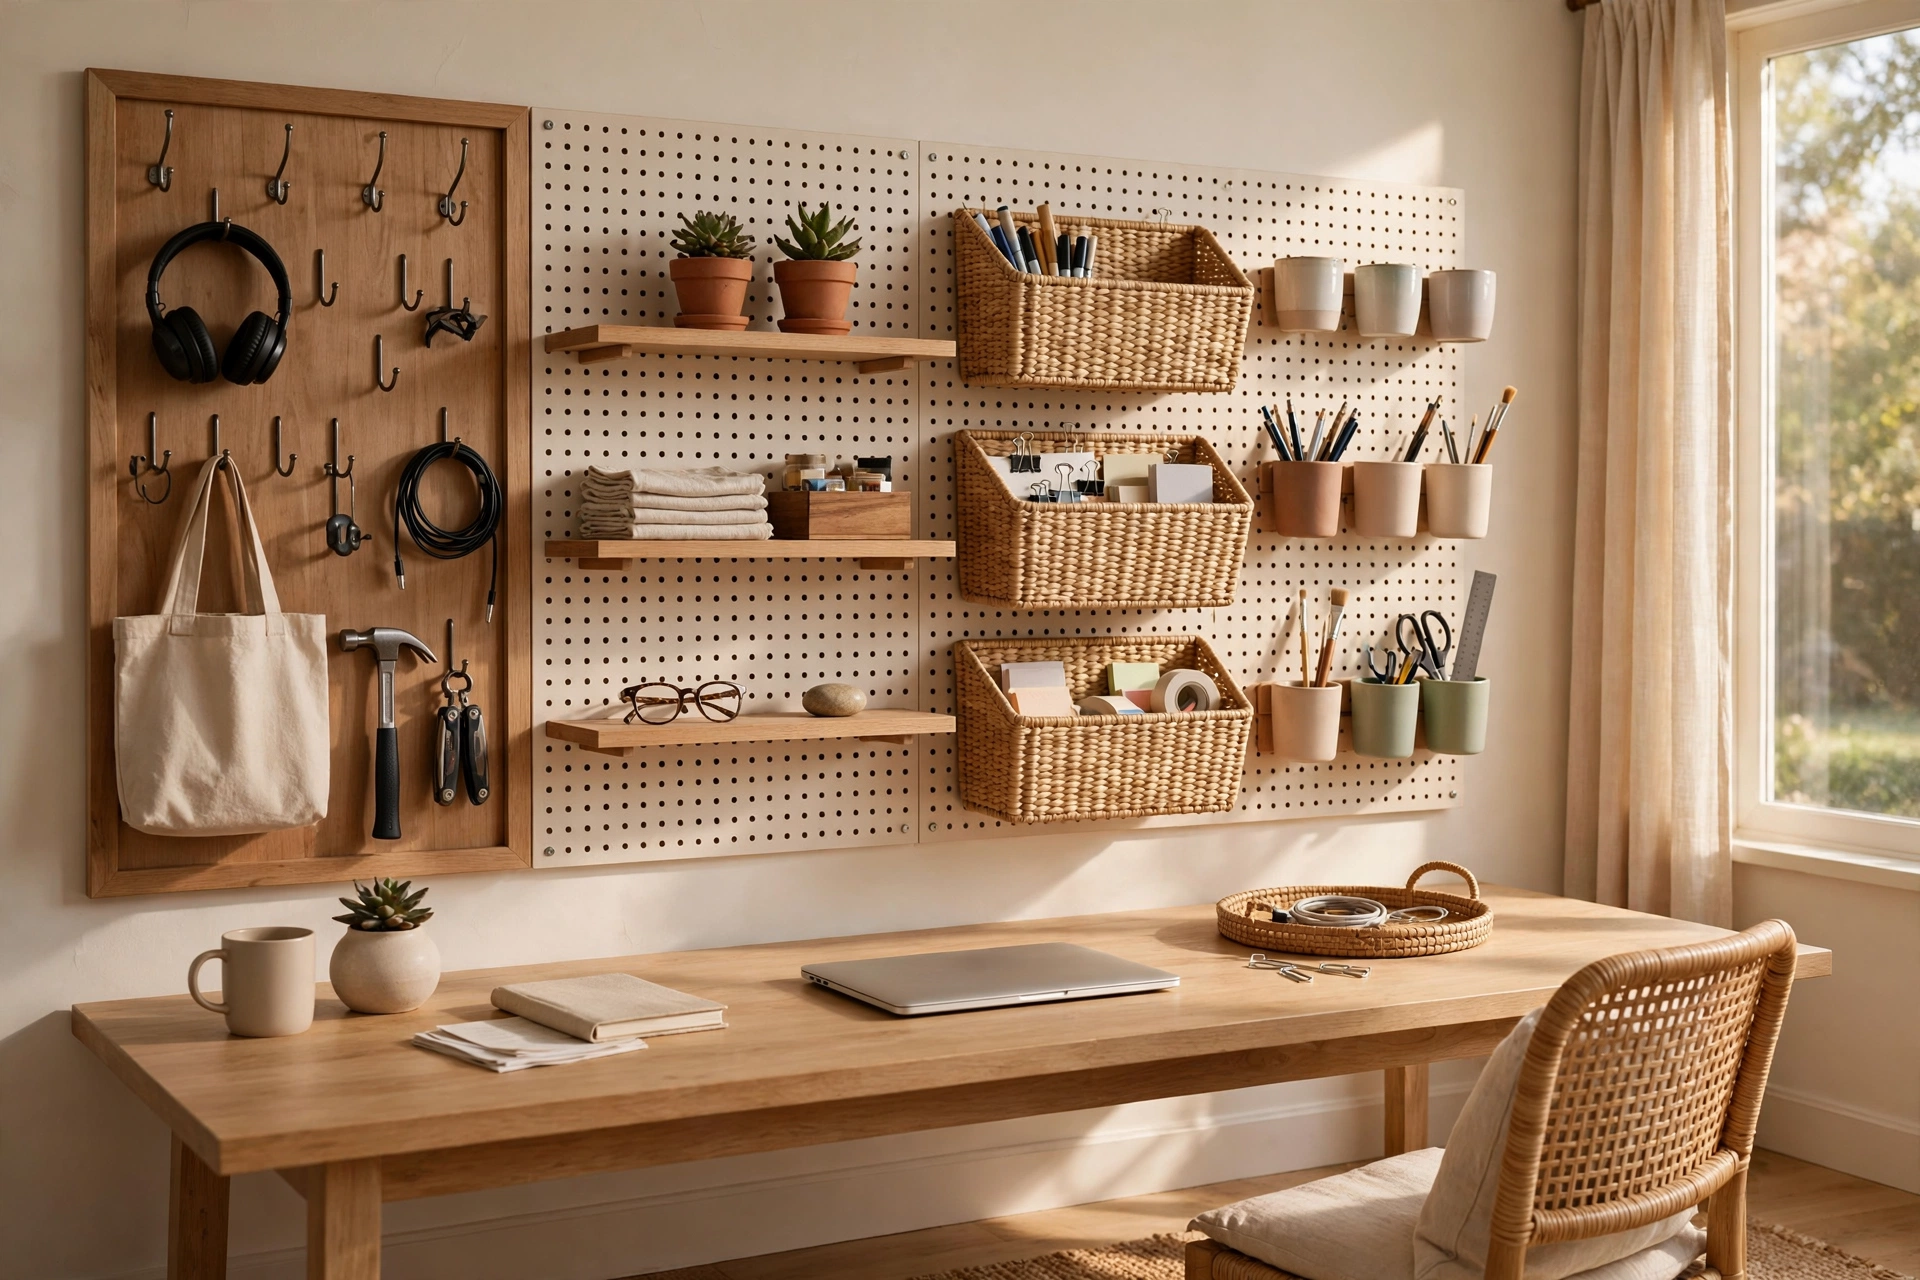
A pegboard only stays organized when every accessory has a job. Think in four categories and assign each its own zone on the board. Hooks handle hangables — headphones, scissors, lanyards, tote bags, charging cables looped neatly. Shelves hold stackables — notebooks, a small printer paper tray, reference books, a tissue box. Bins contain small loose things — paper clips, batteries, USB drives, washi tape rolls. Cups corral verticals — pens, pencils, rulers, paintbrushes. Mixing all four randomly across the board is what creates visual mess, even when every item is technically put away. Instead, group by category in quiet blocks: all cups in one column, bins in another. Within each zone, repeat the same accessory finish so the board reads as a system. This zoning also makes tidying intuitive — when something lands in the wrong zone, your eye catches it instantly.
10. Add a Pegboard Shelf Ledge for Books and Boxes
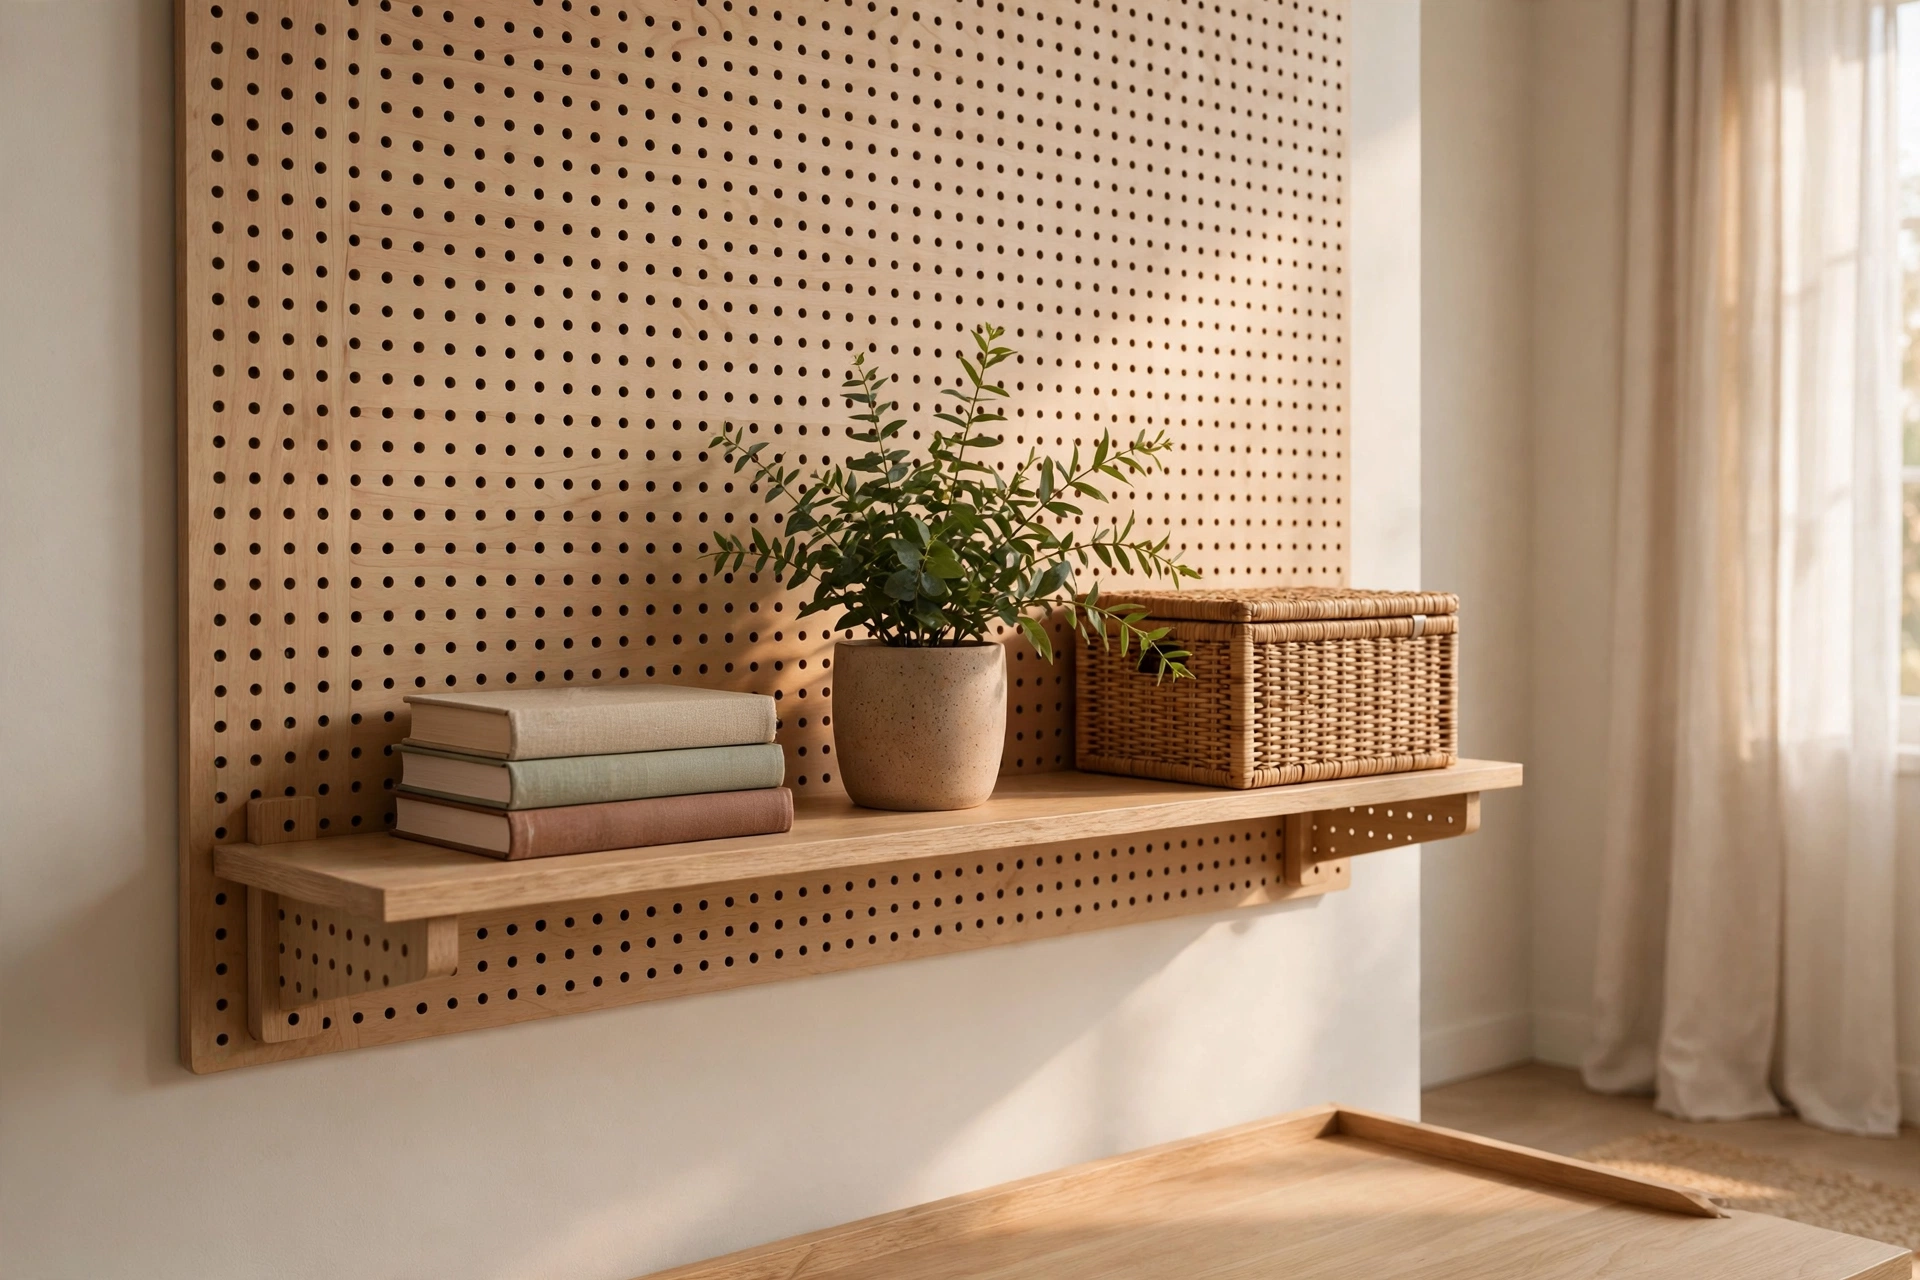
One or two shallow shelves mounted through the pegboard grid multiply its storage power without any extra wall drilling. A ledge shelf — just 8 to 10 centimeters deep — holds paperback references, a small succulent, an essential-oil diffuser, or a pretty box that hides the ugly-but-necessary items like spare ink cartridges. Place the shelf at the bottom of the board where weight is lowest and nothing hangs above it to knock things off. For sturdier needs, pegboard shelf brackets accept a board of your choosing, so you can cut custom ledges to the exact width of your panel. Keep shelf items to one row deep — anything double-stacked on a pegboard shelf becomes an avalanche waiting for a bad day. This hybrid of hooks plus shelving gives you the display appeal of a shelf with the flexibility of a pegboard, and it bridges nicely into broader shelf-styling ideas for workspaces.
11. Store Cables and Tech on a Dedicated Tech Row
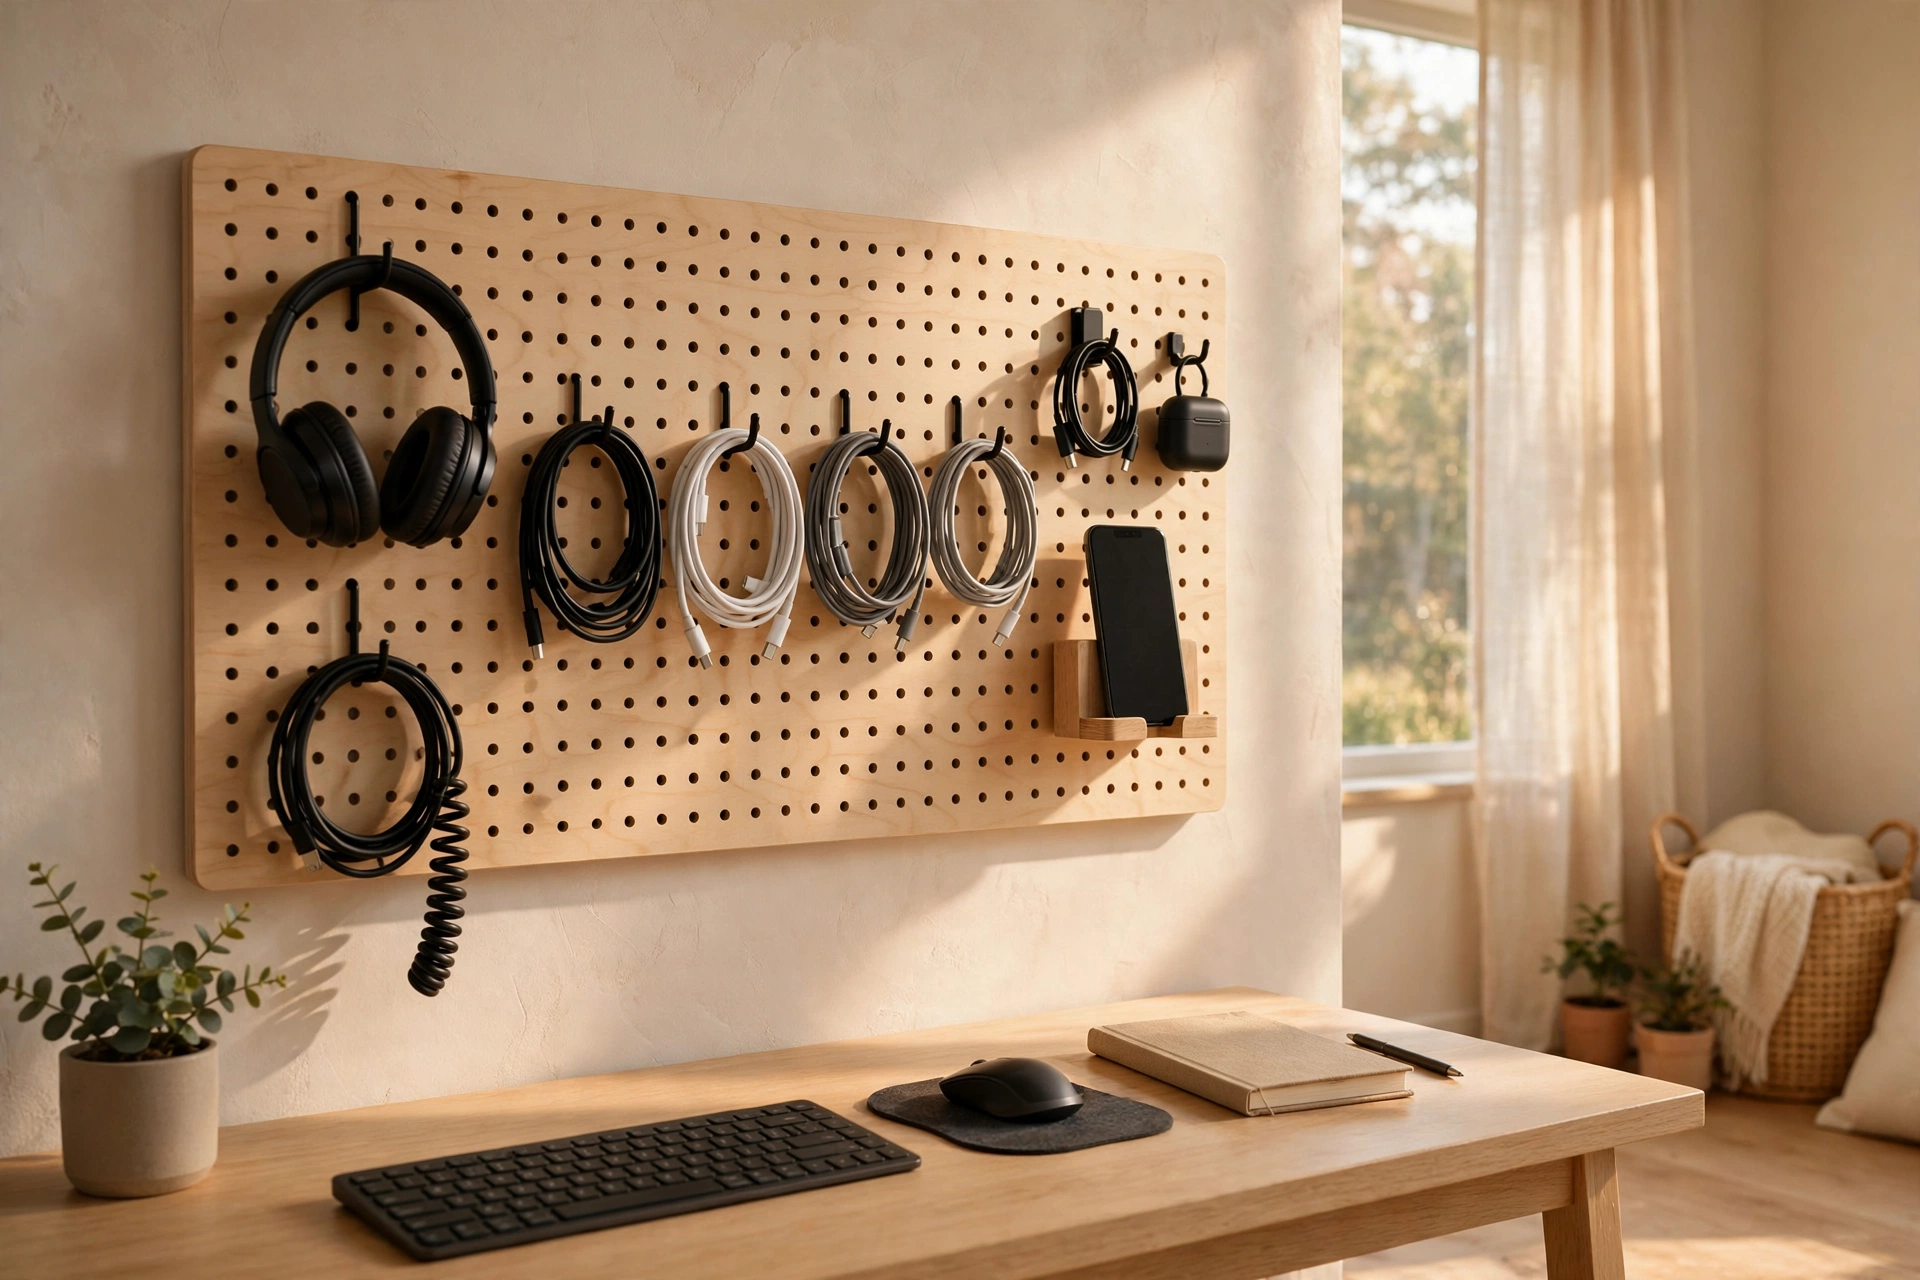
The tangle of chargers and earbuds is the number one desk-space thief, and pegboards solve it better than any drawer. Dedicate one horizontal row of your board to tech: hang power strips on hooks behind the board’s lower edge, coil spare cables on S-hooks, clip earbuds to small carabiner hooks, and slot a pegboard phone stand or tablet holder at sitting height. A labeled bin for each cable type (USB-C, Lightning, HDMI) ends the drawer of mystery cables forever. If your monitor cables drape behind the desk, run them up to a hook on the board’s bottom edge to keep the drop neat. Choose hooks with a rubber or silicone coating for cables you handle often — bare metal hooks wear cable insulation over time. The visual payoff is enormous: cables off the desk surface make the whole workspace look twice as tidy even when everything else is untouched.
12. Style It Like Decor, Not Just Storage
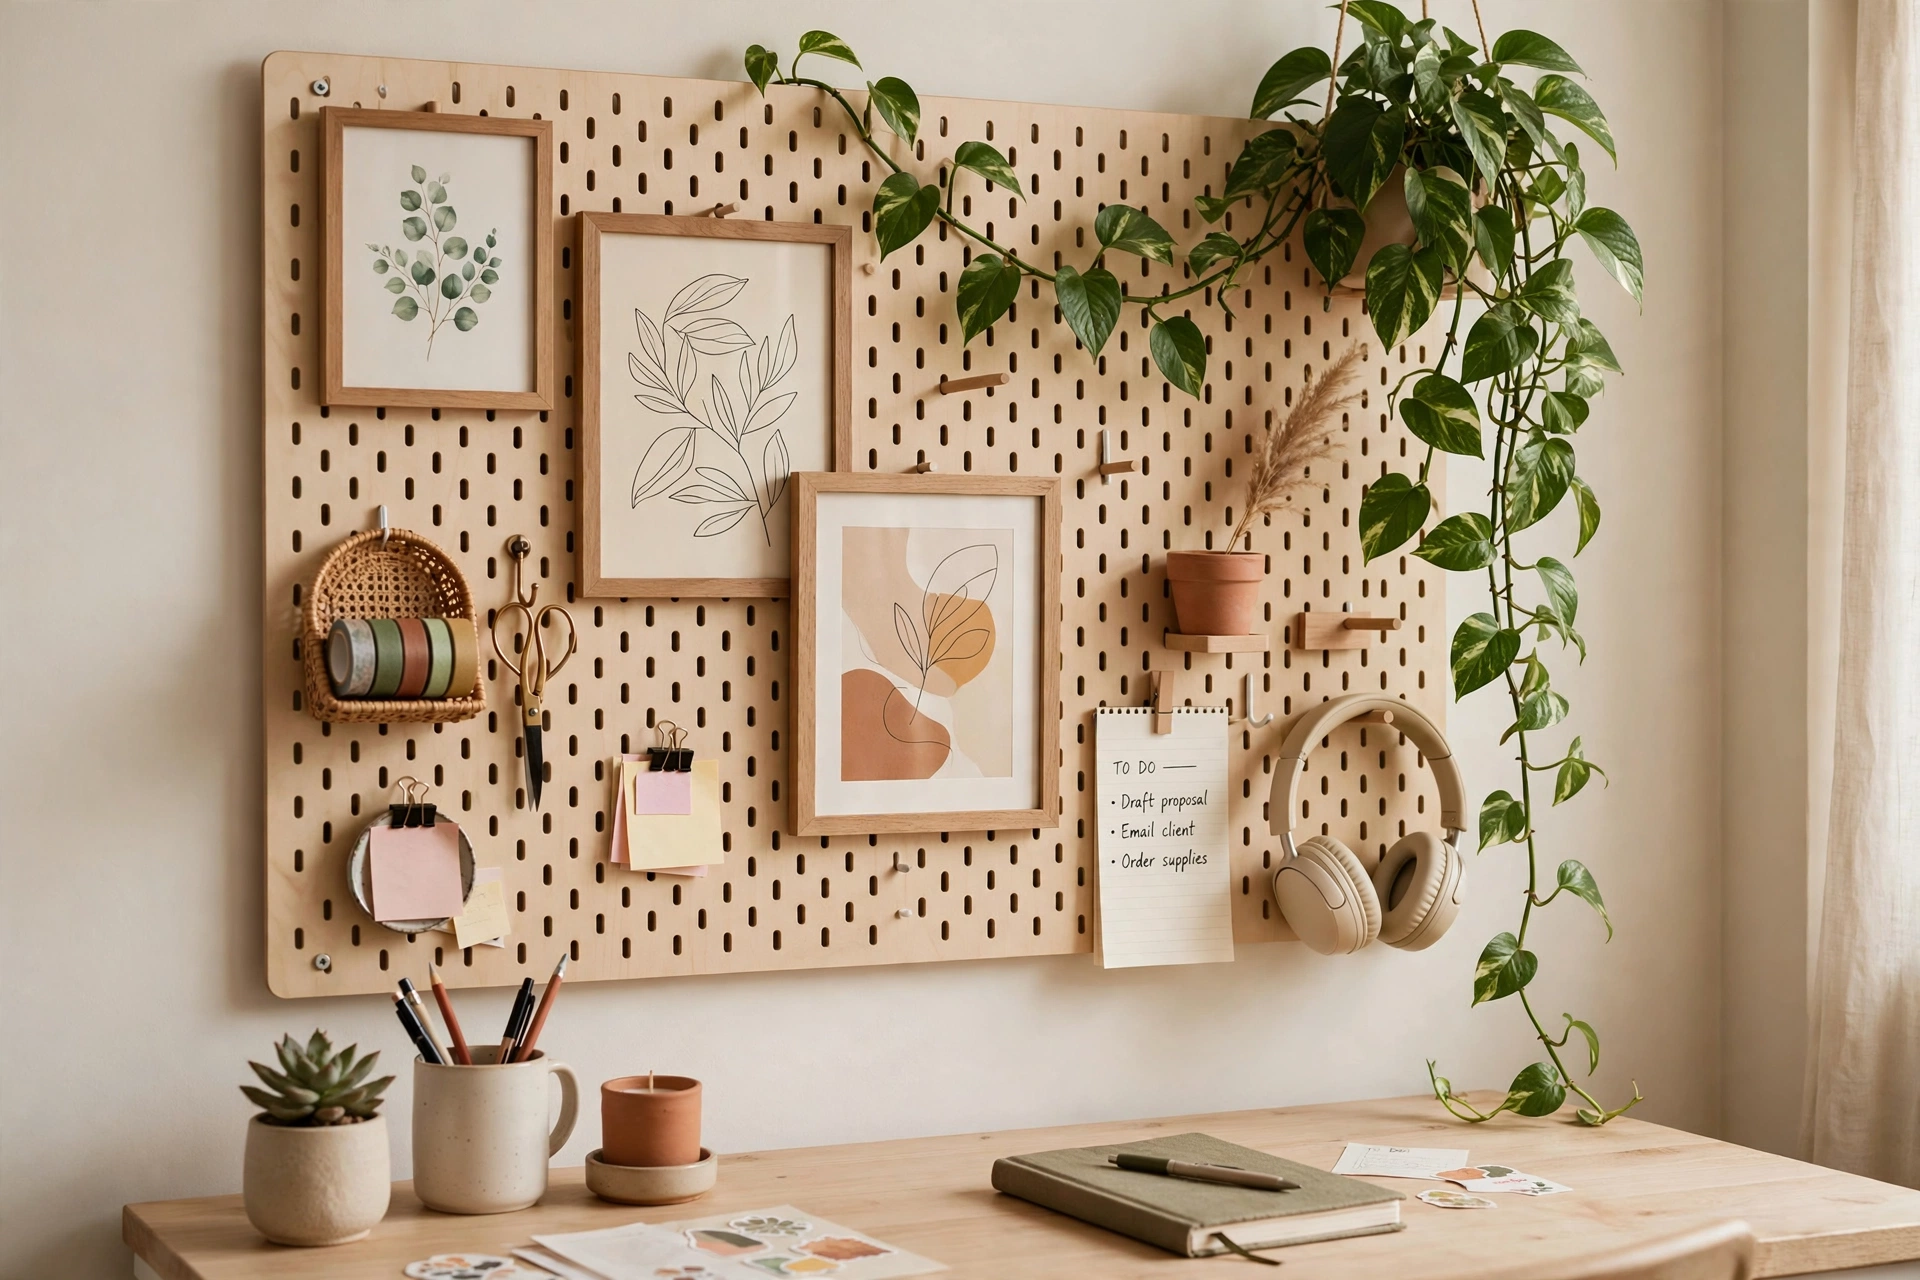
A pegboard can be wall art that happens to hold things. Weave in the styling instincts you’d use for a gallery wall: hang a small framed print on two hooks, let a trailing pothos spill from a mounted planter cup, add a mini clock or a wooden letter of your initial. The trick is the 70/30 rule — about 70 percent practical items, 30 percent purely decorative — so the board stays beautiful without losing function. Alternate dense zones (a cluster of cups and bins) with breathing zones (a single framed photo, a lone plant) to keep the composition from feeling flat. Matching the board’s color to your room’s palette is what separates a styled pegboard from a hardware-store afterthought; a white board with black accessories and one green plant suits almost any modern home office. Step back and squint at the board from the doorway: if your eye travels across it comfortably instead of snagging on chaos, If you’ve nailed the board, the same display-first thinking used for styled open shelving can carry the look across the rest of your wall.
13. Secure Hooks So They Don’t Pop Out
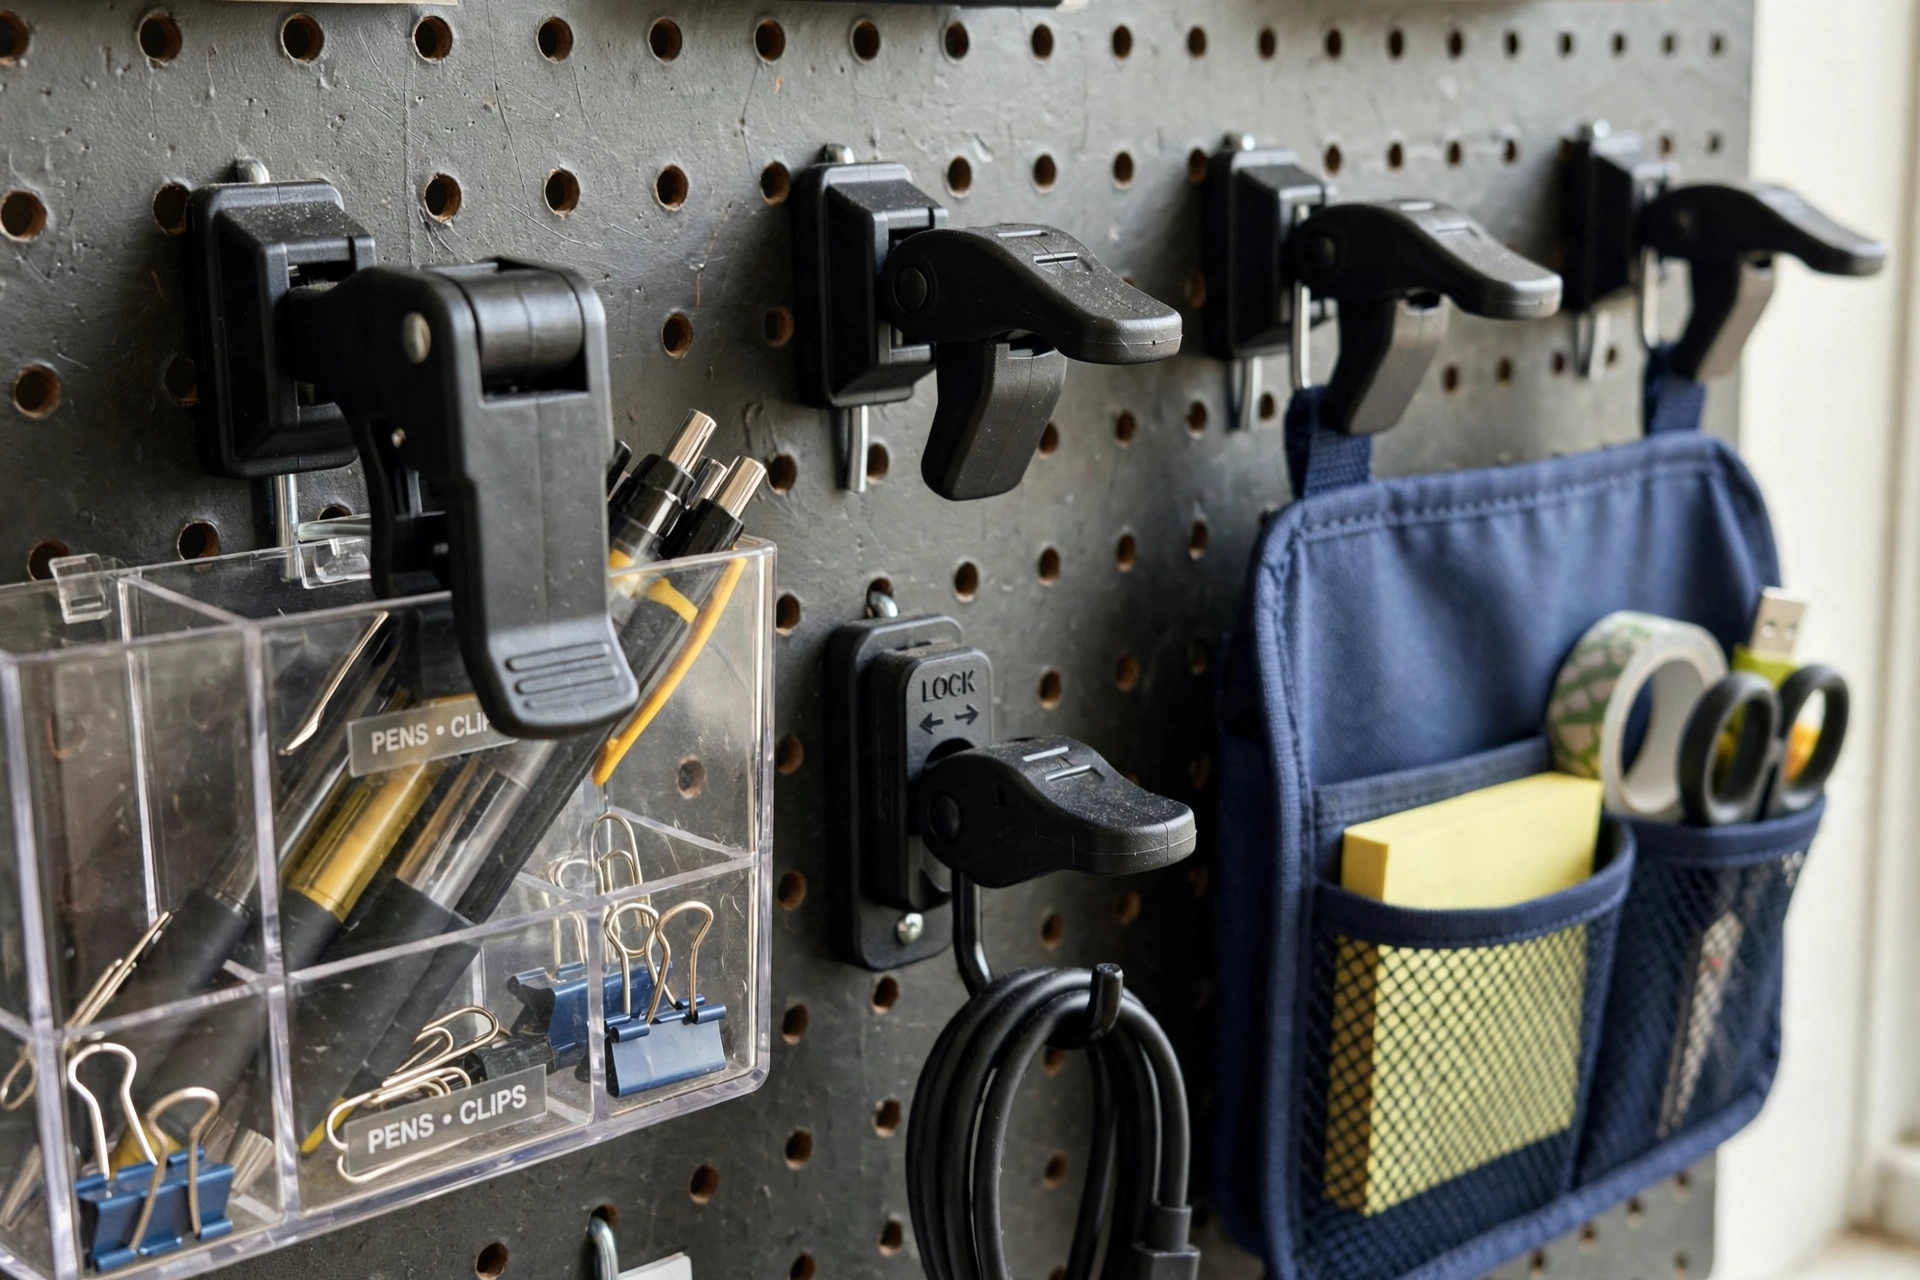
Nothing kills pegboard enthusiasm faster than hooks that fall out every time you grab scissors. This is a real and fixable mechanical problem: standard hooks rely on gravity, and a quick pull defeats them. The simplest fix is locking hooks or peg locks — small plastic tabs that snap behind the board and keep hooks seated even when yanked. A nearly free alternative is wrapping a small zip tie or rubber band around the hook’s lower leg behind the board. For a thorough guide to mounting boards correctly — standoff spacing, hook-locking tricks, and choosing between hardboard, metal, and plastic panels — this pegboard installation and ideas guide from Family Handyman (Family Handyman’s pegboard guide) covers the workshop-tested details that apply just as well to an office. When rearranging, always pull hooks straight out and re-seat them deliberately; wiggling them loose sideways wears the holes and makes future pop-outs worse. Spend twenty minutes securing your hooks once, and the board becomes a tool you trust instead of a annoyance you tolerate.
14. Keep a Rotating Inspiration Zone
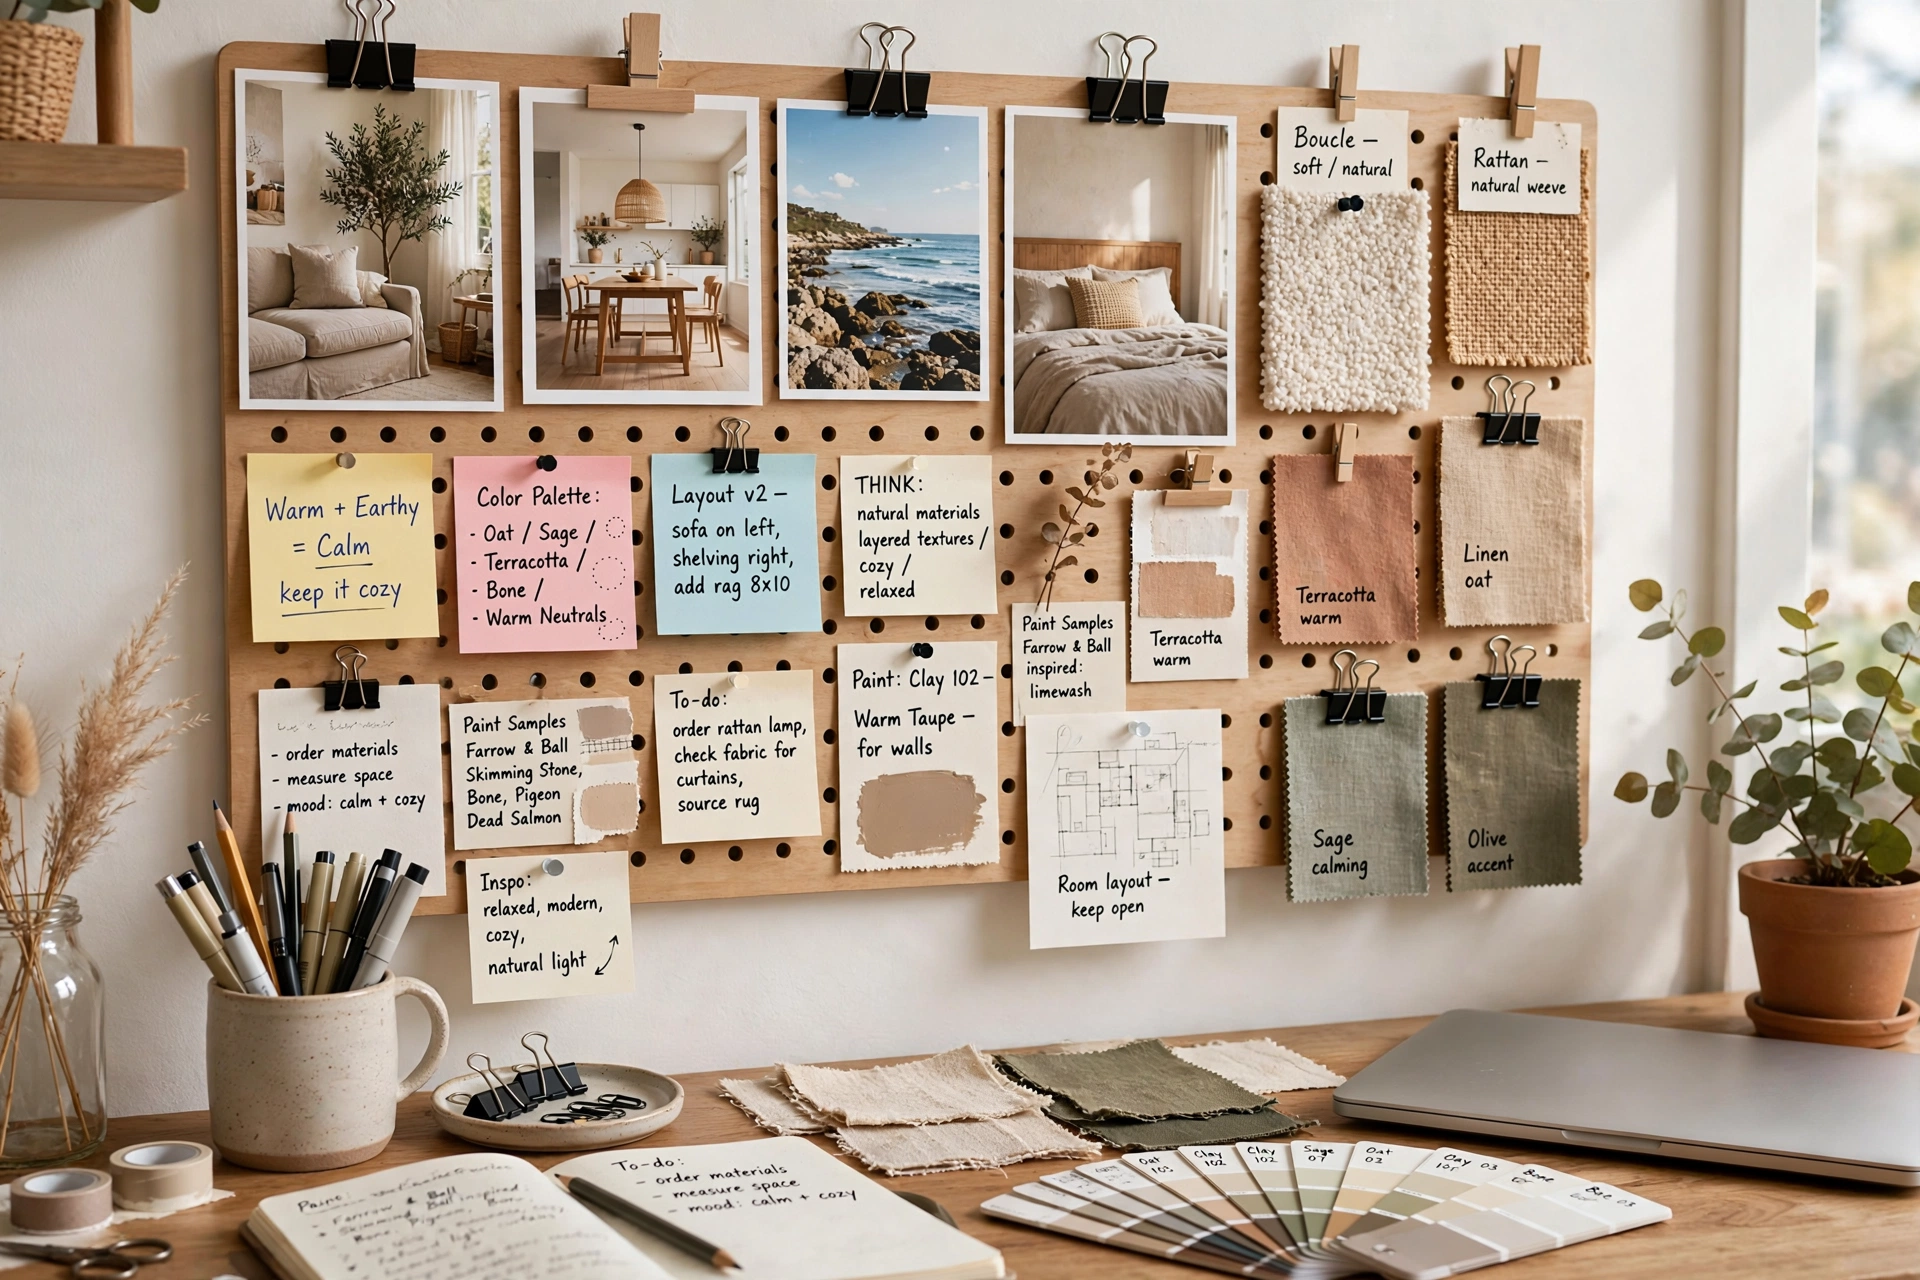
Dedicate a section of your pegboard — roughly a third — to a rotating inspiration zone that changes with your projects and seasons. This is where mood-board clips live: paint swatches, fabric samples, printed photos, a quote card, ticket stubs from a gallery visit. Use clothespin-style clips or small binder clips on hooks so items swap in seconds without tools. The beauty of a pegboard mood board is that it is alive — unlike a framed collage, it evolves as your work does. Refresh it at natural boundaries: the start of a project, a new season, a Monday morning reset. Keep the inspiration items lightweight and flat so they don’t stress the clips, and cap the zone’s size so your work supplies don’t get squeezed out. If you share the office, the inspiration zone also becomes a wordless signal of what you’re currently excited about — visitors read it like a story. The IKEA SKADIS system makes this kind of frequent rearranging effortless, as shown in Apartment Therapy’s look at the SKADIS pegboard (Apartment Therapy’s SKADIS feature), which highlights the clip-on accessories designed exactly for swapping items around.
15. Reassess and Reconfigure Seasonally
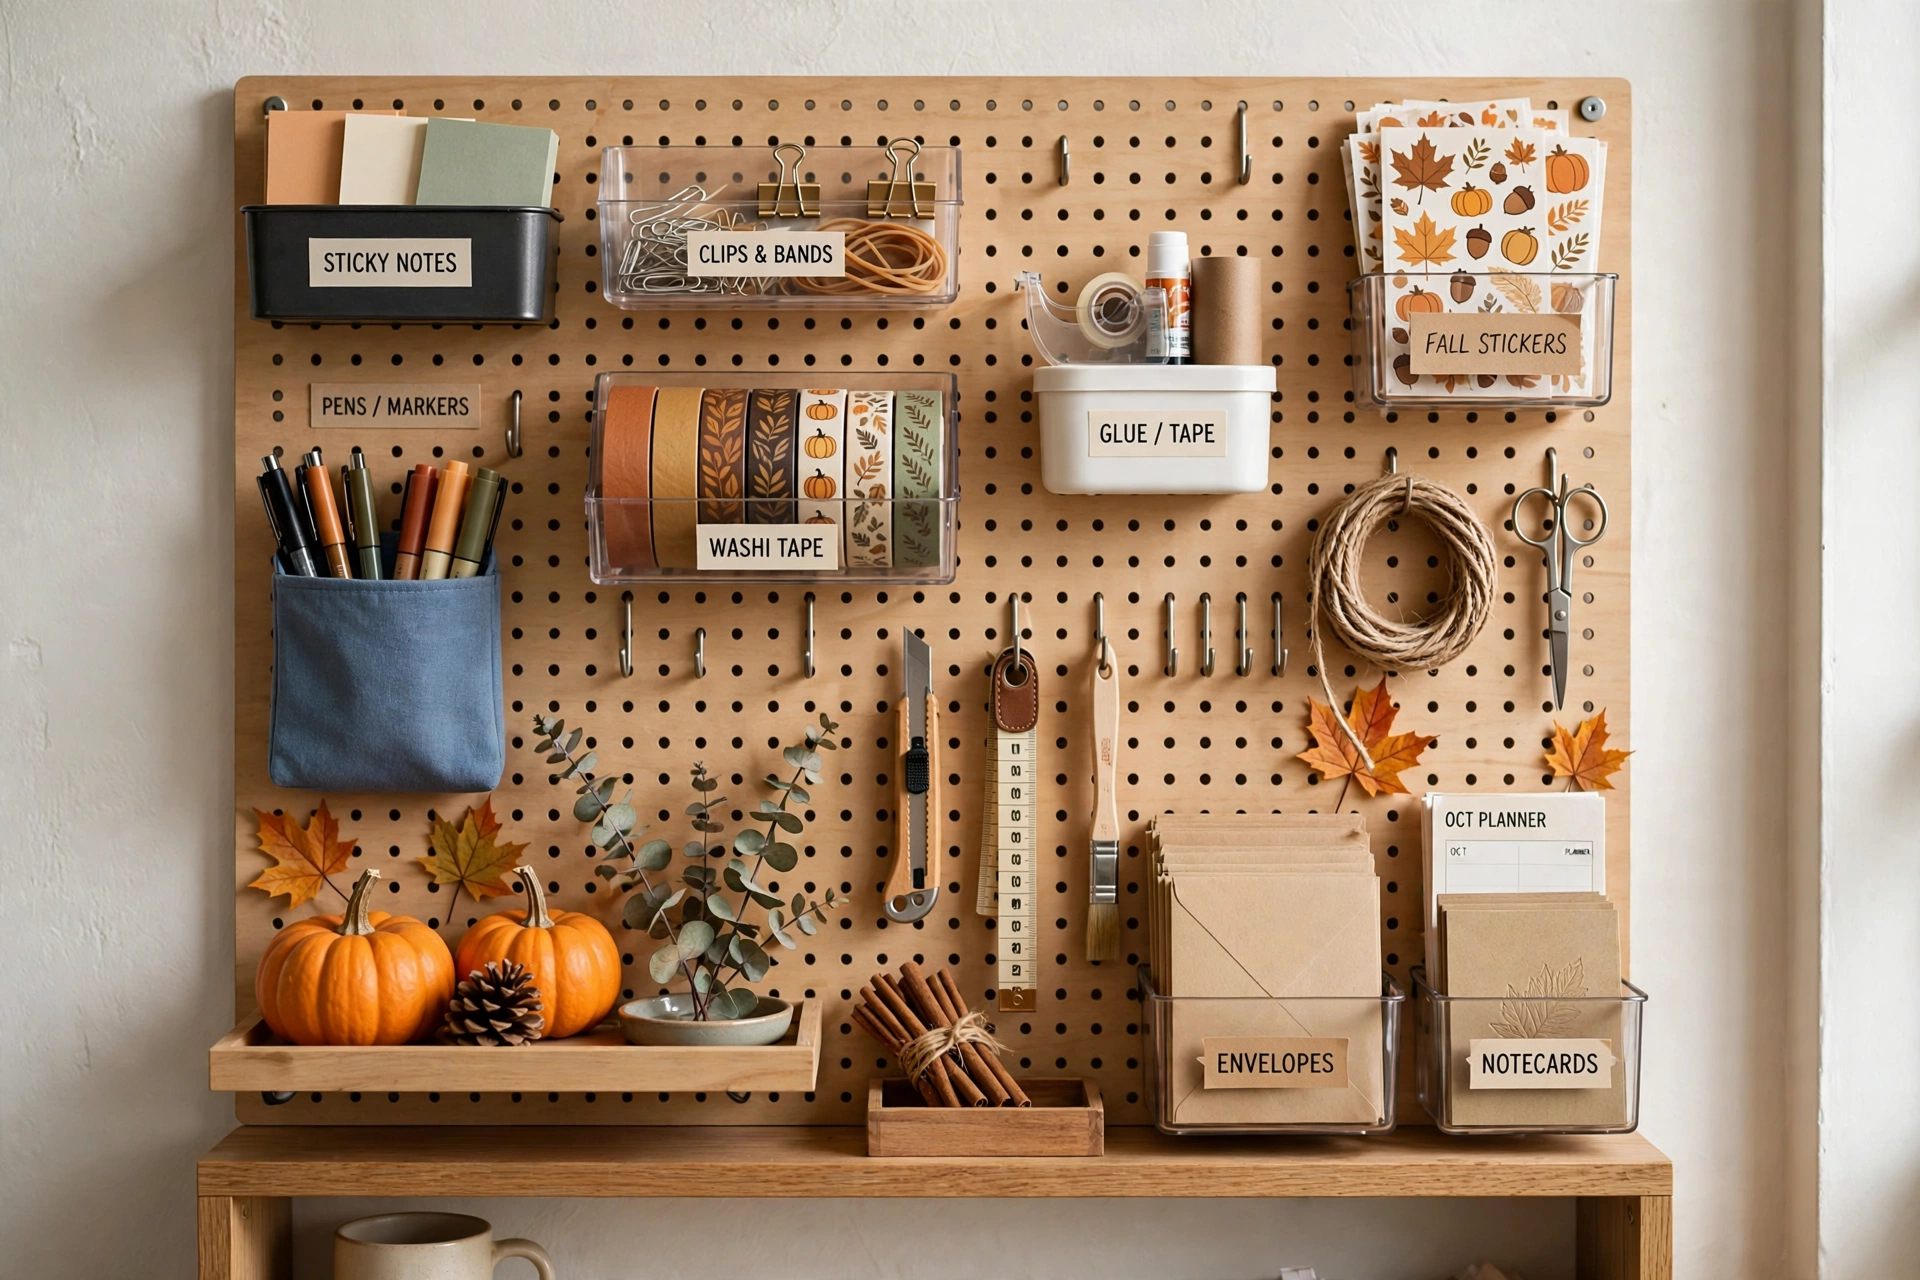
A pegboard’s superpower is change, so schedule a 15-minute reset each season to keep it matched to your real habits. Pull everything off, wipe the board down, and ask: which items did I actually reach for this month? Promote the winners to prime middle-row positions and demote or remove the rest — the reference binder you opened twice can live on a shelf now. Seasonal swaps are practical too: tax documents and planners in January, project boards in spring, holiday-card supplies in December. This is also the moment to check hook tightness, tighten any loosened shelf brackets, and touch up paint scuffs. Treat the reset like changing smoke-alarm batteries — a small recurring habit that keeps the whole system working. The offices with the most beautiful pegboards on social media aren’t perfectly styled once; they are quietly edited four times a year. A pegboard that evolves with your work never becomes background clutter, and that is exactly what separates organized workspaces from merely decorated ones.
FAQ
What is the best size pegboard for a home office?
A board roughly the width of your desk — usually 60 to 90 centimeters wide — is the sweet spot for most home offices, hung 15 to 25 centimeters above the desk surface. If you work with lots of supplies, go wider rather than taller so everything stays within seated reach. For a corner or side-wall setup, a compact 30-by-40-centimeter board handles a dedicated station like charging or writing tools perfectly well. Measure your wall space first, and leave a few centimeters of clearance on each side so the board reads as intentional rather than crammed.
What should I put on my home office pegboard?
Hang what you reach for daily and display what inspires you. Practical picks include pens and scissors in cups, headphones on a wide hook, charging cables on S-hooks, notebooks on a small shelf, and sticky notes or a planner in a bin. Add one or two decorative touches — a framed print, a trailing plant in a mounted cup, a small clock — so the board feels styled, not purely utilitarian. Keep heavy items like books and printers off the board; reserve the pegboard for lightweight tools and let shelves or the desk carry real weight.
How do I keep pegboard hooks from falling out?
Use locking hooks or peg-lock tabs that snap behind the board and prevent hooks from lifting when you grab items. A cheaper fix is a zip tie or rubber band looped around the hook’s lower leg behind the panel. Always pull hooks straight out when rearranging rather than wiggling them sideways, which enlarges the holes over time. Proper mounting matters too: leave the recommended half-inch standoff gap behind the board so hooks seat fully. Once secured, quality hooks stay put through years of daily use.
Can I use a pegboard in a rental home office?
Yes — renters have several drill-free options. Small pegboard panels can hang from heavy-duty adhesive hooks or strips rated honestly for the load; keep these boards light with only cups, clips, and small hooks. Freestanding pegboard room dividers on legs need no wall attachment at all and double as space definers. Leaning a framed pegboard panel against the wall on a desk or shelf works for very light loads. For anything heavier, ask your landlord about a few small screw holes — most consider them normal wear when patched at move-out.
Wood, metal, or plastic pegboard — which is best for an office?
It depends on your priorities. Wood pegboards look warmest and suit styled, decor-forward offices, though they cost more and are heavier. Metal pegboards are the sturdiest, often magnetic, and give a crisp modern look — the best all-rounder for busy workspaces. Plastic pegboards are lightweight, moisture-proof, and cheapest, but their look is more utilitarian. For a home office where the board is visible in video calls, wood or powder-coated metal reads most polished. Whichever you choose, match the board’s hole spacing to your accessories before buying.
Keep Exploring
A pegboard is the fastest way to give your home office a real system — visible, flexible, and always one rearrangement away from better. Start with one board above your desk, zone your hooks, shelves, bins, and cups, and let it evolve with your work season by season. Once the pegboard is doing its job, look upward: our home office shelving ideas for a tidy inspired workspace shows how open shelves carry the same styled-yet-practical energy across the rest of your wall.