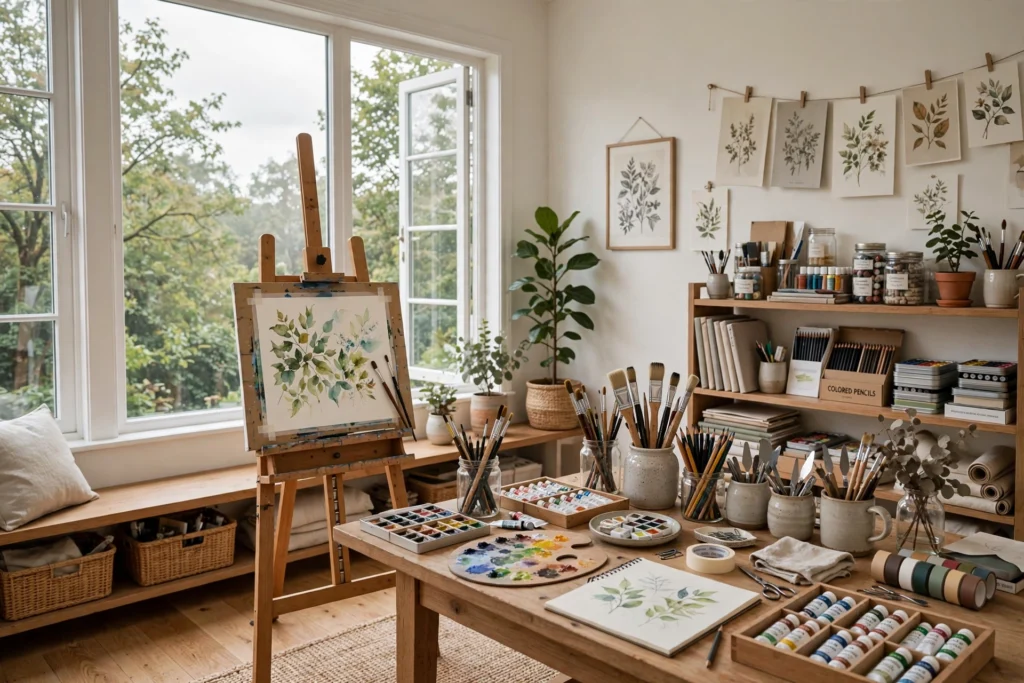

Every artist needs a place to make a mess — a dedicated corner where the paints can stay out, the inspiration stays visible, and creativity does not have to be packed away before dinner. A home art studio does not require a spare room; it requires intention. These home art studio ideas work for painters, illustrators, crafters, and makers of all kinds, in spaces from a full spare bedroom to a single sunny corner. Boho home office design ideas for a creative relaxed workspace blend the two beautifully.
The golden rule of studio setup: protect the surfaces and light the work. Drop cloths, washable rugs, and wipeable paint on the walls mean you can work freely without anxiety. And nothing matters more than light — a studio lives or dies by how well you can see color. Get those two foundations right, and everything else is joyful optimization.
1. Claim a Corner With a Folding Table
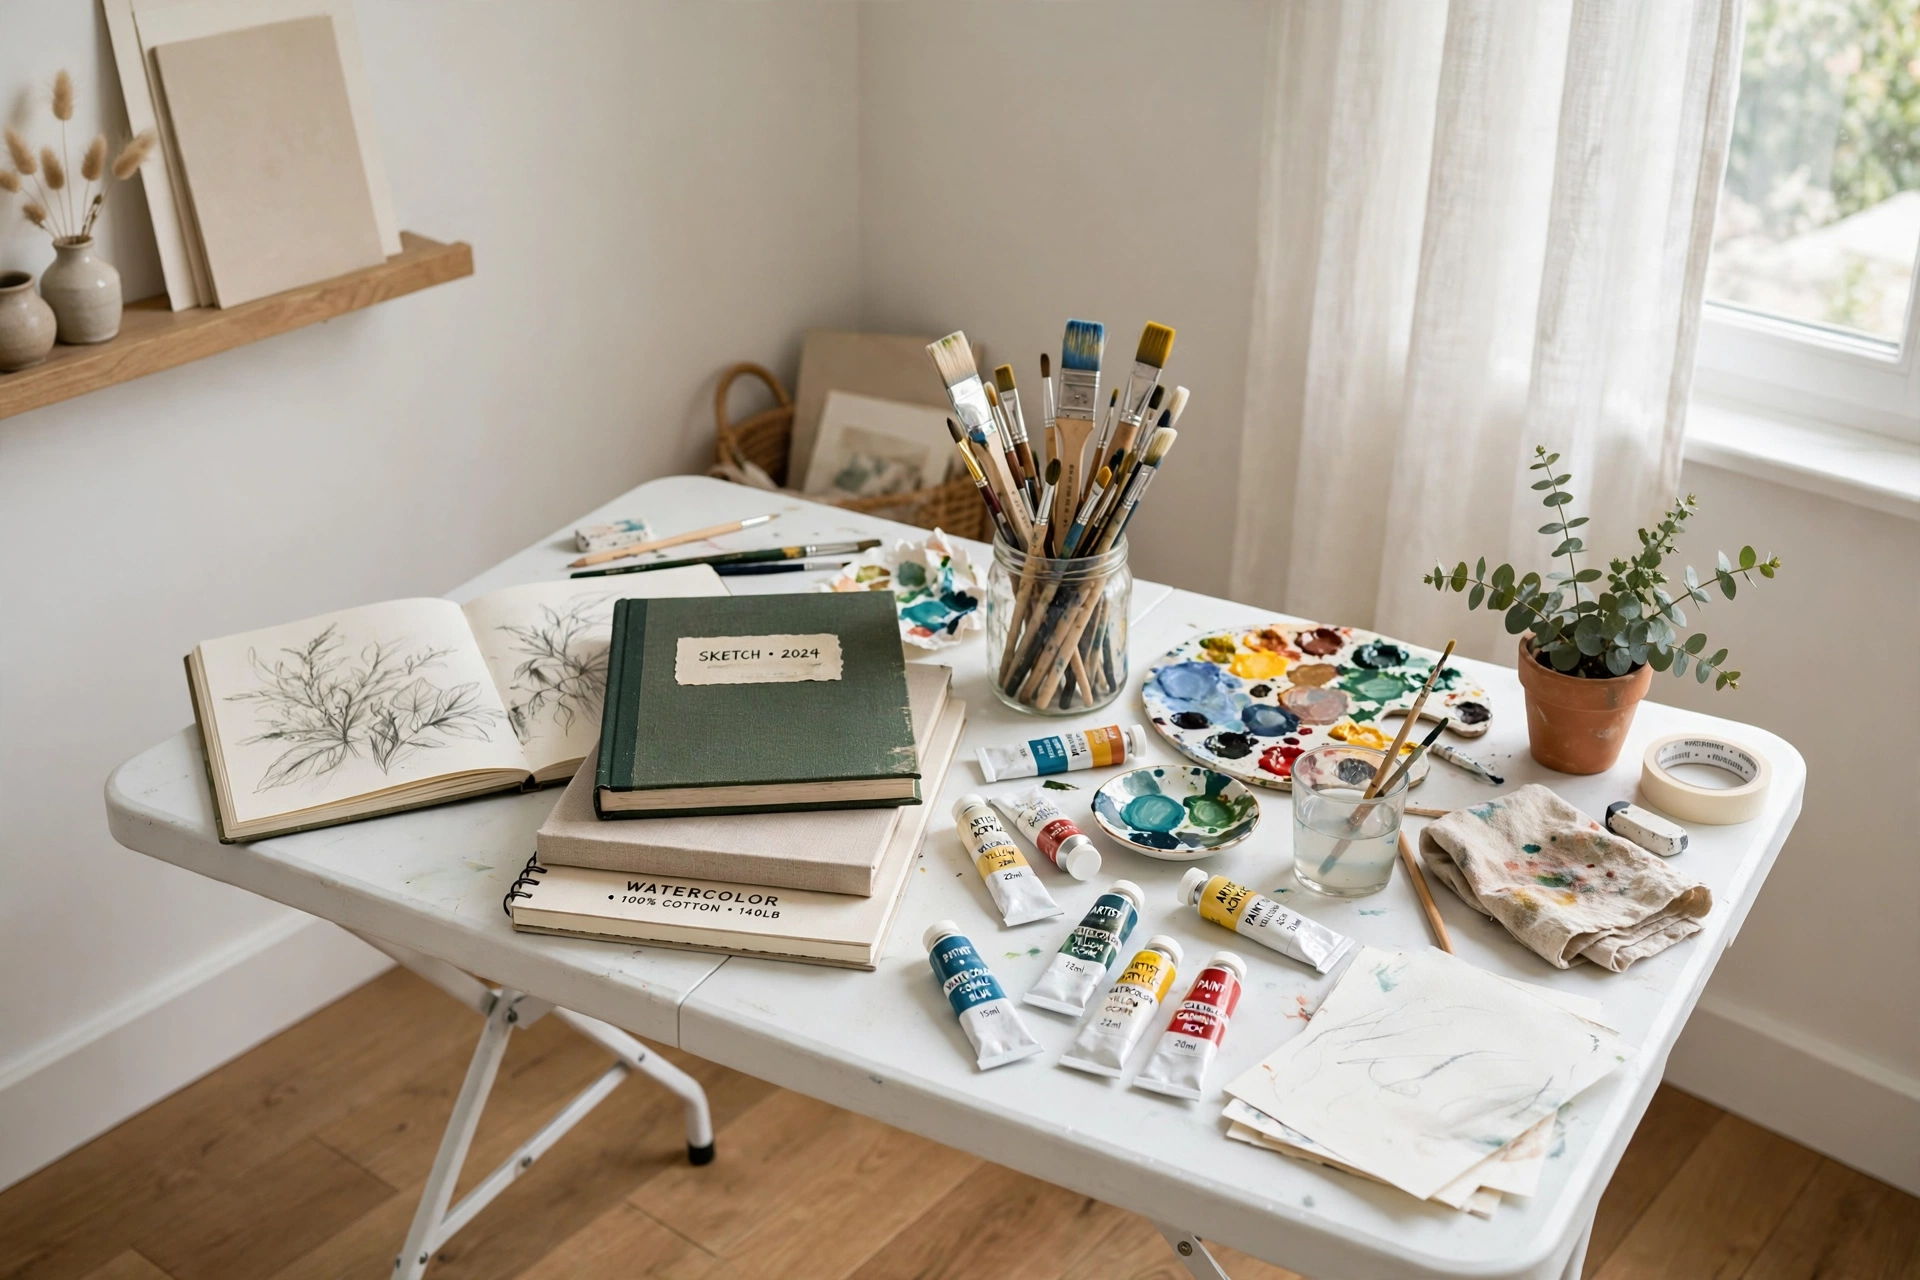
You do not need a room — you need a surface that is always ready. A sturdy folding table in a bright corner becomes an instant studio: unfold it to work, fold it flat when guests come. Choose a table with a wipeable top (or cover it with a vinyl tablecloth) and a height that suits your medium — standing height for large canvases, sitting height for detail work. The psychological trick matters most: a table that stays set up, even in a corner, signals that making art is part of daily life, not a special occasion. Add a good chair and a small lamp, and the corner is complete.
2. Prioritize Natural Light (North-Facing Is Best)
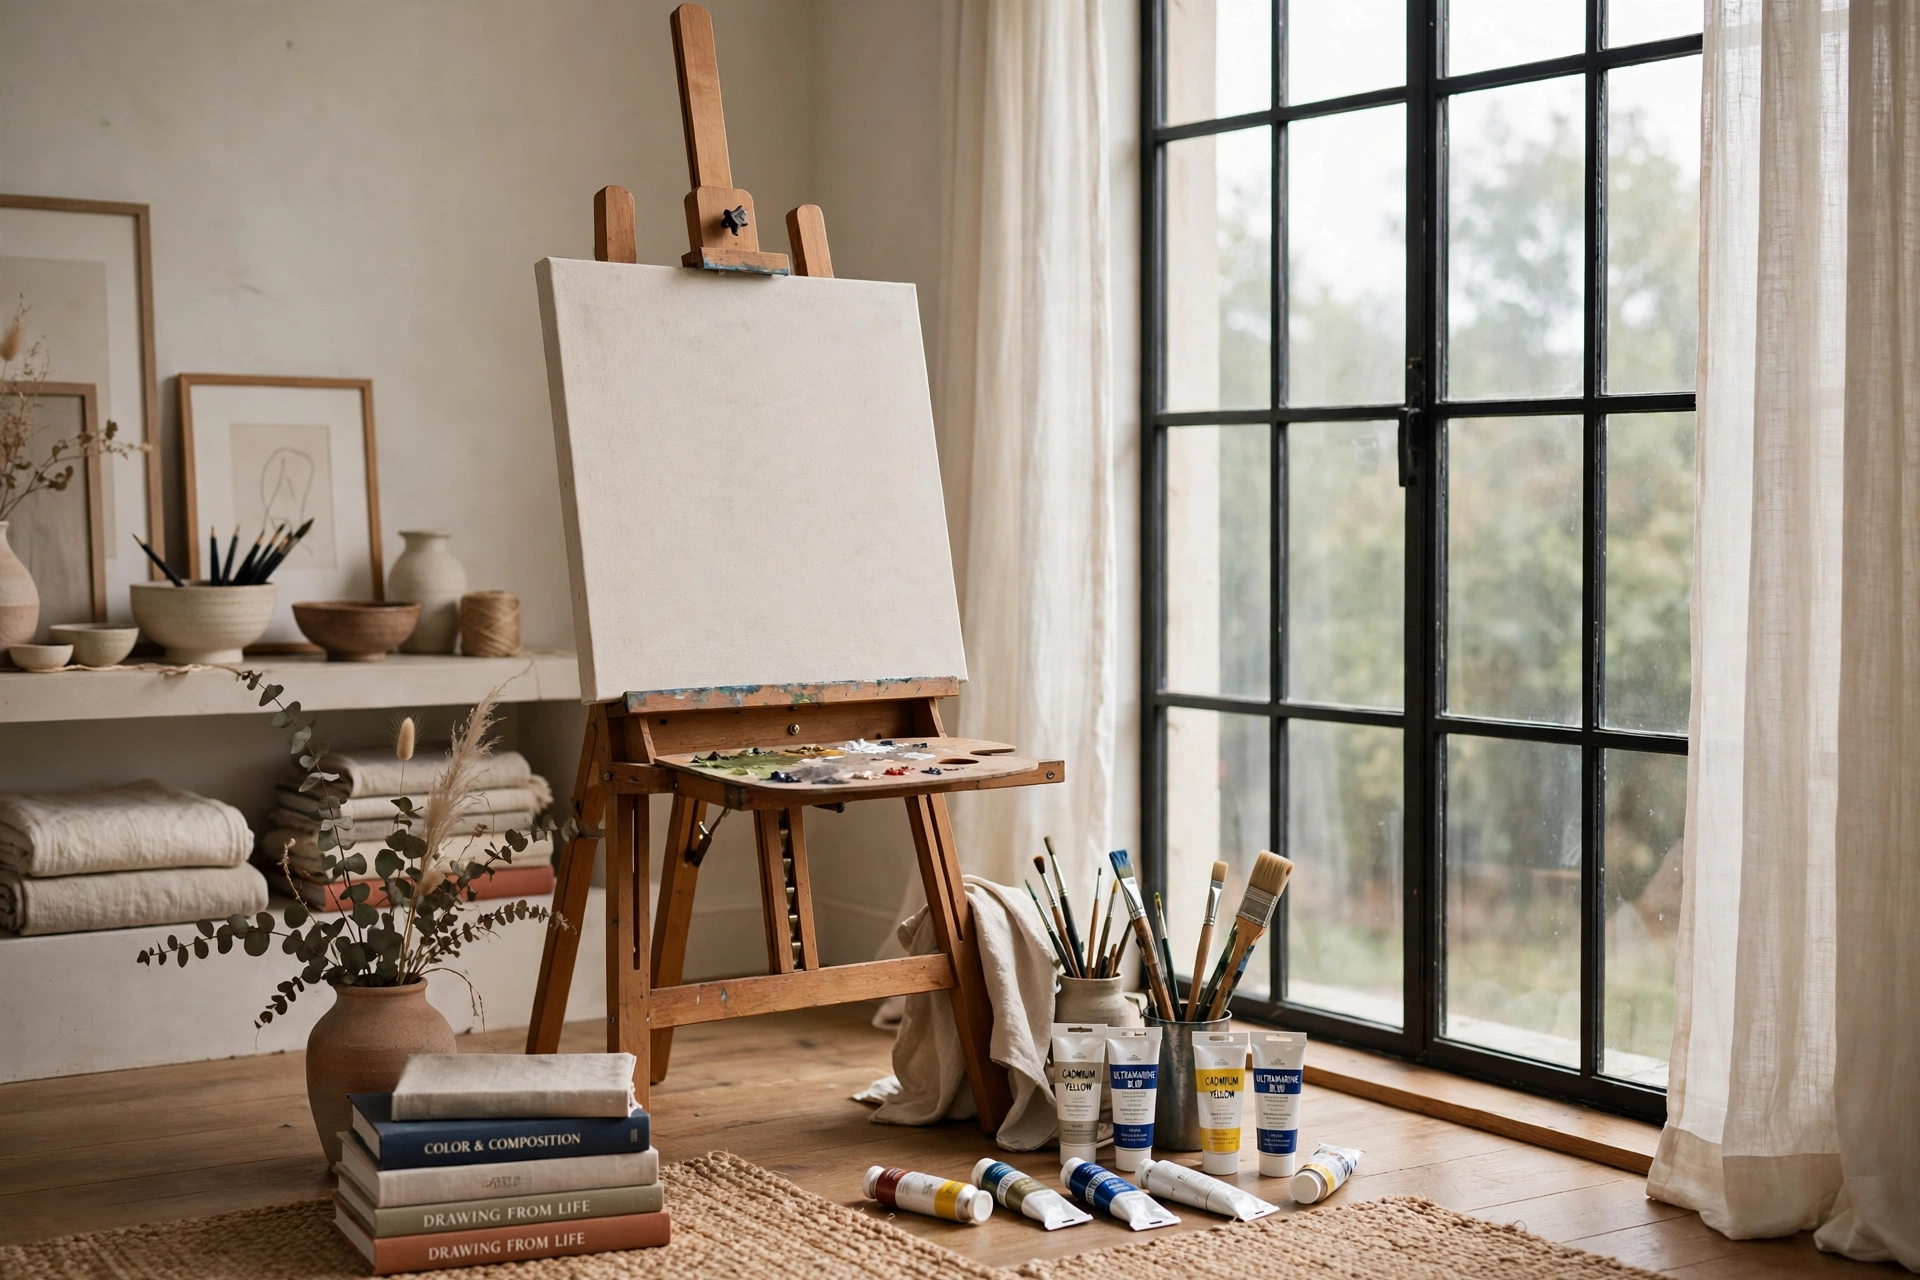
Artists have prized north-facing windows for centuries because northern light is indirect, consistent, and color-neutral — it does not shift warm and cool through the day like southern light does. If you have a choice of corners, pick the one nearest a north window. For other orientations, sheer curtains diffuse harsh direct sun that would otherwise bleach your color judgment. Position your easel or work surface perpendicular to the window so light rakes across the work without glare. When natural light is scarce, a 5000K–5500K daylight lamp is the essential substitute — it renders color accurately in a way warm bulbs never will.
3. Install a Pegboard for Supplies
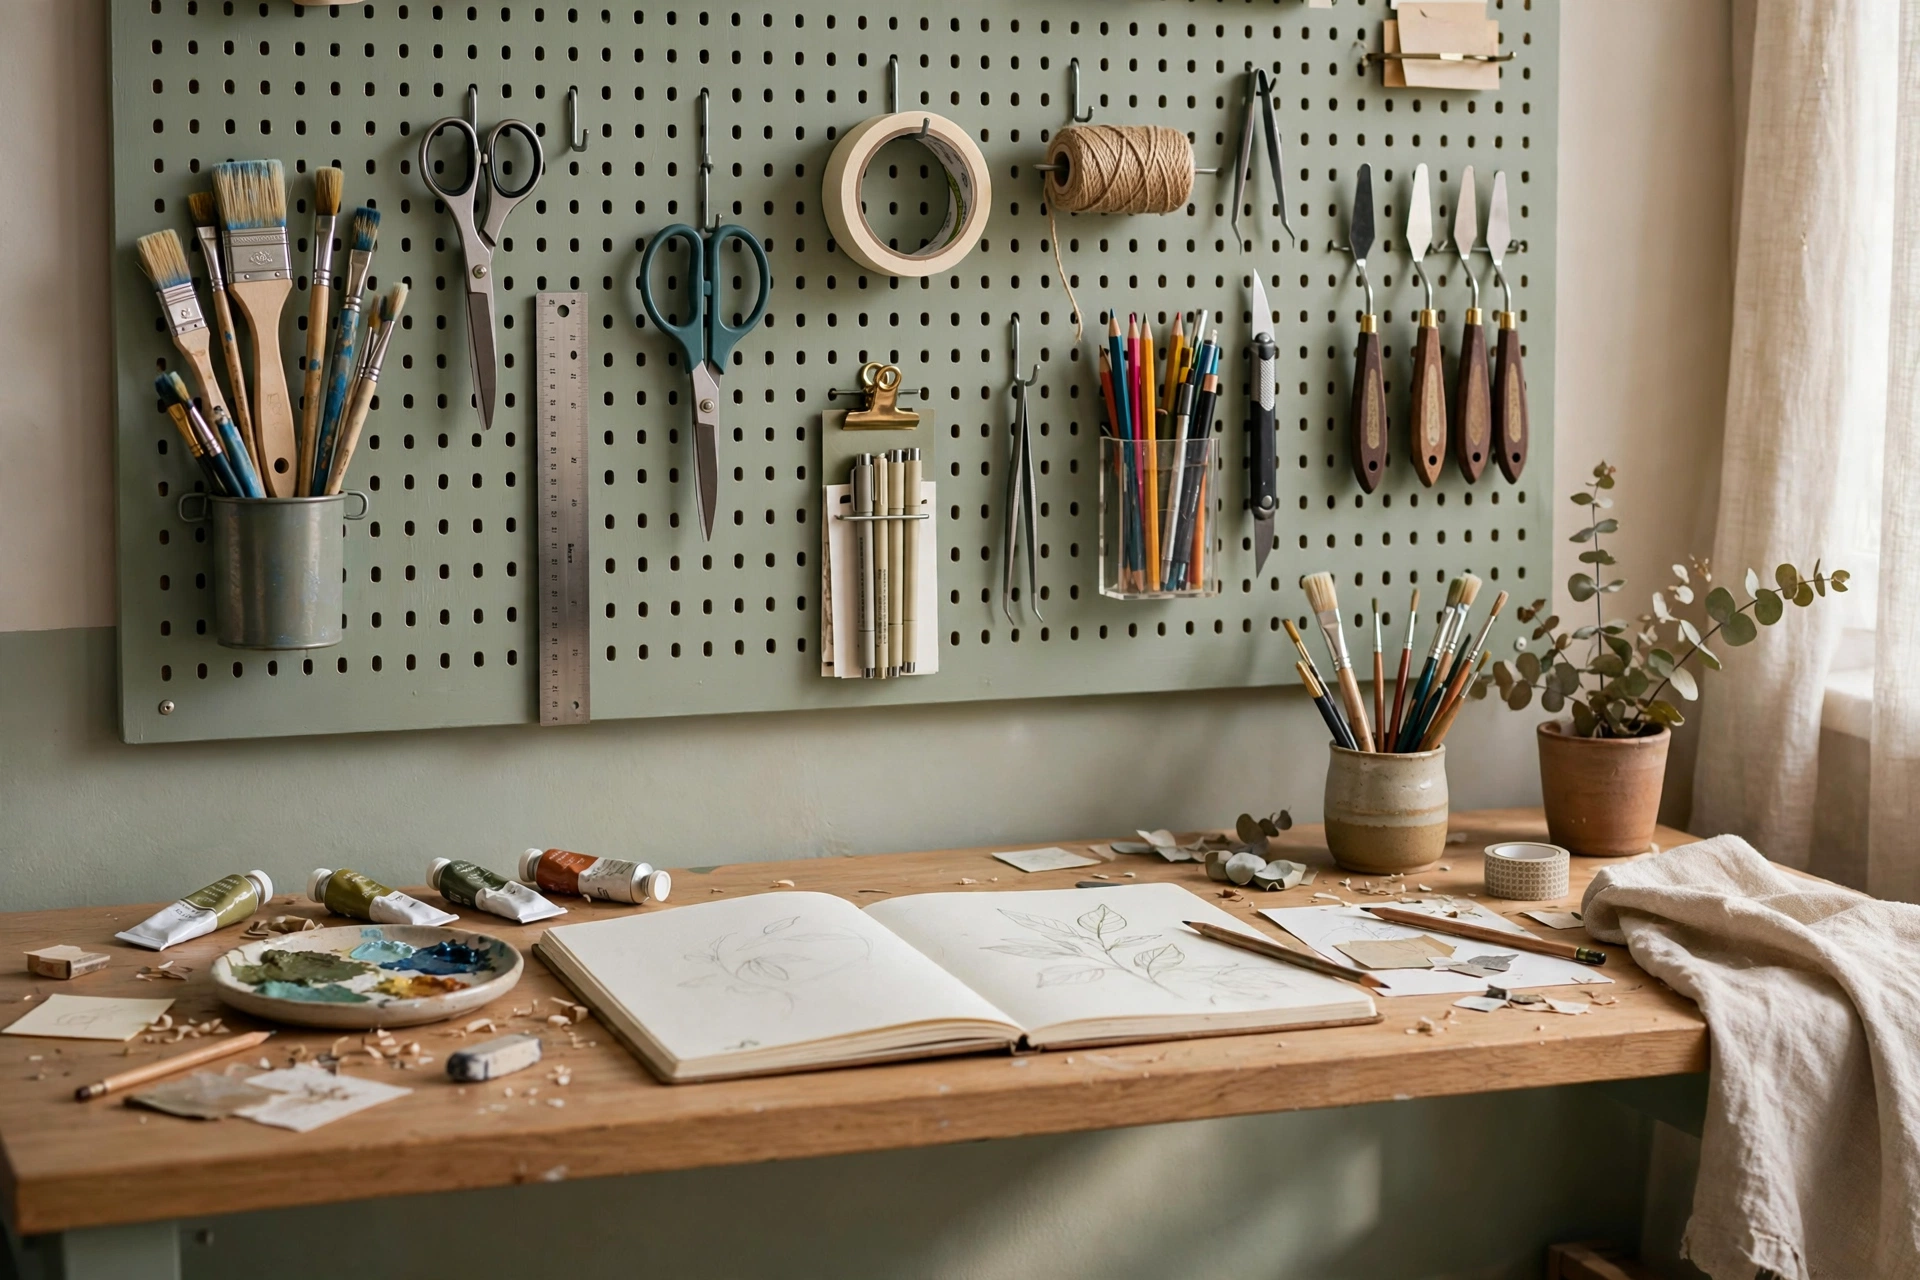
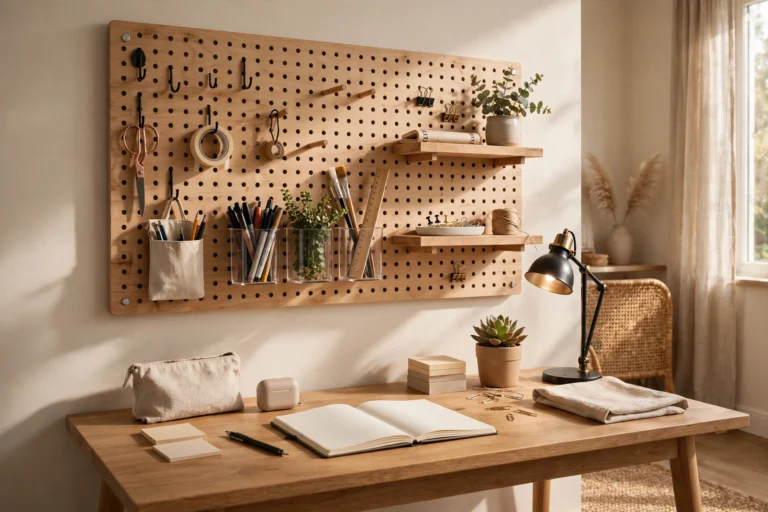
A pegboard wall turns supply chaos into a visual inventory. Hang brushes, scissors, rulers, tape, and tools on hooks where you can see everything at a glance — no more digging through drawers mid-flow. Paint the pegboard a color you love (or leave it natural) and arrange tools by frequency of use, heaviest items lowest. The real magic is flexibility: rearrange hooks in minutes as your practice evolves. Frame the pegboard with simple trim and it looks like intentional decor, not garage storage. For small studios, a pegboard over the work table effectively doubles your usable surface without taking a single square foot of floor.
4. Use Rolling Carts for Paint Storage
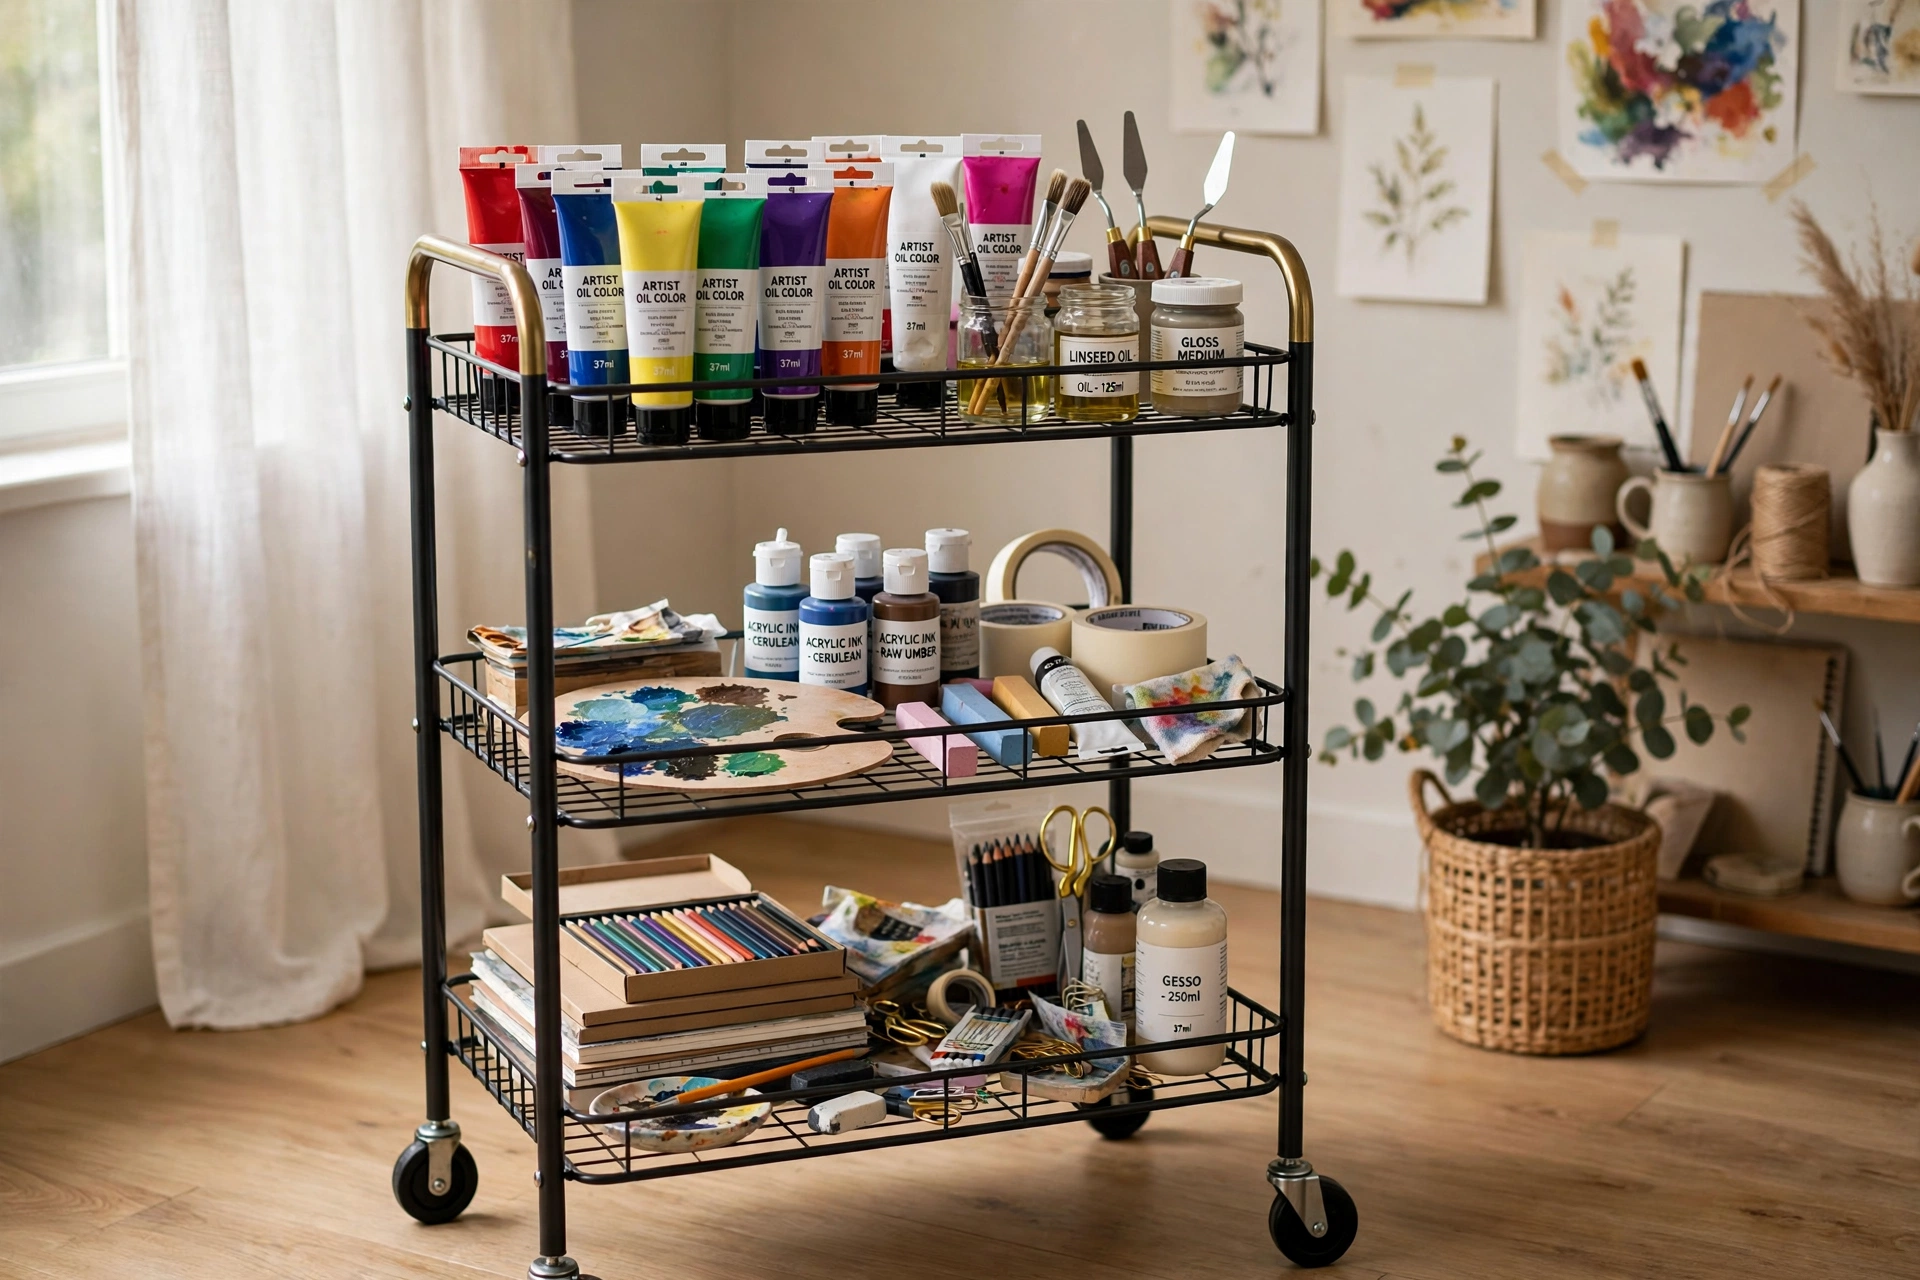
A three-tier rolling cart is the studio workhorse: paints on top, mediums in the middle, brushes and rags below, everything rolling to wherever you are working. Art carts beat fixed shelving because your studio layout changes — cart follows the easel, the table, the drying rack. Choose a cart with a lip or rim on each shelf so tubes do not roll off, and dedicate one cart per medium if you work in several. Clear bins on the shelves keep small items visible. When the session ends, the whole cart rolls into a closet and the room is instantly tidy. Few studio tools earn their footprint like this one.
5. Add a Washable Rug or Drop Cloth
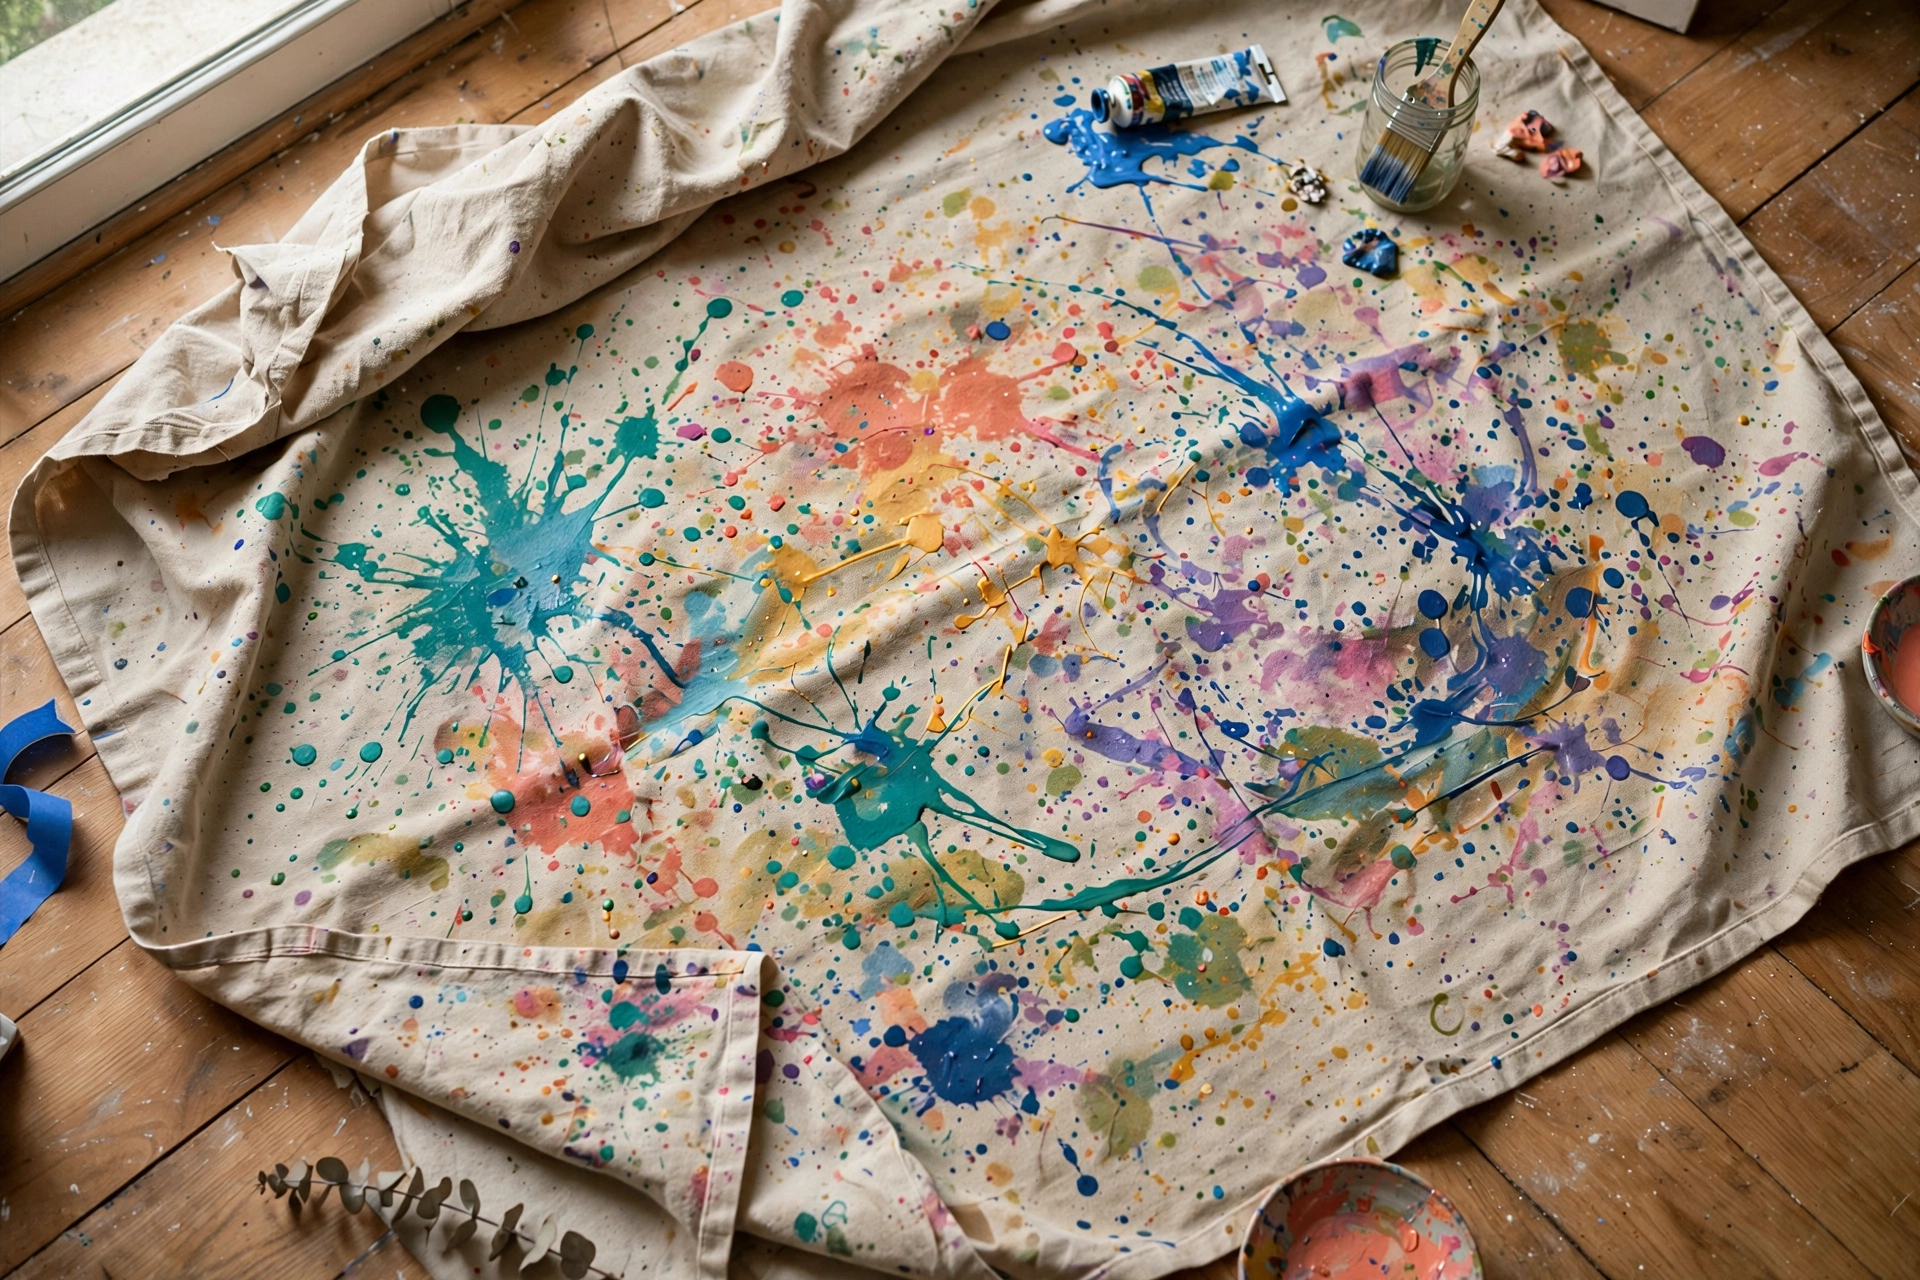
Studio floors take abuse — paint drips, charcoal dust, glue, water. A washable rug or a canvas drop cloth under the work area absorbs the damage that would otherwise ruin flooring or trigger anxiety. Machine-washable low-pile rugs (the popular rug-in-a-bag styles) hose down or toss in the washer; canvas drop cloths develop a beautiful paint-spattered patina that becomes part of the studio’s character. Size it generously — drips travel farther than you think. This single layer of protection is what lets you work boldly instead of carefully, and bold work is the point of having a studio.
6. Mount a Drying Rack on the Wall
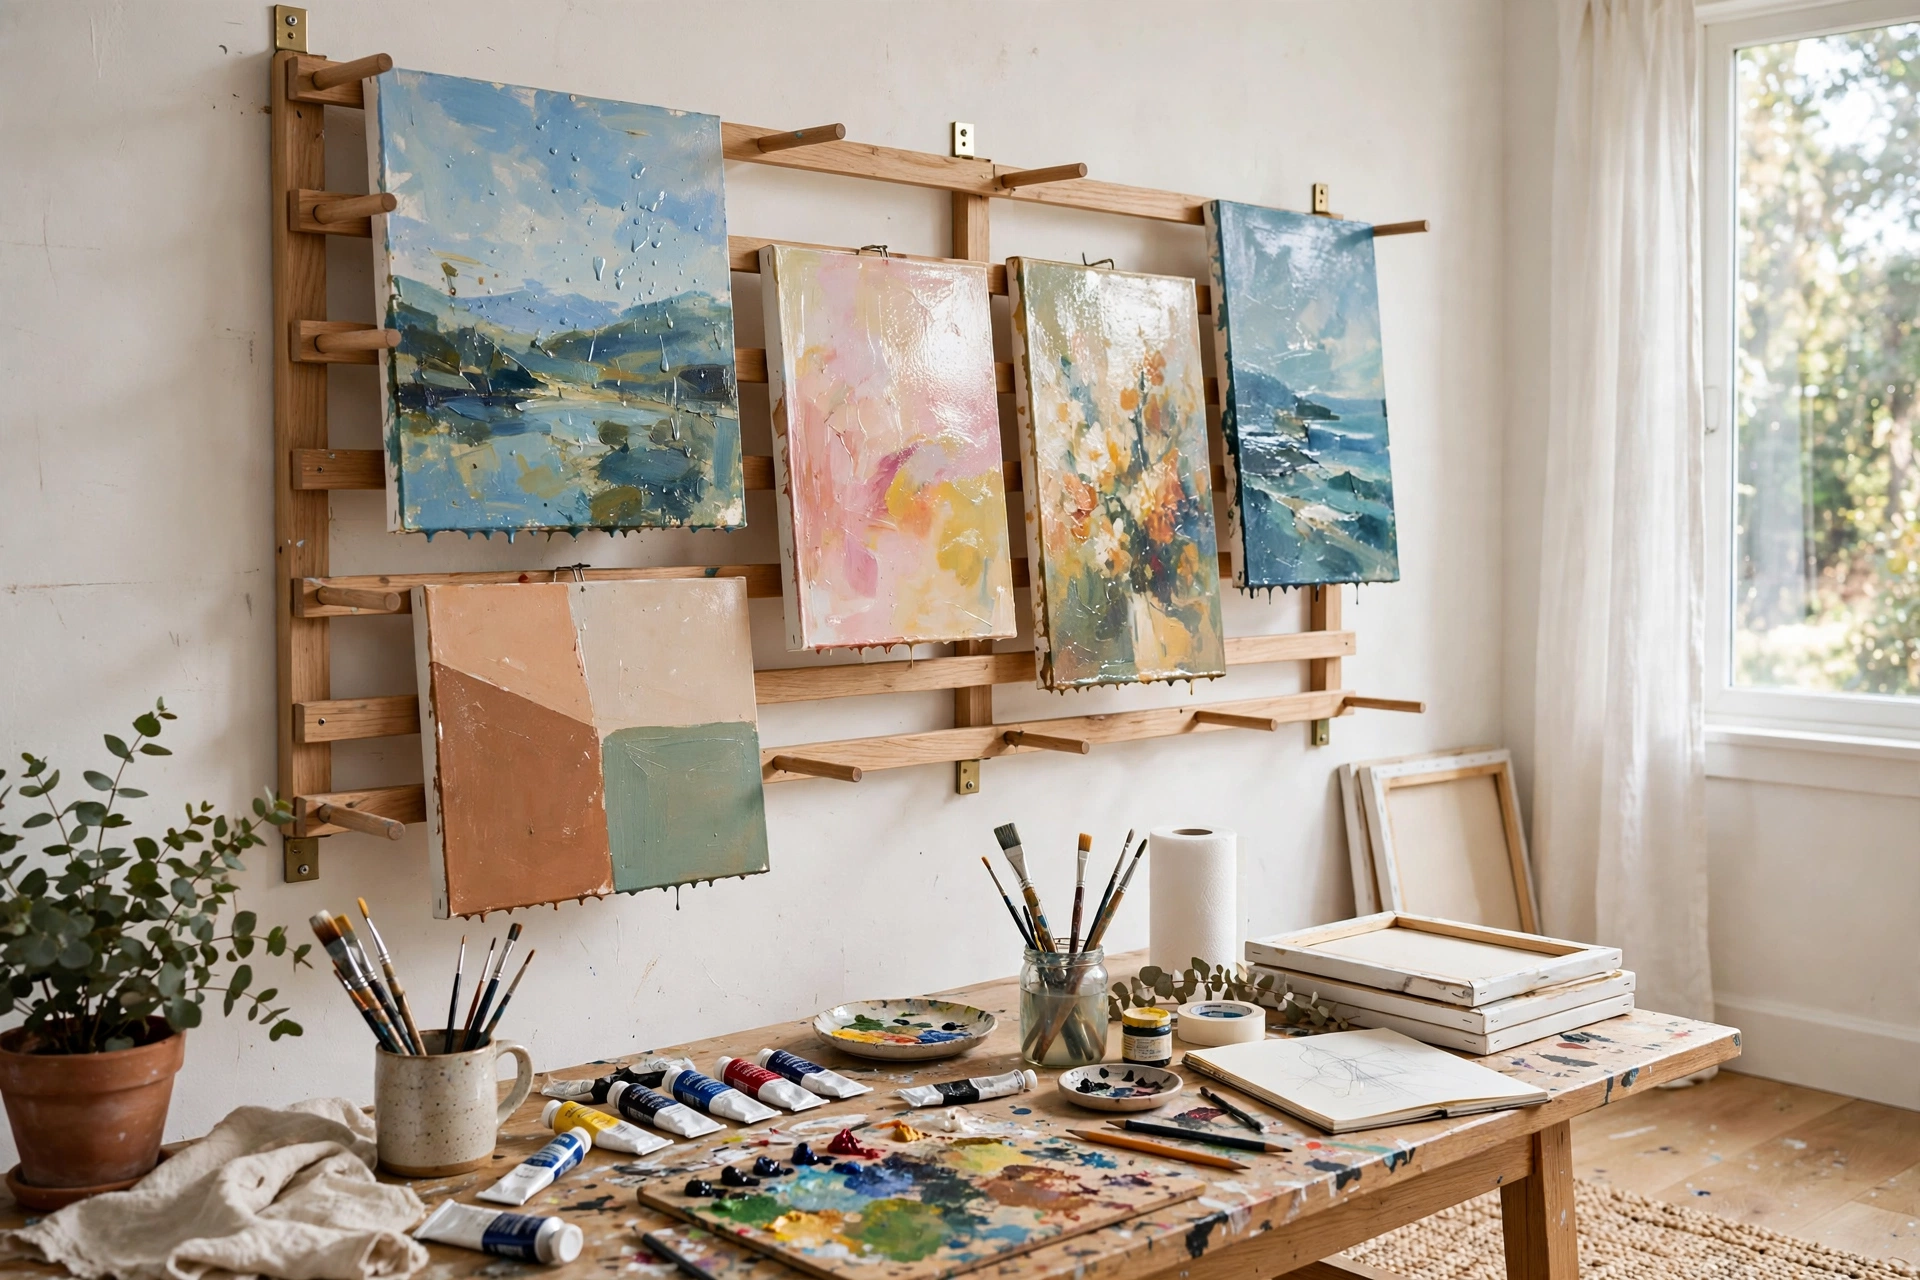
Wet paintings need a safe place to live, and a wall-mounted drying rack keeps them off every flat surface in the house. Simple slotted racks hold canvases and paper vertically with air circulating between them; a repurposed dish rack or plate rack works for small pieces. Mount it near — but not directly above — the work area so wet work travels a short, safe distance. For watercolorists and printmakers, a line with clips under a shelf dries paper prints perfectly. Craft room design ideas for a creative organized space include more drying and curing setups for multi-step projects.
7. Create an Inspiration Board
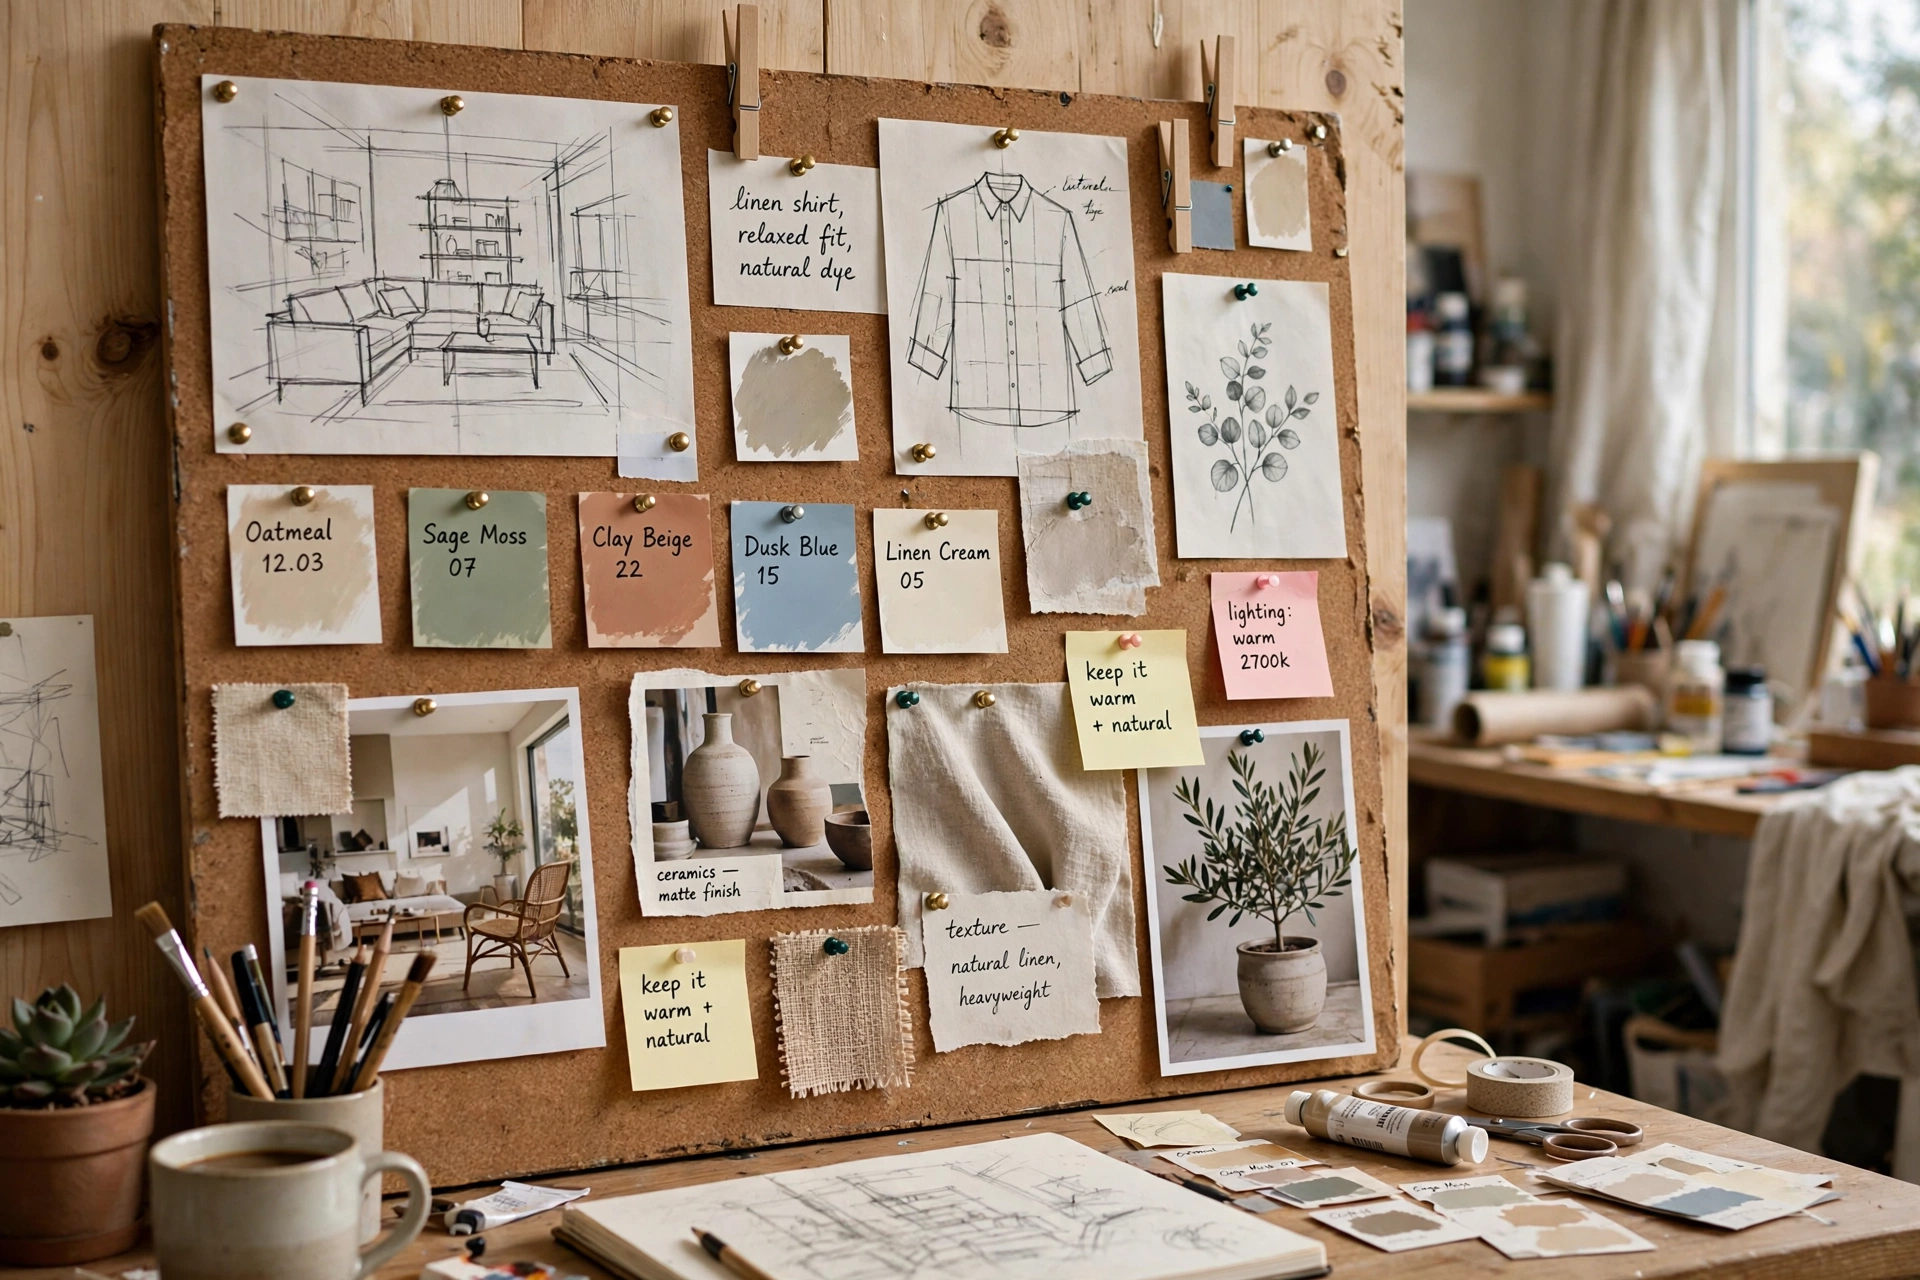
Every studio needs a wall where ideas live. A large corkboard, magnetic board, or simple wire with clips holds reference photos, color swatches, sketches, exhibition postcards, and the torn-out images that sparked the current series. The board does quiet work: it keeps your visual influences in peripheral sight, which feeds the subconscious between sessions. Refresh it when you start new work — a stale board stops inspiring. Keep it near the work surface but out of the splash zone. Some artists keep two: one for the current project, one for the dream file of future ideas.
8. Add Closed Storage for the Messy Stuff
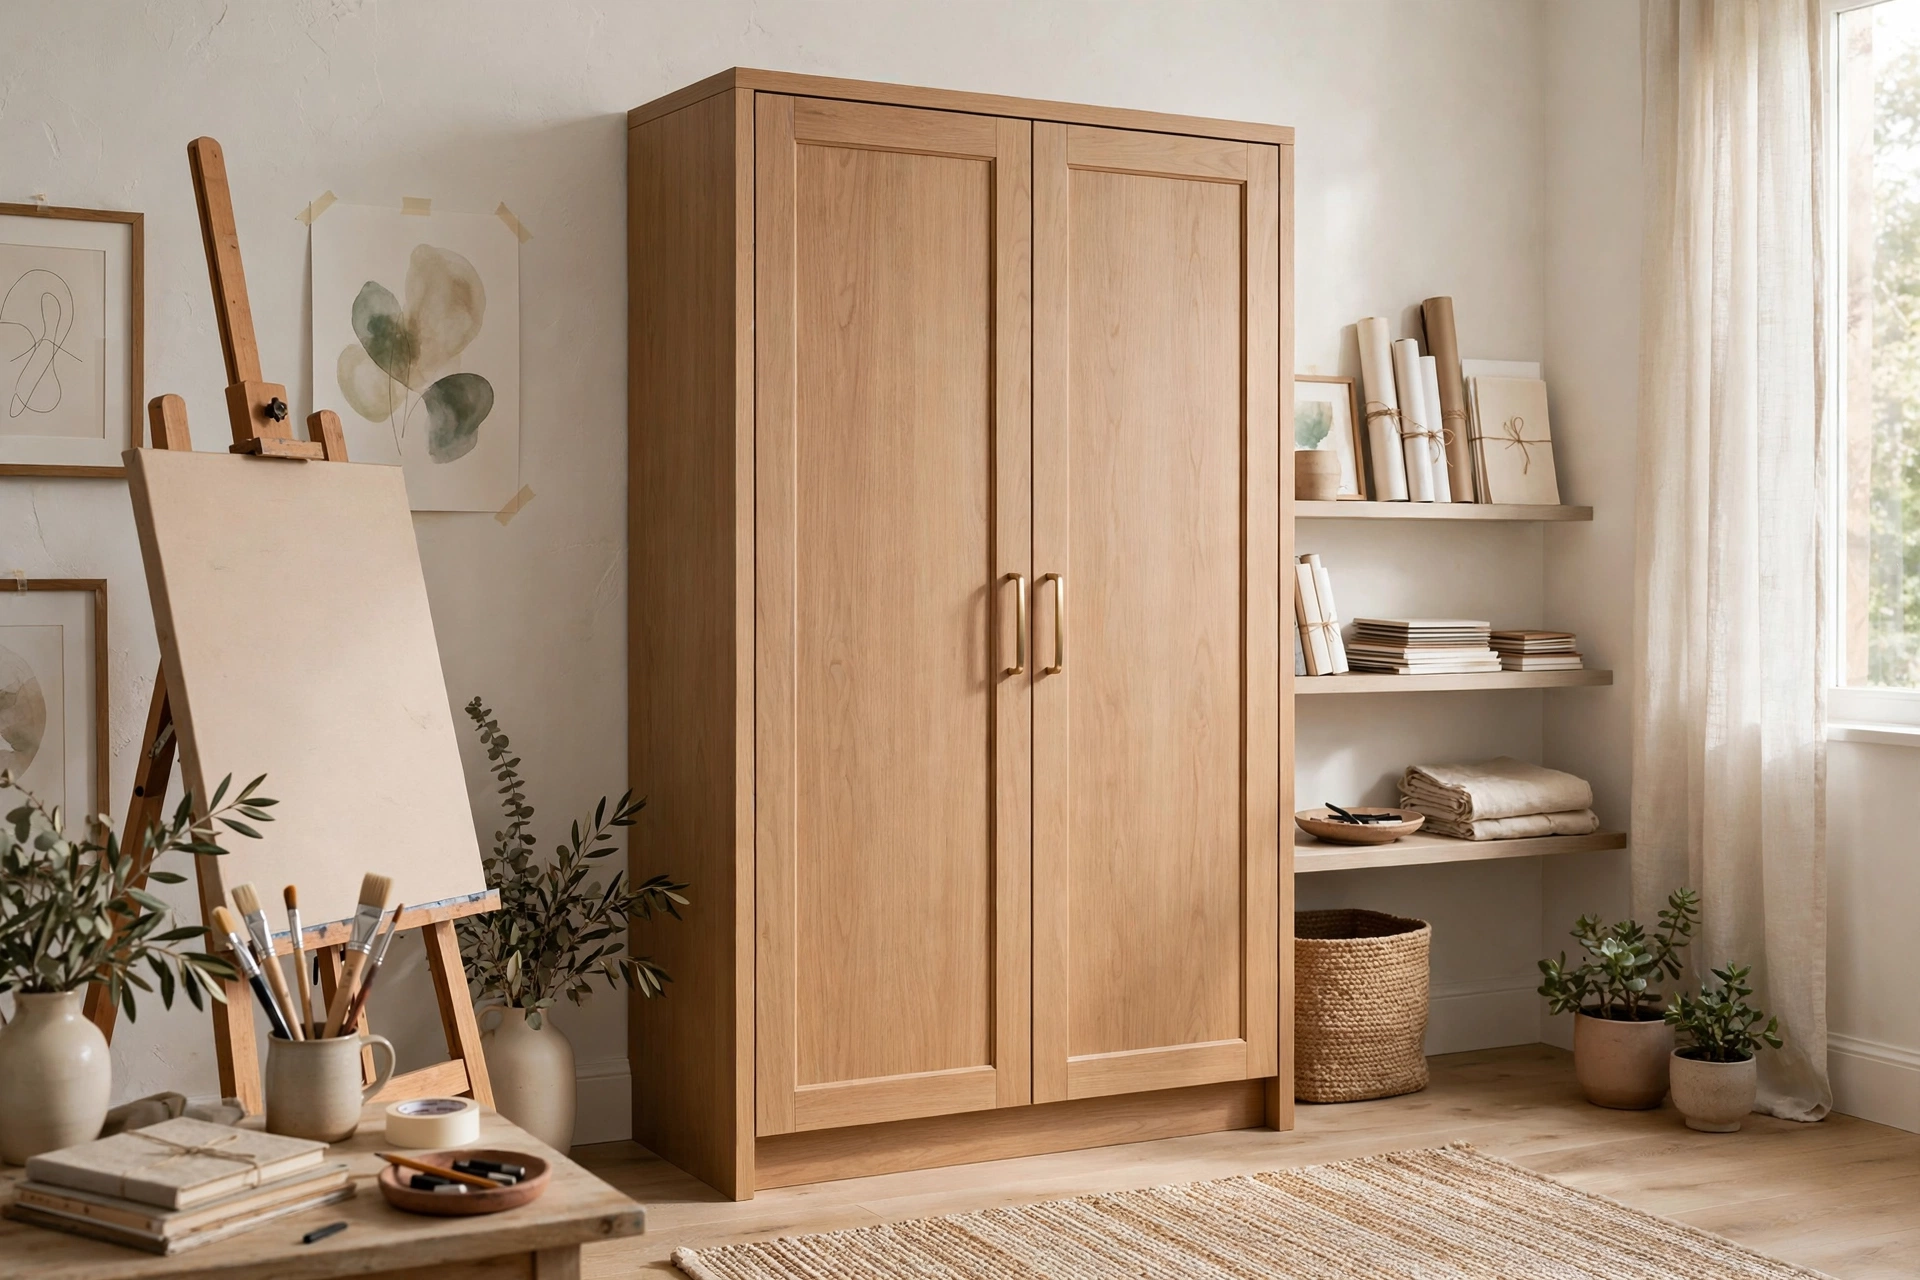
Open storage is inspiring; closed storage is sanity. Solvents, rarely used supplies, works in progress you are not ready to see, and the general clutter of a working practice all belong behind closed doors. A simple cabinet, a dresser, or lidded bins on a shelf swallow the visual noise that kills creative focus. The rule: if looking at it does not help you make art, close it away. Label the doors or bins so supplies stay findable — mystery cabinets become black holes. A studio that can be visually calmed in two minutes gets used far more than one that always looks like a tornado hit it.
9. Choose a Comfy Adjustable Stool
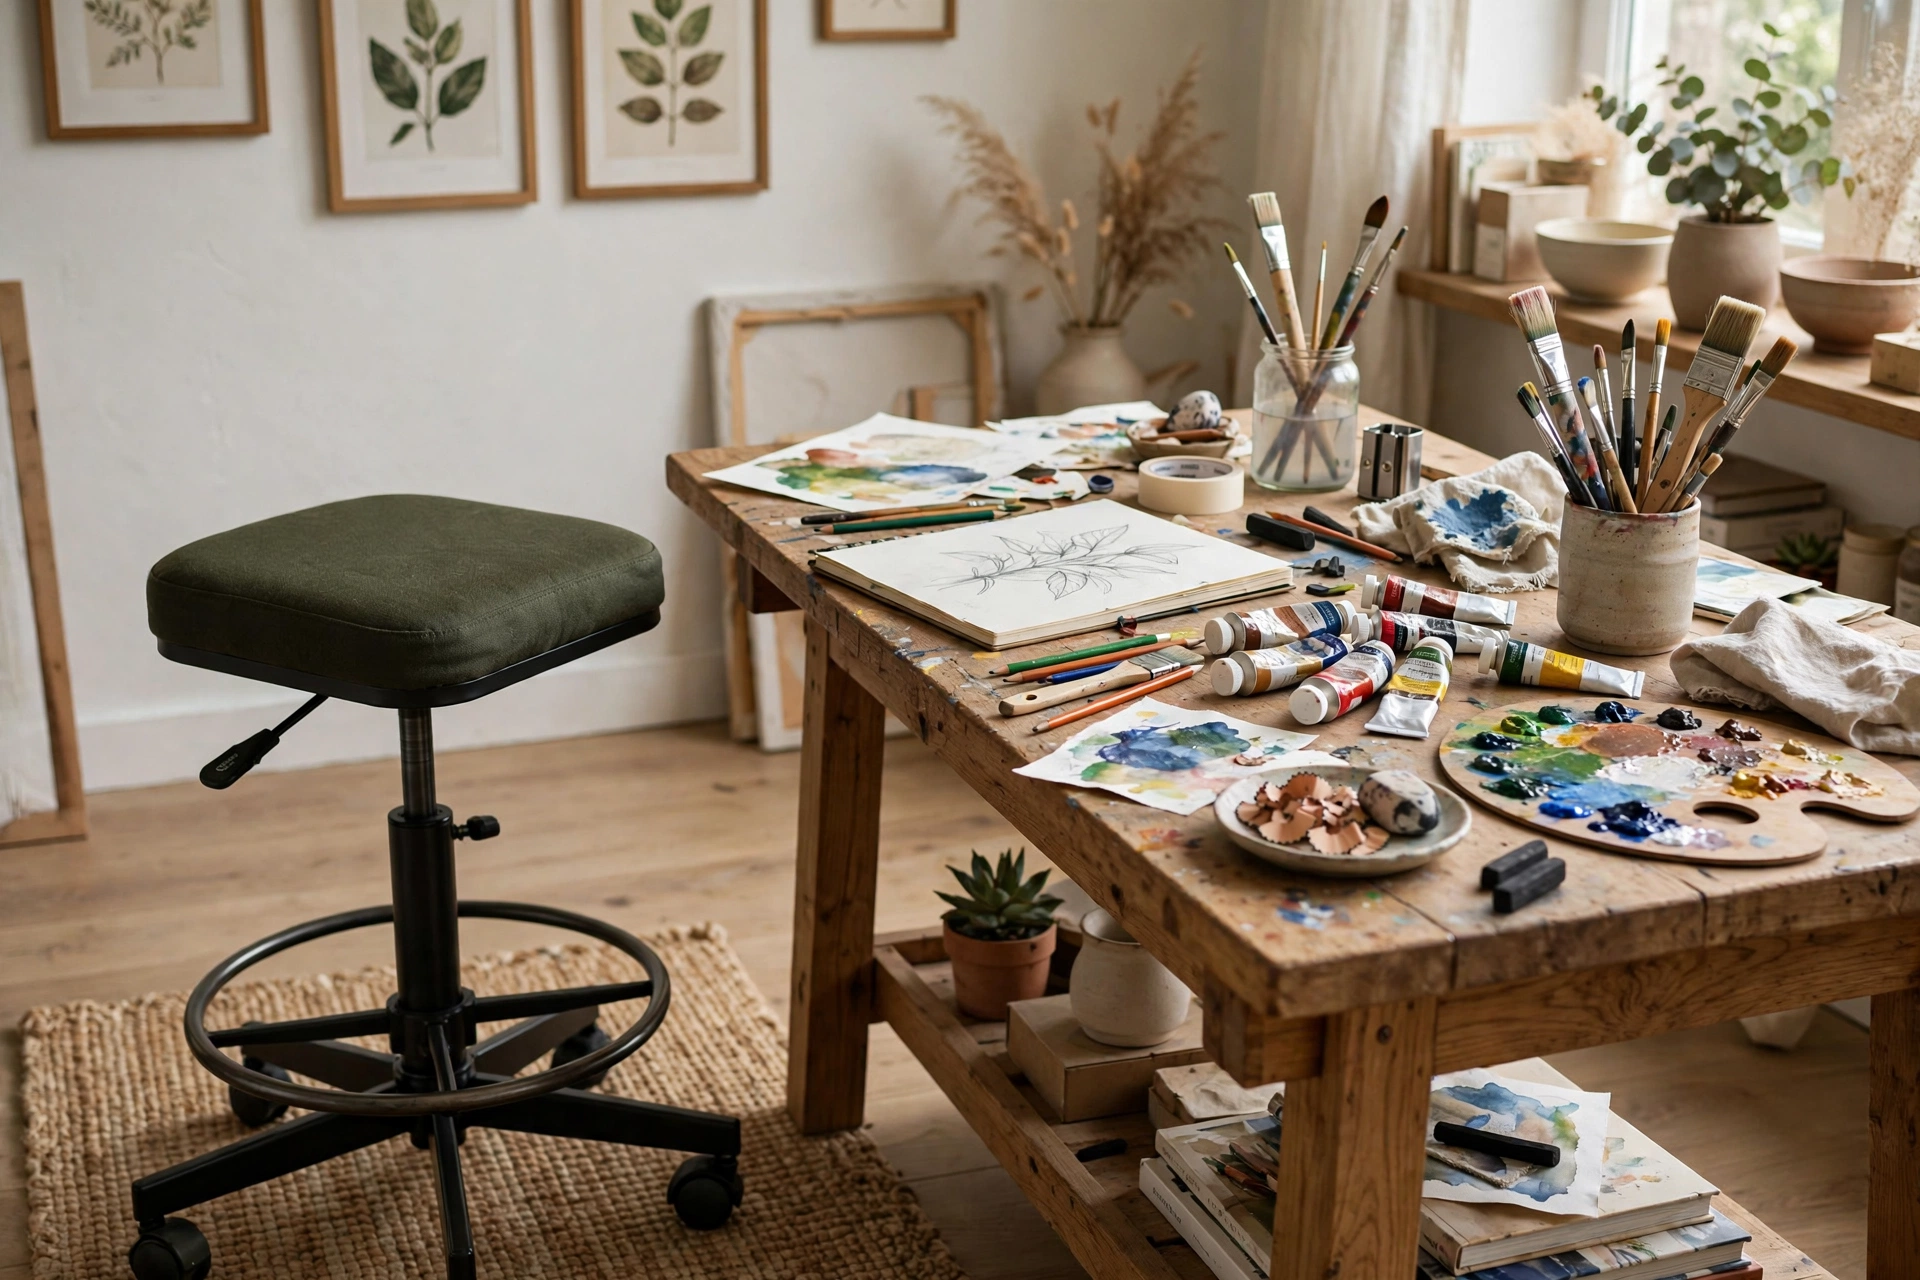
Studio seating has a specific job: support long sessions at varying heights. An adjustable-height stool with a footrest lets you sit high at an easel or low at a table, and the ability to perch — half-sitting, half-standing — keeps energy up during long work. Look for wipeable upholstery (paint will find it), a sturdy five-star base, and smooth-rolling casters that lock. Backless stools tuck fully under tables to save space; a low backrest helps during marathon sessions. Your body is your most important studio tool — a forty-dollar stool upgrade pays for itself in the first week of comfortable work.
10. Install Bright Task Lighting
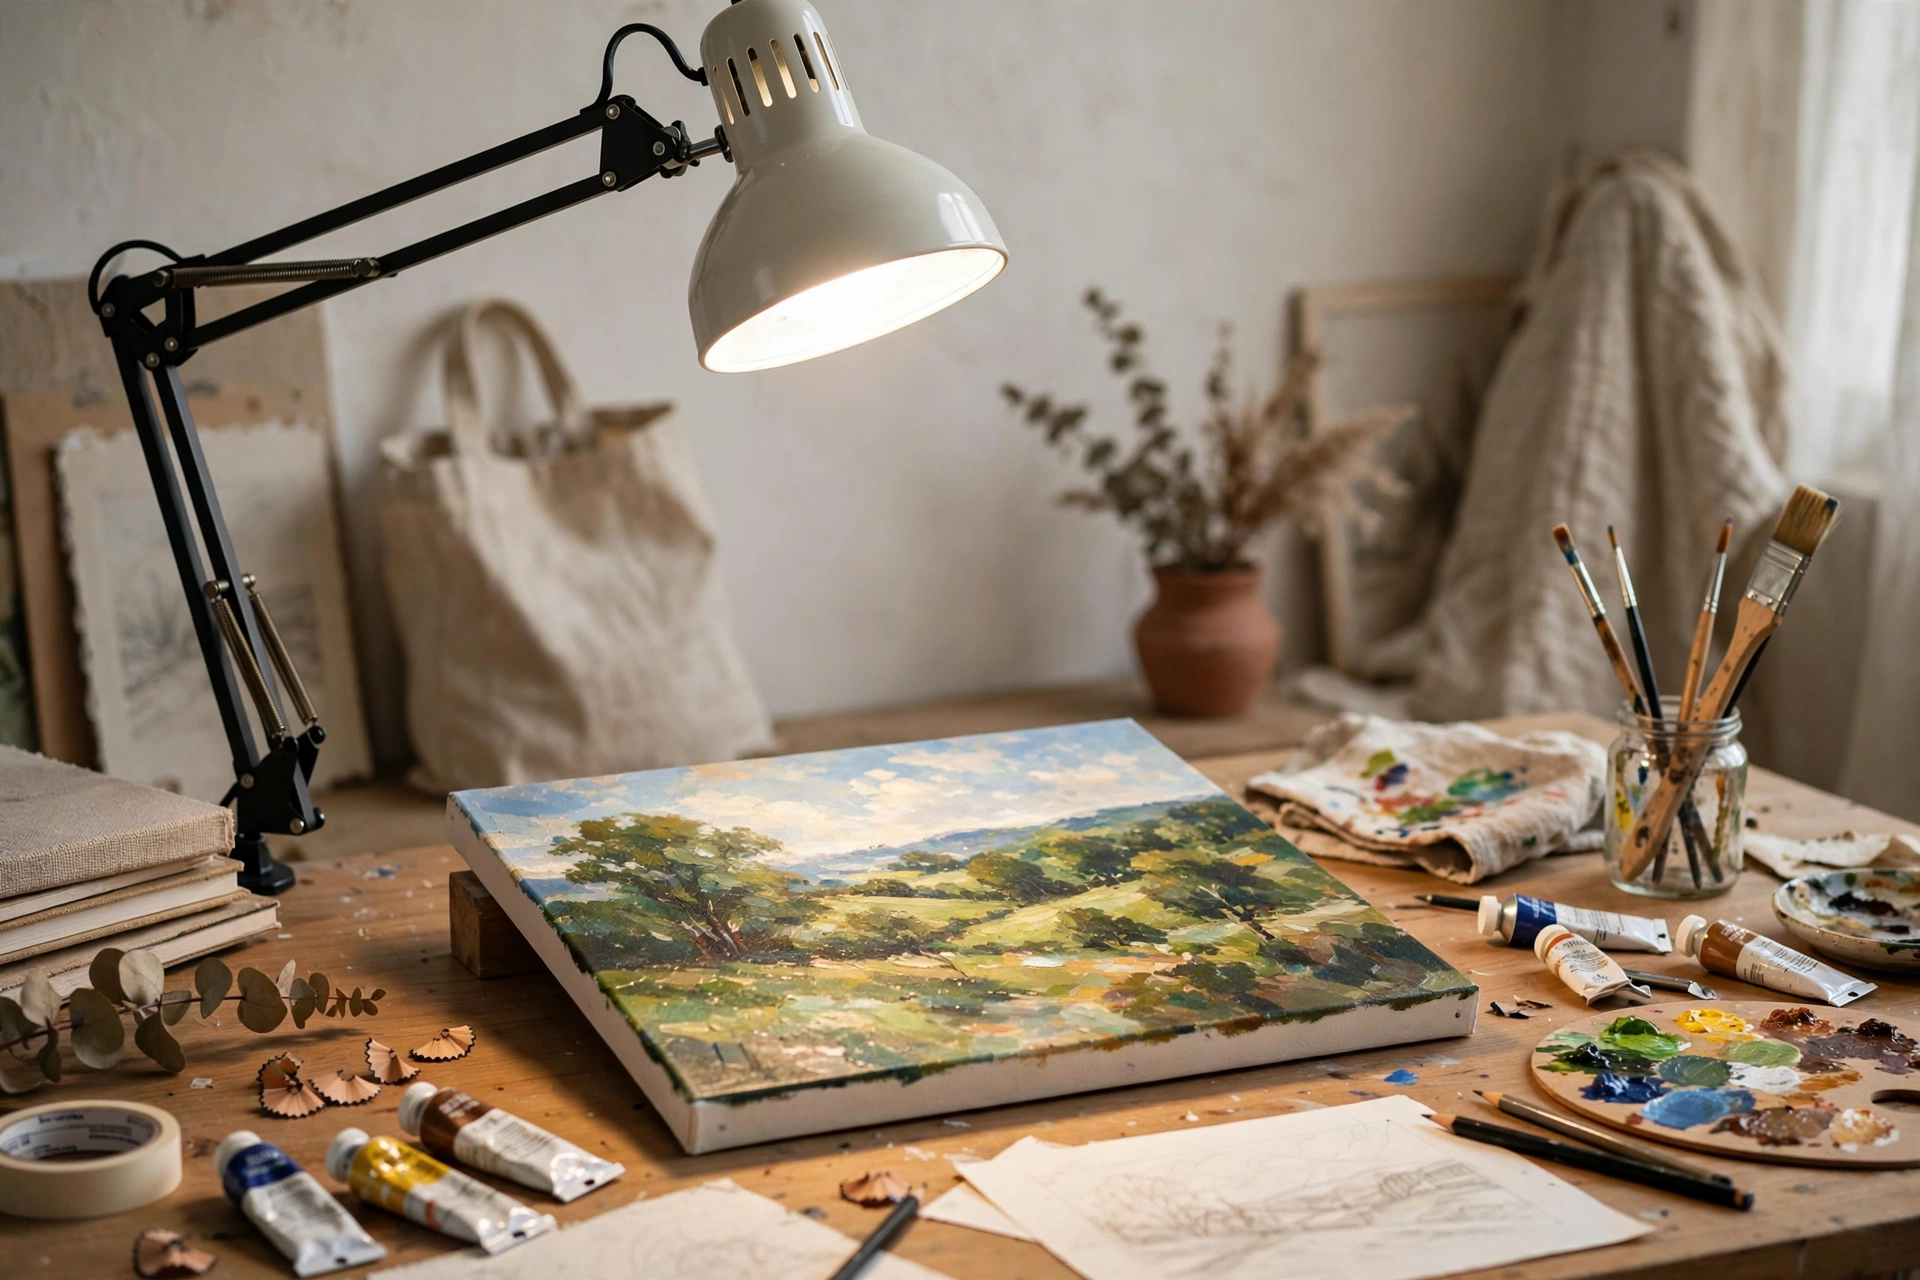
Overhead room light is never enough for detail work. A bright, adjustable task lamp — ideally with a daylight bulb — aimed at the work surface eliminates the shadows your hands cast and shows true color. Clamp lamps free up table space; architect-style swing arms reach exactly where needed. For large work, two lamps from opposite sides prevent one-sided shadows. Dimmable is worth the premium: full brightness for detail work, softer light for stepping back to assess. Good task lighting also extends your studio hours — with proper light, a 9 p.m. session is as productive as a noon one.
11. Set Up a Water and Cleanup Station
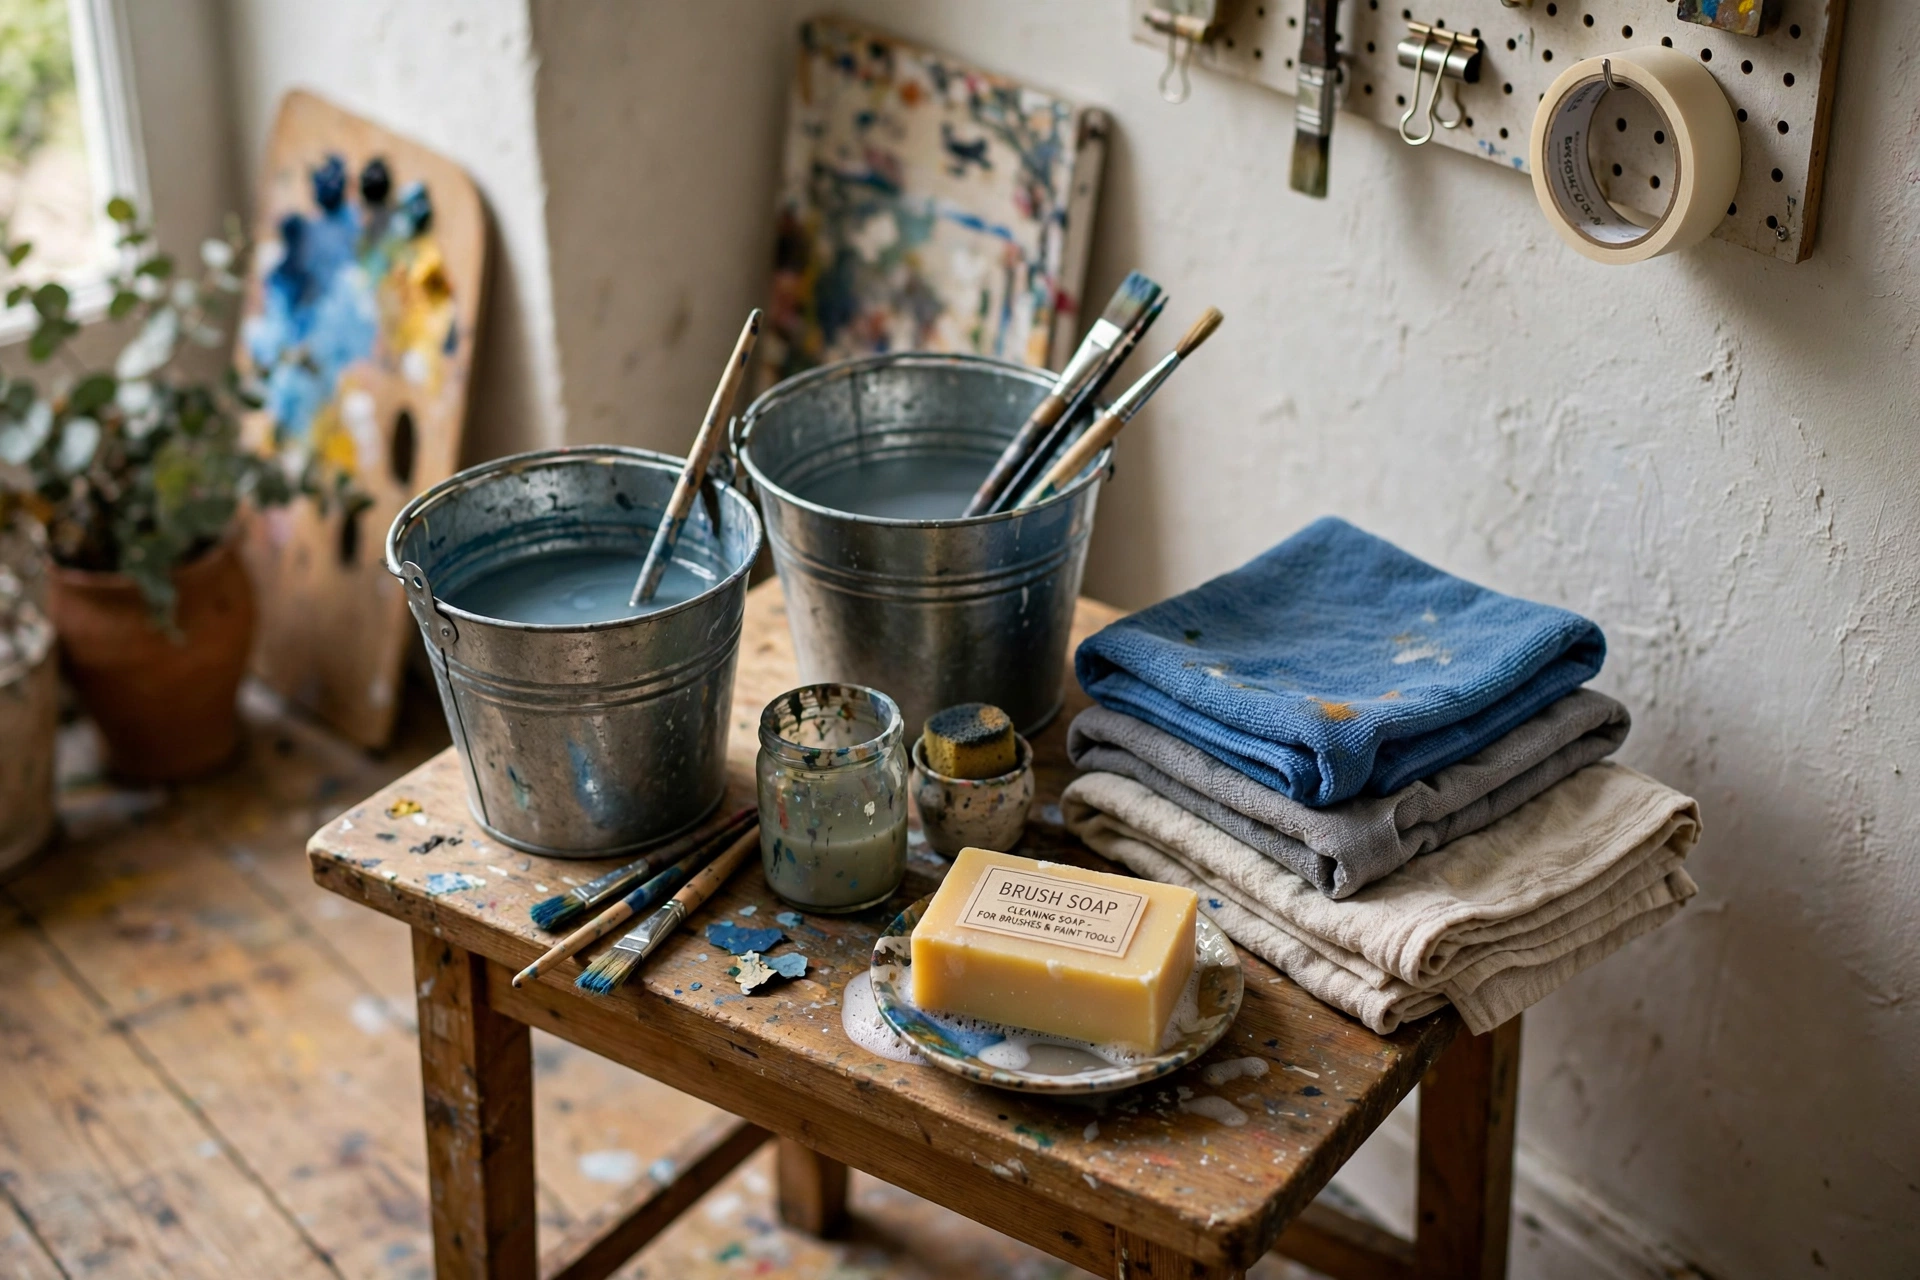
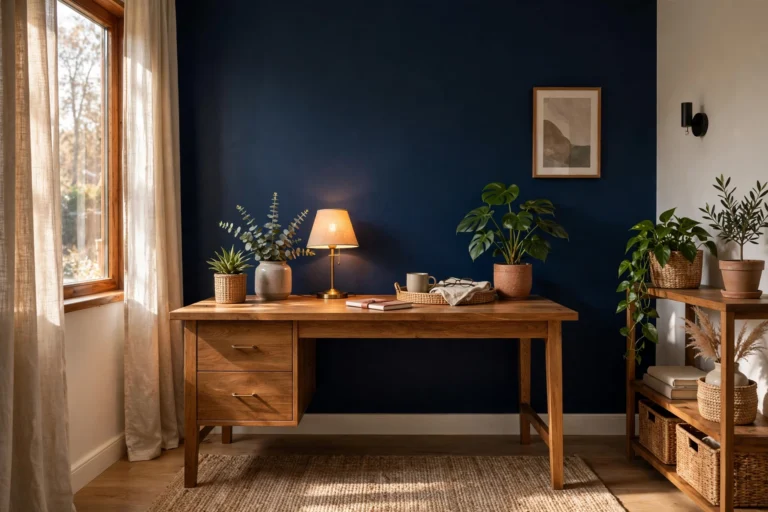
Every wet medium needs water nearby — a dedicated cleanup corner saves a thousand trips to the kitchen sink. A small table with two lidded buckets (one for rinsing, one for dirty water), a stack of rags, and a trash bin handles 90% of studio cleanup. If plumbing allows, a utility sink is the dream upgrade; otherwise, a portable camp sink or even a large basin works. Keep brush soap and a silicone cleaning mat at the station so tools get cleaned immediately — the habit of clean-as-you-go preserves expensive brushes. A bold accent wall can zone the cleanup corner visually from the creation zone, a trick borrowed from our home office accent wall ideas for a focused creative space.
12. Display Finished Work on a Gallery Ledge
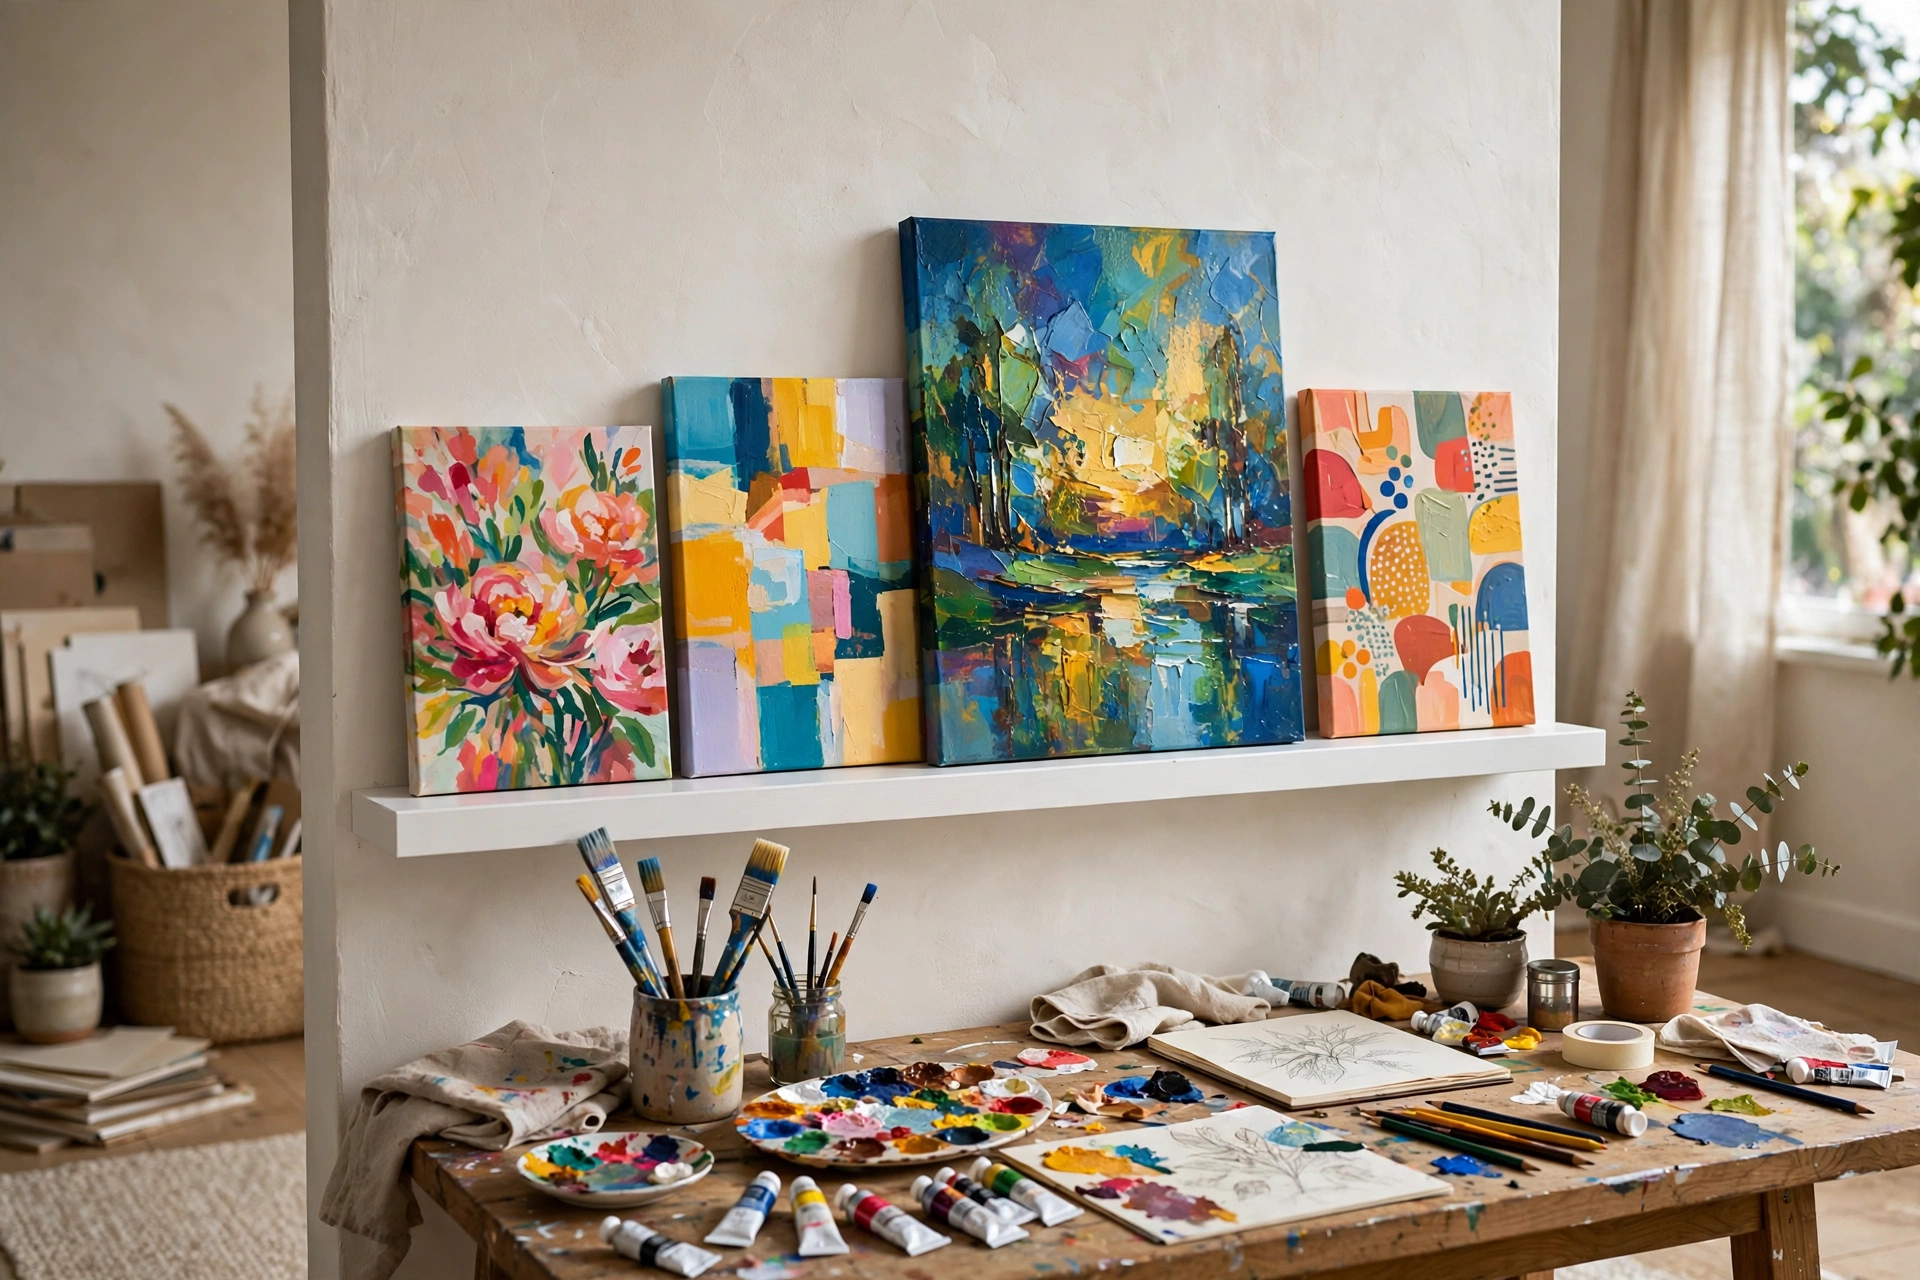
A picture ledge for finished pieces does two things: it gets work off the floor and onto the wall, and it lets you live with pieces before deciding their fate. Narrow ledges hold canvases and framed work without a single nail hole — rearrange endlessly, layer pieces casually, swap in new work as it is completed. Seeing finished work displayed, even in the studio, builds momentum and confidence. Dedicate one ledge to “fresh work under review” and live with each piece a week before varnishing or gifting. The ledge is also perfect for photographing work in good light for portfolios and social media.
13. Use Clear Jars for Brushes and Tools
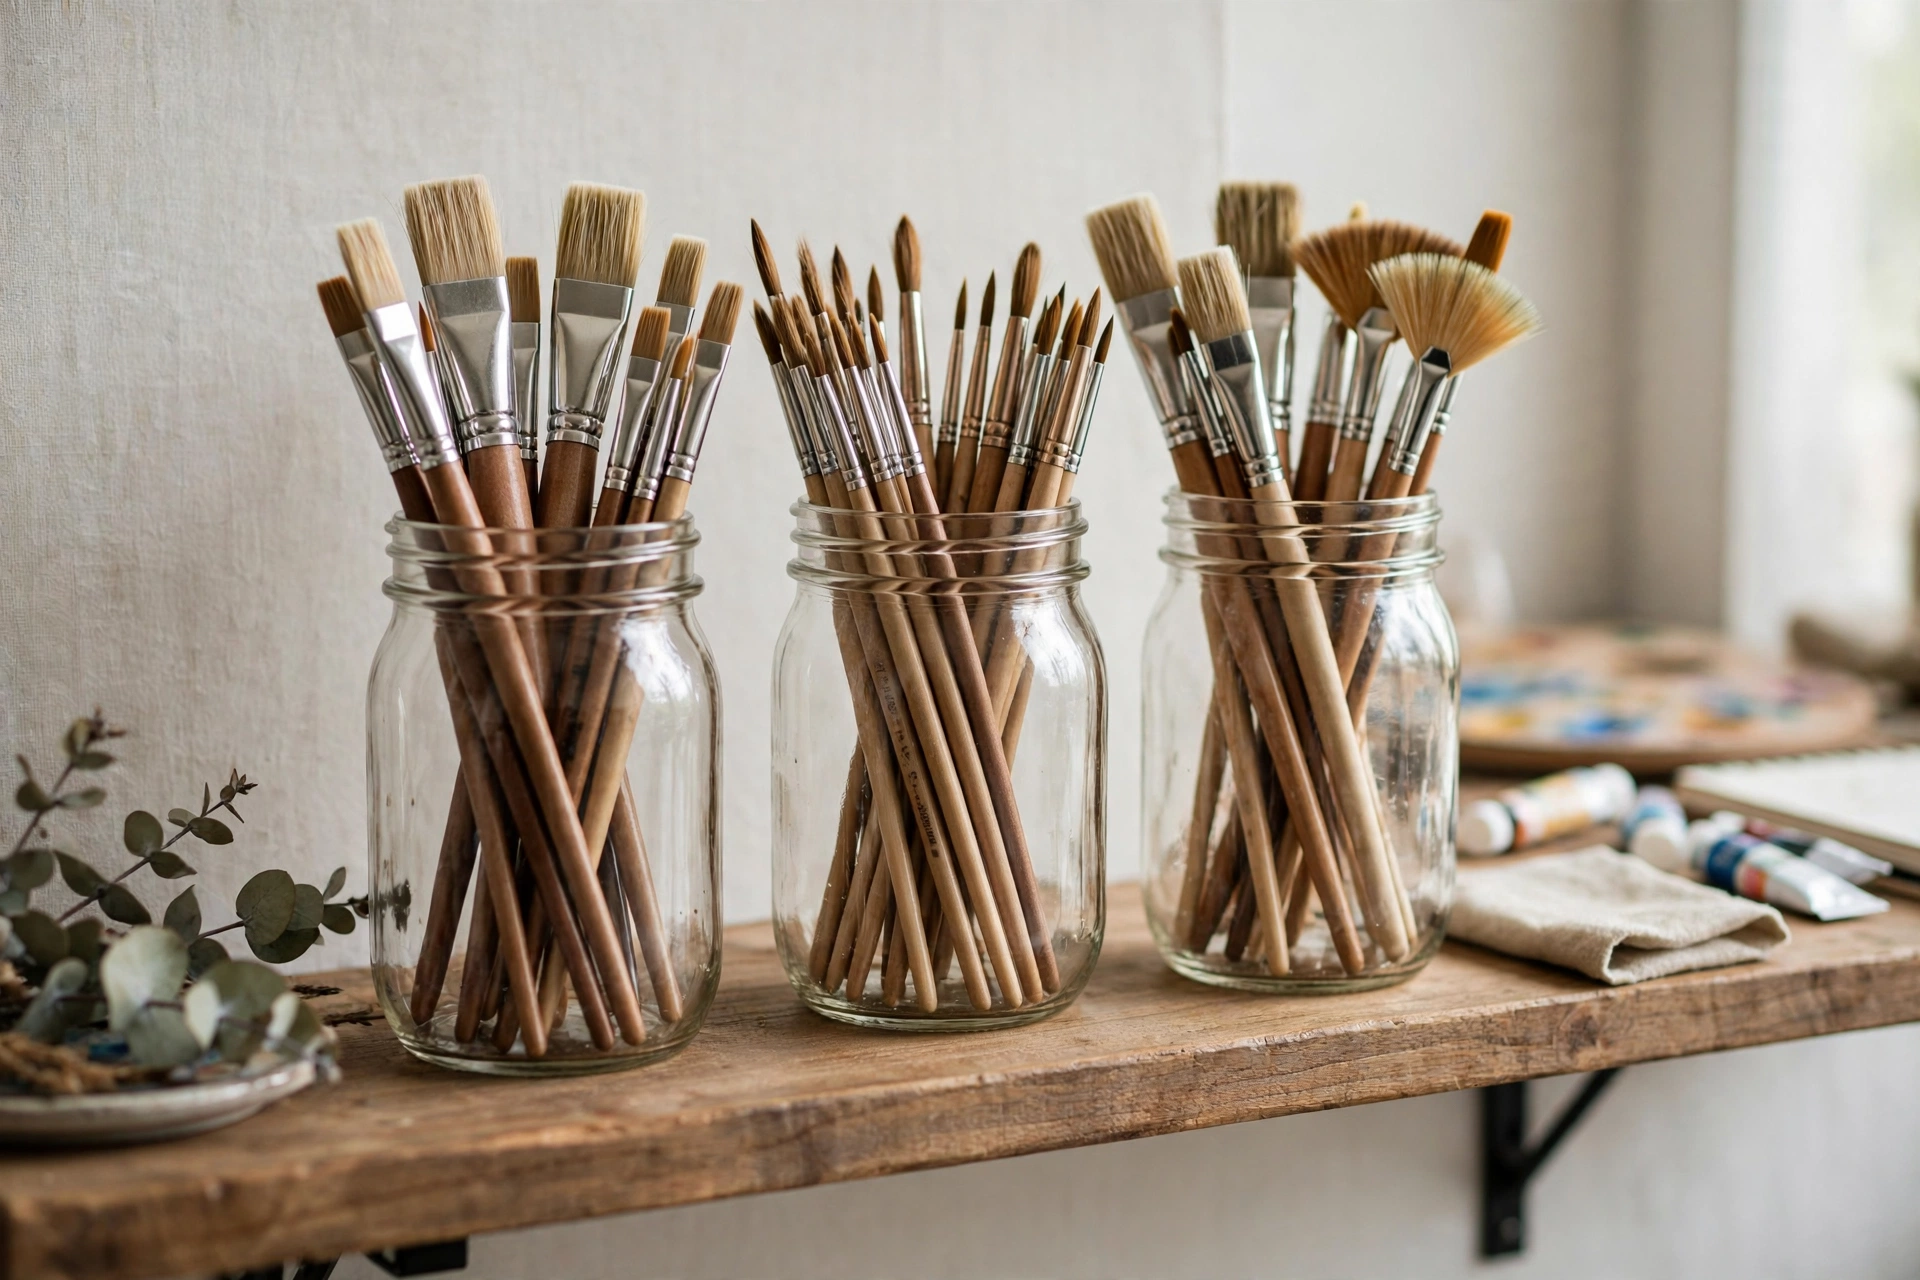
Clear glass jars — mason jars, recycled sauce jars, thrifted vases — are the ideal brush and tool holders: you see everything, grab what you need, and the collection itself looks beautiful. Group by type (one jar for flat brushes, one for rounds, one for palette knives) or by project. The transparency prevents the “forgotten at the bottom of a drawer” problem that wastes supplies. Line jars on a shelf or windowsill where they catch light — a row of brushes in glass is genuinely pretty studio decor. Add a jar of brush cleaner and one of clean water at each work spot so the right habit is always within reach.
14. Add a Speaker Shelf for Studio Sound
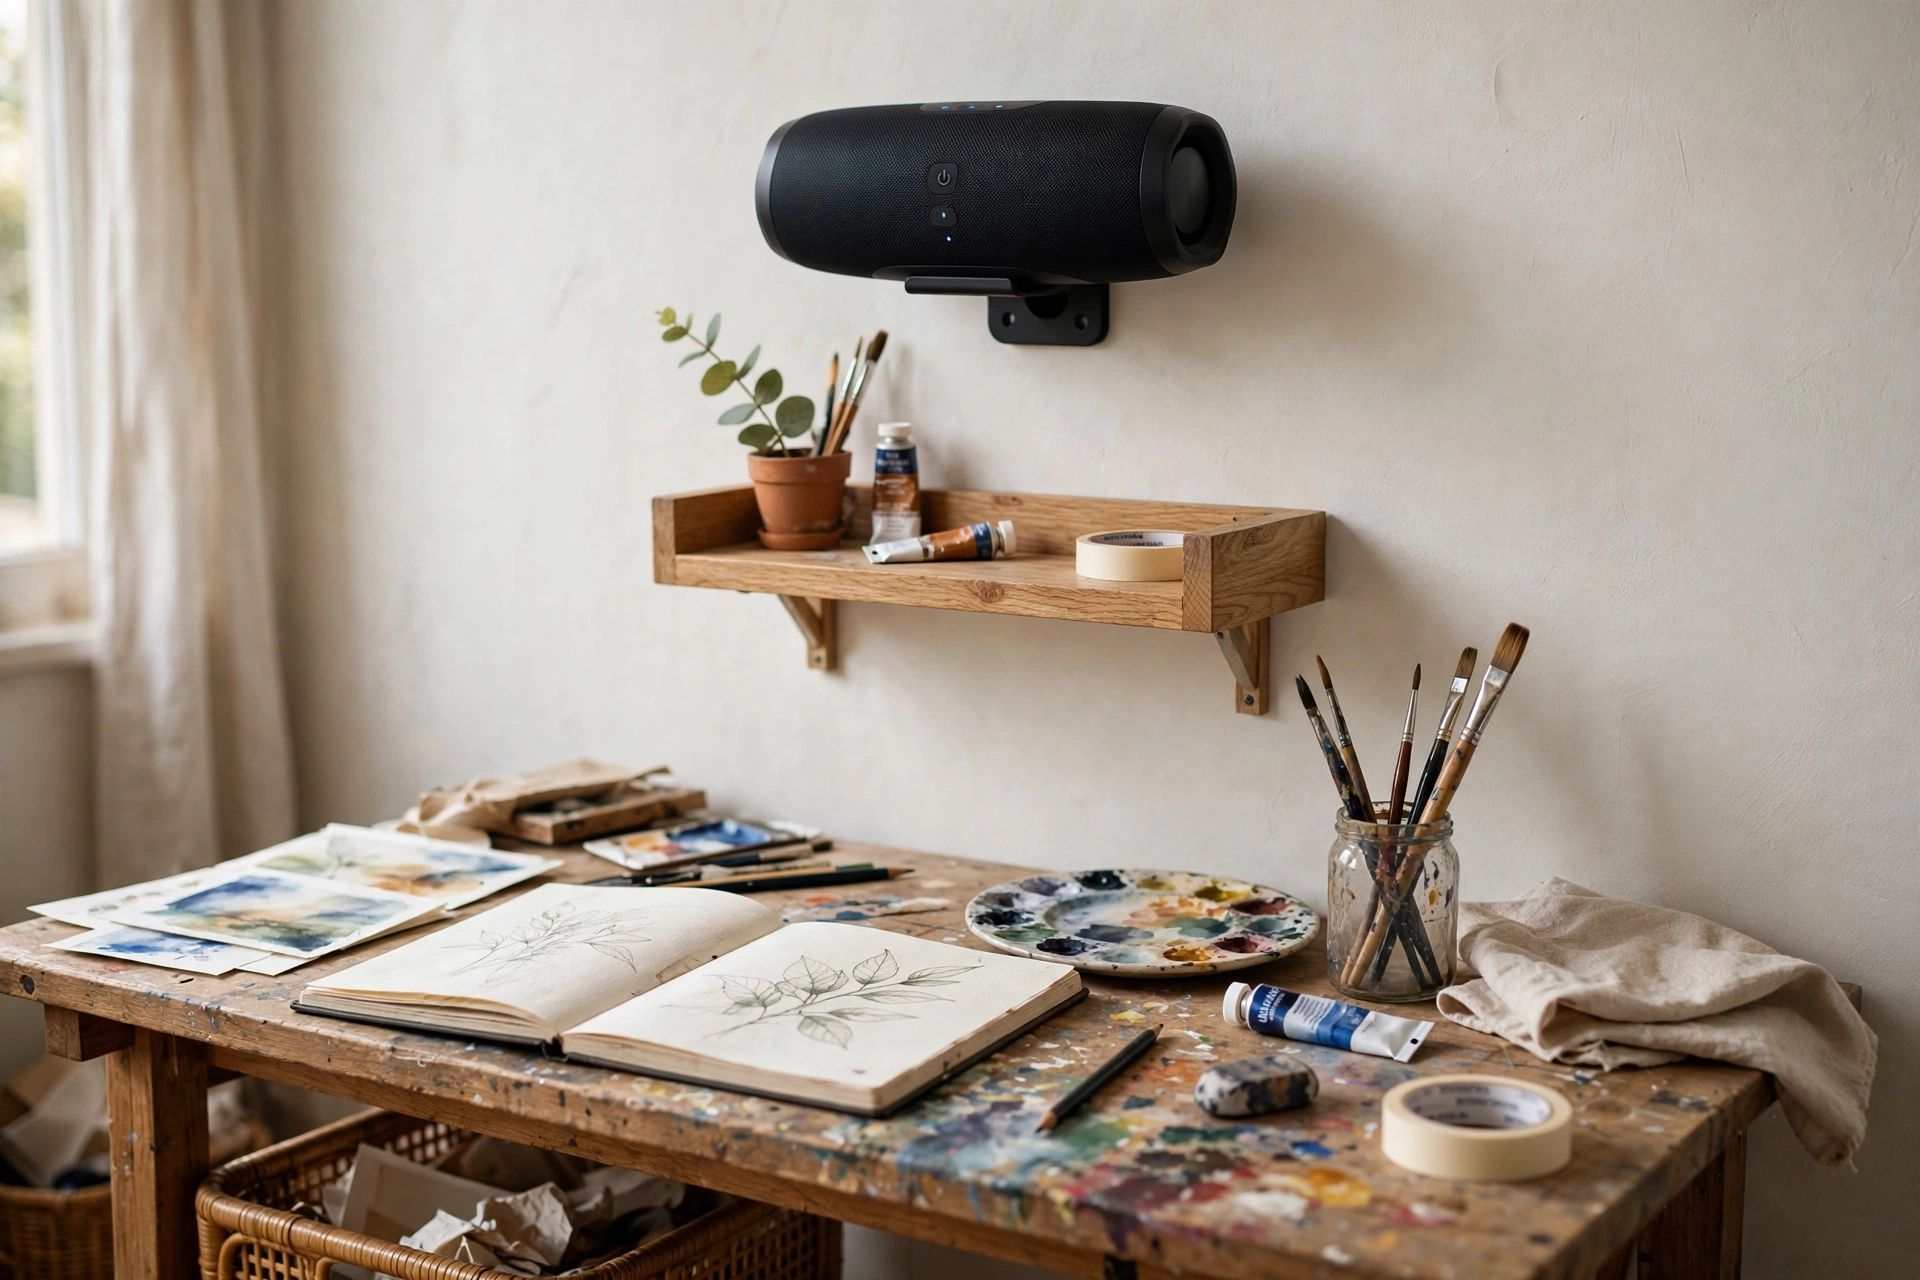
Most artists work better with sound — music, podcasts, audiobooks — so give it a proper home. A small wall-mounted shelf holds a Bluetooth speaker up and away from paint, water, and clutter, angled toward the work area. Mount it high enough to stay dry and out of the elbow zone. A dedicated shelf beats a speaker balanced on the supply pile (we have all done it; it ends badly). Some artists swear by silence for detail work and sound for loose work — either way, having the option one tap away keeps the studio’s atmosphere adjustable. It is a small touch that makes long sessions feel shorter.
15. Keep Flat-File or Portfolio Storage
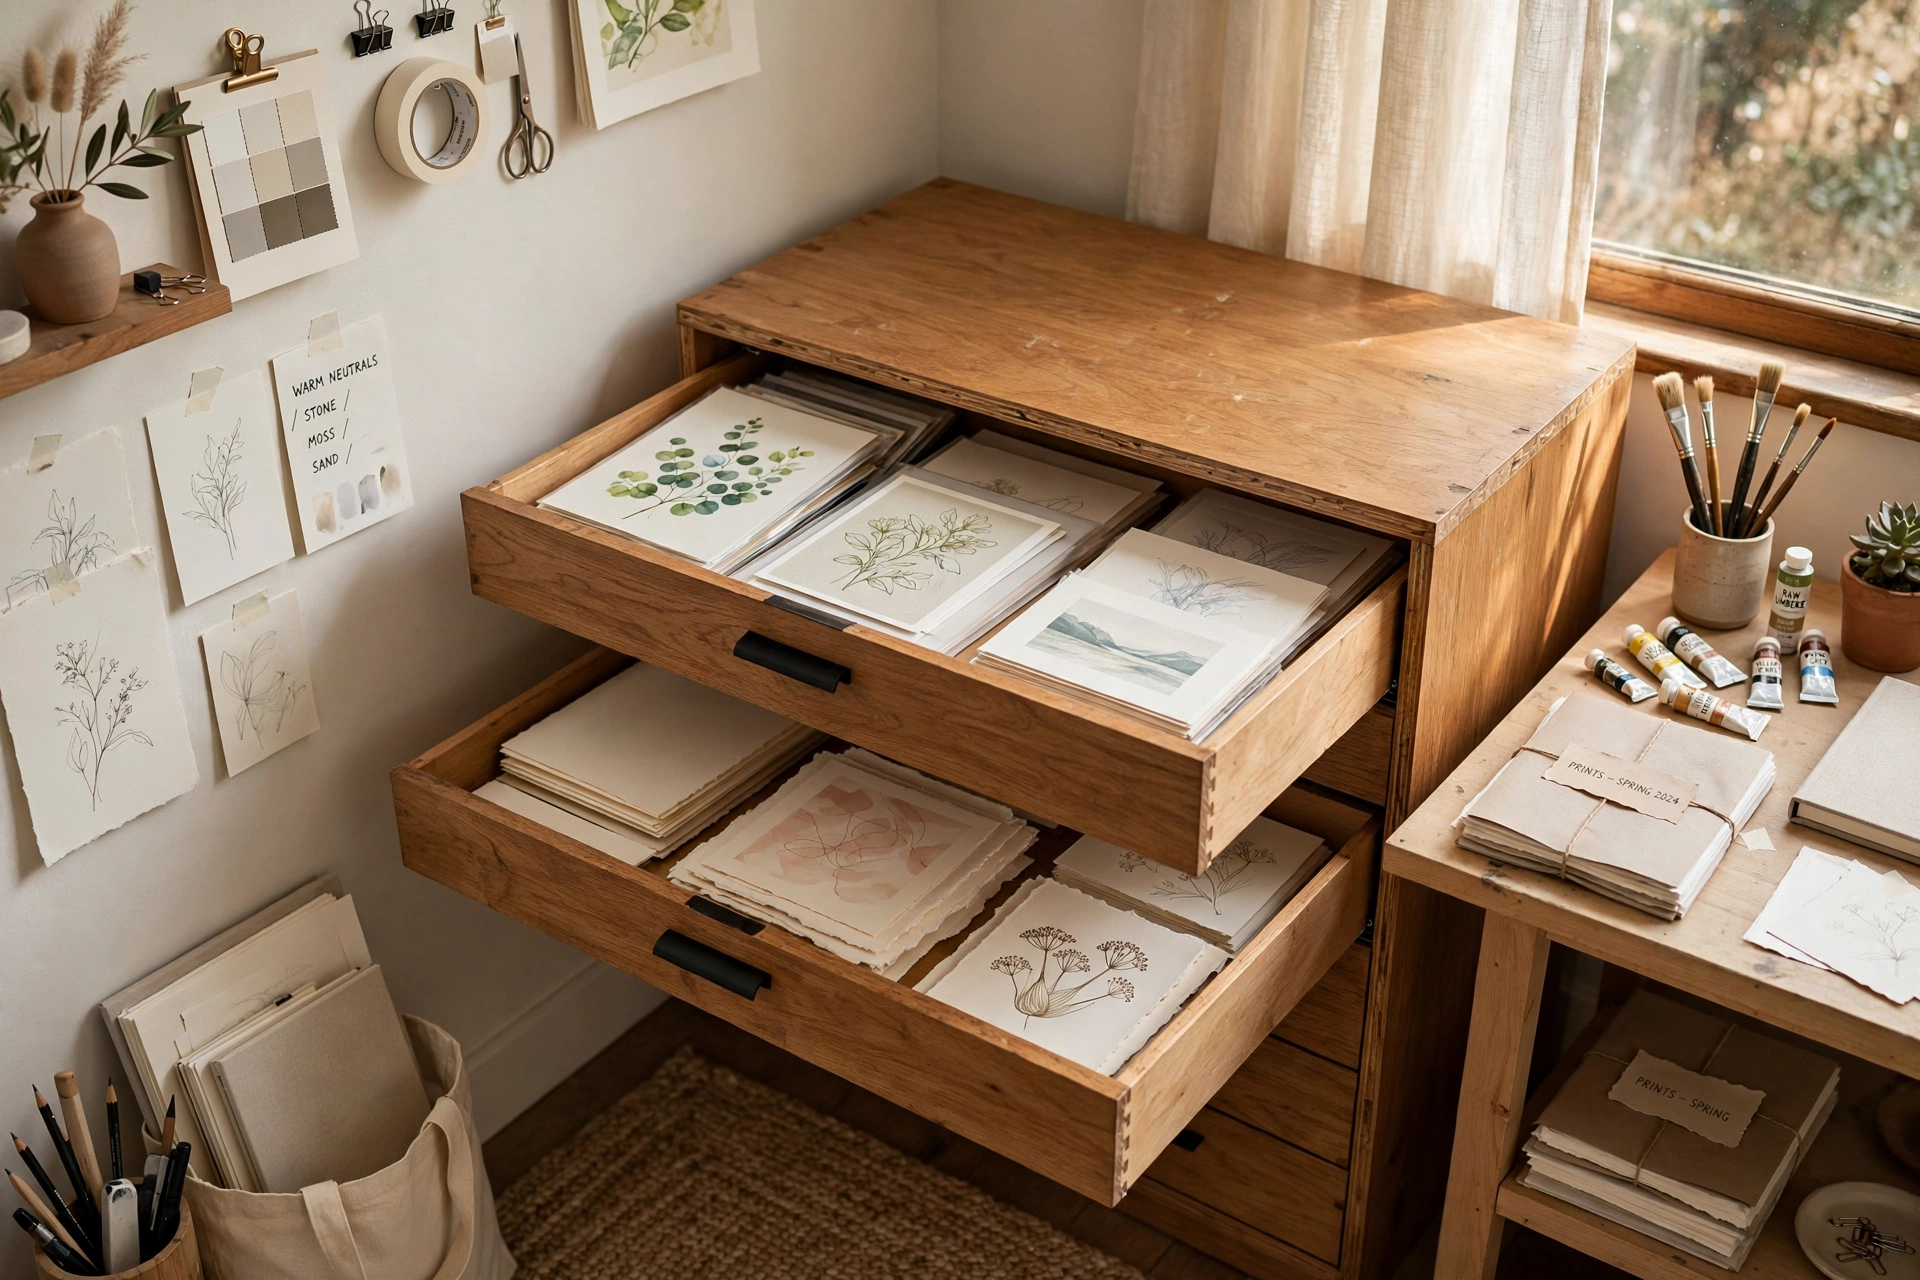
Paper, prints, and works on paper need flat storage — and a flat-file drawer unit or simple portfolio case under the table solves it elegantly. Wide, shallow drawers keep paper from curling and let you flip through inventory like a print shop. No room for a flat file? Large portfolio cases slide under beds and behind doors, and archival boxes stack neatly in closets. Organize by size or project, and label everything — future you will be grateful. For supply sourcing and storage furniture built for artists, Blick Art Materials carries the flat files, carts, and organizers that professional studios rely on. Protect the work you have made with the same care you put into making it.
FAQ
How much space do you need for a home art studio?
Less than you think. A dedicated 4×6-foot corner fits a table, cart, and supply storage for most 2D work; a 10×10-foot room comfortably holds an easel, work table, storage, and drying space. Large-scale painters and sculptors need more, but most artists overestimate — start with a corner, and let the practice tell you what it needs before claiming a whole room.
What lighting is best for an art studio?
North-facing natural light is the historic ideal — indirect and color-consistent. Supplement with 5000K–5500K daylight bulbs in task lamps for accurate color rendering at any hour. Avoid warm (2700K–3000K) bulbs for color-critical work; they shift everything yellow. Whatever the source, light the work surface from two angles to minimize hand shadows.
How do you organize art supplies in a small space?
Go vertical: pegboards, wall shelves, and over-door organizers use wall space that small rooms waste. Use rolling carts that tuck into closets, clear containers so you can see contents, and the one-in-one-out rule for new supplies. Group by medium and keep daily-use tools within arm’s reach of the work surface — everything else can live farther away.
How do you ventilate a home art studio?
Open windows and a fan exhausting outward handle most water-based media. For oils, solvents, spray paint, or resin, you need real ventilation: work near an open window with a box fan blowing out, wear a respirator rated for organic vapors, and consider a dedicated exhaust fan. Never use spray or solvent-heavy media in an unventilated room — your lungs are not replaceable studio equipment.
What flooring is best for an art studio?
Something you do not have to baby: sealed concrete, luxury vinyl, or tile all wipe clean and shrug off spills. If the room has nice wood floors, protect them with a large canvas drop cloth or washable rug — not a plastic sheet, which gets slippery and bunches. Whatever is underneath, the washable layer on top is what lets you work freely.
Keep Exploring
A home art studio is permission made physical — permission to leave the mess out, to start before you feel ready, to make bad work on the way to good work. Start with light and a surface, add storage as the practice grows, and protect the floors so you can work boldly. Home office accent wall ideas for a focused creative space show how the two zones can live beautifully side by side.