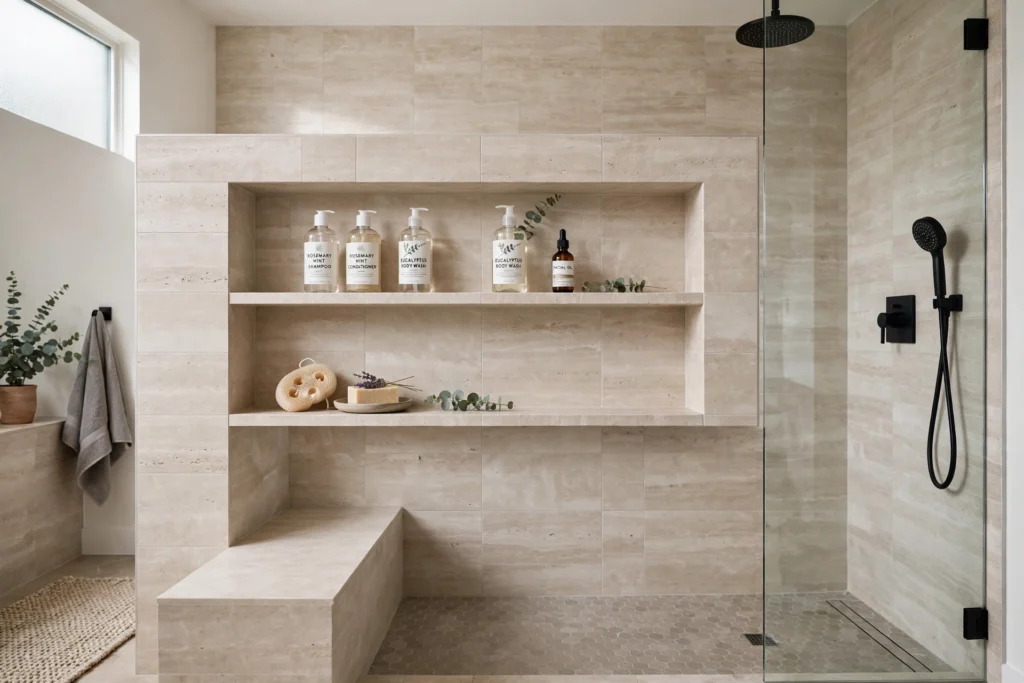

A shower niche is one of those small details that changes how a bathroom feels every single day. Instead of bottles crowding the floor or a rusty caddy clinging to the shower arm, you get a clean recess carved into the wall — storage that looks like it was always meant to be there. These bathroom shower niche ideas cover placement, sizing, tiling, and finishing so your niche works hard and looks intentional. As you read, note which bathroom shower niche ideas fit your wall depth — a 2×6 wall nearly doubles your shelf space. From a wide horizontal run to twin vertical niches, the bathroom shower niche ideas below suit everything from compact alcoves to spa-like walk-ins. If you are planning a bigger shower overhaul, our walk-in shower design ideas for a spa-like bathroom pair beautifully with the bathroom shower niche ideas in this guide.
The secret to a great niche is planning it before the first tile is set. Depth, height, waterproofing, and the way the tile meets the edges all get decided during framing — not after — which is why the best bathroom shower niche ideas start on paper, not in the tile aisle. The bathroom shower niche ideas below all assume that planning-first approach, so skim them before your contractor opens the wall. A niche is technically a small recessed architectural niche, and treating it like a tiny piece of architecture rather than an afterthought is what separates the polished results from the patched-together ones.
1. Plan the Niche Before the Tile Goes Up
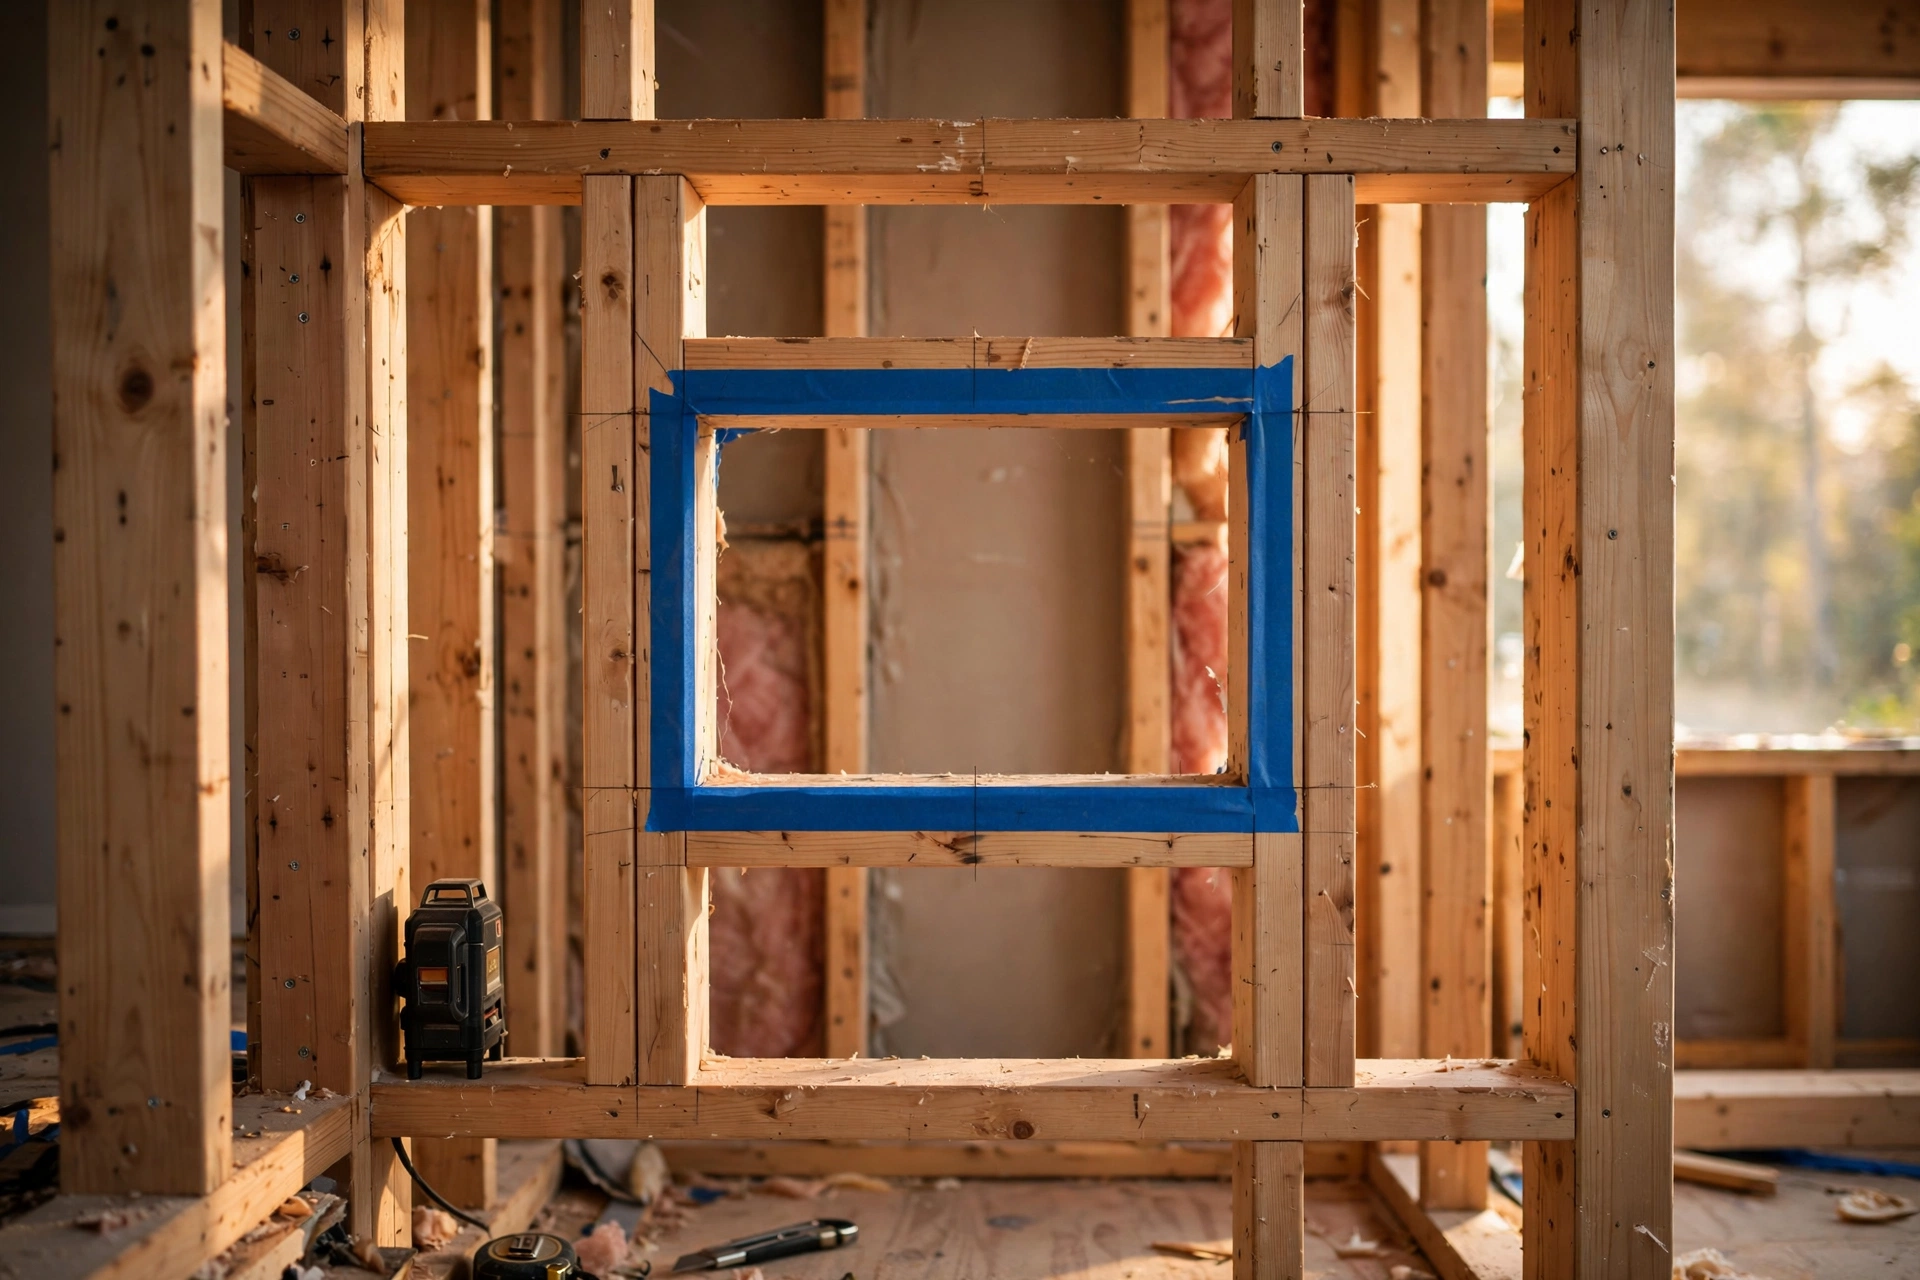
The single most important niche decision happens before your tiler arrives: where it goes and how big it will be. Studs, plumbing, and waterproofing membranes all live inside the wall, so the niche has to fit between studs (usually about 14.5 inches of clear space) unless you reframe. Sketch the shower wall, mark the stud bays, and choose a bay that sits within easy reach of the showerhead but outside the direct blast of water. Decide on the opening height relative to your tile courses — a niche that aligns with full tile rows looks infinitely cleaner than one that forces awkward slivers of cut tile. This ten minutes of planning prevents the two most common niche regrets: an opening too small for tall shampoo bottles and tile cuts that look like an accident.
2. Go Wide With a Horizontal Niche
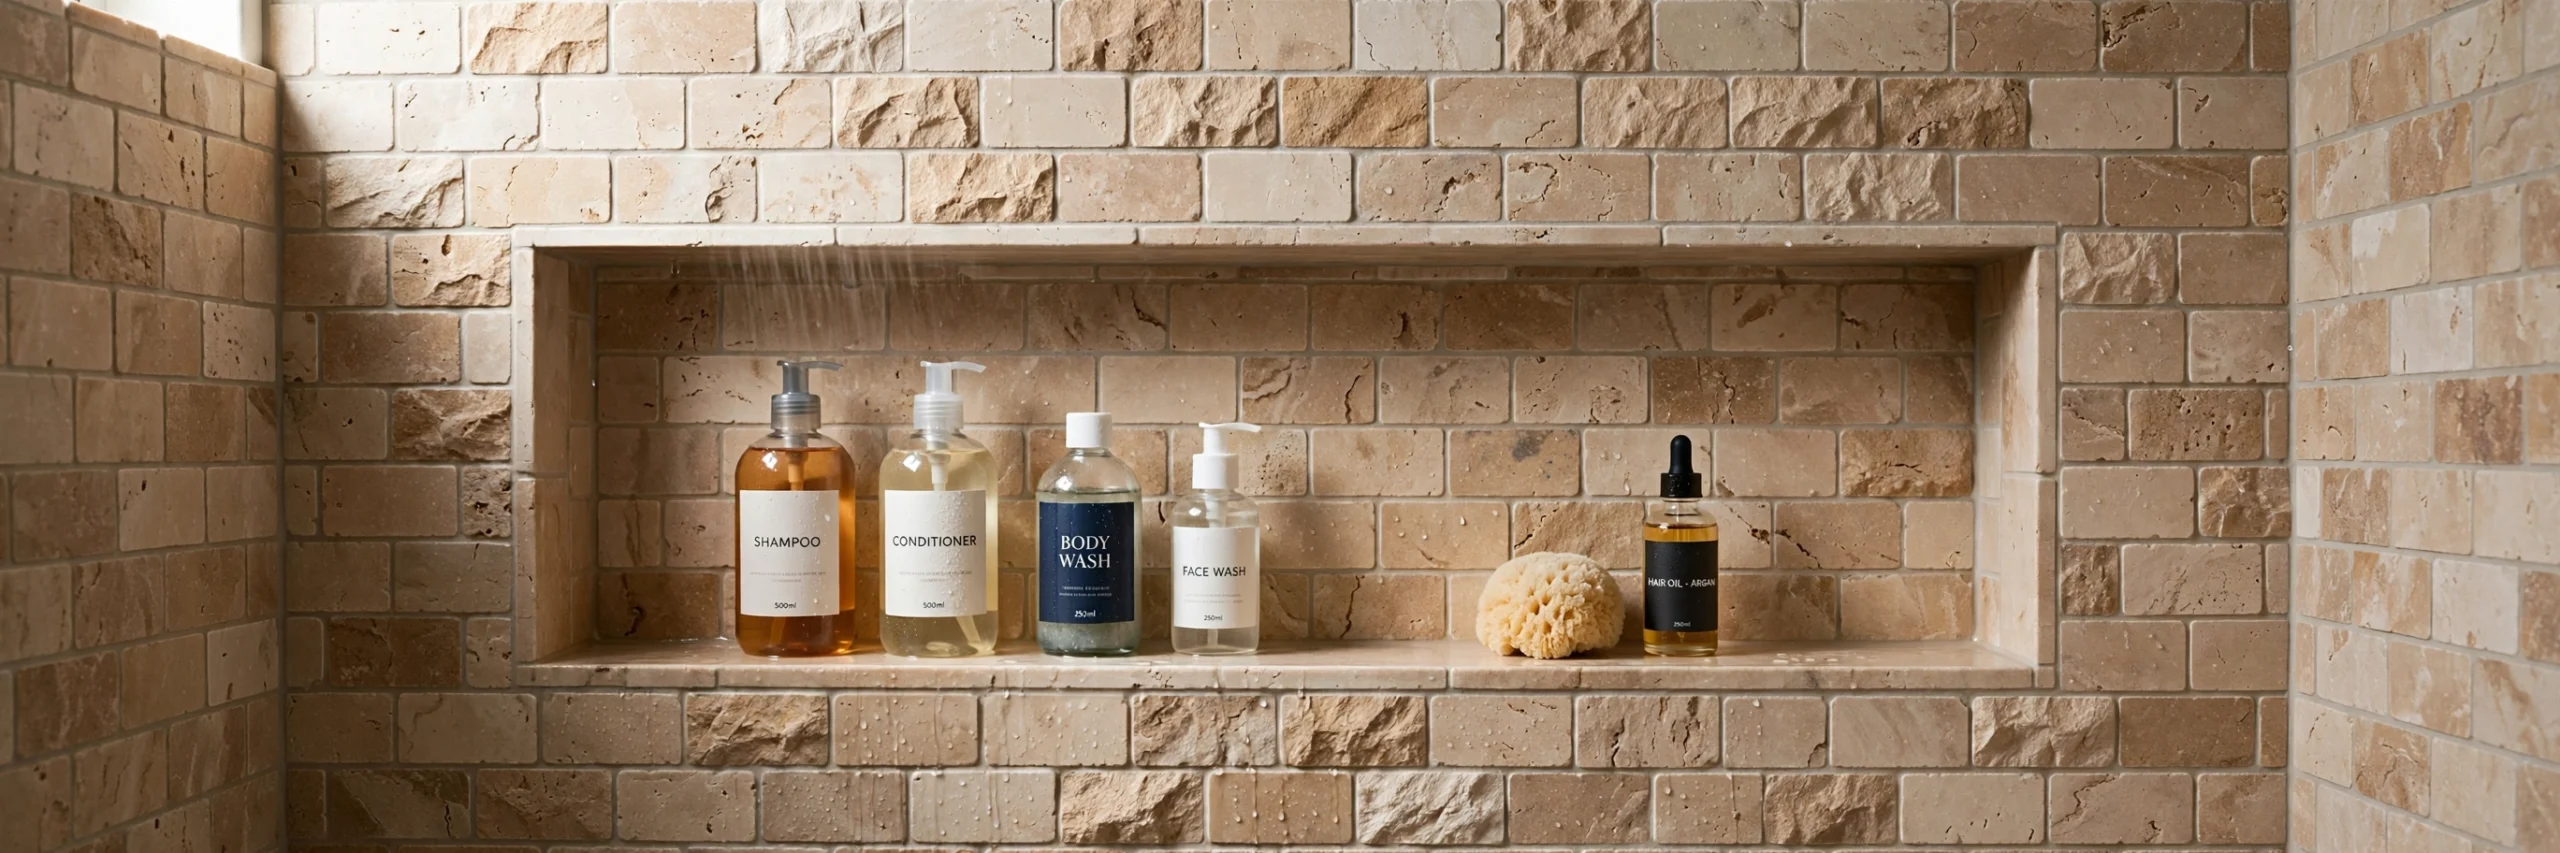
Instead of the classic tall rectangle, try a niche that runs wide and low across the shower wall. A horizontal niche — roughly 24 to 30 inches wide and 12 to 14 inches tall — holds a whole row of bottles at a natural reaching height and reads as a deliberate design stripe rather than a storage hole. It works especially well in walk-in showers where the long back wall can carry the composition. Keep everything at roughly the same height inside so the sightline stays calm: decant products into matching pump bottles if you want the full spa effect. The horizontal format also photographs beautifully, which matters if you ever sell — it makes the shower read larger and more custom than a standard tall cutout.
3. Double Up With Twin Vertical Niches
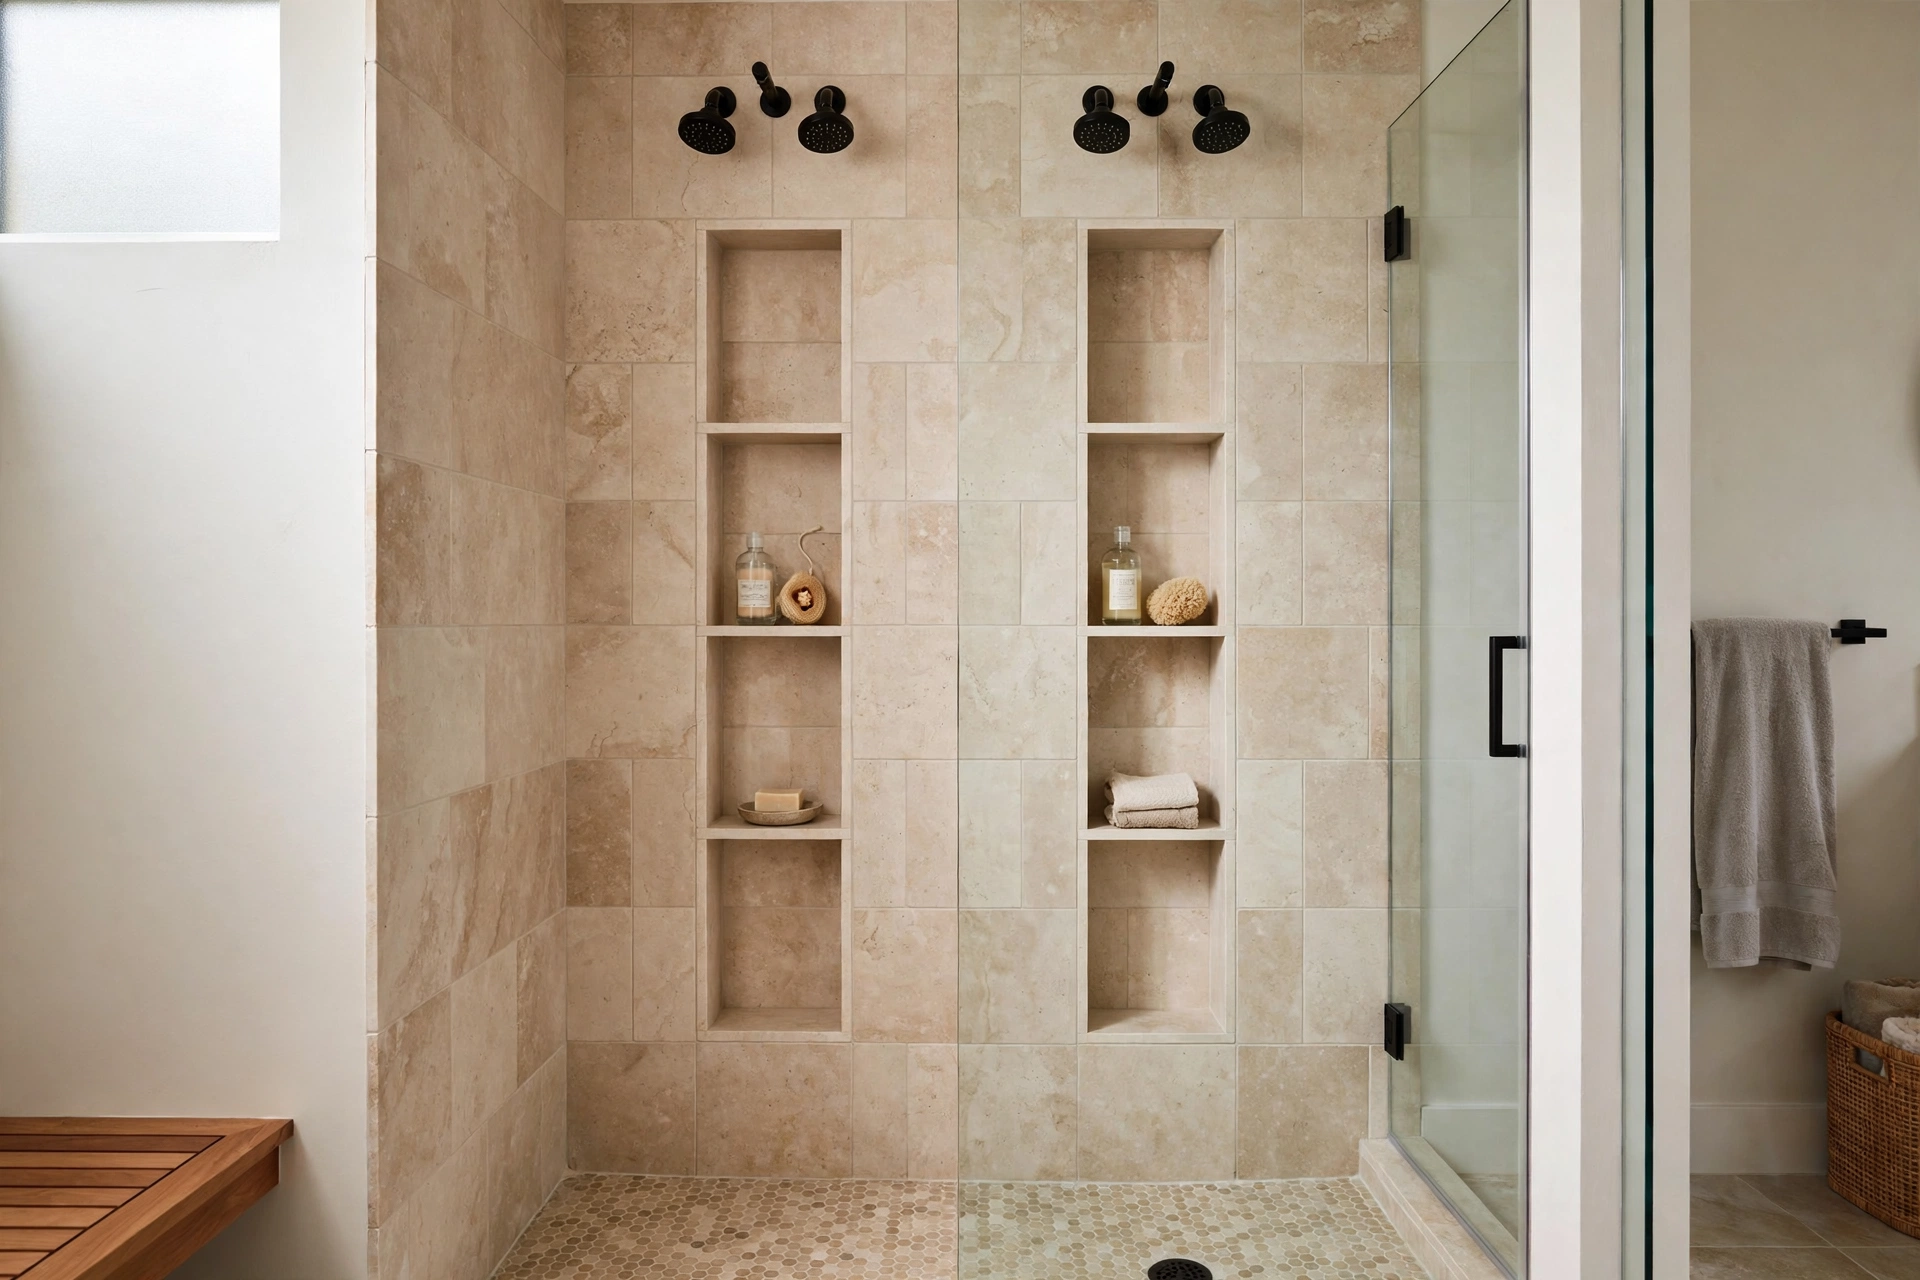
In a shared bathroom, one niche always becomes a battleground. The fix is two matching vertical niches side by side — one per person — which doubles storage and instantly organizes who owns what. Each niche can be a modest 12 by 24 inches, stacked at the same height so the pair reads as a symmetrical design feature. This layout shines in double-shower or his-and-hers setups, but it works just as well for a family where kids’ products and adults’ products need separate zones. Tile both identically so they feel like one considered composition, and keep a small gap of wall between them so the tile layout stays simple for your installer.
4. Tile the Back in a Contrast Pattern
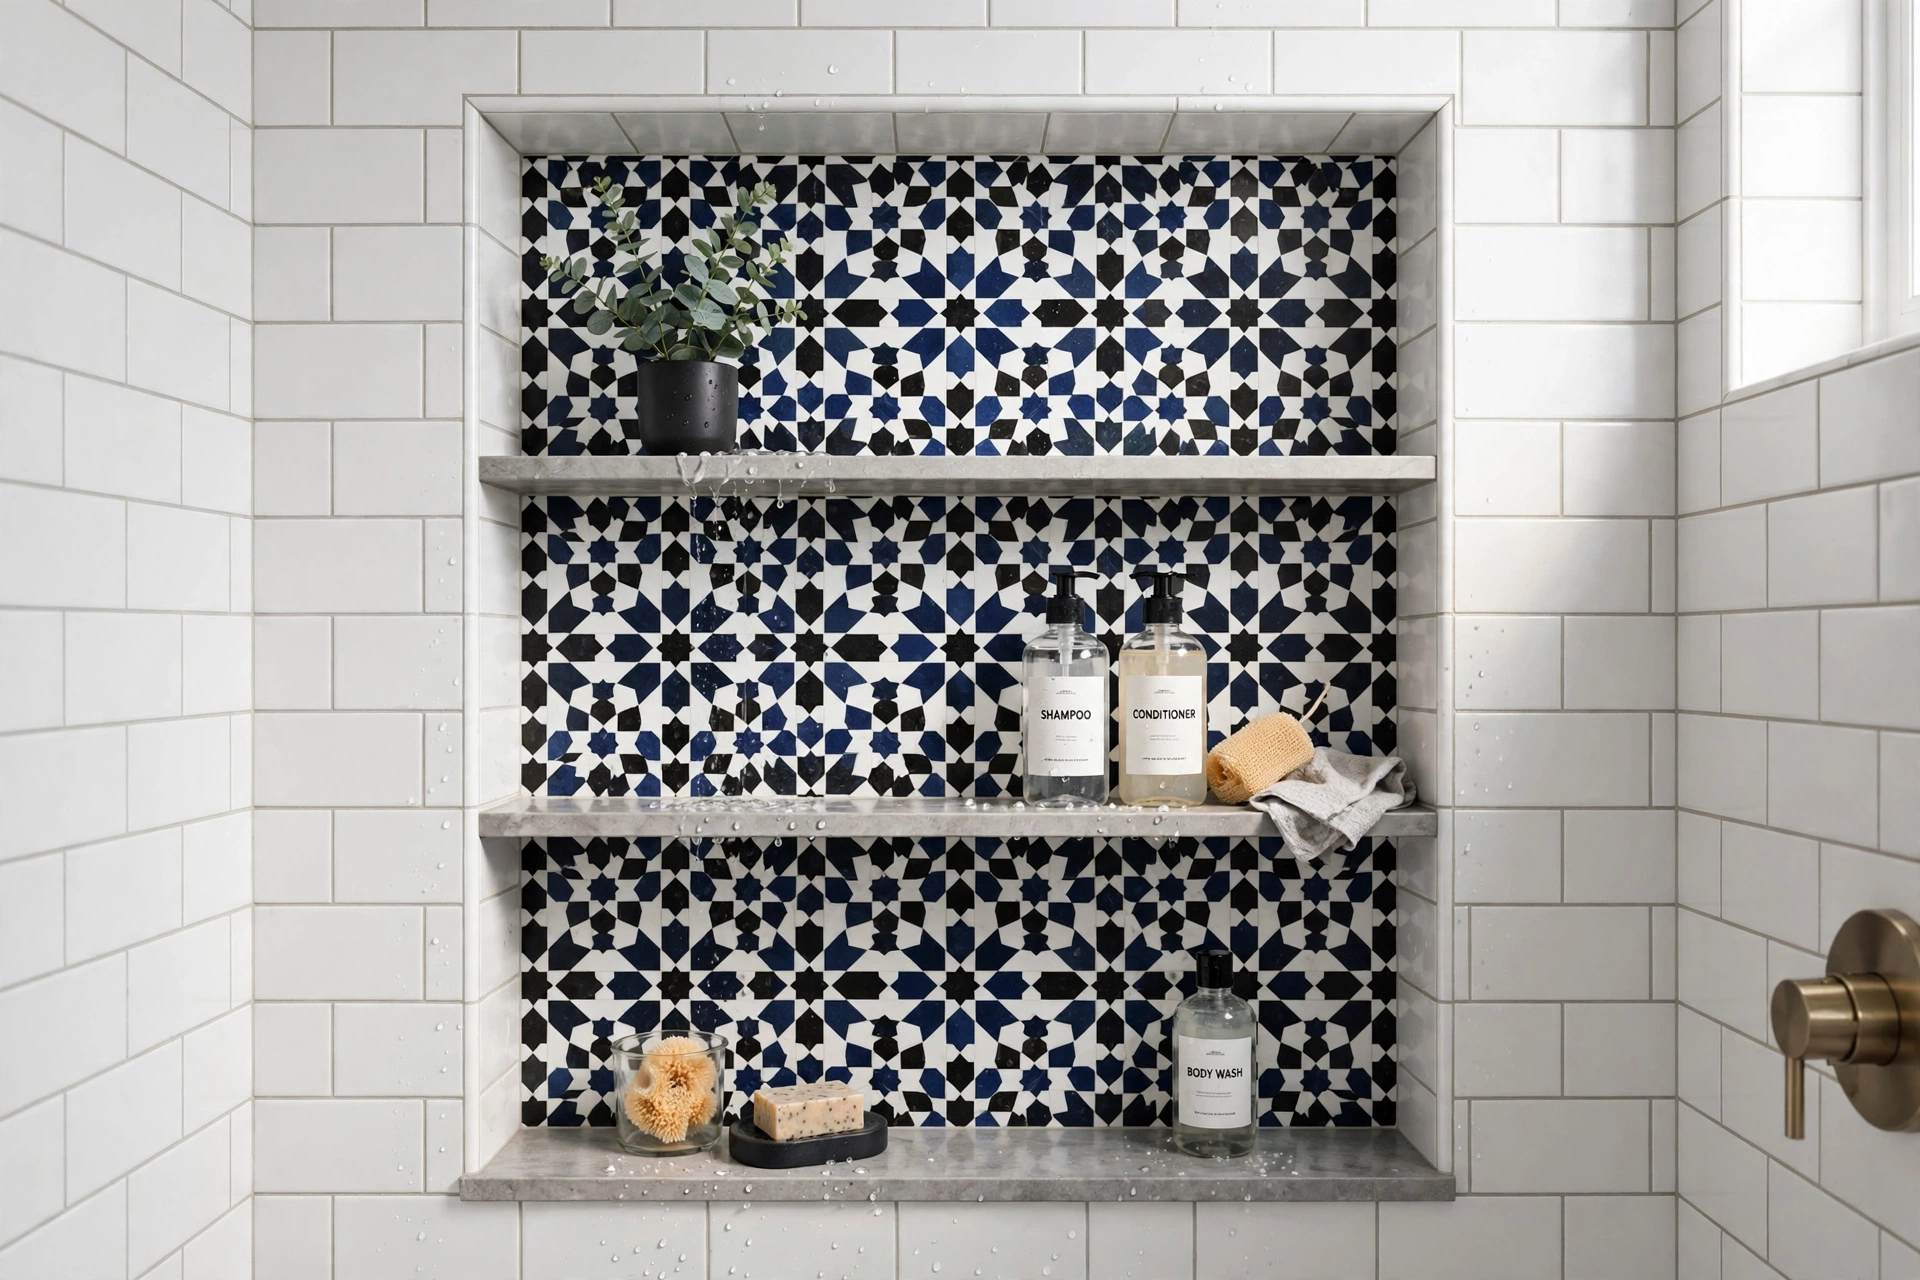
The back wall of the niche is a tiny canvas — use it. Tiling the niche back in a contrasting pattern (a small hex mosaic, a handmade-look zellige, a bold encaustic) while the shower walls stay quiet turns the niche into a jewel-box moment. Because the area is small, you can afford a premium tile here that would blow the budget across a whole shower. The contrast draws the eye and makes the niche look designed rather than merely useful. Keep the surrounding wall tile simple so the patterned back gets its moment, and run the same contrast tile inside any second niche so the pair ties together. This is the highest-impact, lowest-cost upgrade on this list.
5. Match the Niche Tile to the Shower Walls
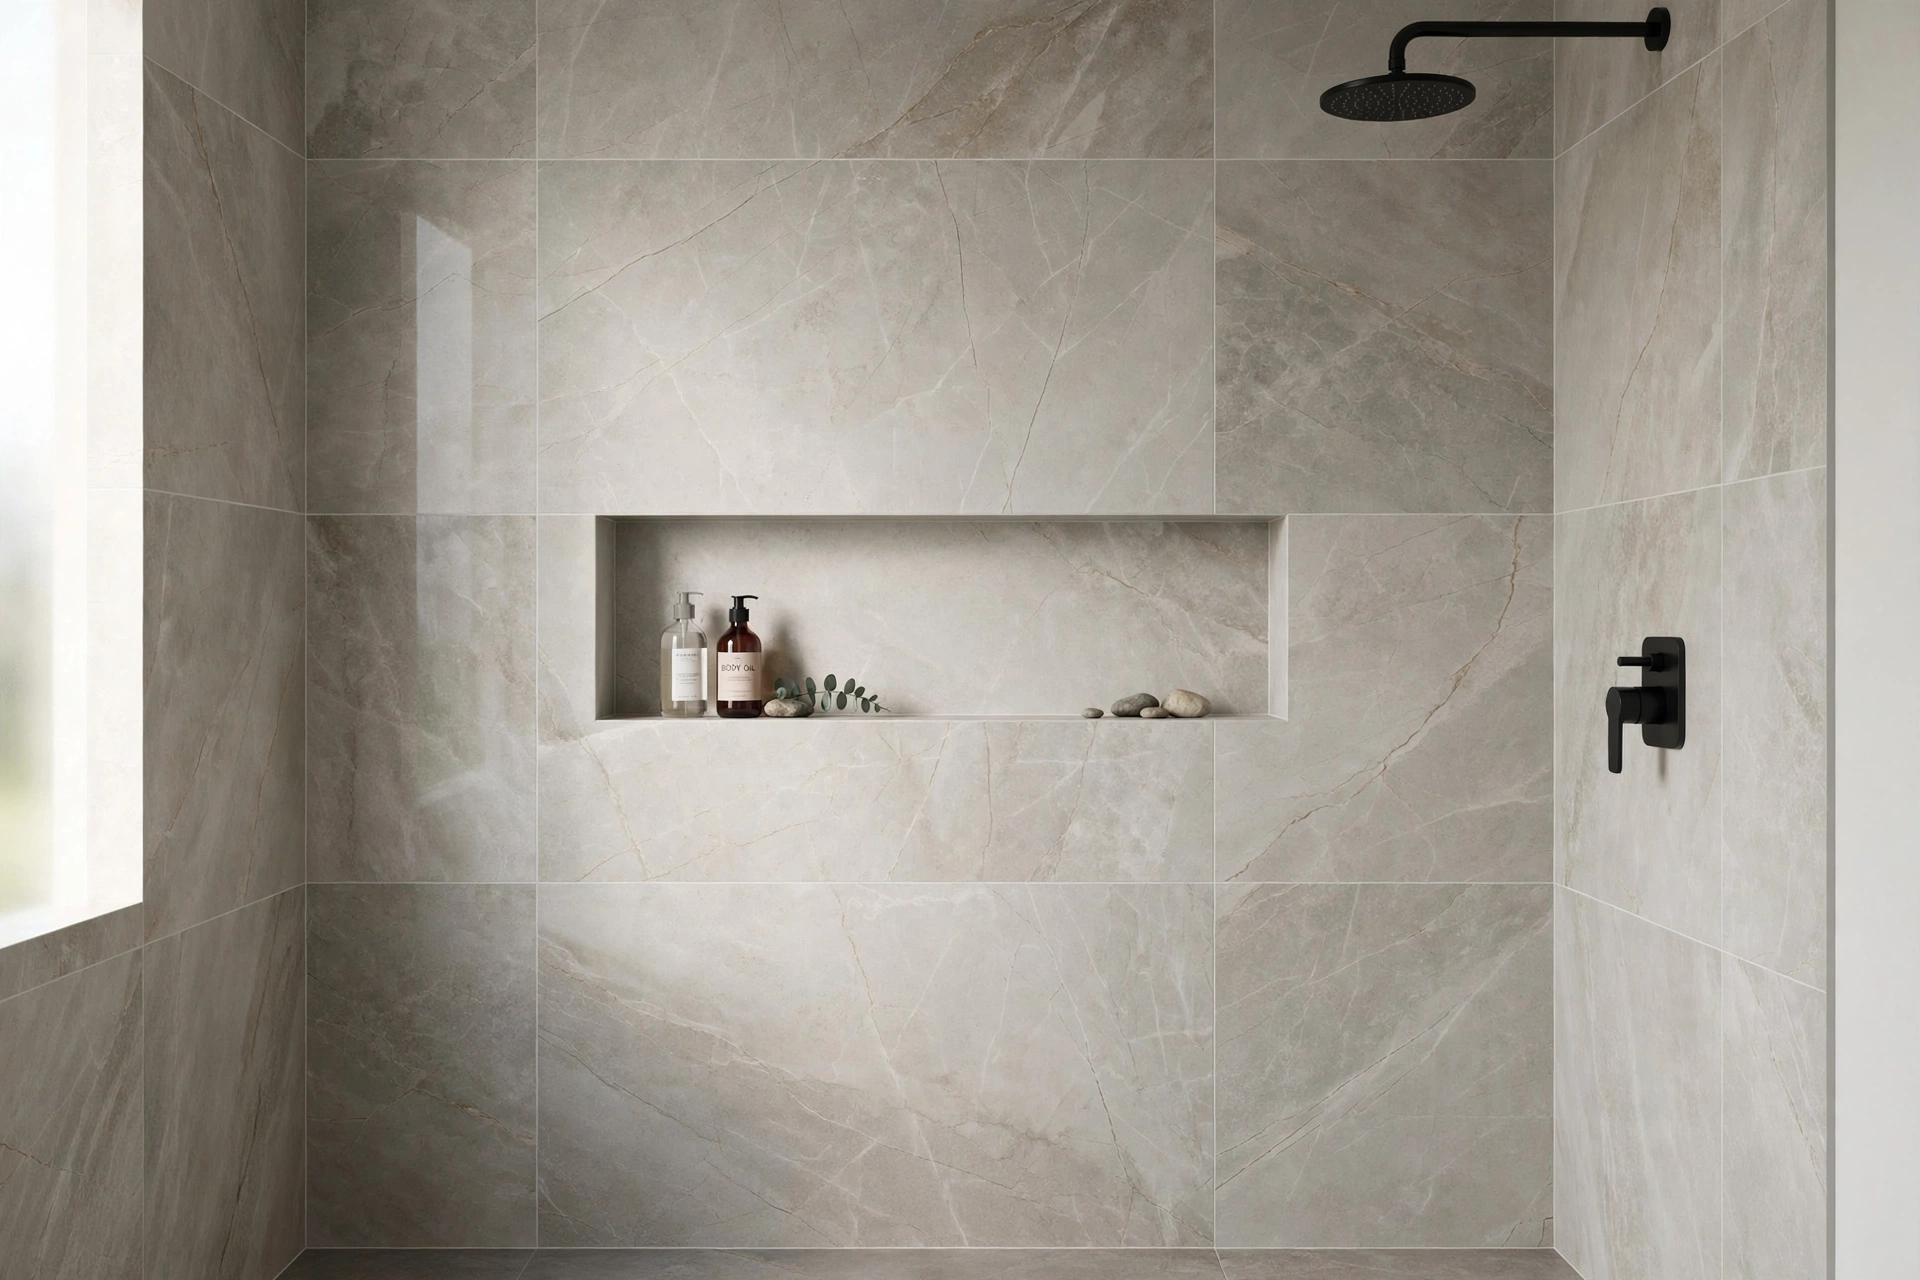
On the opposite end of the spectrum, a niche tiled in exactly the same material as the shower walls nearly disappears — and that is the point. When the niche back, sides, and shelf are wrapped in the same large-format tile or the same subway pattern, the recess reads as pure architecture instead of an add-on. This seamless approach suits minimalist, modern, and spa-style bathrooms where visual calm is the whole goal. It also hides clutter: with no contrasting frame to draw attention, bottles become the only interruption in the wall. Ask your tiler to miter or carefully wrap the tile around the niche edges so there are no visible cut lines breaking the illusion.
6. Line It With a Solid Stone Slab
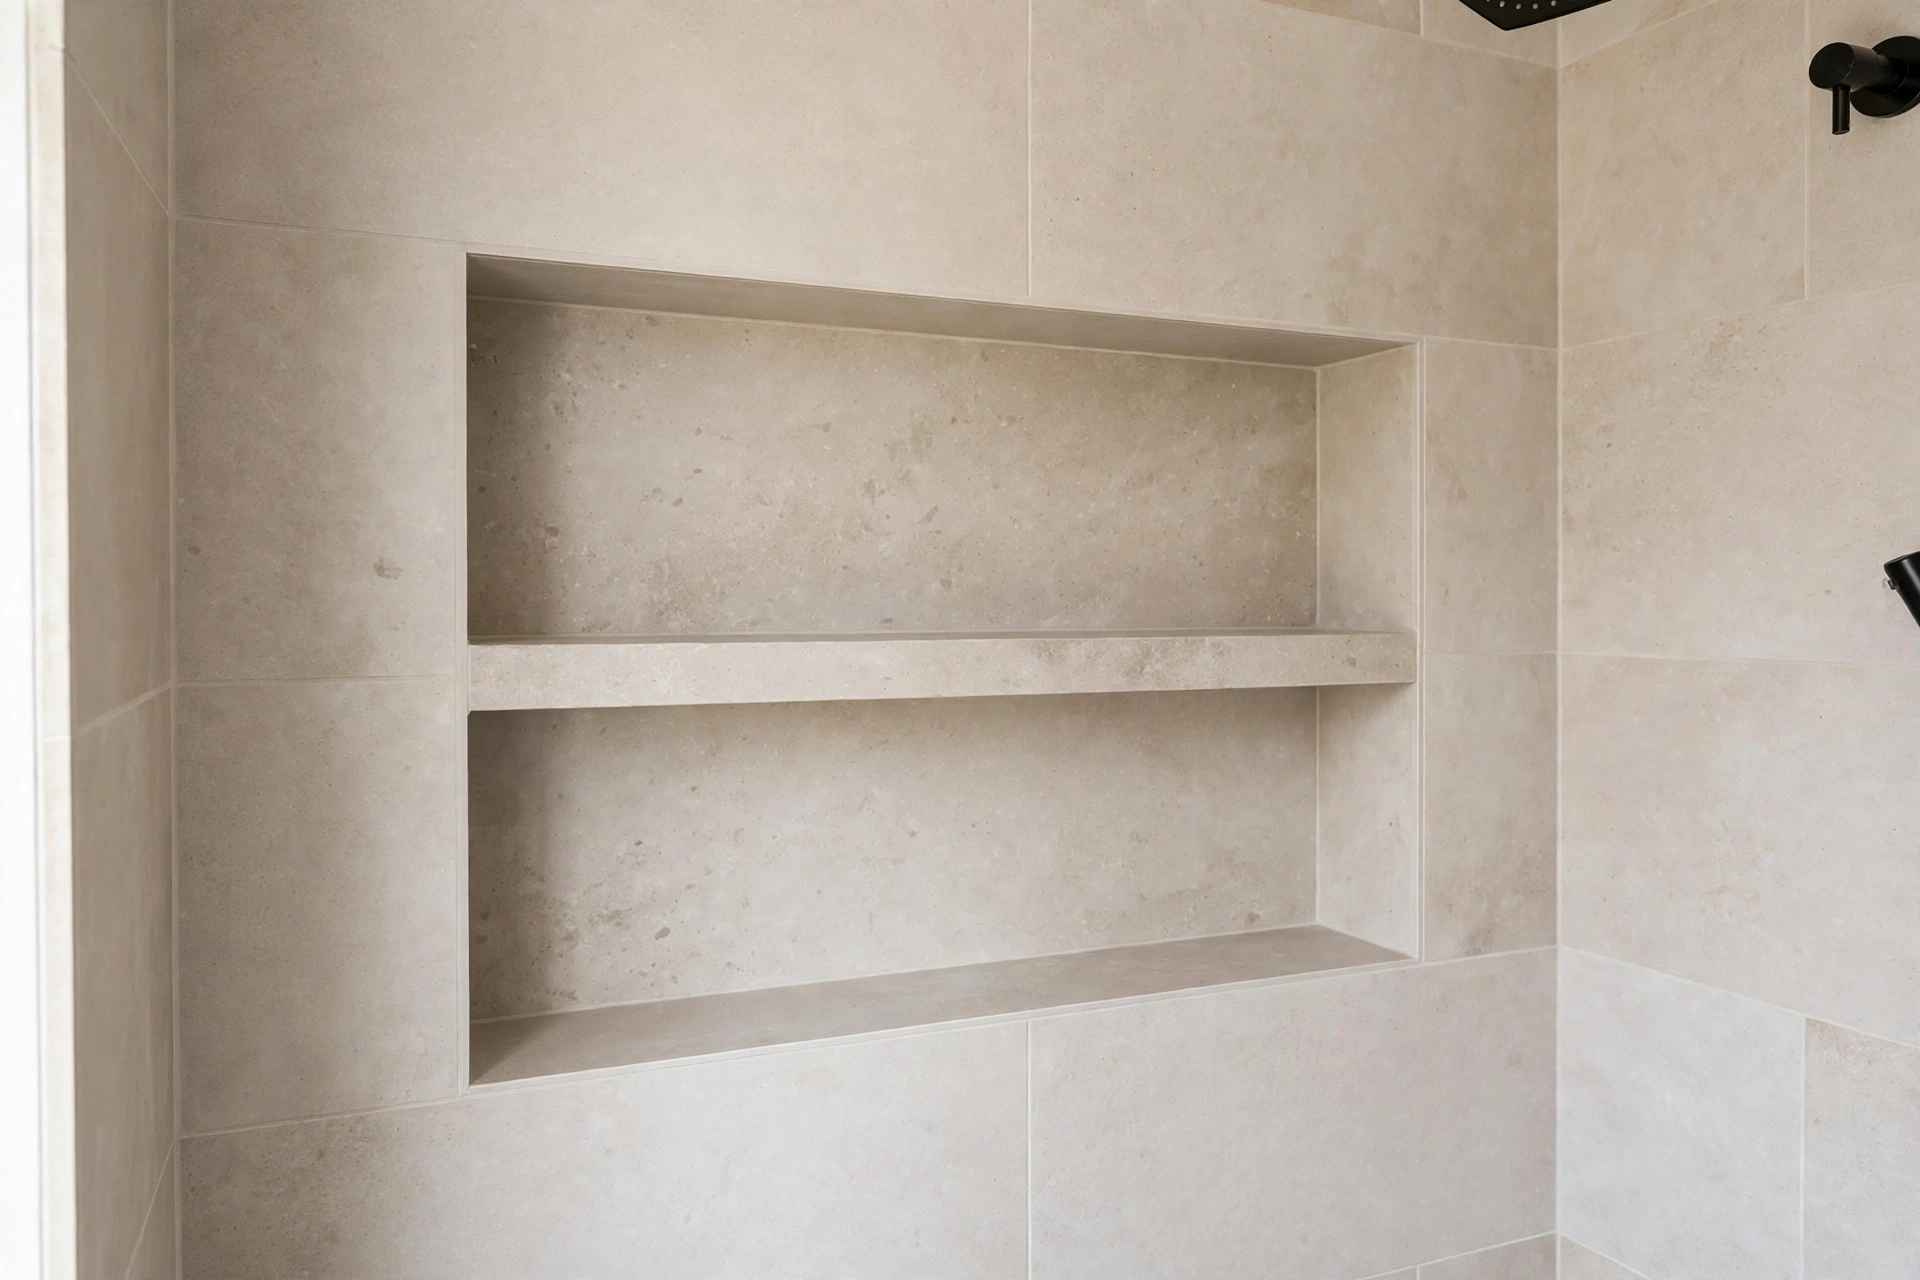
Tiled niche shelves have grout lines, and grout lines in a constantly wet recess need scrubbing. A solid stone or quartz slab shelf — one piece spanning the niche bottom — eliminates the grout entirely where water and soap residue collect most. The same slab can cap the niche top for a finished look. Choose a remnant from your vanity countertop for a perfect material match, or pick a contrasting stone for a furniture-like detail. The slab should overhang the tile face by about half an inch with a slight forward pitch so water drains out instead of pooling. This one detail makes the niche both easier to clean and more expensive-looking.
7. Add a Corner Niche for Tight Showers
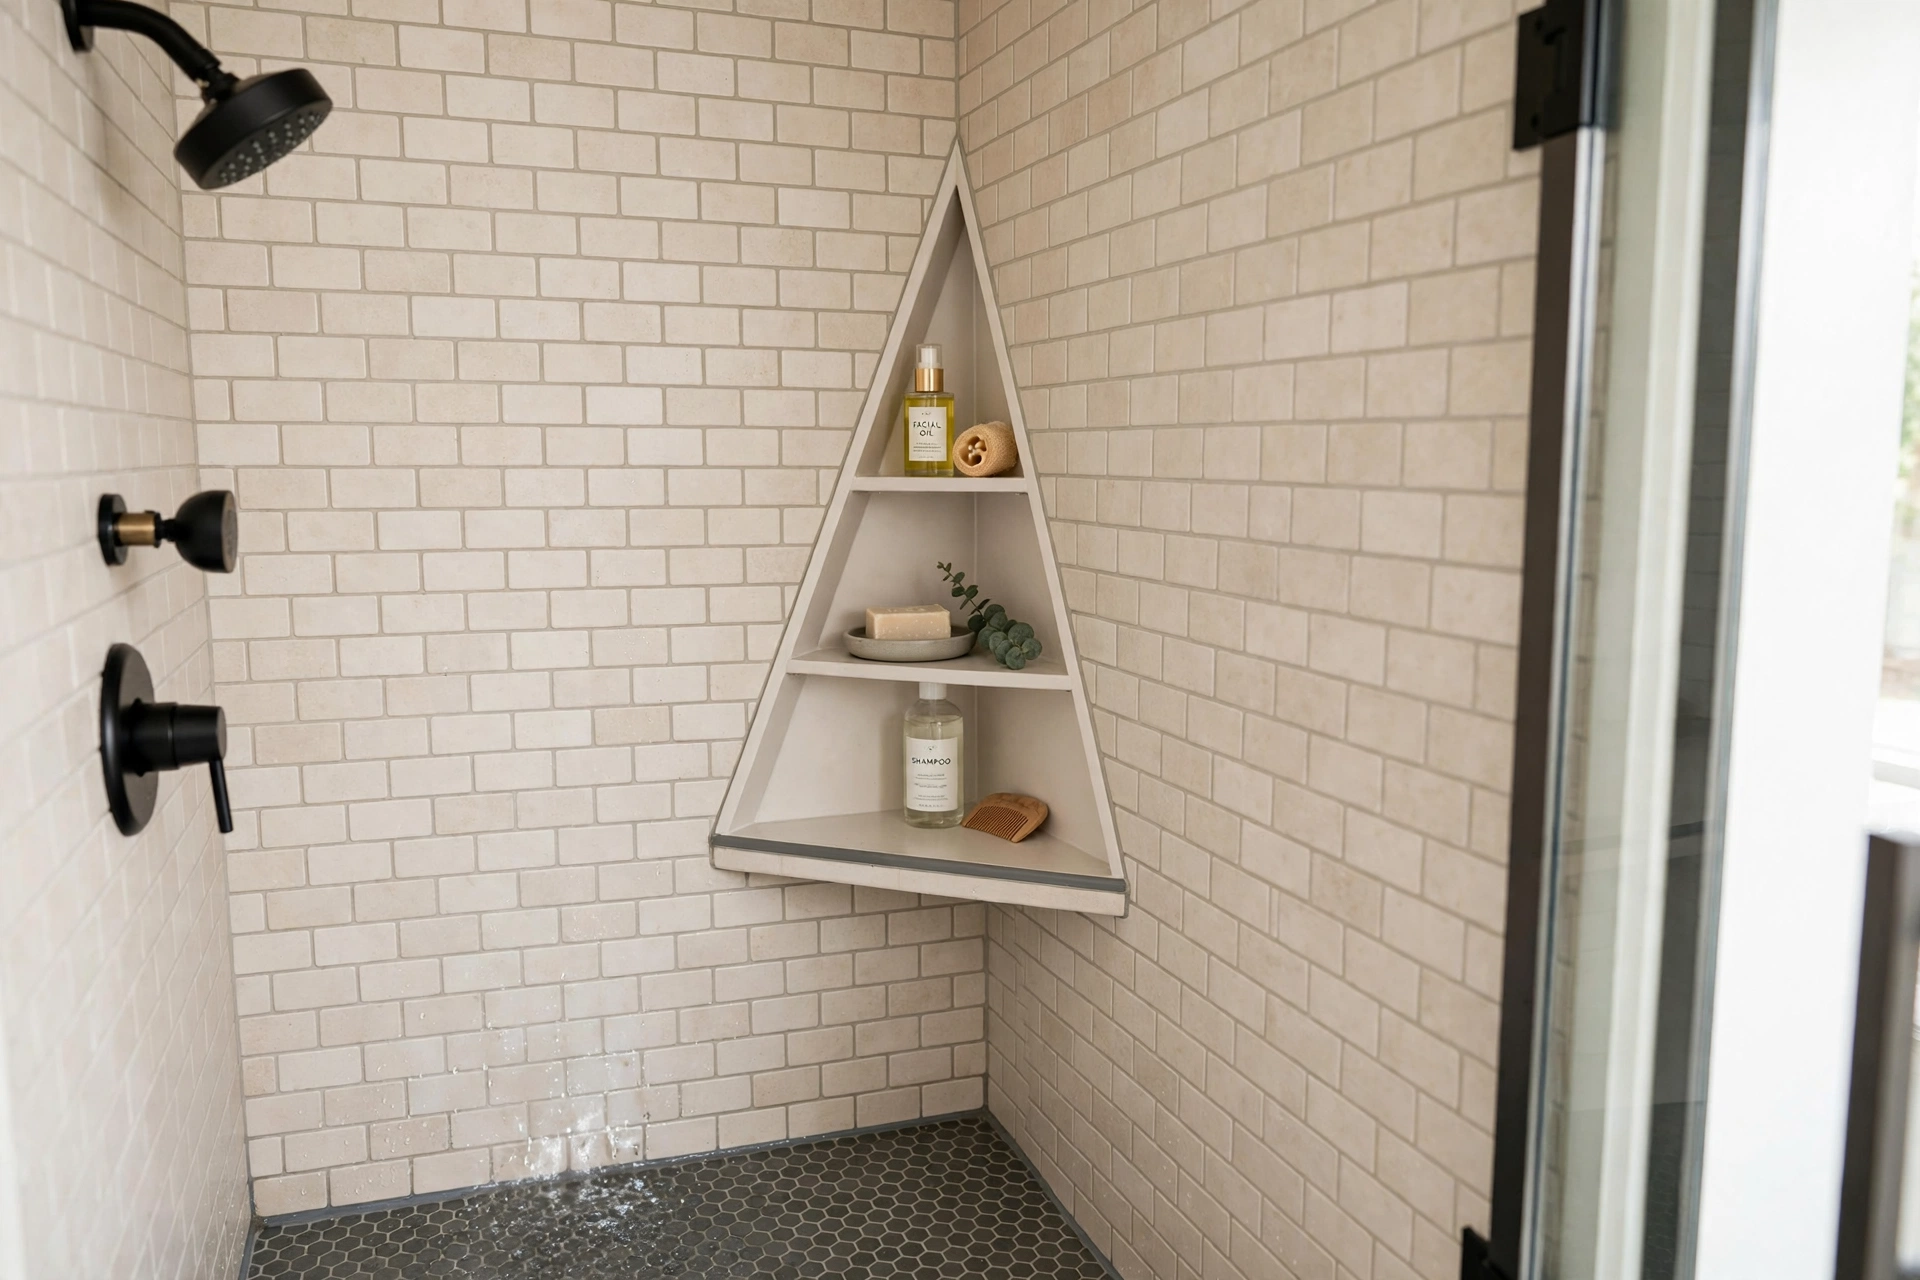
Small showers often lack a full stud bay in a convenient spot, which is where a corner niche earns its keep. A triangular or L-shaped niche tucked into the shower corner uses dead space that no bottle could occupy anyway, and it keeps products within arm’s reach without stealing wall real estate. Corner niches work best at chest height with two or three stacked shelves, and they suit square tubs and compact alcove showers perfectly. Because the opening faces diagonally into the room, the contents stay visible and reachable from anywhere in the shower. For renters or remodel-phobes, a well-designed corner niche is also the easiest version to add during a re-tile.
8. Light It With a Waterproof LED Strip
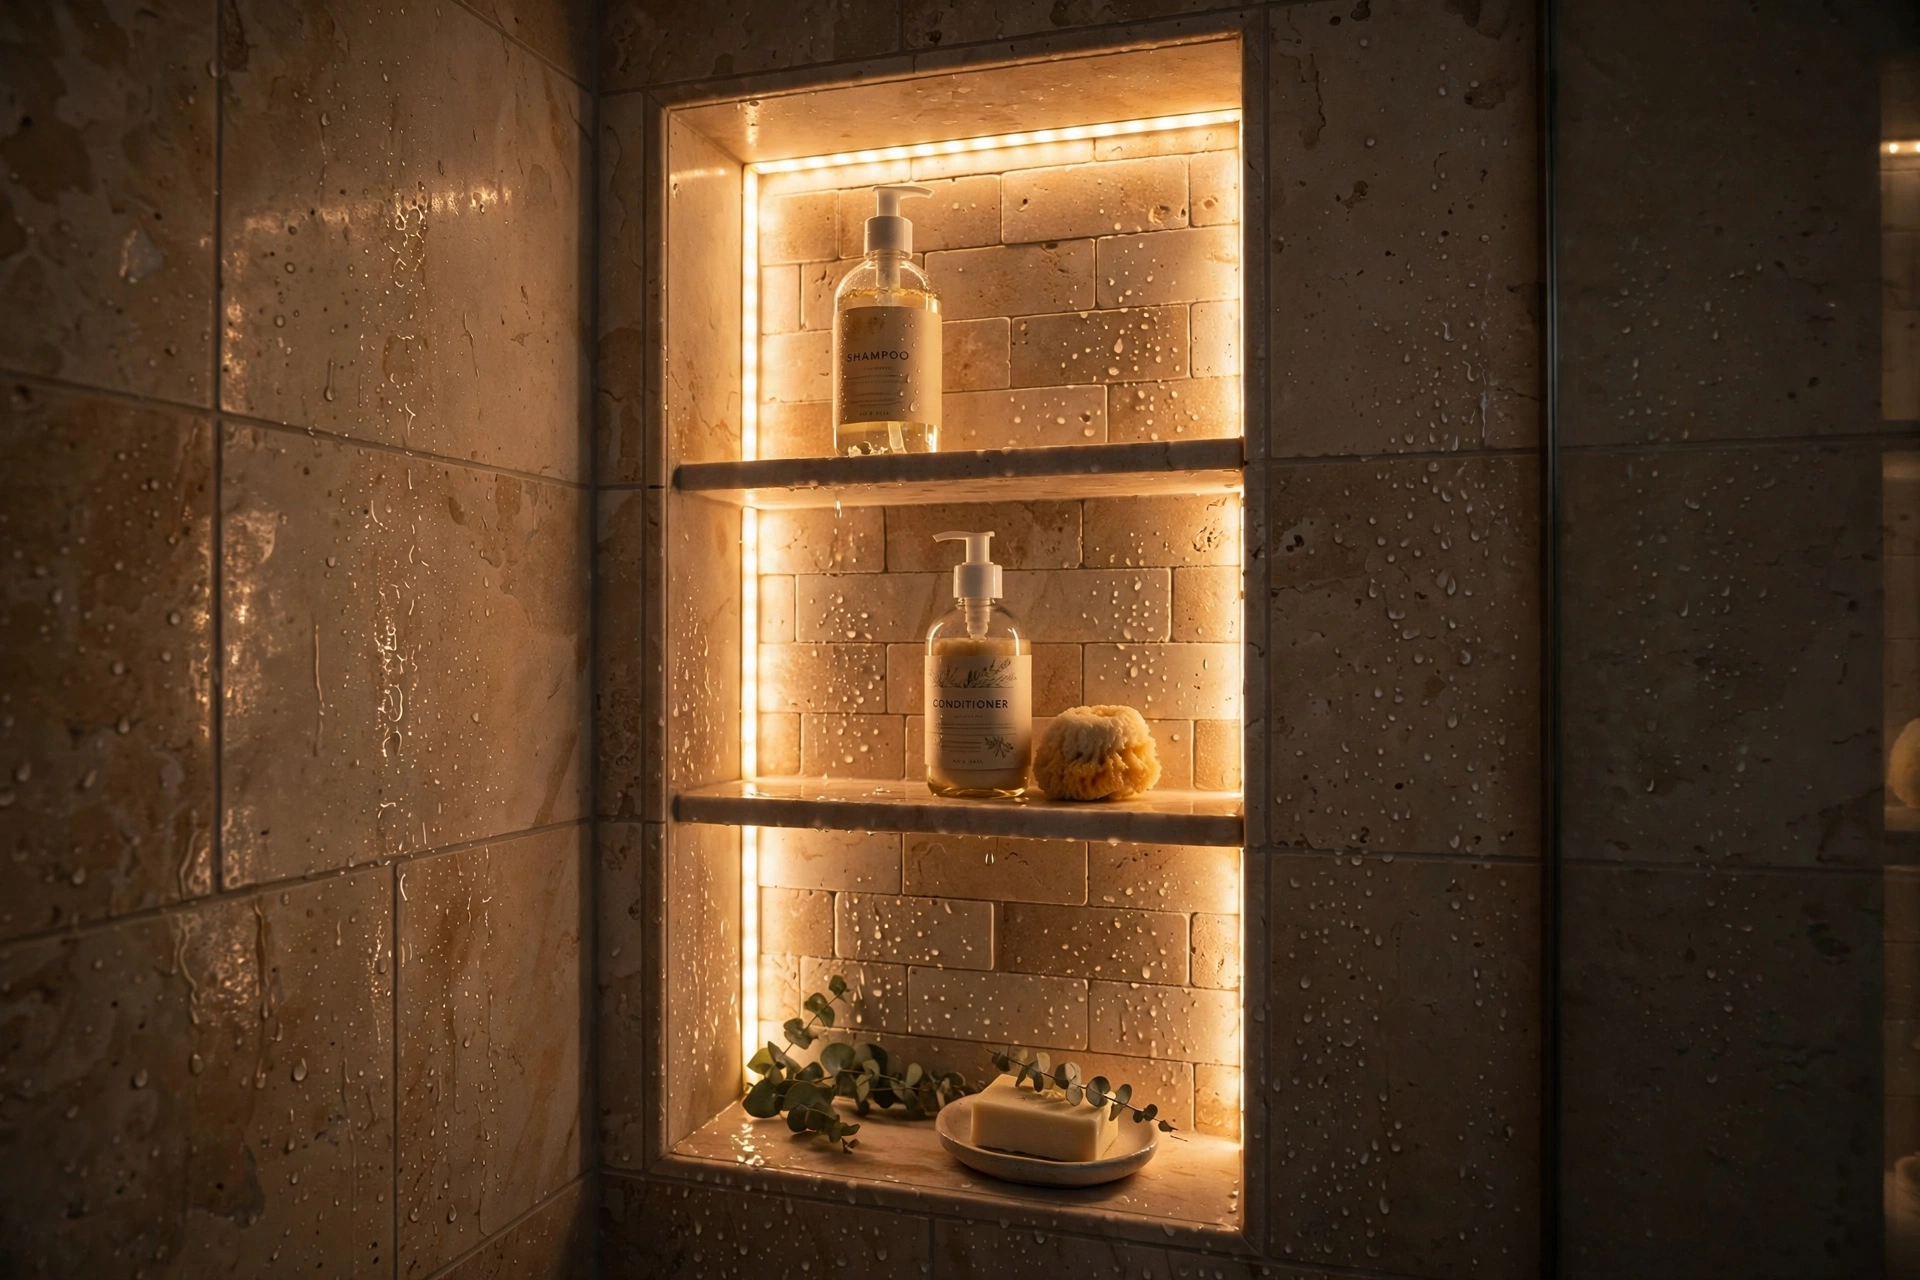
A niche with its own light feels luxurious in a way nothing else in this list can match. A slim waterproof LED strip tucked under the niche’s top edge washes the back wall with light, turning your shampoo lineup into a softly glowing display and making the whole shower feel larger at night. Choose a warm white (2700–3000K) for spa vibes, and have the strip wired to the same switch as the shower light or to its own dimmer for evening showers. Make sure the strip and its driver are rated for wet locations — this is non-negotiable — and seal all connections behind the tile. Done right, niche lighting is the detail guests always ask about.
9. Frame It With a Decorative Tile Border
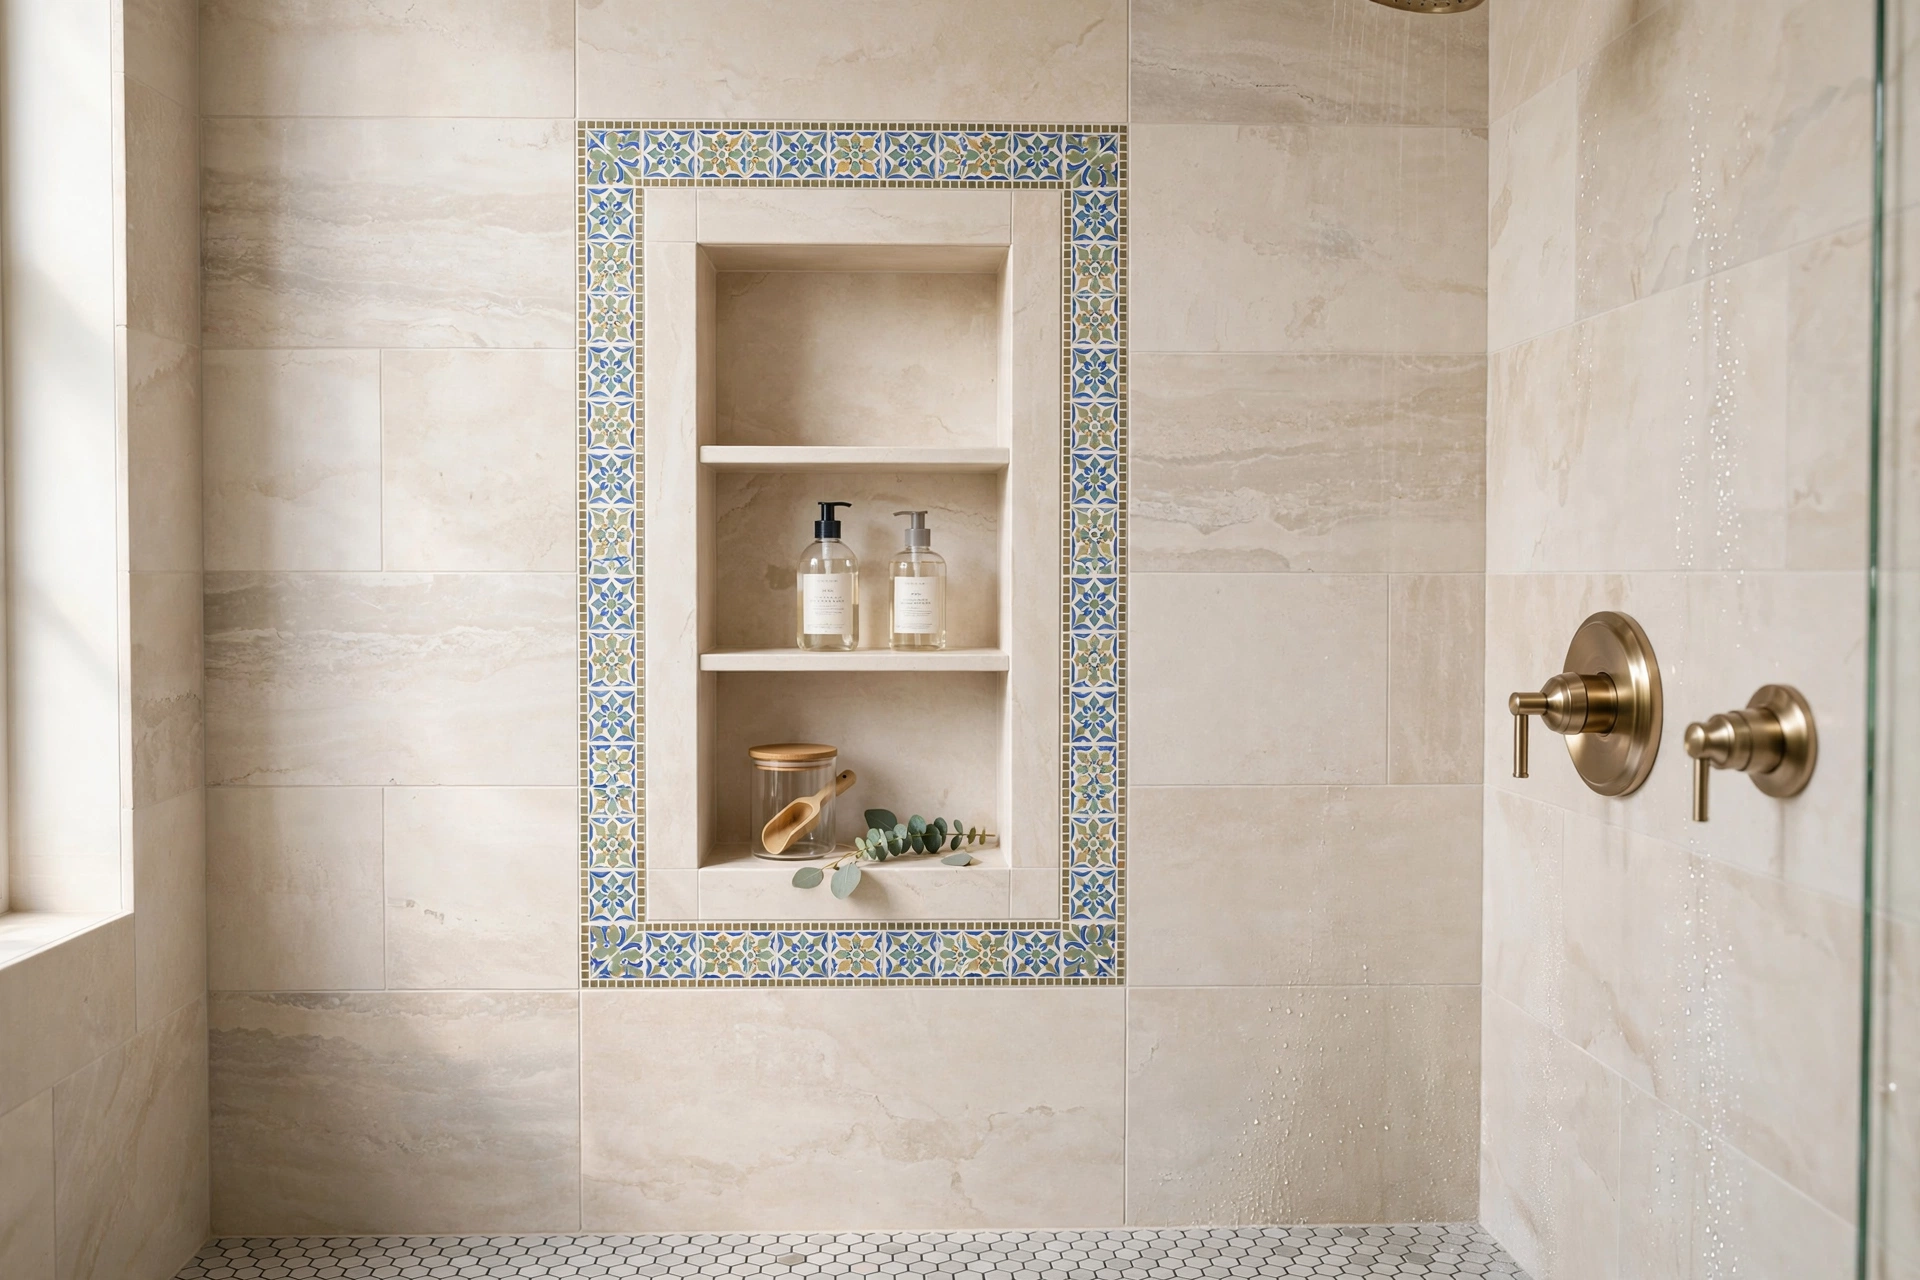
If your shower walls are plain, give the niche a frame. A slim border of pencil liner, a row of mosaic, or a metal Schluter-style edge trim around the niche opening turns a plain cutout into a picture frame for your products. The frame trick works with any style: a brass trim for glam bathrooms, a handmade ceramic liner for artisan looks, a simple white pencil rail for classic spaces. Keep the frame width modest — about half an inch to an inch — so it reads as jewelry, not bulk. This is also a clever rescue for a niche whose tile cuts came out imperfect: a border hides a multitude of sins while looking completely deliberate.
10. Size It for Real Bottles
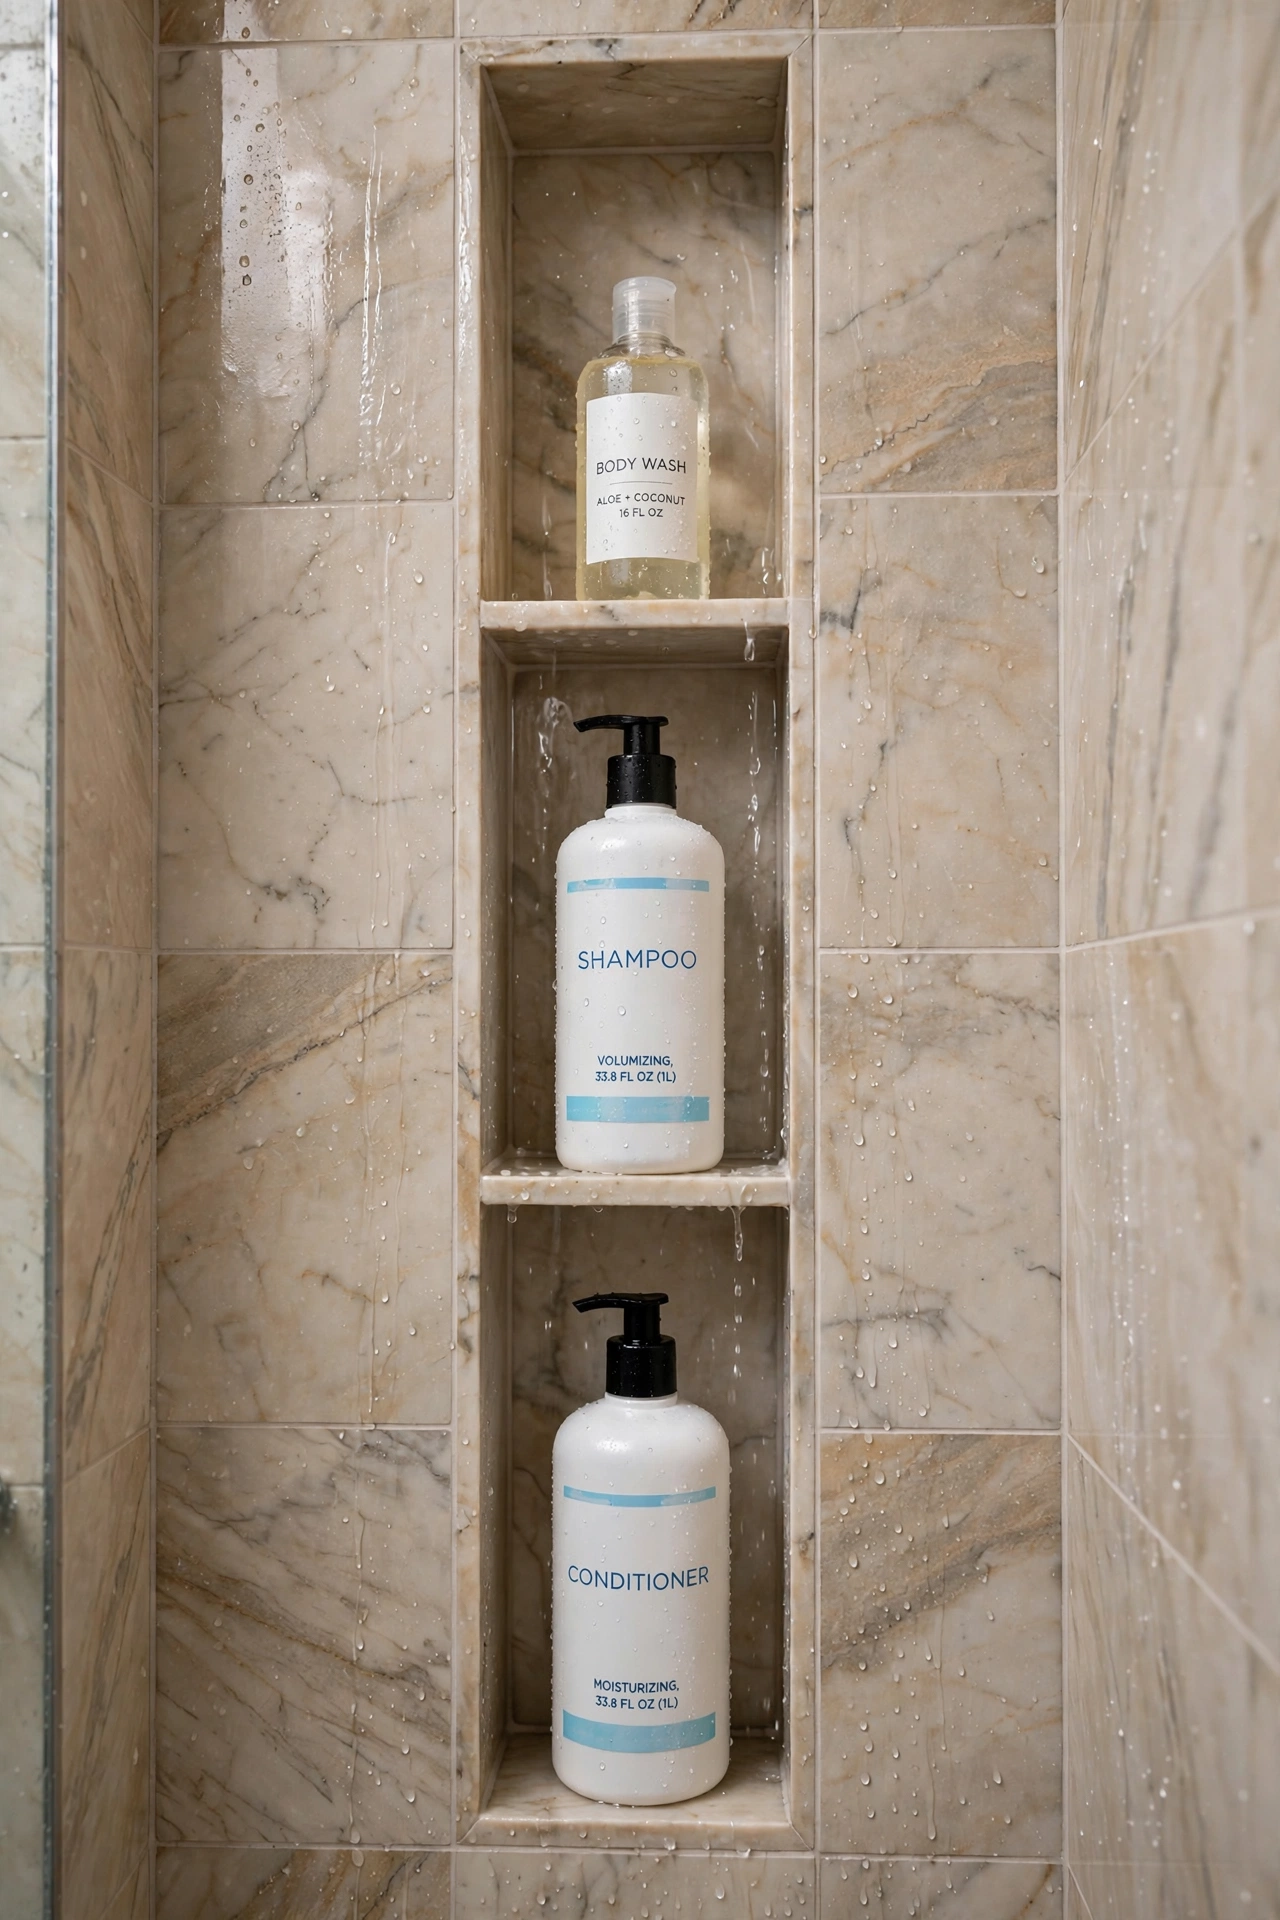
Niches fail when they are sized for an imaginary average bottle. Before finalizing dimensions, line up your actual tallest shampoo, conditioner, and body wash bottles and measure. Most niches need at least 14 to 16 inches of clear vertical space per shelf to hold full-size bottles without tipping them sideways. If you love jumbo salon bottles, plan 18 inches. Depth matters too: 3.5 inches (a standard 2×4 wall) is the minimum, but a 2×6 wall gives nearly 6 inches of depth — enough for bottles to sit fully inside without elbows knocking them over. Write your real measurements on the framing plan so the contractor builds to your products, not to a guess.
11. Slope the Shelf Slightly Forward
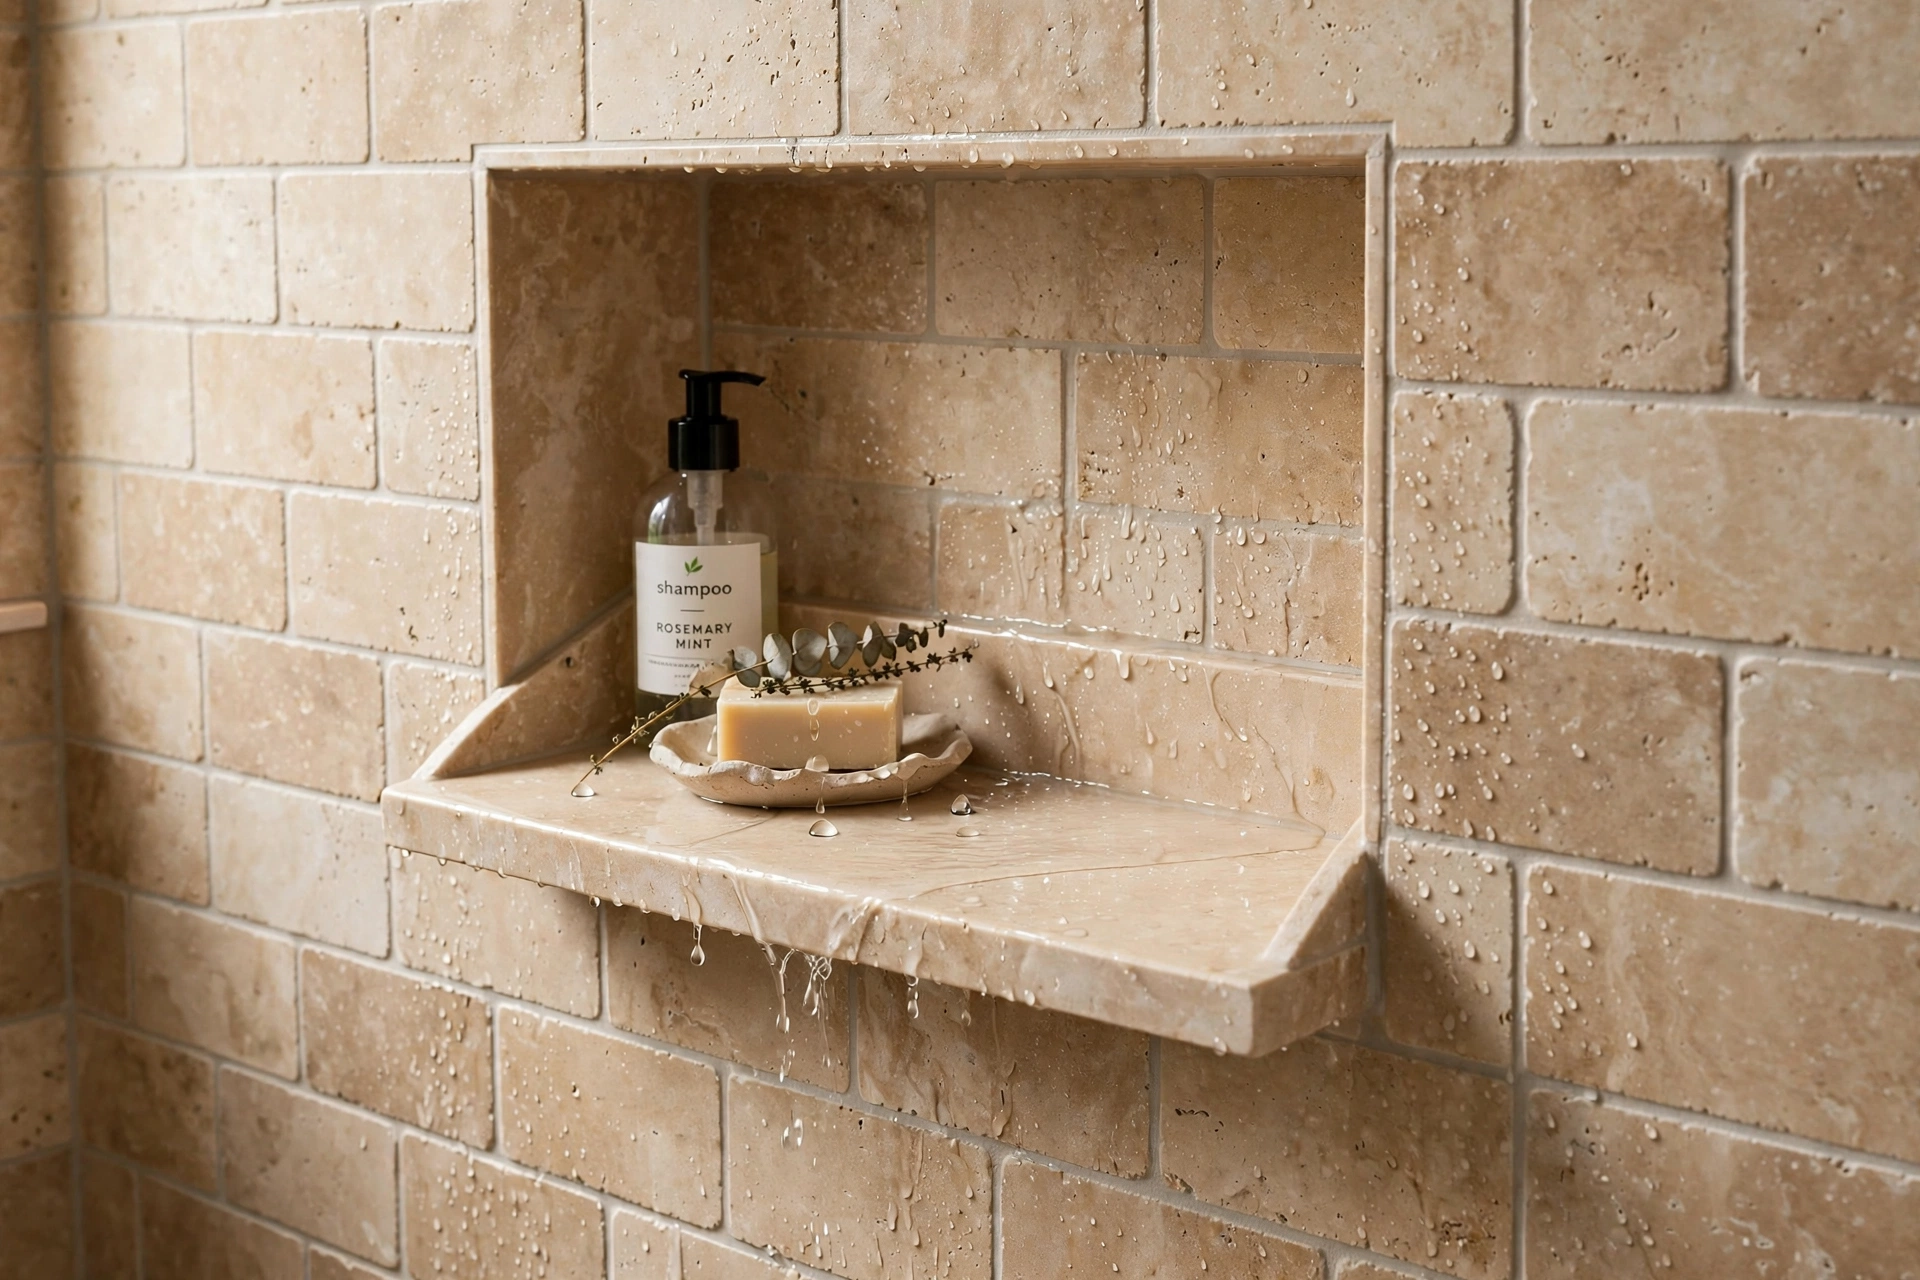
Water should never sit in a niche. Every shelf inside the niche needs a slight forward pitch — about a quarter inch per foot — so water sheets off the front edge instead of pooling behind bottles. Pooling water breeds soap scum, mildew, and eventually grout staining that no cleaner fully removes. Your tiler builds this slope in with the setting bed, so flag it explicitly during the pre-tile walkthrough; it is the kind of detail that gets skipped when nobody mentions it. The same principle applies to the niche’s top surface and any foot-rest ledge. A niche that drains itself stays cleaner with almost no maintenance, which is the whole point of built-in storage.
12. Add a Small Foot-Rest Niche
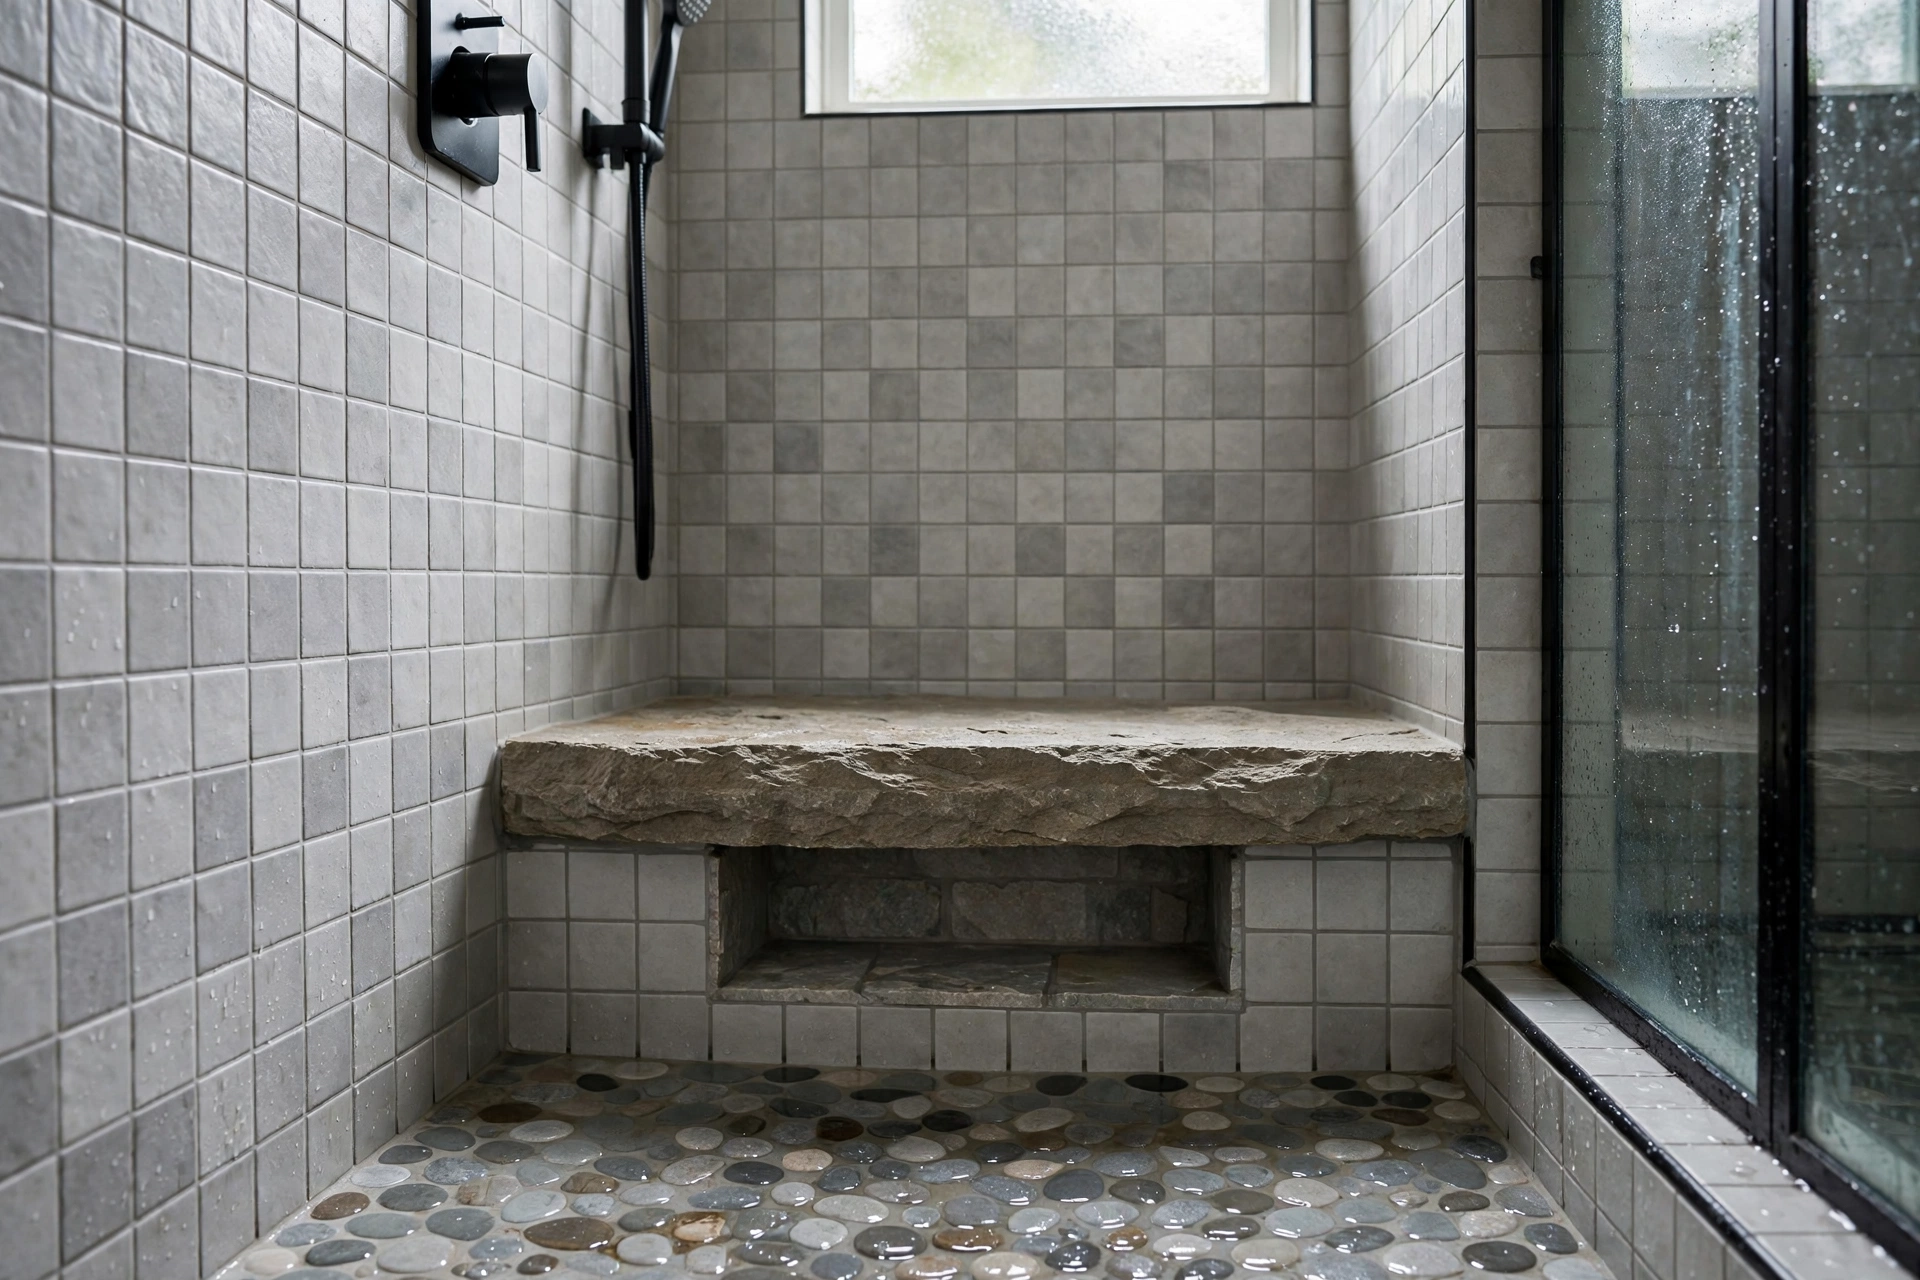
Shaving legs in the shower gets dramatically easier with a foot rest, and a low niche doubles as one. Plan a second small recess about 12 to 18 inches off the shower floor — wide enough for a foot, deep enough to feel solid — and finish its top with the same stone slab as your main niche. The low niche can hold a razor and shaving cream while the main niche keeps hair products, giving each task its own zone. Make the foot-rest niche opening generous and its edges softly rounded or well-trimmed so there is nothing sharp to catch a heel on. It is a small addition during a remodel and a daily-quality-of-life upgrade forever after.
13. Run One Niche Across Two Walls
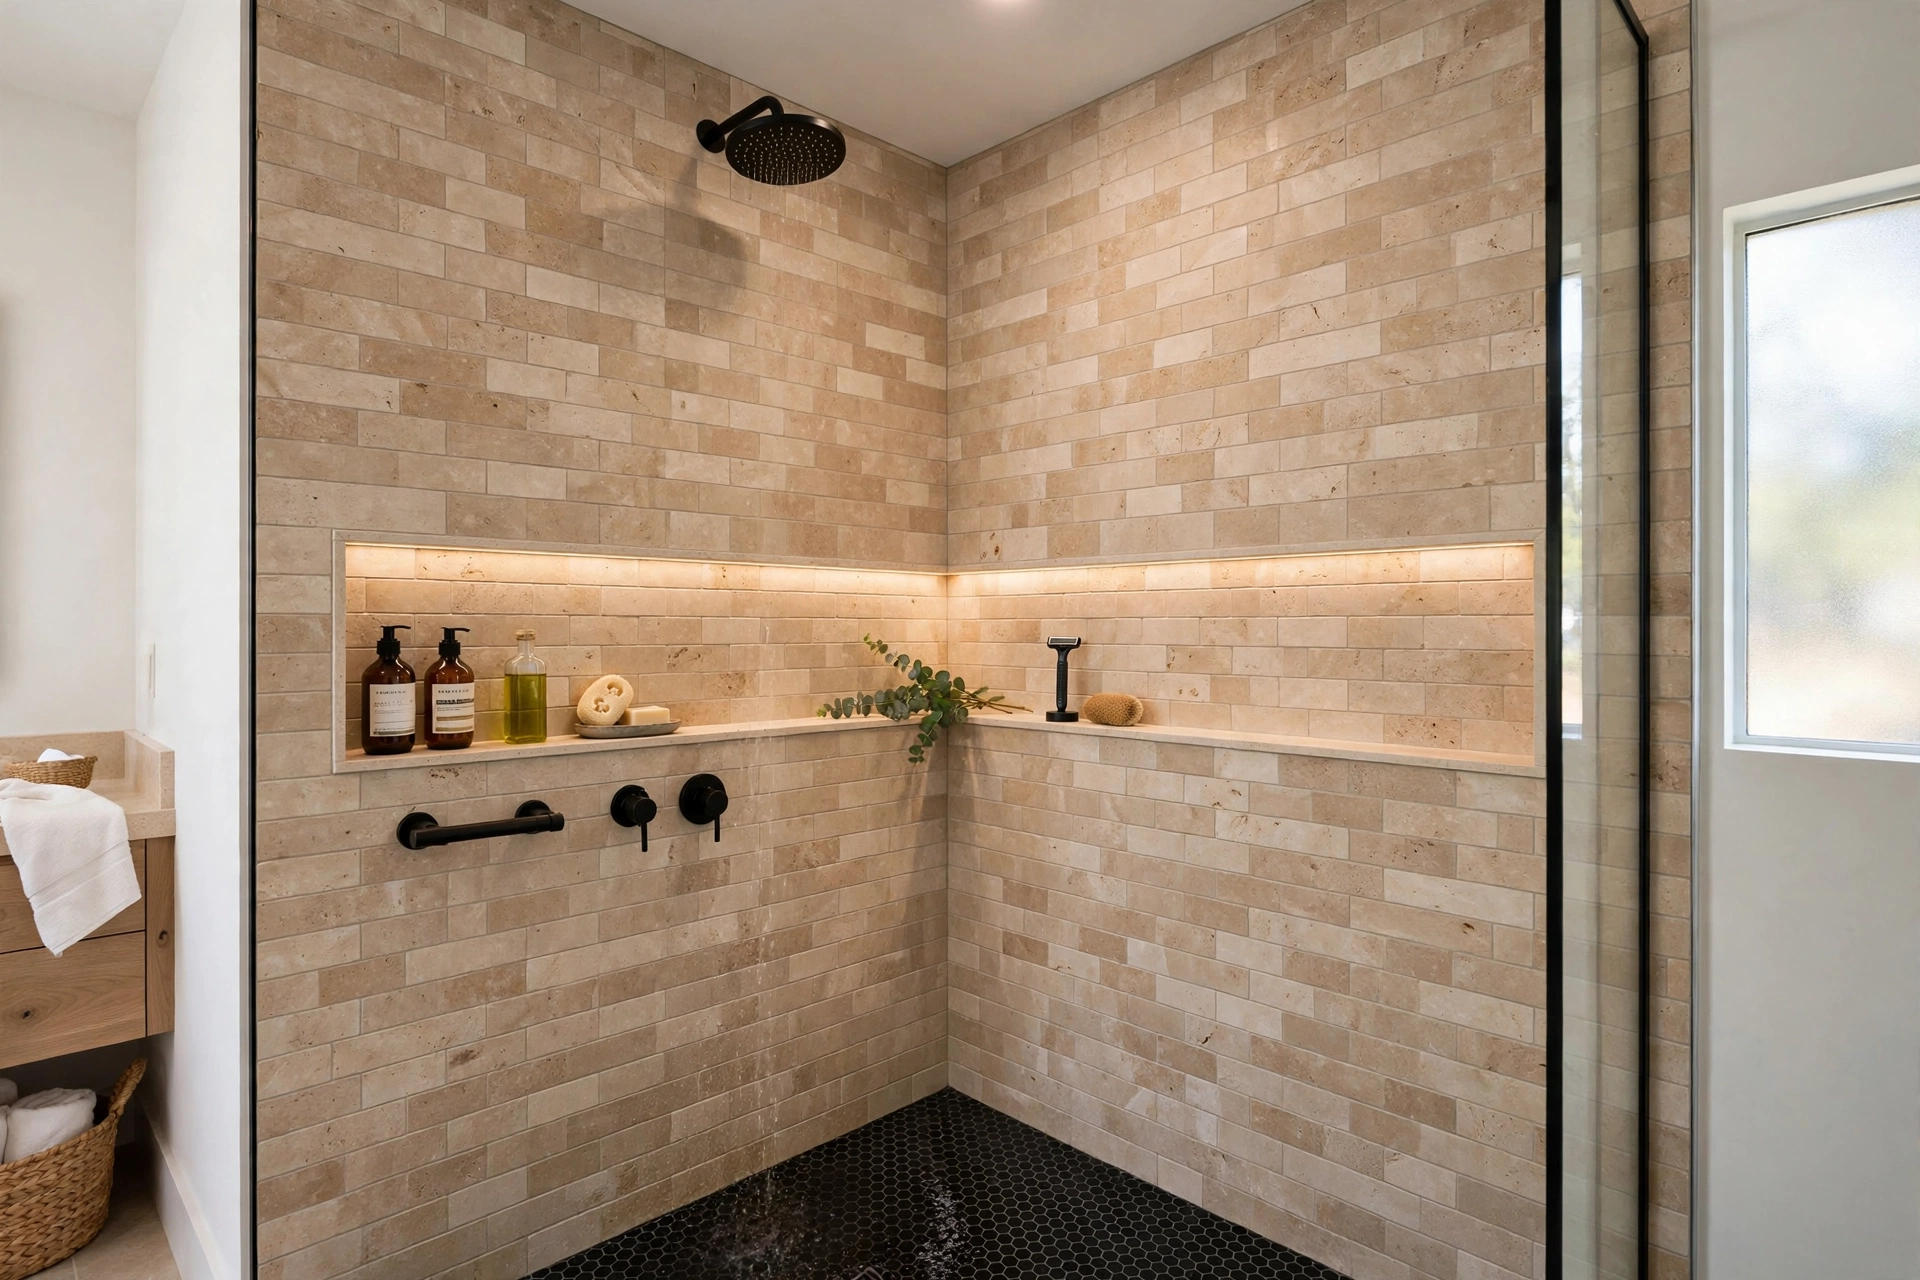
For a truly custom look, let a single long niche wrap around the shower corner, continuing from one wall onto the adjacent one. This wraparound niche creates an unbroken shelf line that feels architecturally intentional — like the shower was carved from a single block. It demands careful framing and a confident tiler, since the corner junction has to be waterproofed and tiled seamlessly, but the payoff is a storage run that can hold everything for two people with room to spare. Keep the niche at one consistent height all the way around for the strongest effect. This is a statement detail best reserved for full remodels, where the framing is open and anything is possible.
14. Finish the Edges With Pencil Trim
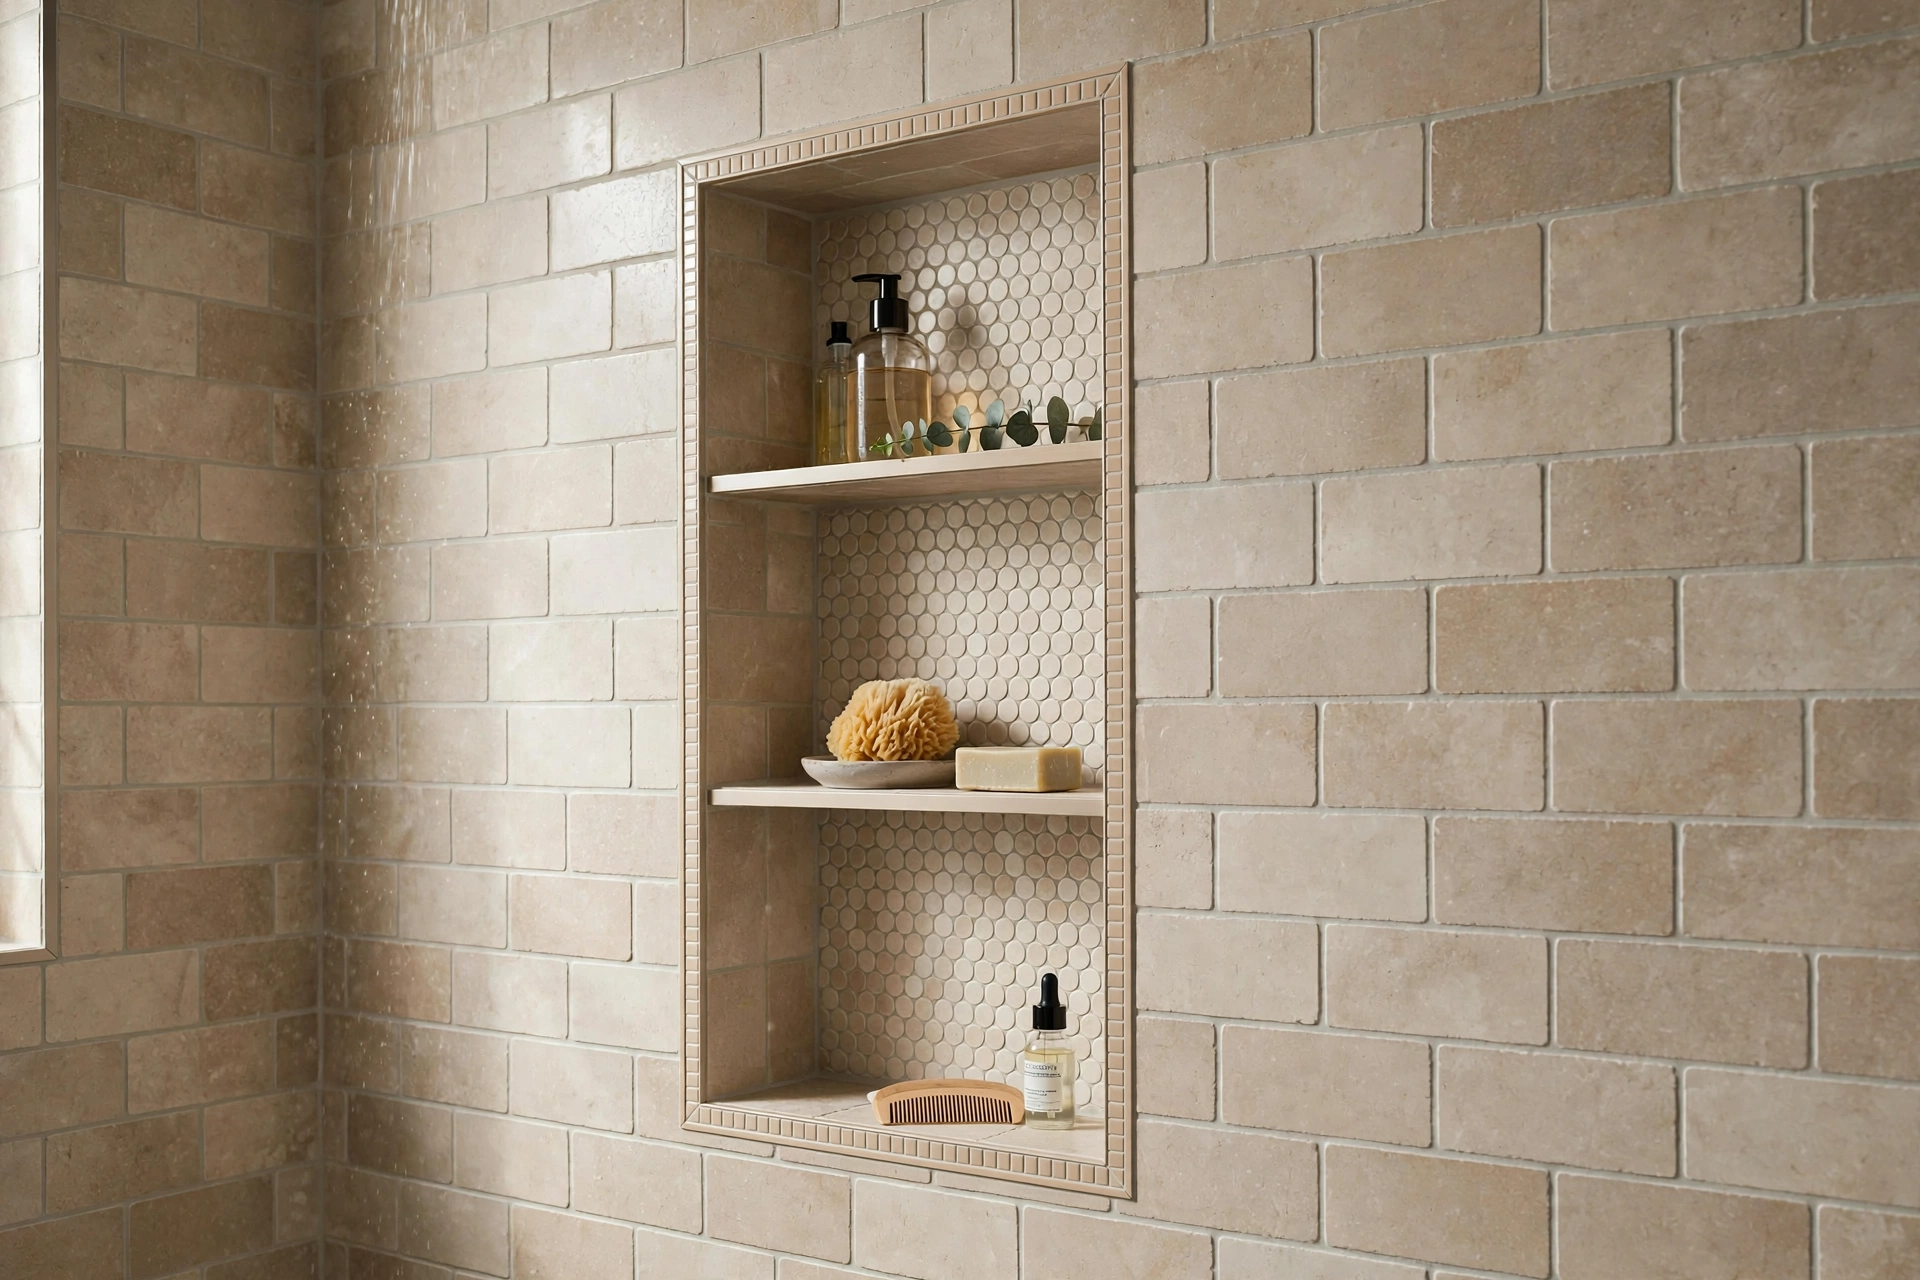
The edges where the niche opening meets the shower wall are the most visible craftsmanship test in the whole project. A slim pencil-trim or bullnose tile running around all four sides of the opening gives a soft, finished edge that hides cut tile and says “custom” instantly. Match the trim to your wall tile for a quiet look, or contrast it with the niche-back tile to tie the whole composition together. Metal edge profiles in brushed nickel or matte black are a clean modern alternative that also protect the tile edge from chips. Whichever you choose, decide before tiling starts — trim is a material to order, not an afterthought to improvise.
15. Keep the Styling Minimal
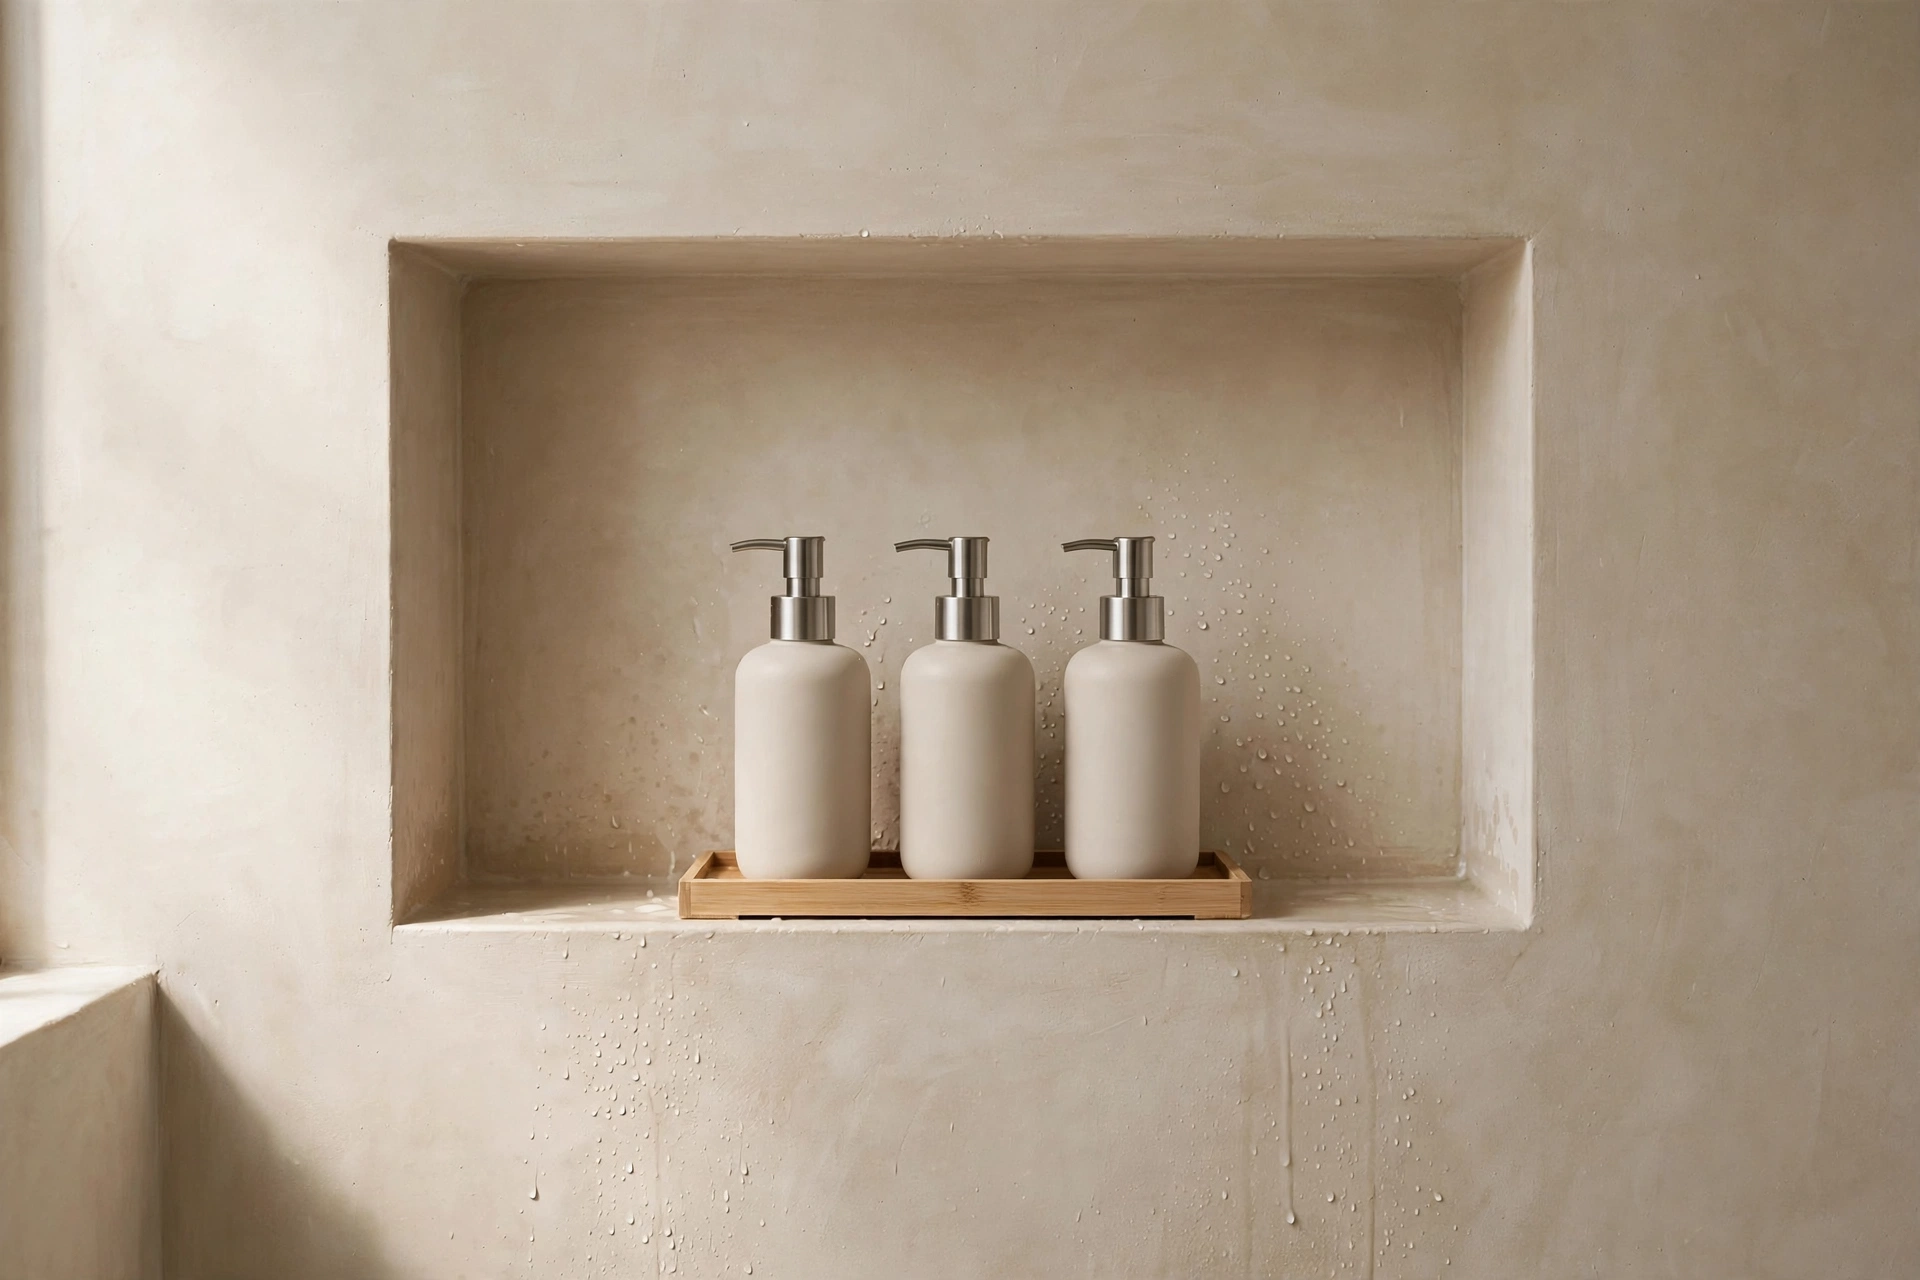
A beautiful niche stuffed with fifteen clashing bottles is just a pretty junk drawer. The final step is editing: decant into two or three matching pump bottles, keep one shampoo, one conditioner, and one body product in the niche, and store the backups elsewhere. Corral small items on a slim teak or stone tray so the shelf surface still shows. Our bathroom shelving ideas for storage and style follow the same less-is-more logic for open storage outside the shower. A restrained niche photographs like a spa, cleans in seconds, and — most importantly — makes your daily shower feel calm instead of cluttered. Let the tile and the light do the talking.
FAQ
What is the best size for a shower niche?
A versatile single niche is about 12 inches wide by 24 inches tall, which fits between standard studs and holds full-size bottles on two levels. For shared showers, go 24 inches wide or build twin niches. Always measure your tallest bottles first — most need 14 to 16 inches of clear height — and remember that deeper walls (2×6 framing) give more usable shelf depth than standard 2×4 walls.
Where should a shower niche be placed?
Place it on a side wall within easy reach of the showerhead, roughly at chest to eye level, and out of the direct water stream so products are not constantly blasted. Avoid exterior walls when possible, since plumbing and insulation compete for that cavity, and never cut into a wall that carries plumbing vent stacks without a professional assessment. Planning guidance from This Old House consistently stresses mapping studs and pipes before committing to a location.
Can you add a shower niche to an existing shower?
Yes, but it requires opening the wall, so it is easiest during a re-tile or remodel. A contractor cuts into the stud bay, adds framing and waterproofing, and tiles the recess to match. Surface-mounted “niche” shelves that glue onto existing tile exist as a no-demo alternative — they look decent but sit proud of the wall rather than flush. If your shower is due for new tile anyway, adding a true recessed niche adds only modest cost to the project.
How do you keep a shower niche from getting moldy?
Three things: slope every shelf slightly forward so water drains out, choose a solid slab shelf or epoxy grout to minimize porous surfaces, and squeegee the niche along with the shower walls after use. Good bathroom ventilation matters enormously — run the exhaust fan for 20 minutes after showering. With proper drainage and airflow, a niche stays as clean as the rest of the shower with no special effort.
Are shower niches better than corner caddies?
For a permanent bathroom, yes. Niches never rust, never fall off the wall, never collect water in suction cups, and they look like part of the architecture. Corner caddies and tension-pole shelves are fine temporary or rental solutions, but they visually clutter the shower and need replacing every year or two. If you own the home and are remodeling anyway, a niche is one of the highest-satisfaction upgrades per dollar in the bathroom.
Keep Exploring
A well-planned niche is the difference between a shower that merely functions and one that feels designed. Pick the placement, sizing, and tile strategy that fit your remodel, and insist on the unglamorous details — slope, waterproofing, edge trim — that make it last. The tile you choose carries the whole look, so browse our bathroom tile design ideas to find the material story your niche will live in. Your future self, reaching for shampoo without knocking three bottles over, will thank you.

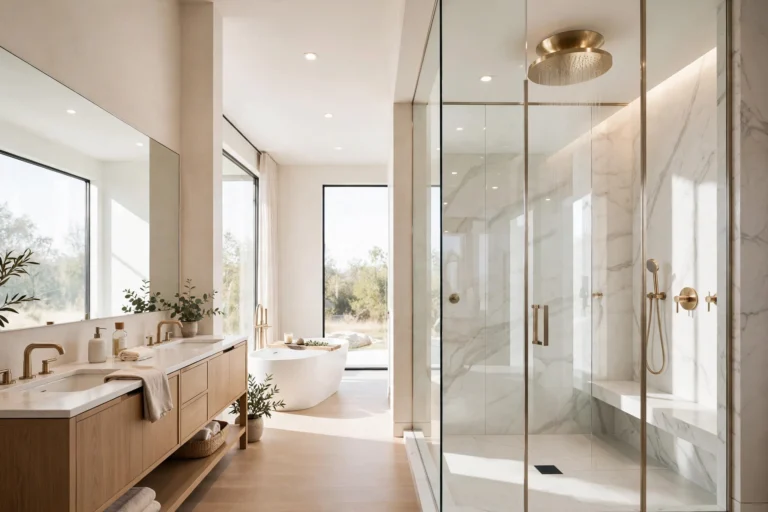
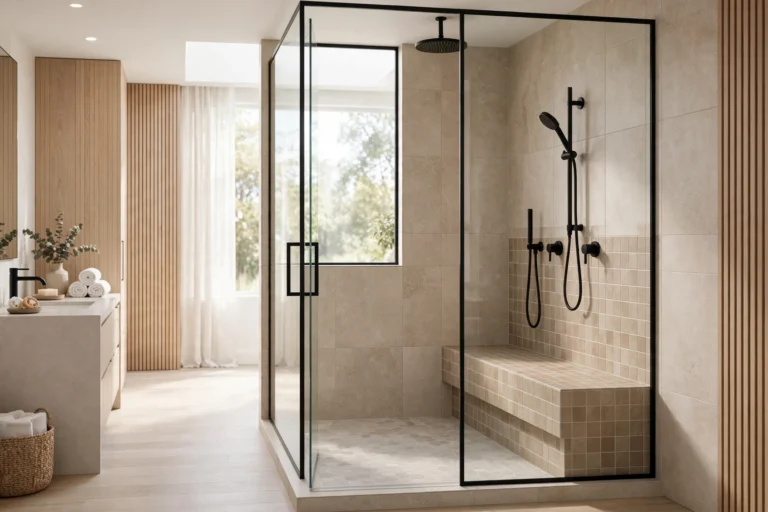
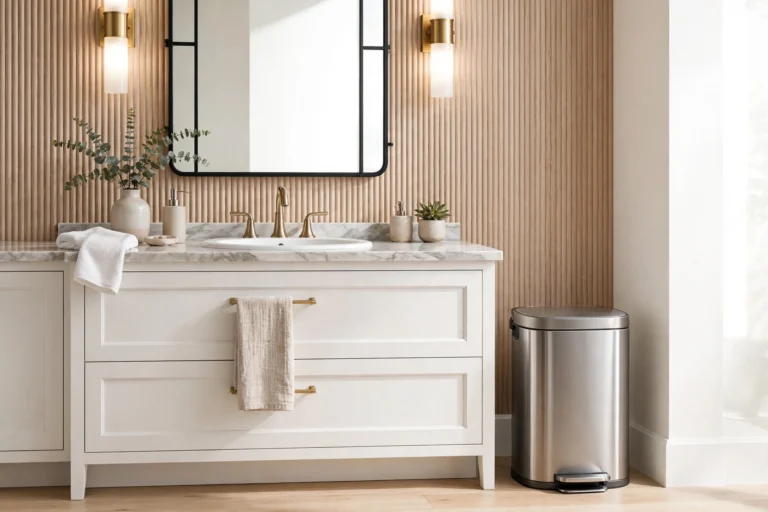




[…] or above the bench end so bottles are reachable without standing. If you are planning both, our bathroom shower niche ideas cover sizing, placement, and styling so the pair looks designed together. Tiling bench and niche in […]