

Few upgrades transform a living room like a built-in window seat. That sunny strip under your bay or bow window is prime real estate, and these living room window seat ideas turn it into the spot everyone fights over: bench seating with hidden storage underneath, a cushion thick enough to sink into, and styling that pulls the whole room together. Unlike a freestanding bench you shuffle around, a true built-in feels like part of the architecture — custom fitted, rock solid, and stuffed with secret storage for blankets, games, and clutter.
The living room window seat ideas below cover everything from construction choices to cushion foam to seasonal styling. We keep the focus strictly on built-in living-room window seats — bay window bench bases, lid versus drawer versus cubby storage, bookshelves flanking the seat, and the lighting that makes the whole thing glow after dark. Whether you hire a carpenter or go full DIY, you will find a plan that fits your window, your budget, and your household.
1. Start With a Bay Window Bench Base
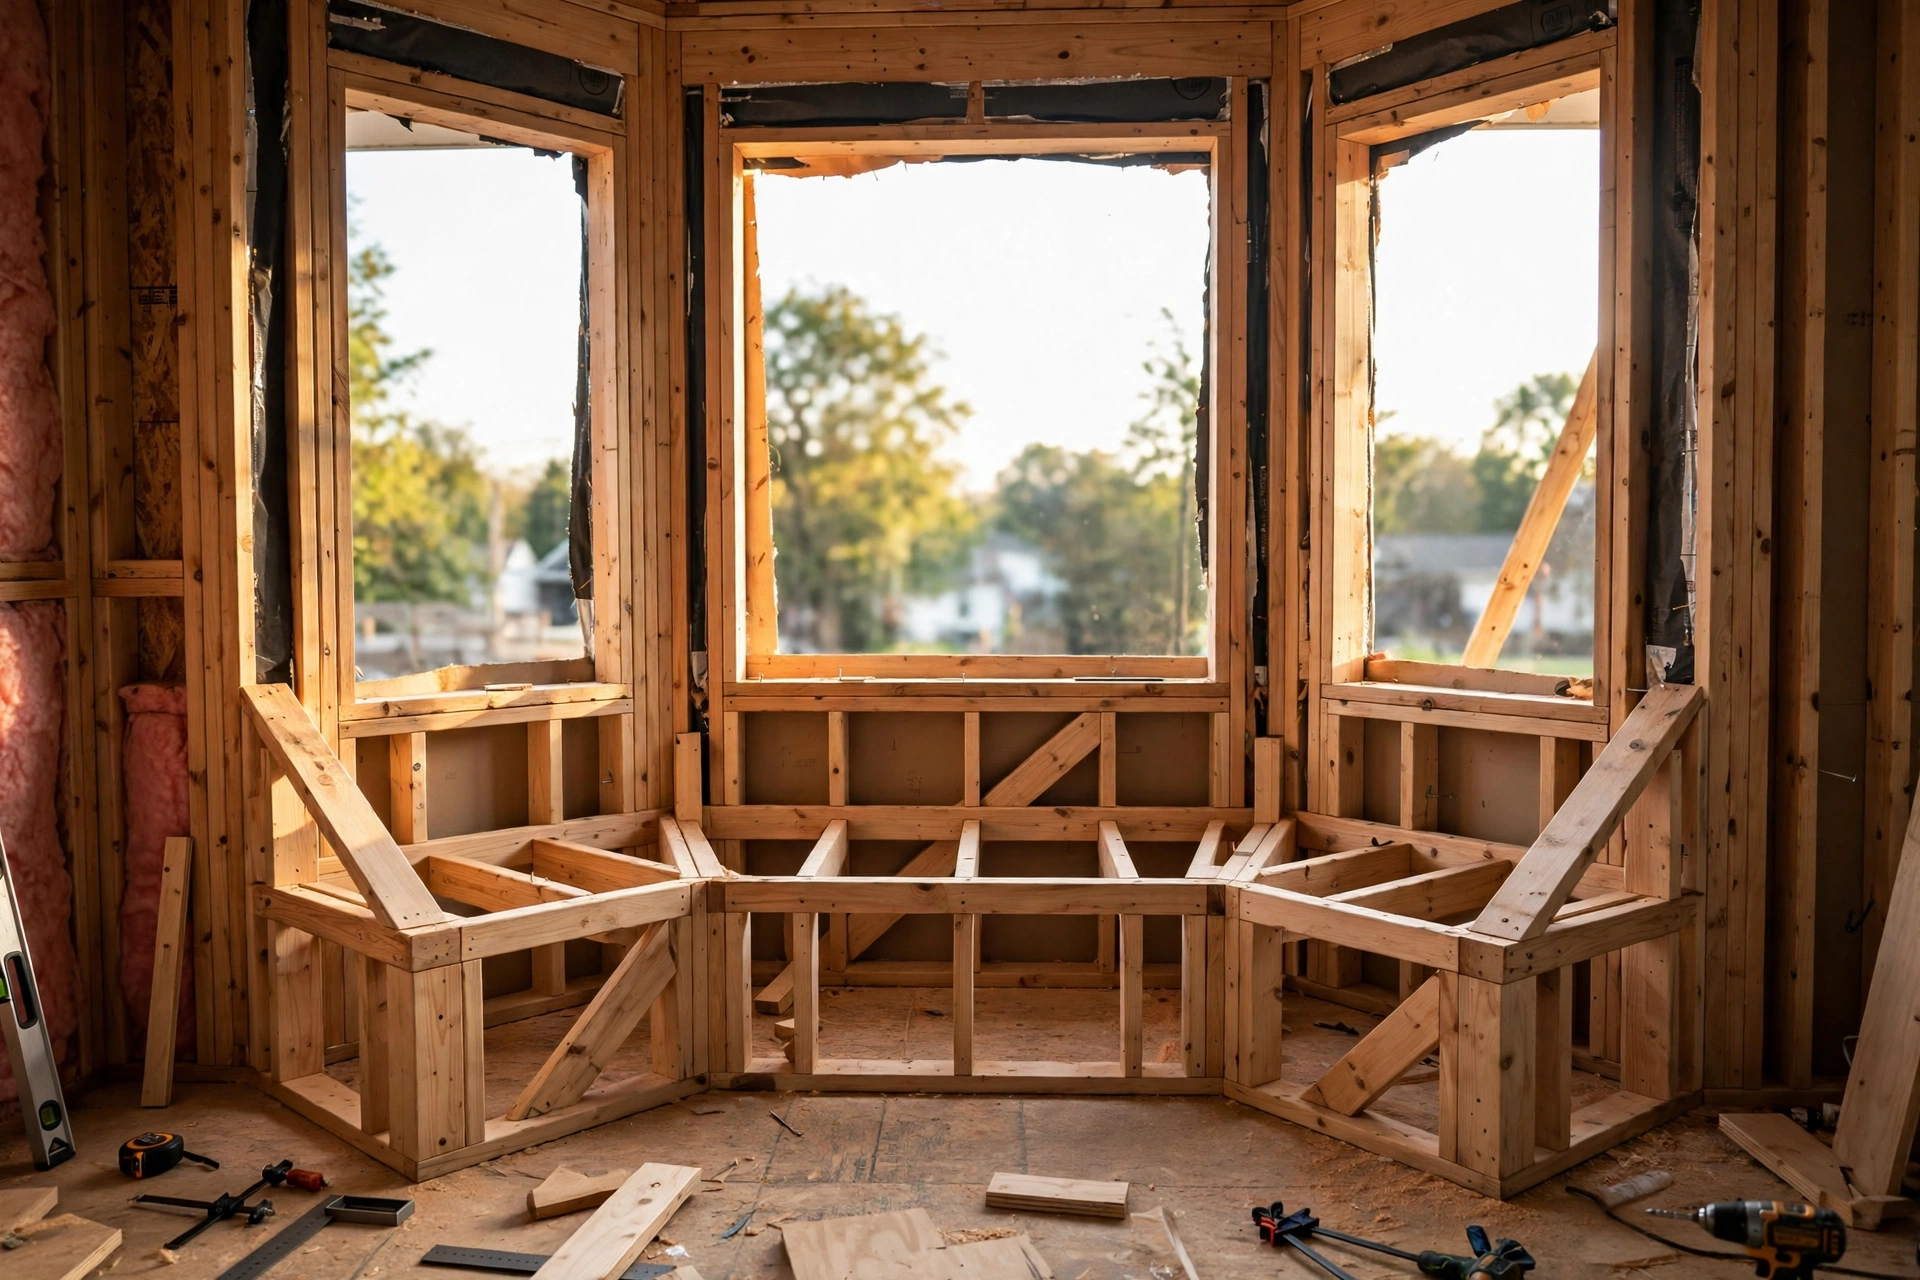
The classic built-in starts in the bay: that projecting trapezoid of windows creates a ready-made alcove for a bench. A window seat built directly into the bay turns an awkward, hard-to-furnish bump-out into the coziest square footage in the house. The base is typically a plywood or cabinet box framed to follow the bay’s angles, capped with a finished seat board that overhangs the front by an inch or so — that overhang is a pro detail, since it stops little fingers from getting pinched when you open a storage lid.
Built-in beats freestanding here for one simple reason: a seat wedged wall-to-wall cannot wobble, rattle, or drift away from the wall. It also looks intentional rather than improvised. If your living room has a bow window, the same principle applies, though curved bows are harder for DIY — many people straighten the seat line across the chord of the bow and let the shelf ledge behind the cushions hold plants. Either way, the bench base is the foundation everything else — storage, cushions, styling — depends on, so build it dead level and anchor it to studs.
2. Choose Between Lid, Drawer, and Cubby Storage
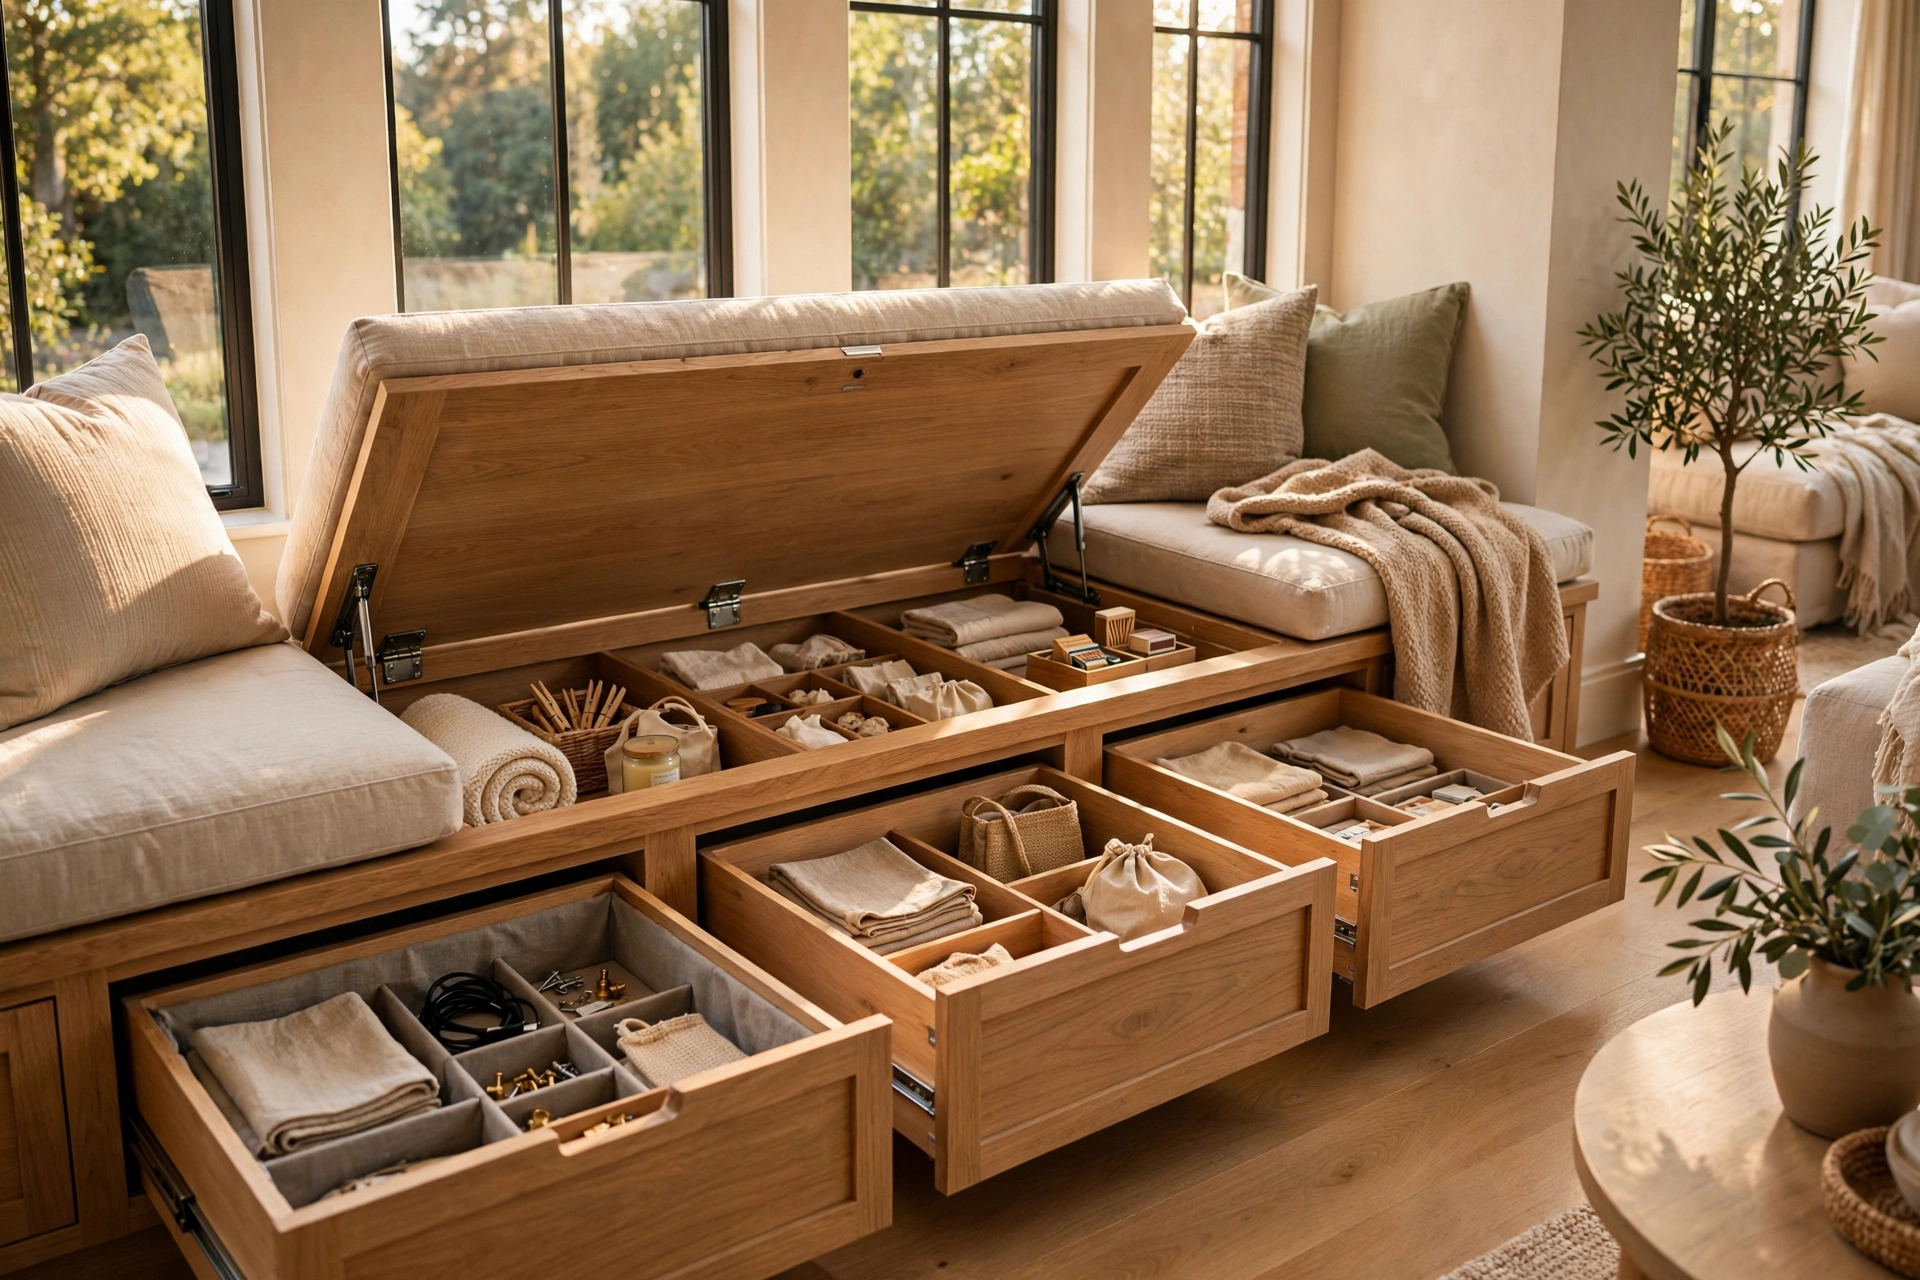
This is the big decision, so weigh it before you cut a single board. A hinged lid turns the entire seat box into one deep cavern — perfect for swallowing blankets, board games, and holiday decor — and it costs the least to build. The downsides: you have to lift the cushion every time you want something, and a heavy lid needs soft-close hinges so it cannot slam on fingers. Specify a lid with a prop or stay hinge, and think of it as long-term storage rather than daily access.
Drawers flip the equation: they cost more in hardware and build time, but you can grab a throw blanket without moving the cushions. Deep full-extension drawers under a living-room seat are genuinely life-changing for media gear, remotes, and the kids’ art supplies. Cubbies — open compartments, usually dressed with baskets — are the cheapest and airiest option, though they expose clutter unless you commit to the baskets. Many of the best seats mix all three: drawers on the ends for daily grab-and-go, a lidded cavern in the middle for seasonal overflow.
3. Get the Seat Height and Depth Right
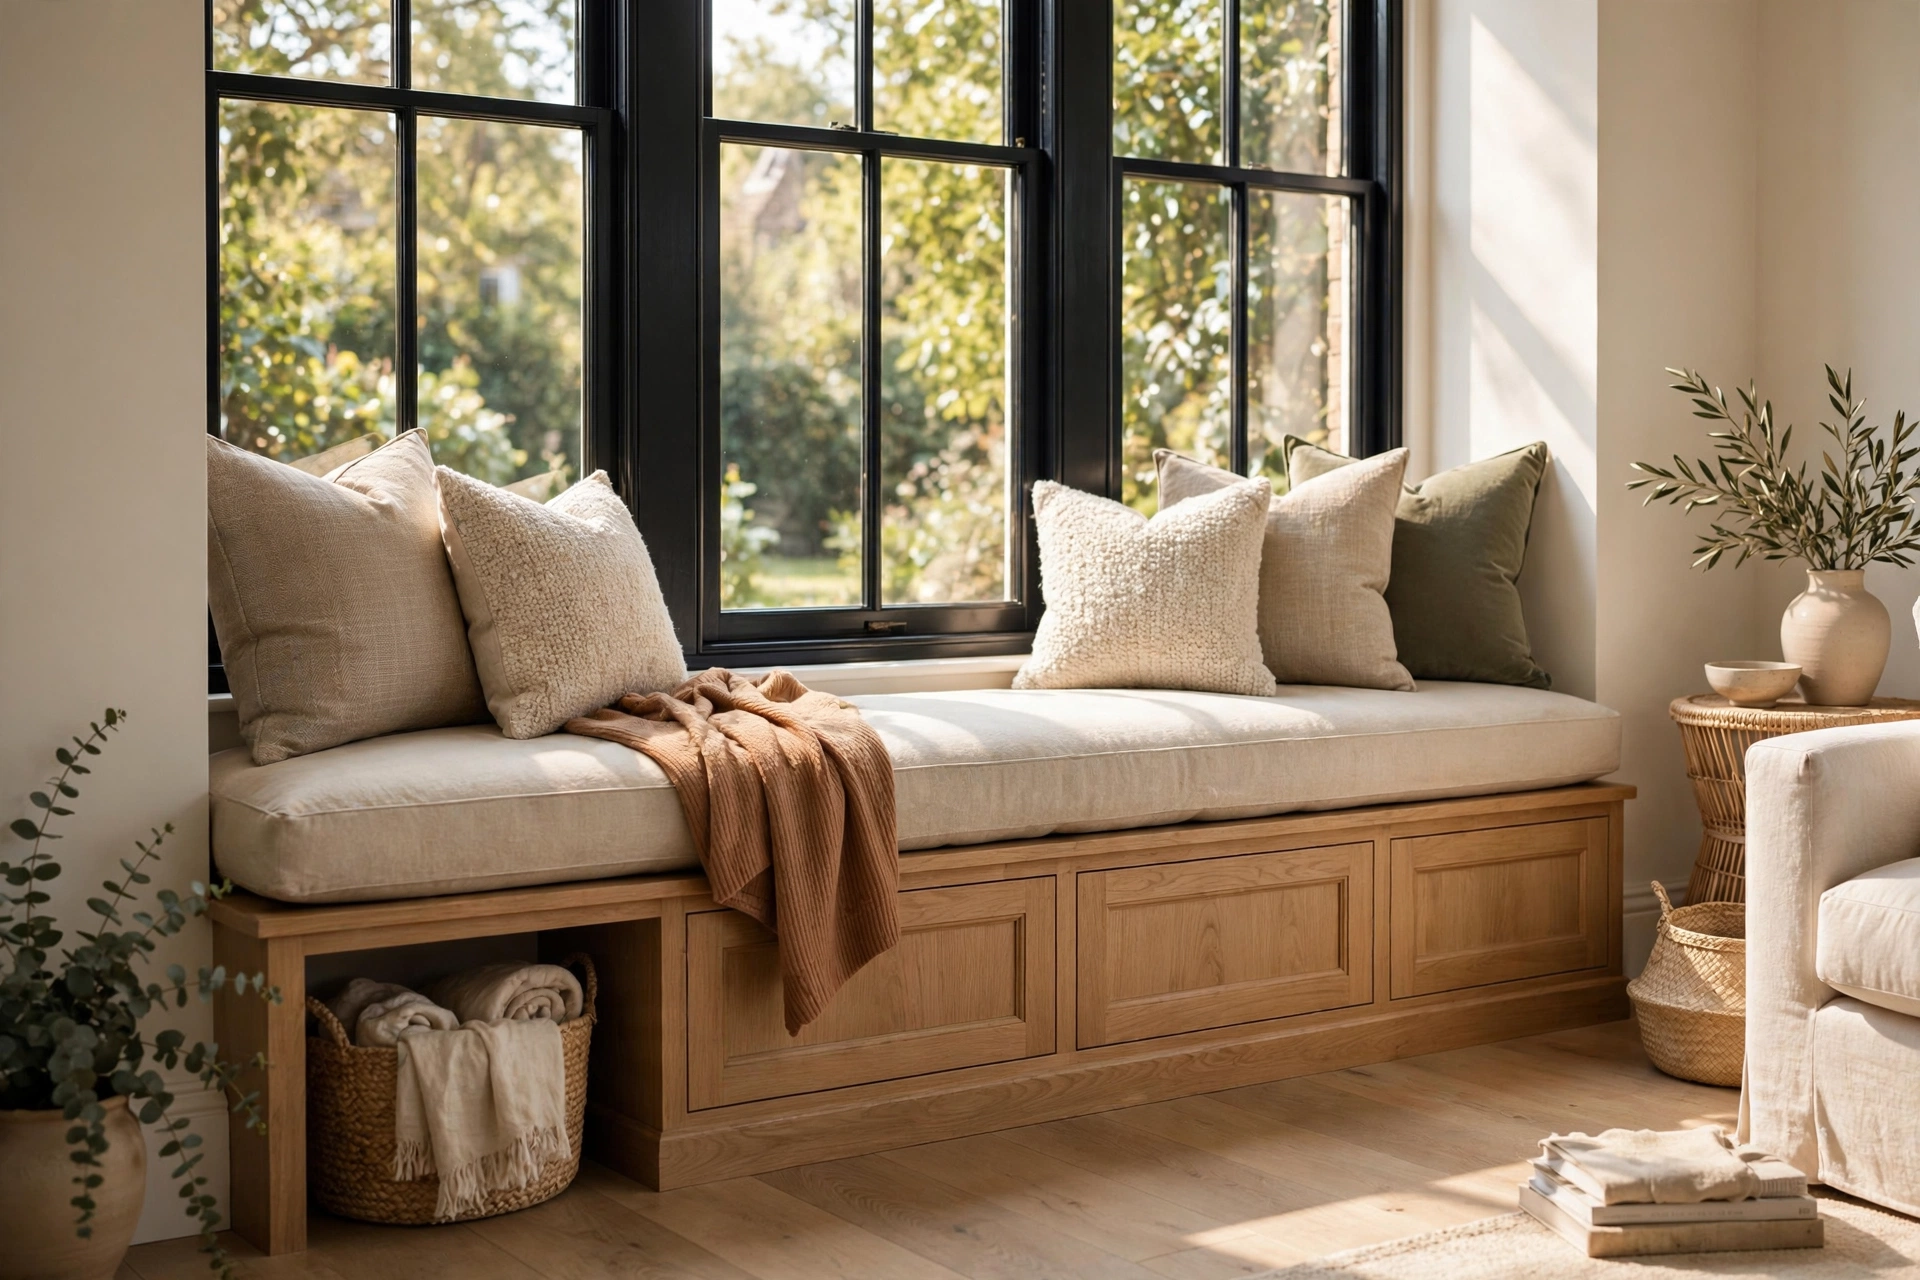
Comfort math is unforgiving, so measure twice. Aim for a finished seat height of 17 to 19 inches, cushion included — right in the same range as your sofa and dining chairs, which makes it easy to stand up from and matches the room’s seating rhythm. Go much lower and adults have to hoist themselves up; go much higher and feet dangle. Bay windows with low sills can force a compromise, in which case lean toward the lower end and choose a thinner cushion to keep the proportions comfortable.
Seat depth matters just as much: the sweet spot is 16 to 20 inches from the window to the front edge, with deeper bays easily accommodating 22 to 24 inches for true curl-up comfort. Shallower than 16 inches and the seat reads as a perch, not a lounge. If your bay is deep, resist the urge to push the seat all the way back to the glass — leave a few inches of ledge behind the cushion for plants, a cup of tea, or a small lamp, and your back will thank you for the extra lumbar space the cushions gain.
4. Pick the Perfect Cushion Thickness and Foam
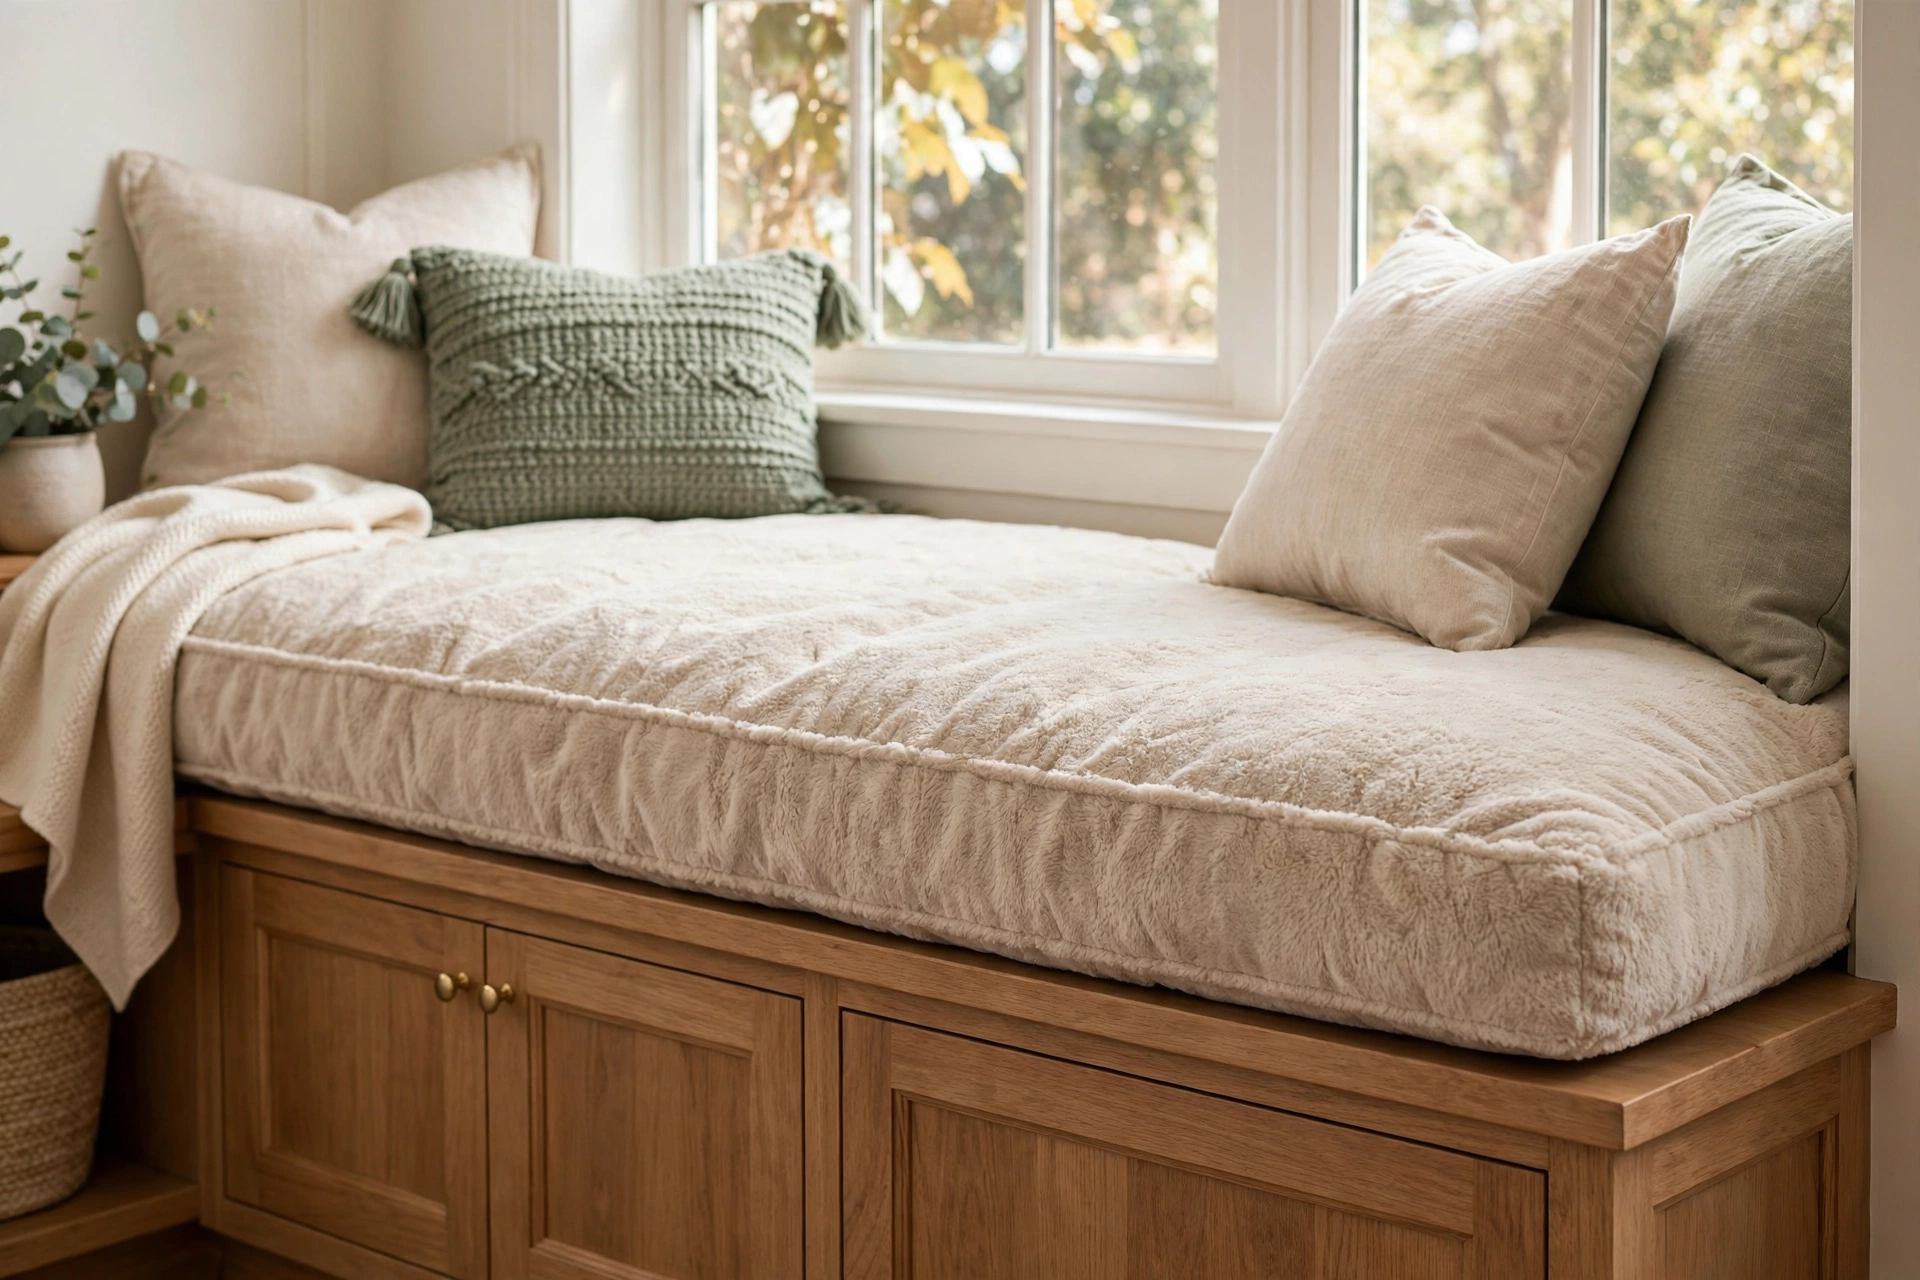
The cushion makes or breaks the seat. For a window bench that gets daily use, choose high-density foam — at least 1.8-pound density, ideally 2.5 — in a thickness of 3 to 4 inches. That combination holds its shape for years instead of bottoming out within months. Softer than that and you feel the seat board through the foam; thicker than 4 inches and the seat height starts pushing toward dining-counter territory unless you planned for it.
Wrap the foam in Dacron batting before covering to soften the edges and give the cushion that plump, upholstered look. The cover fabric deserves real thought: indoor-outdoor performance fabric is the unsung hero of window seats, since sun fades and pet paws punish anything delicate. Always make the covers removable and washable, with a full zipper on the back edge. A single bench cushion cut to fit the bay reads far more custom than a row of loose pillows, and one long cushion will not slide around the way piecemeal pads do.
5. Build It the Budget DIY Way
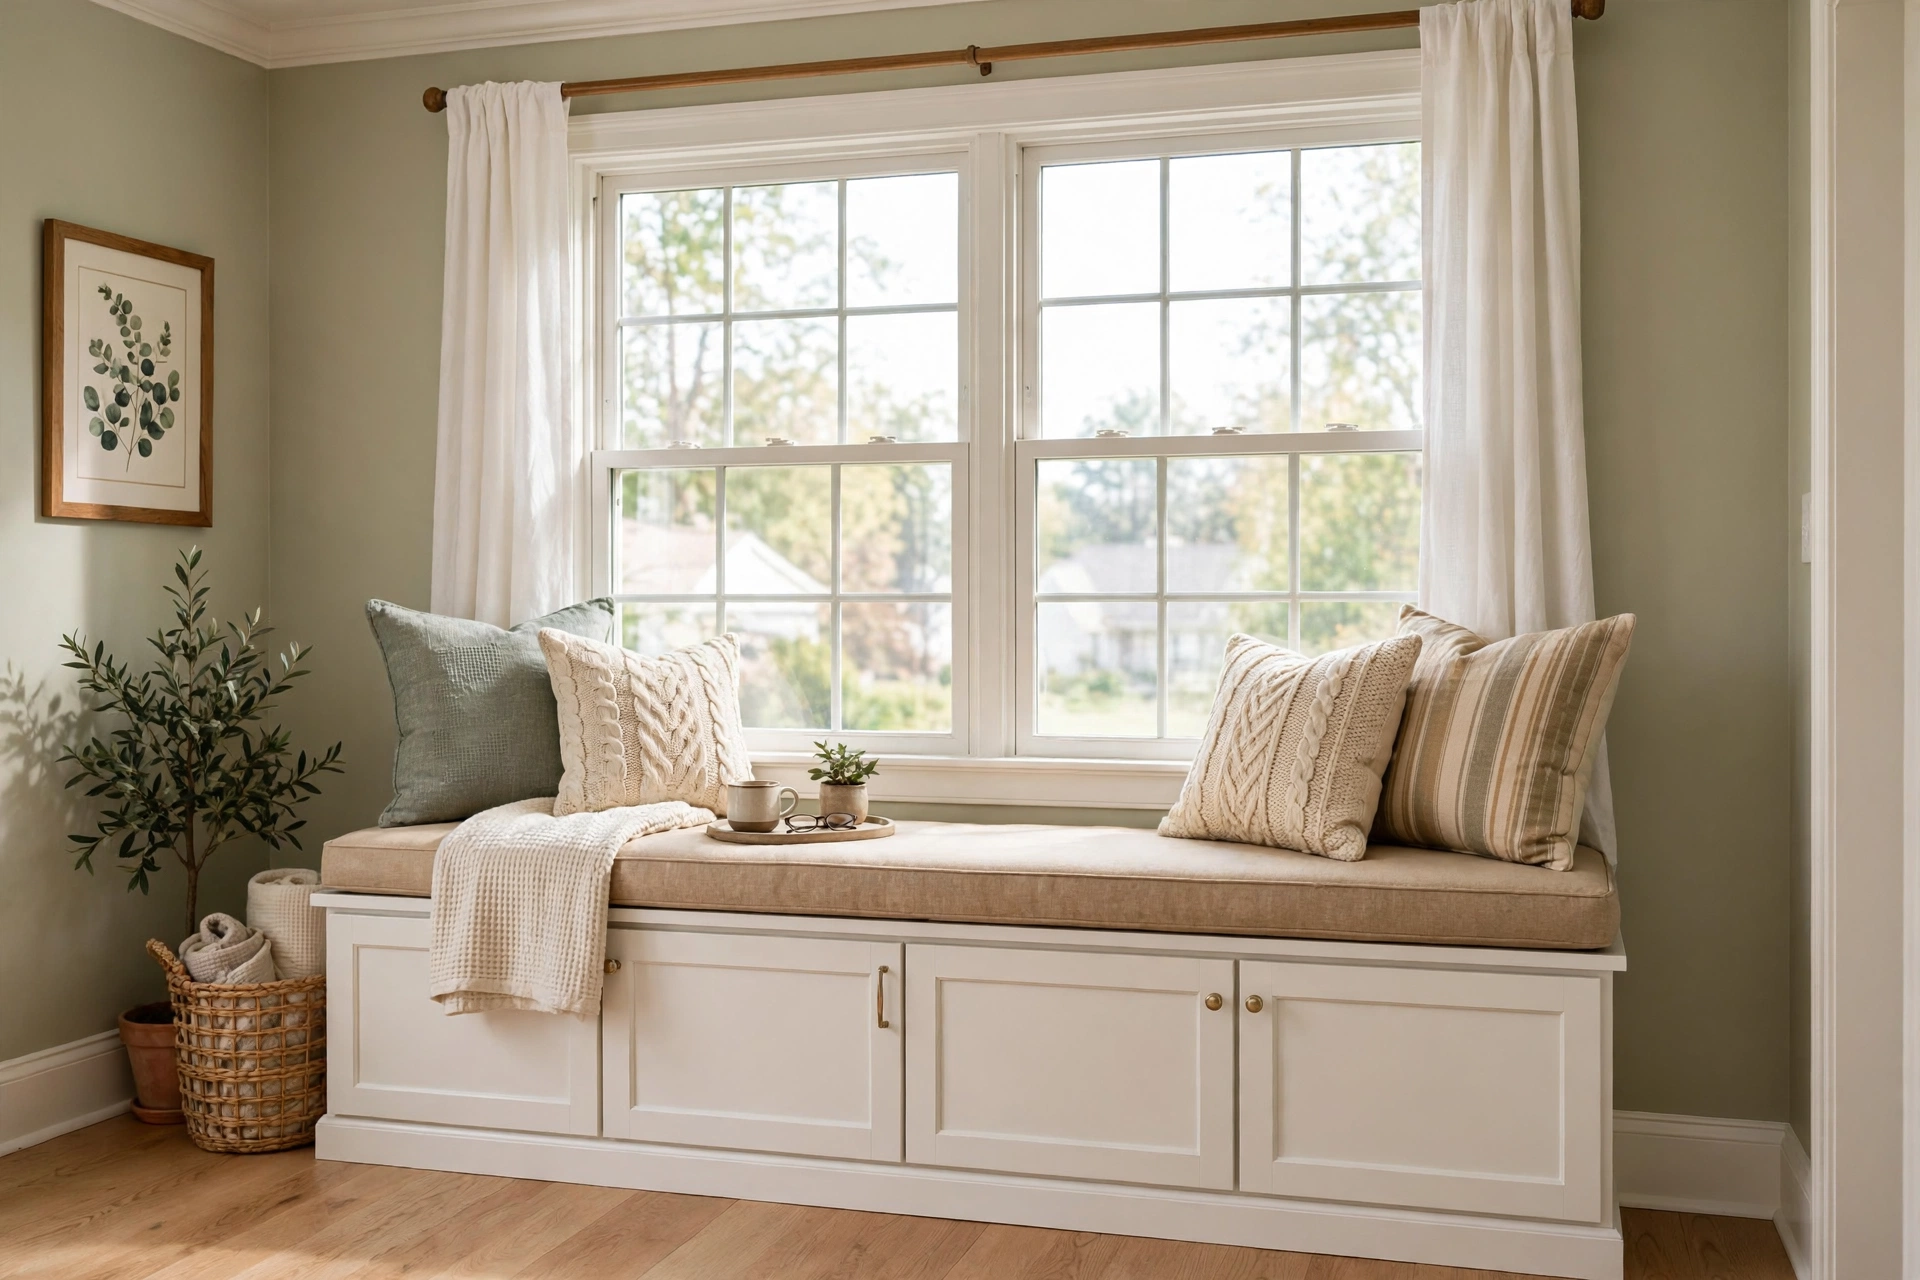
You do not need custom cabinetry to get the custom look. The classic budget trick is building the seat base from stock base cabinets — the same ready-made kitchen cabinets you can buy off the shelf — set side by side on a simple 2×4 toekick frame. Butt them together, screw them to each other and the wall studs, and skin the joints with matching plywood or molding. Painted one color with the trim, off-the-shelf cabinets read as fully bespoke, and you get drawers or doors included in the price.
This approach is exactly what the experts walk through in This Old House’s step-by-step window seat guide, which covers everything from building a level toekick to concealing cabinet joints with prefinished moldings. If you can drill, level, and caulk, you can build this in a weekend. Budget-wise, a DIY cabinet-based seat often lands in the hundreds rather than the thousands — and a Saturday of careful caulking is what sells the built-in illusion more than anything else.
6. Flank the Seat With Built-In Bookshelves
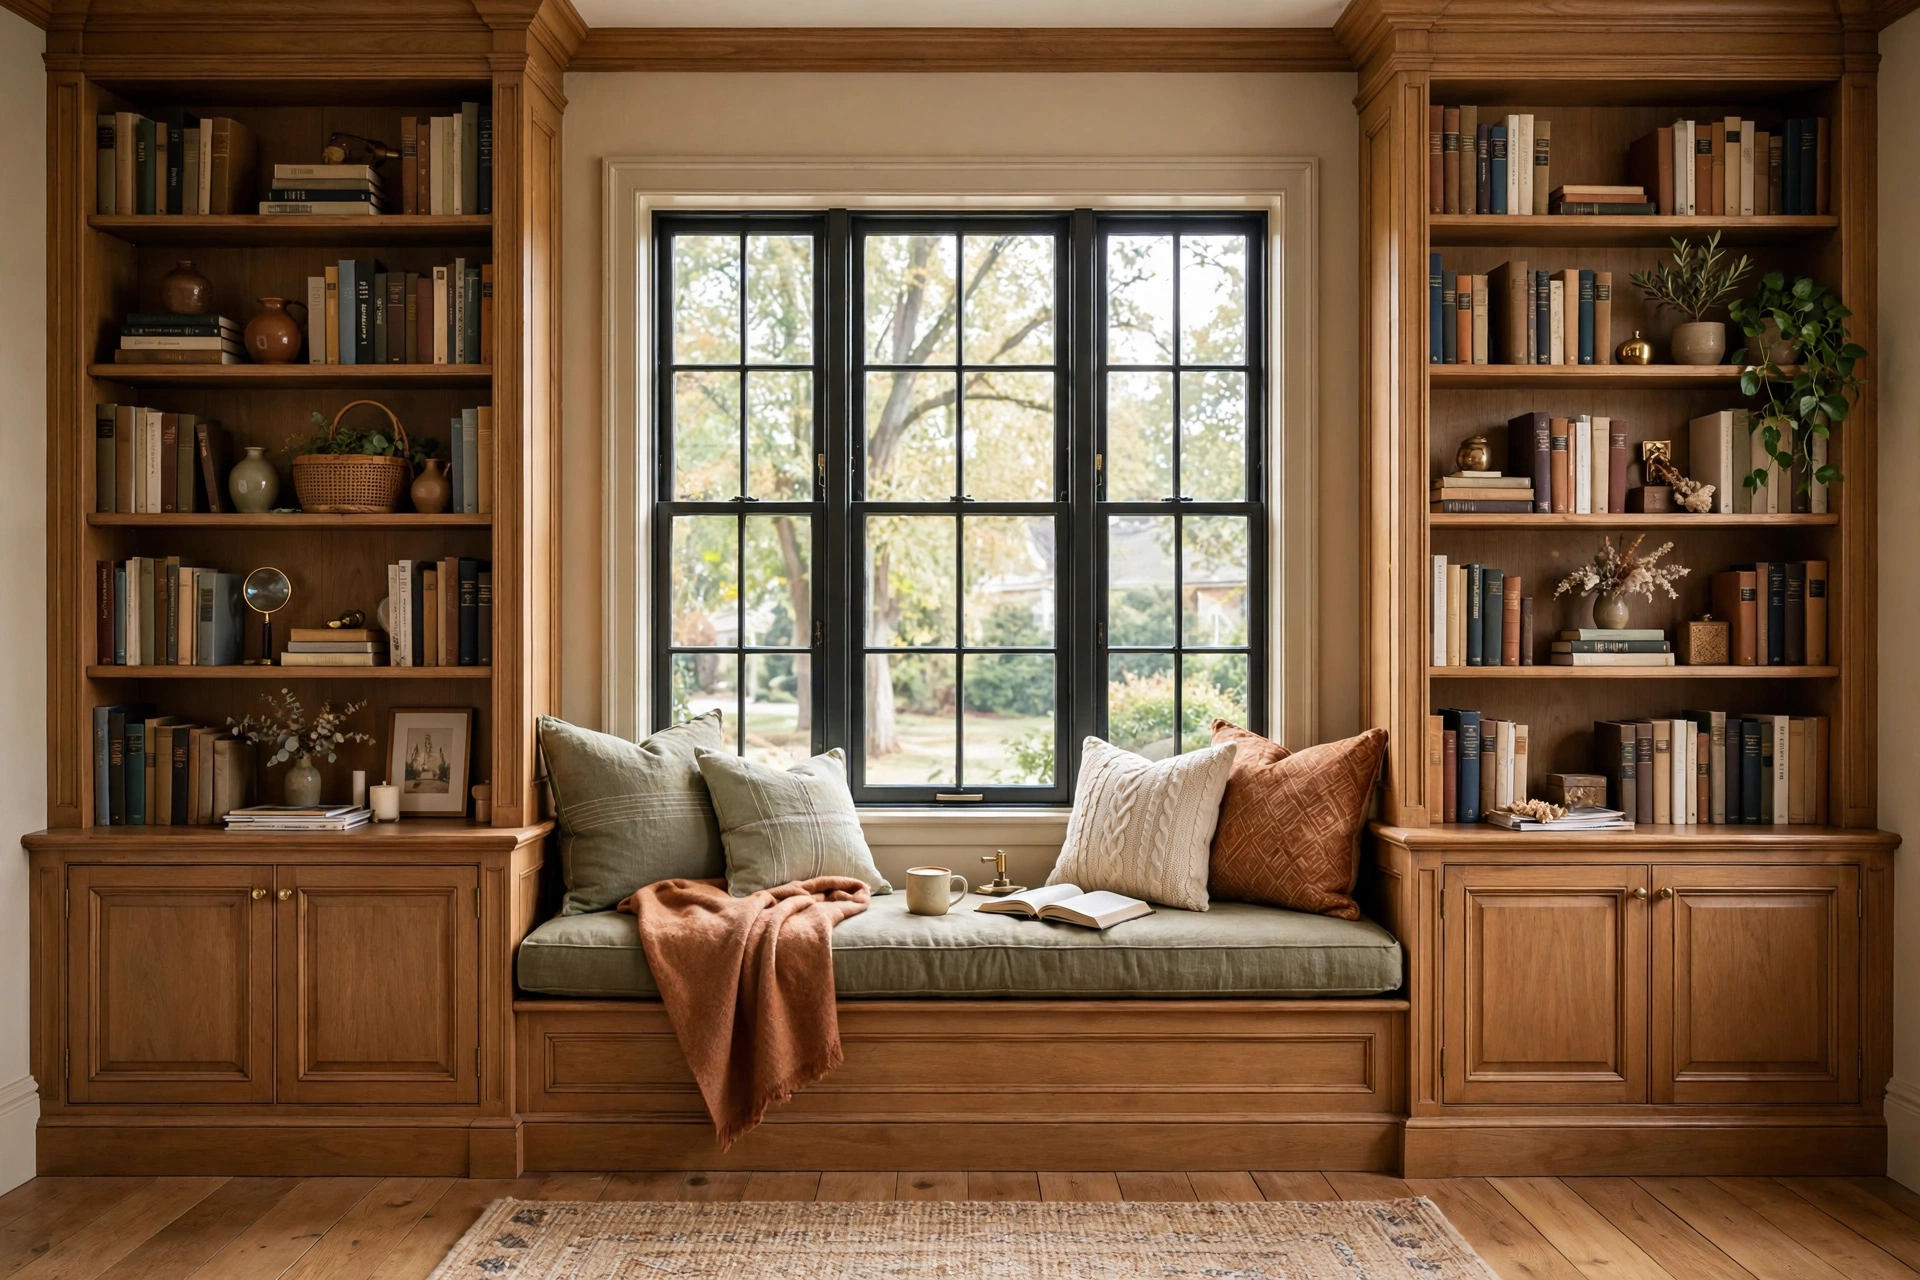
A window seat floating alone on a big wall can feel like an afterthought; flanking it with built-in bookshelves makes it look like the room was designed around it. Bookcase towers on each side of the window create a full library wall: the seat becomes the anchor, the shelves hold books, framed photos, and a few styled objects, and the whole composition gains the architectural weight of custom millwork. Shallow 10-to-12-inch shelves are plenty for books and keep the towers from eating floor space.
This move also solves the dead-zone problem — those awkward stretches of wall beside a bay window that never quite furnish themselves. The same thinking behind these living room corner decor ideas that turn dead space cozy applies here: frame the window as a destination instead of letting the sides go blank. Paint the bookcases, seat base, and surrounding trim one unified color, and the entire wall reads as a single piece of furniture. Add a few adjustable shelves up high for the books you reach for least.
7. Style It With Throw Pillows

Pillows are where the window seat goes from construction project to invitation. Start with two large 20-to-22-inch square pillows as anchors, add two 18-inch squares or lumbar pillows in front, and finish with one statement pillow — a texture, a pattern, something with personality. Odd numbers and varied sizes create the plush, sink-in look; a row of identical pillows reads like a waiting room. Mix fabrics — velvet against linen, a chunky knit against a smooth cotton — because texture is what makes a sunlit seat feel touchable.
Keep the palette tied to your living room, pulling one or two colors from the rug or sofa so the seat belongs to the room instead of shouting over it. And keep function in mind: you will be leaning against these, so avoid scratchy jute or beaded fronts on the back row. If pillow styling is your weak spot, these living room throw pillow ideas for instant color and comfort walk through the layering formulas that work on sofas and translate perfectly to a window bench. Finish with a folded throw draped over one corner — the lived-in signal that says this seat gets used.
8. Integrate Curtains and Shades
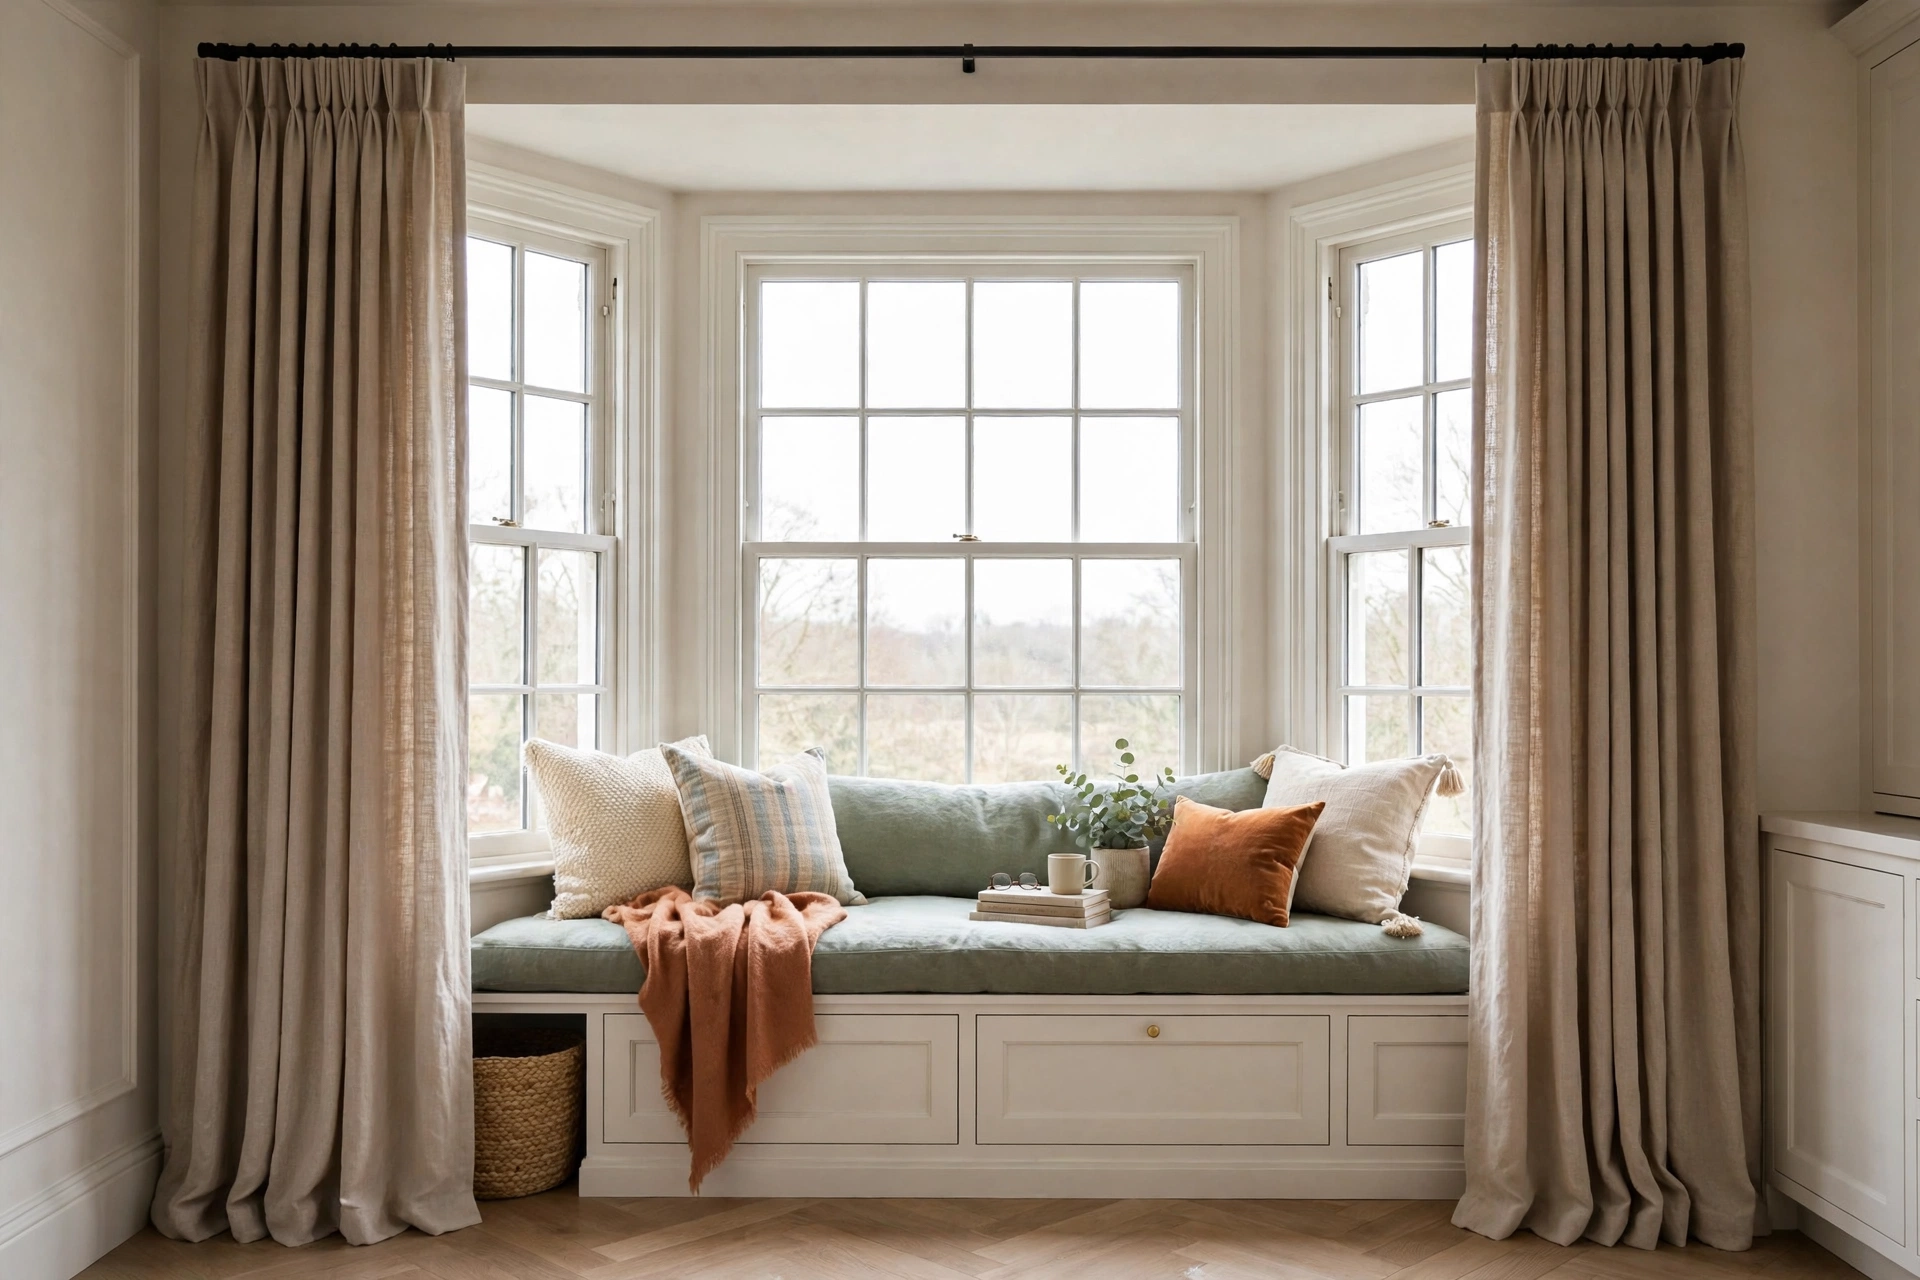
Window treatments and window seats have to be planned together or they will fight. If you want full-length curtains, mount the rod high and wide — at least 4 to 6 inches above the window frame and extending well past the bay — so the panels stack clear of the seat and do not pool onto the cushions. Curtains that hang behind the seat, pooling onto the bench, look like a mistake; curtains framing the bay like a stage look deliberate.
Inside-mounted shades are the low-drama alternative, especially in a bay where three separate Roman shades follow the angles neatly and never interfere with sitters. Romans in a textured linen or a soft pattern add a finished layer without stealing seat space. For the full picture on framing the whole window — rods, lengths, and fabrics that play well with built-ins — these living room curtain ideas that frame your windows beautifully cover the mounting tricks that matter most. Whatever you choose, make sure the seat’s storage lids and drawers clear the treatments when they open.
9. Add Lighting Above the Seat
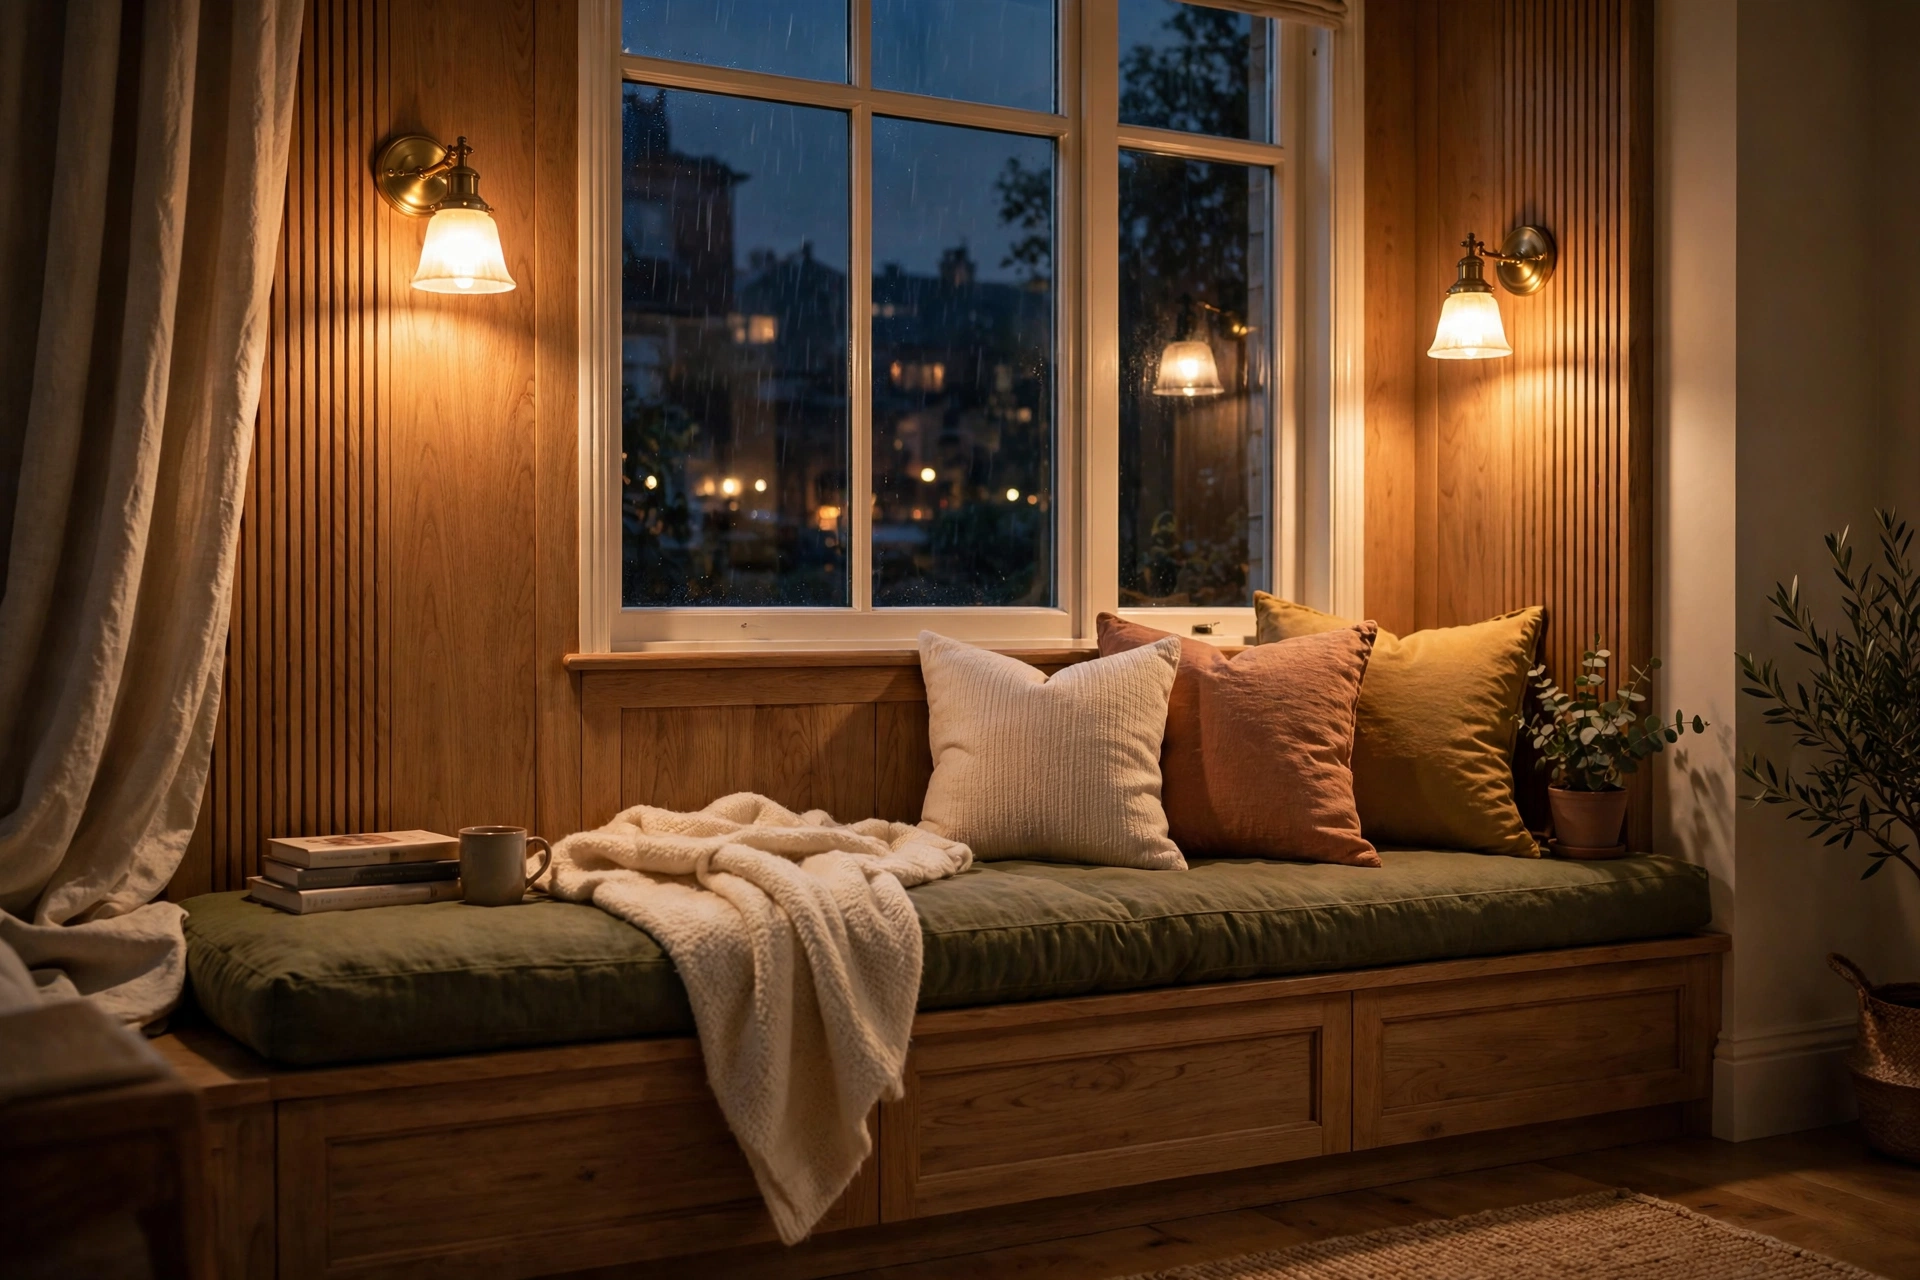
Daylight does the heavy lifting, but a window seat without evening lighting goes dark and unused after sunset. A pair of plug-in or hardwired sconces mounted on the wall above each end of the seat is the classic move: warm light at sitting height flatters everyone and turns the bay into a glowing focal point. If sconces feel like too much wiring, a slim picture light on the wall above the window or a plug-in pendant hung from the ceiling nearby gives a similar pool of warm light.
Keep the color temperature consistent with the rest of the room — warm white around 2700K — so the seat glows the same tone as your lamps. Dimmers are worth every penny here; bright light for finding a lost remote, low light for evening lounging. And plan the wiring before you build the seat base: running a cable behind the new bench is easy during construction and miserable afterward. Battery-powered LED pucks inside the storage compartments are a small luxury that makes digging through deep drawers dramatically easier.
10. Choose Kid-Friendly Designs

A living-room window seat is a kid magnet, so design for the chaos. Keep the seat height at the lower end of the range so small legs reach the floor, round over or router a soft edge on the seat board so there are no sharp corners at forehead height, and insist on soft-close hinges for any lidded storage — a slamming lid is the number-one window-seat hazard for little fingers. Slow-close hardware is cheap insurance and adults appreciate it too.
Inside, dedicate one compartment to the kids: a deep drawer or cubby zone for toys, coloring supplies, and picture books turns the seat into their headquarters and the living room stays miraculously tidier. Choose a dark or patterned performance fabric for the cushion — it hides juice-box incidents — and make sure every cover zips off for washing. A low, deep seat with toy storage underneath earns its keep as a story-time spot for years, and when the kids outgrow it, the same seat grows right back up into adult lounging.
11. Go Pet-Friendly With the Right Fabrics
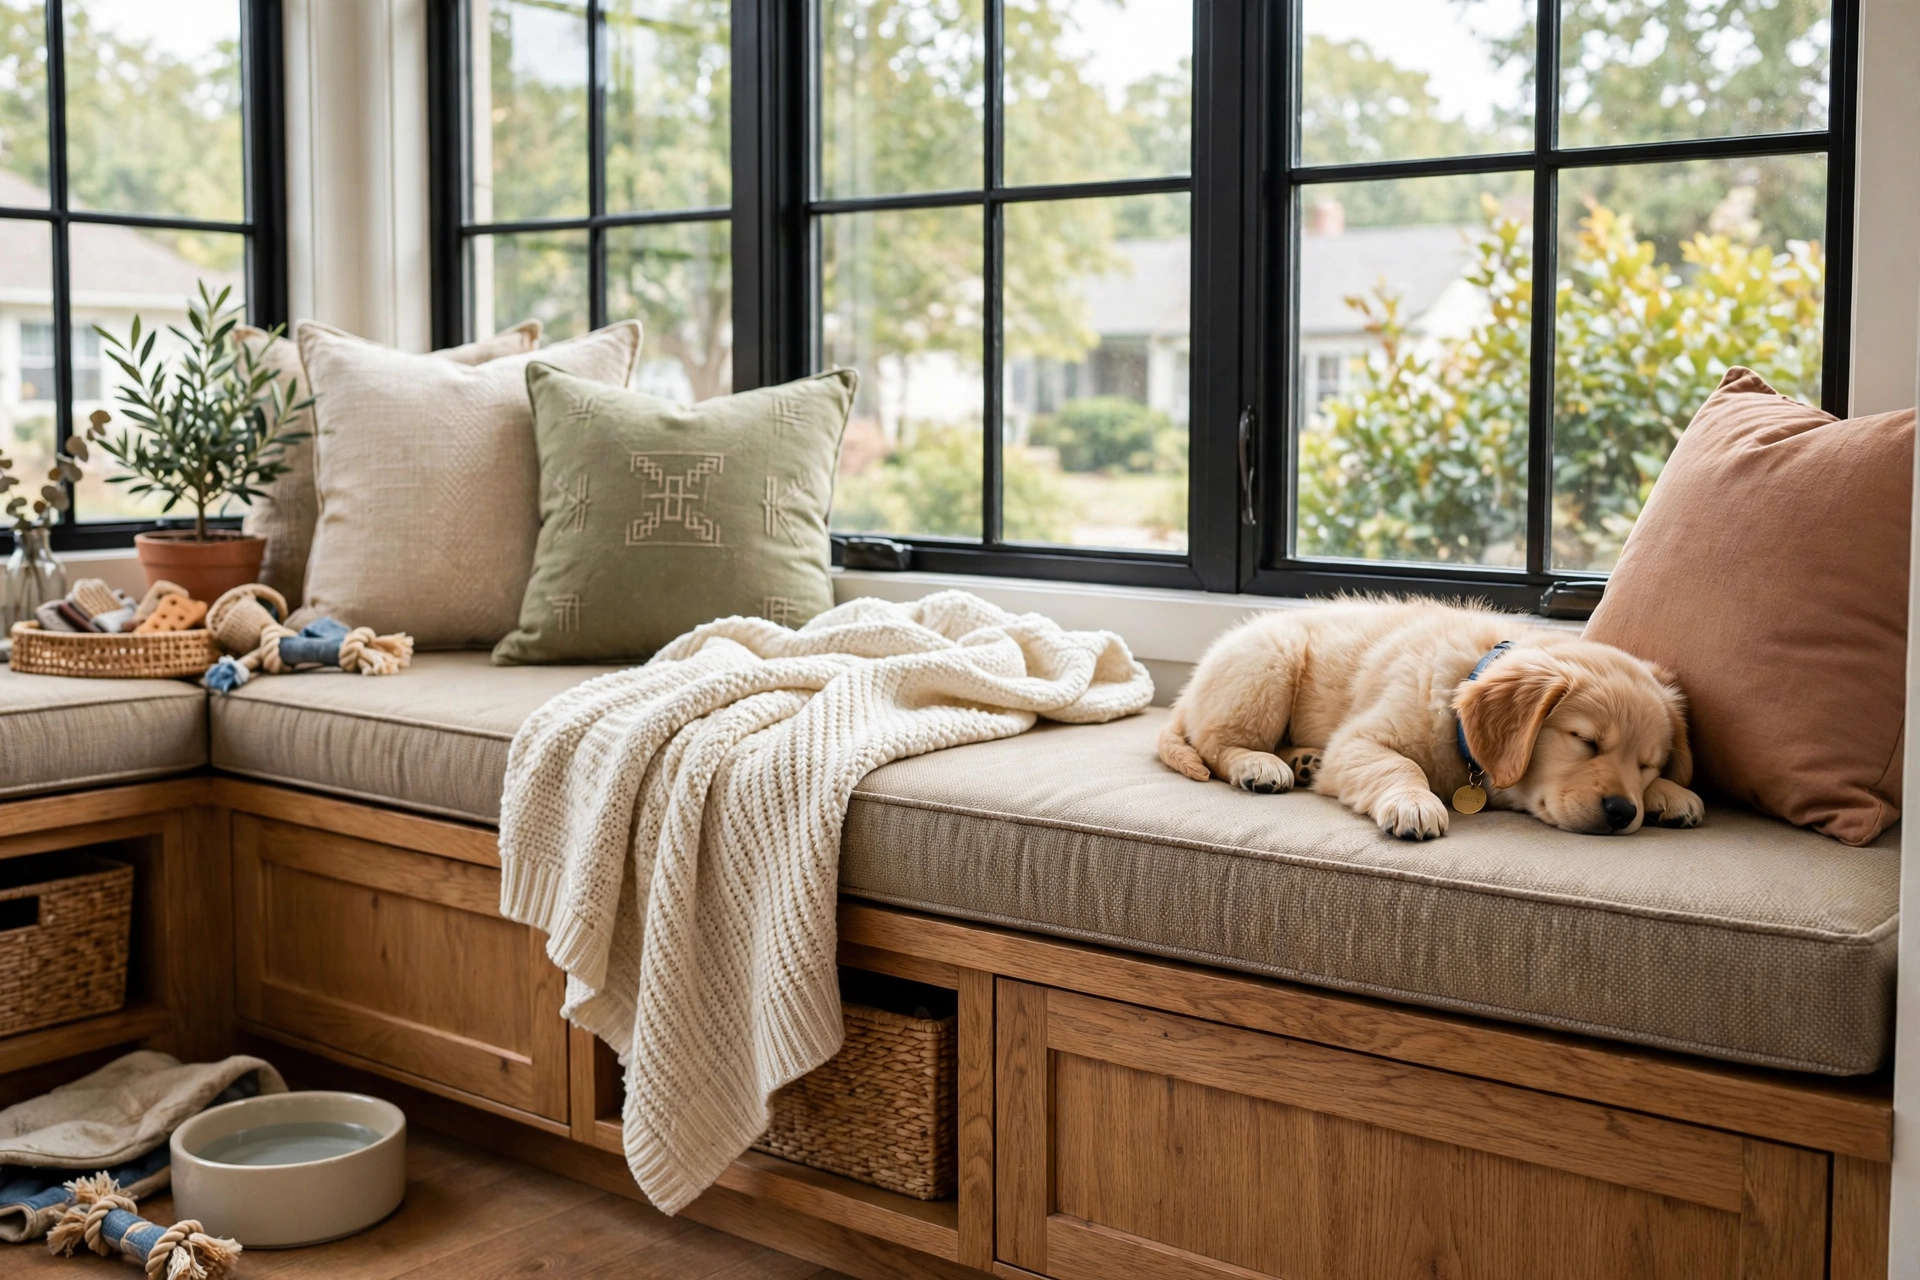
If the dog has already claimed the sunny spot, design around the inevitable. Performance fabrics — the stain-resistant, tightly woven indoor-outdoor textiles — are the window seat’s best friend: they shrug off muddy paws, resist fading in direct sun, and most stains blot out with water. Microfiber is a strong runner-up for its durability and easy cleaning. Avoid loose weaves, bouclé, and anything with loops that claws can catch and pull.
A washable throw layered over the main cushion does double duty: it protects the cushion from the daily nap rotation and washes in minutes. Choose a cushion foam on the firmer side so it does not permanently dent under a sleeping pet’s favorite spot, and skip light solid colors unless you enjoy the archaeology of pet hair — a subtle pattern or mid-tone texture hides everything. A dedicated pet blanket in a color that matches the room keeps the seat looking styled even when it is very clearly the cat’s property.
12. Adapt for Small Windows
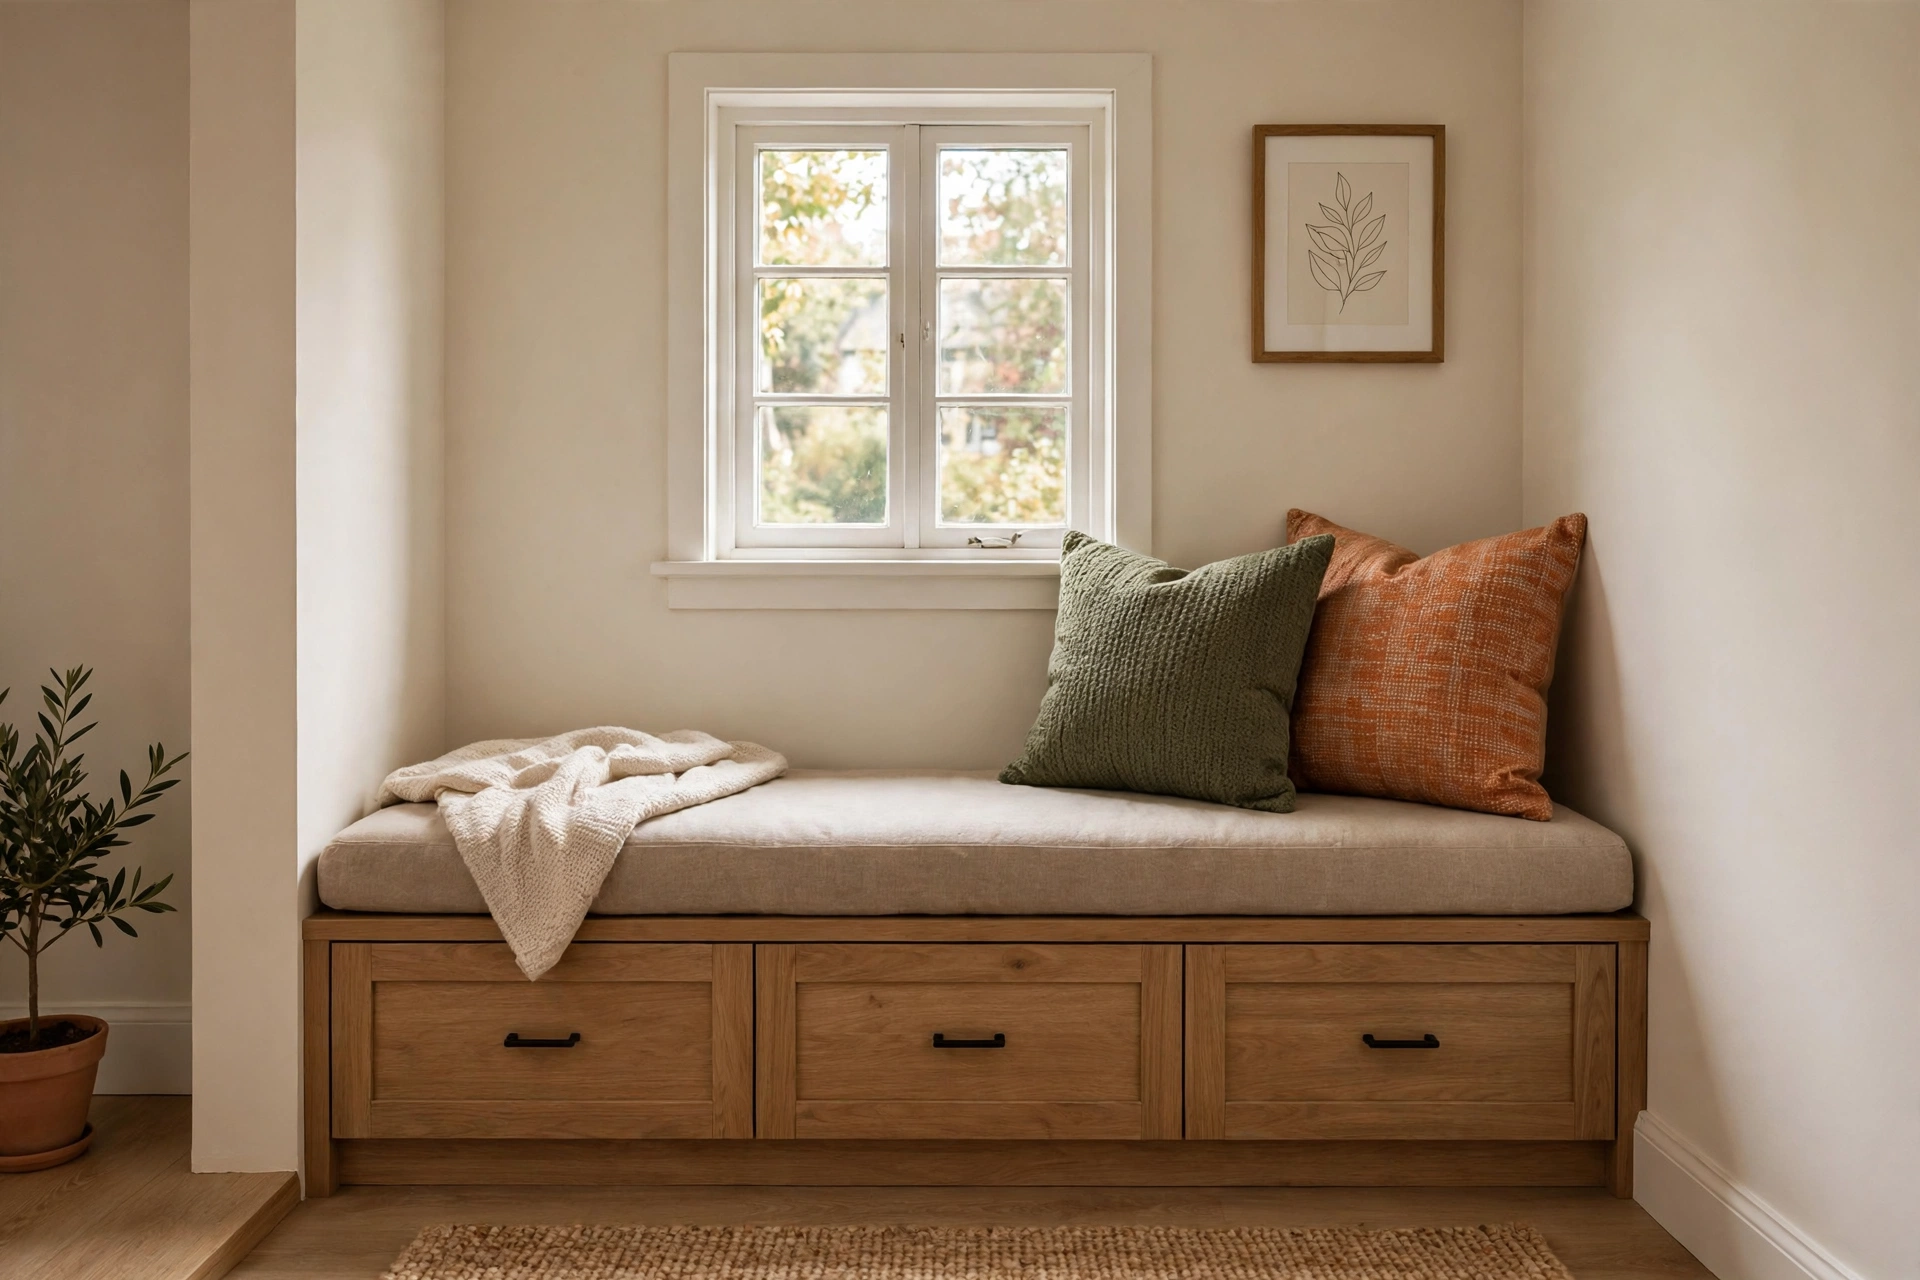
No bay window? No problem. A single casement or double-hung window can still carry a built-in seat — you just scale the ambition. Build a low bench that runs the width of the window plus a foot or two on each side; extending slightly beyond the trim makes the window feel bigger and gives you bonus seating. A depth of 18 inches works beautifully under a standard window, and drawers in the base keep the small-scale version just as functional as its bay-window cousin.
For truly tight walls, consider a floating bench: a thick wood slab mounted on hidden steel brackets reads as a built-in while keeping the floor visible, which makes a small living room feel larger. You lose the hidden storage of a full box base, but you gain airiness — a fair trade in a compact space. Another smart small-window play is running a low bookcase bench wall-to-wall beneath the window and beyond it, turning the whole wall into storage seating. Small windows reward simplicity: one great cushion, a few pillows, and clean lines beat fussy detailing every time.
13. Nail the Paint and Finish Choices
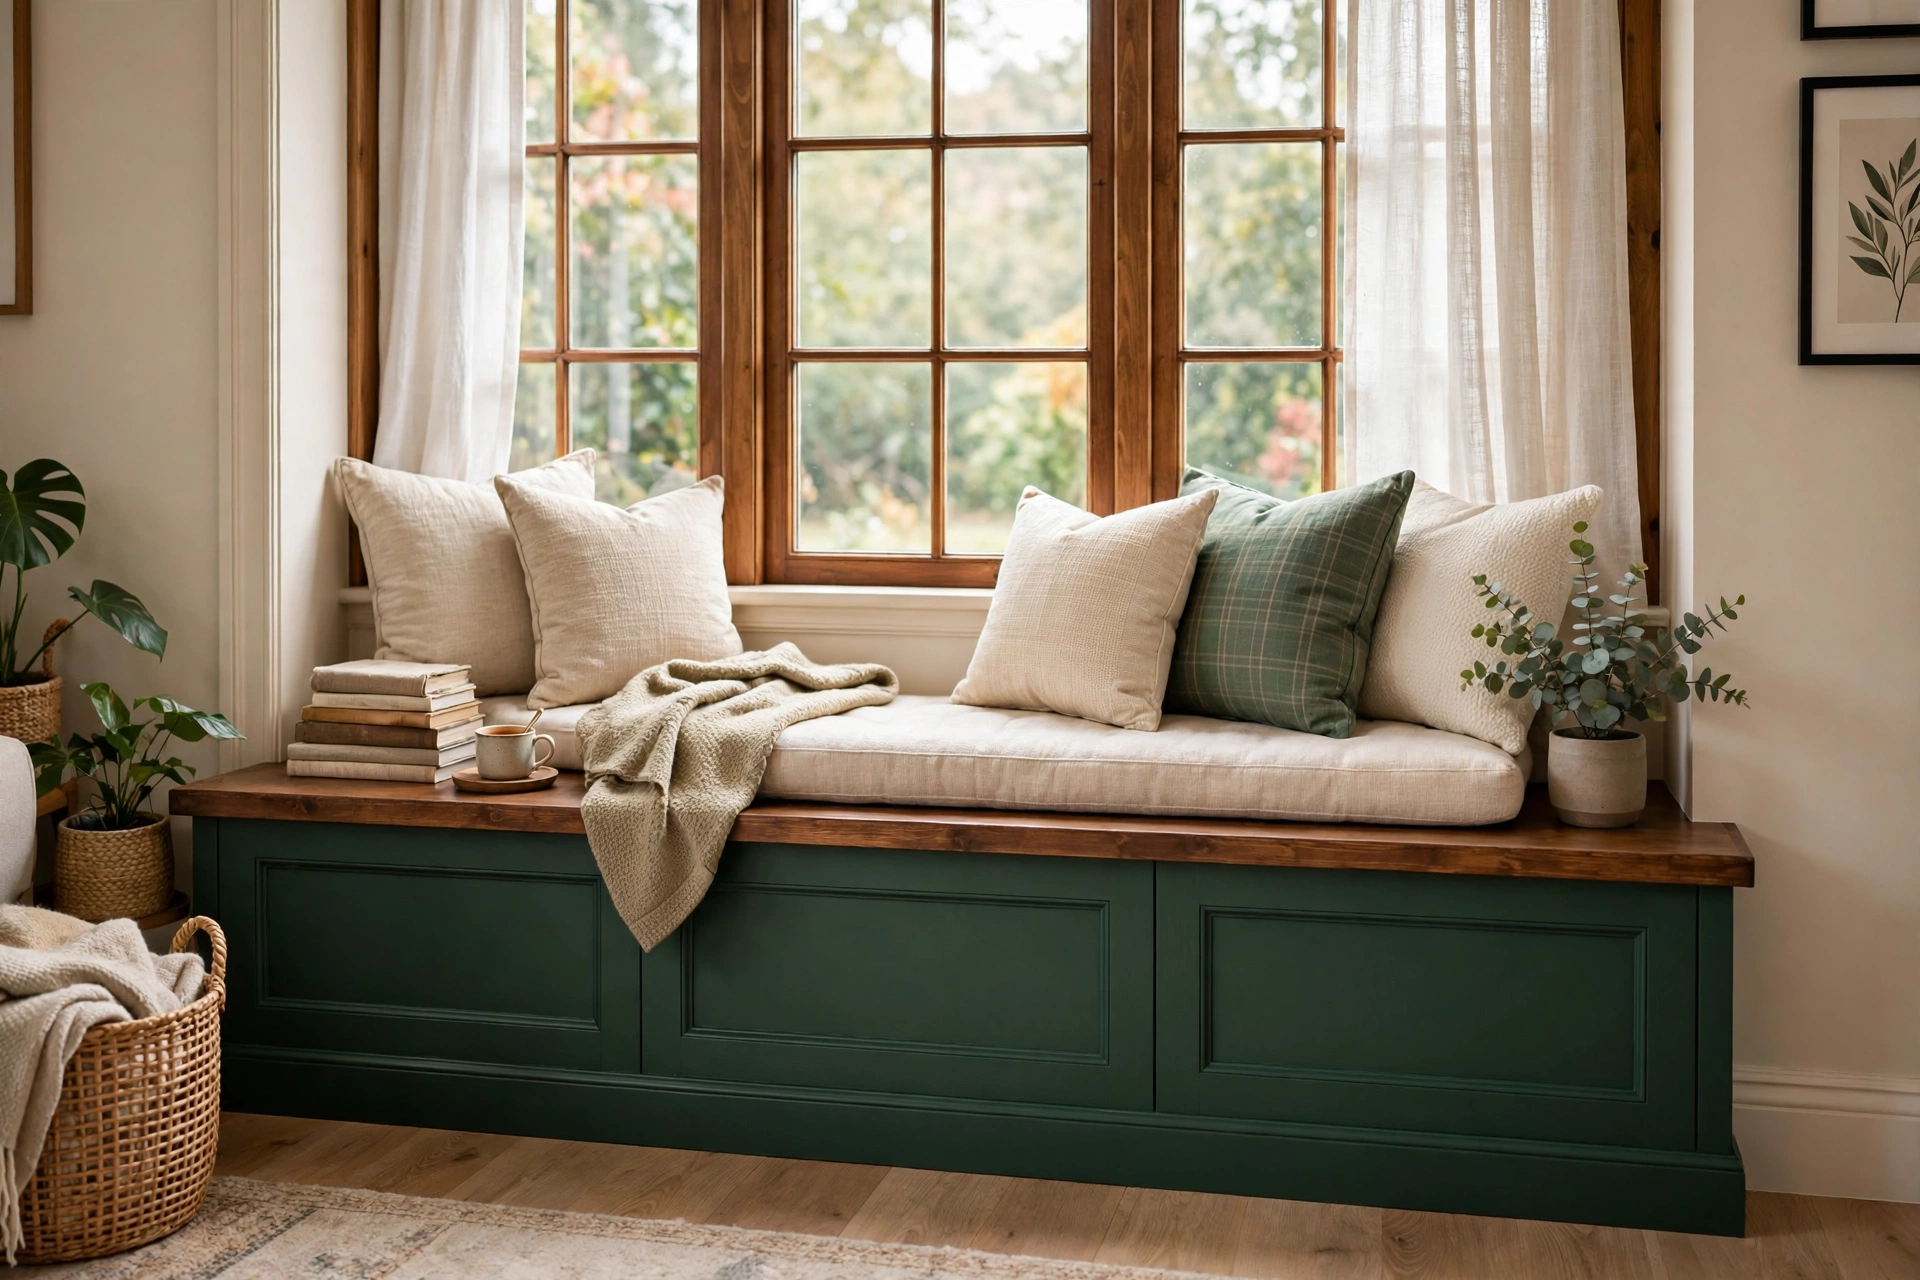
The finish is what separates “box under a window” from “custom millwork.” The safest and most timeless choice is painting the seat base the exact same color as your window trim and baseboards — usually a crisp white or warm off-white — so the whole thing reads as original architecture. Semi-gloss or satin sheen is the practical pick: it wipes clean, resists scuffs from shoes and pet claws, and reflects a little light into the bay.
Feeling bolder? Painting the seat, flanking shelves, and trim in one deep accent color — forest green, inky navy, warm charcoal — creates a jewel-box moment that anchors the entire living room. Dark colors also hide scuffs better than white. If you prefer wood, a stained hardwood seat top over a painted base is a classic two-tone move: the warm wood top is comfortable against legs, ages beautifully, and contrasts nicely with painted cabinetry below. Whatever you choose, use a proper primer on raw MDF or plywood first, or the finish will look thirsty within a year.
14. Measure and Plan Before You Build

Every great window seat starts with a tape measure and a sketch, not a saw. Record the full width of the window area at the sill, at the seat height, and at the floor — older homes are rarely square, and bays can vary by an inch or more from top to bottom. Note every obstacle: baseboards that need removing or notching around, heating vents that must be extended through the toekick, electrical outlets you want to keep accessible, and window cranks or inward-opening sashes that need clearance above the seat.
Then do a reality check with cardboard or painter’s tape: mock up the seat footprint on the floor and live with it for a day. Can you still open the windows? Do the curtains clear the front edge? Does the seat crowd the sofa? This one step prevents the most common regret — a seat built so deep it blocks the radiator or so tall it collides with the window hardware. Plan the storage layout on paper too, marking which compartments get drawers (daily access) and which get lids (seasonal), before the first board is cut.
15. Style It By Season

A window seat is one of the easiest places in the house to rotate with the calendar, because the change is contained to one bench. In spring, swap in light linen pillows and a fresh green throw; summer calls for breezy cottons and maybe a woven basket of magazines on the seat end. Come fall, bring out the chunky knits, a plaid wool throw, and a small pumpkin or two on the ledge behind the cushions — the seat becomes the room’s autumn postcard.
Winter is the window seat’s championship season: layer a faux-fur throw over the cushions, add a candle-safe lantern or string lights along the flanking shelves, and keep a dedicated blanket basket in one of the storage compartments. Designers have long used window seats as seasonal display spots, and roundups like The Spruce’s window seat ideas are full of examples of seats dressed for the moment. The trick is keeping the base neutral — cushion, shelves, and paint stay constant — and letting pillows, throws, and small objects do the seasonal talking. Two storage baskets, one per season’s textiles, make the swap a ten-minute job.
Frequently Asked Questions
How deep should a living room window seat be?
Aim for 16 to 20 inches of seat depth, measured from the window to the front edge, which suits most adults for comfortable sitting. If your bay is deep enough, 22 to 24 inches turns the seat into a true lounging spot you can curl up on. Leave a few inches of ledge behind the cushion for plants or a drink, and make sure inward-opening windows or cranks still clear the seat before you finalize the depth.
What is the best storage style for a window seat with kids or heavy daily use?
Drawers win for daily use because you can access them without lifting the cushions — ideal for blankets, remotes, and toys you reach for constantly. A hinged lid gives you the most cubic storage for the money and suits seasonal or bulky items, but add soft-close hinges so it cannot slam. Many families do both: drawers on the ends for everyday gear and a lidded cavern in the middle for overflow.
How much does a built-in window seat cost?
A DIY build using stock base cabinets and plywood typically runs a few hundred dollars in materials plus a weekend of labor. A carpenter-built custom seat with drawers and finished millwork generally starts around $1,500 to $2,500 and climbs with size, wood species, and extras like flanking bookcases. Custom cushions add $200 to $600 depending on foam quality and fabric. Painting it to match your trim is the single cheapest way to make any budget build look expensive.
Can I build a window seat if my windows open inward?
Yes, but plan the clearance carefully. Casement windows that crank inward need the seat low enough — or set back far enough — that the open sash clears the cushion and anyone sitting there. Measure the full swing of the window before finalizing seat height and depth. If the swing eats too much space, consider a shallower seat with a back ledge, or switch to a floating bench that leaves room beneath the swing path.
How do I keep the window seat cushion from sliding around?
A single bench cushion cut to the exact footprint of the seat slides far less than multiple loose pads. Add non-slip rug pad material or strips of hook-and-loop tape between the cushion and the seat board for extra grip. For lidded storage seats, a fitted cushion with a slightly snug fit stays put even when the lid opens. Avoid slick fabrics on the cushion underside — a cotton duck or canvas backing grips better than satin.
Keep Exploring
A built-in window seat is one of those projects that pays you back every single day — in storage you did not know you had, in the sunniest chair in the house, and in a living room that finally feels finished around its windows. Start with the measurements, choose your storage style, and build the cushion right; the styling is the fun part that never really ends.



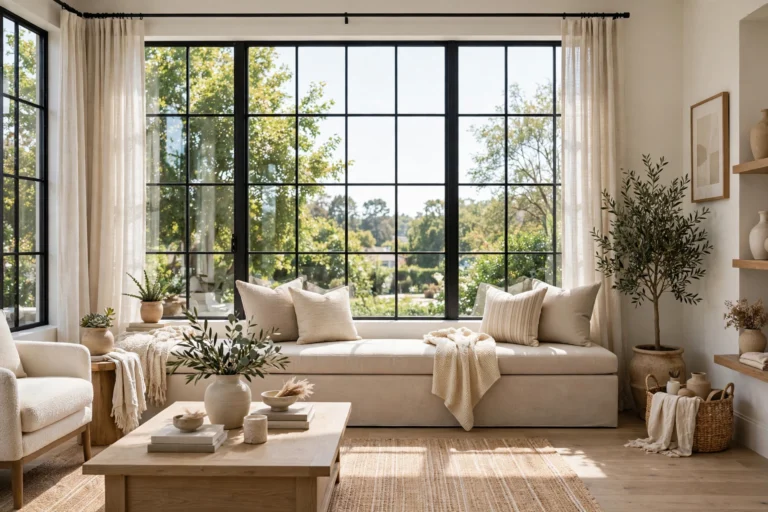




[…] in one move. Paint it the wall color for a built-in look, or contrast it for a furniture feel. Our living room window seat ideas with cozy storage go deeper on this […]