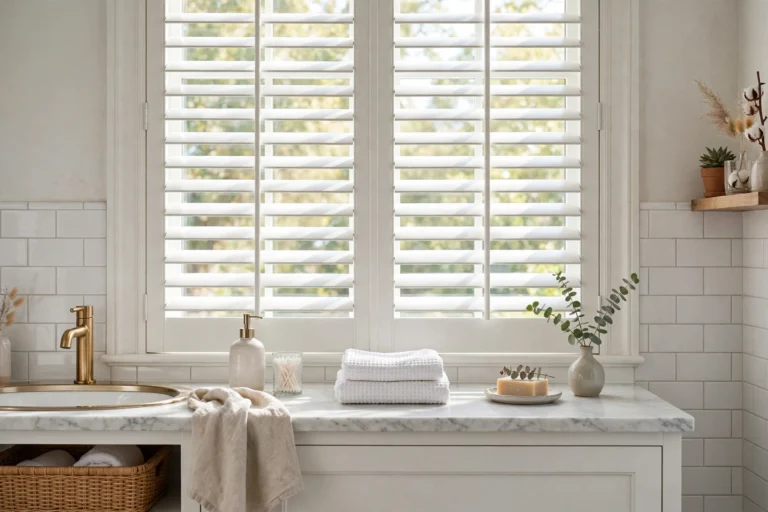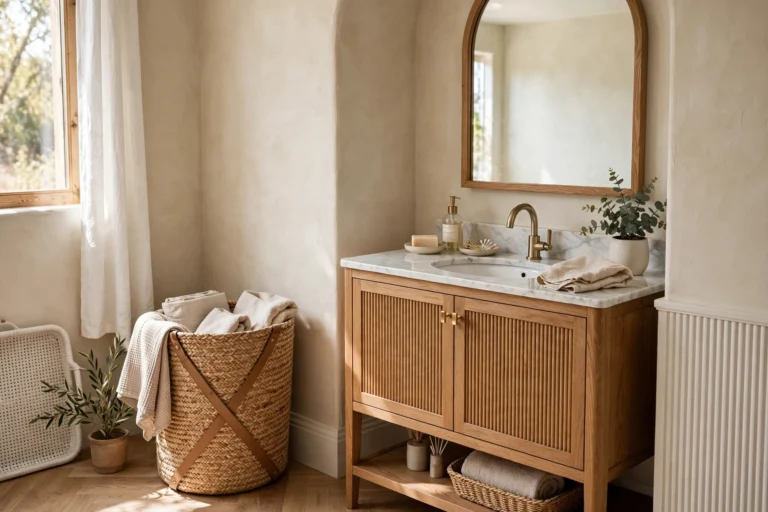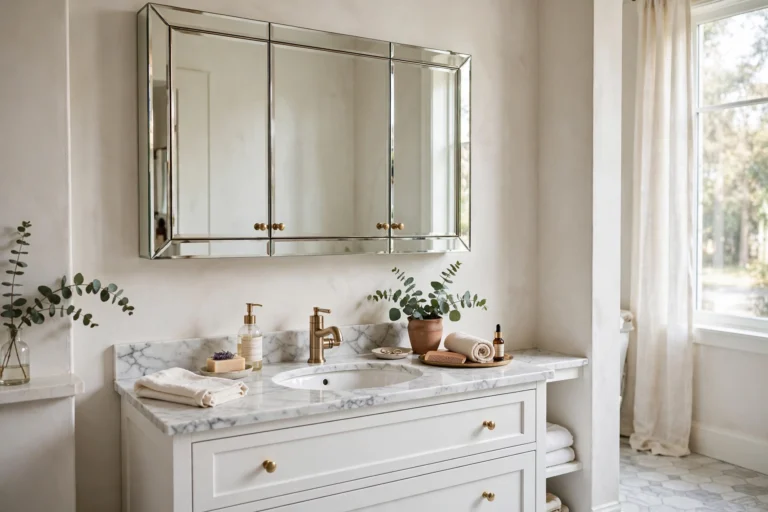

Few wall treatments bring the warmth of a country cottage into a bathroom quite like shiplap. Those long, horizontal boards with their slim shadow-line reveals create instant texture and a sense of history — the kind of character that flat drywall simply cannot deliver. Whether you live in a farmhouse or a city apartment, these bathroom shiplap ideas prove the look works in spaces of every size and budget.
One important distinction before you start: real shiplap is made of overlapping horizontal boards with a rabbet joint, which is different from wainscoting, the trim-based lower-wall treatment. In a wet room, material choice and moisture protection matter as much as the look. All 15 ideas below include practical guidance on materials, installation details, and keeping your shiplap beautiful for years in a humid bathroom.
1. Classic White Shiplap Accent Wall
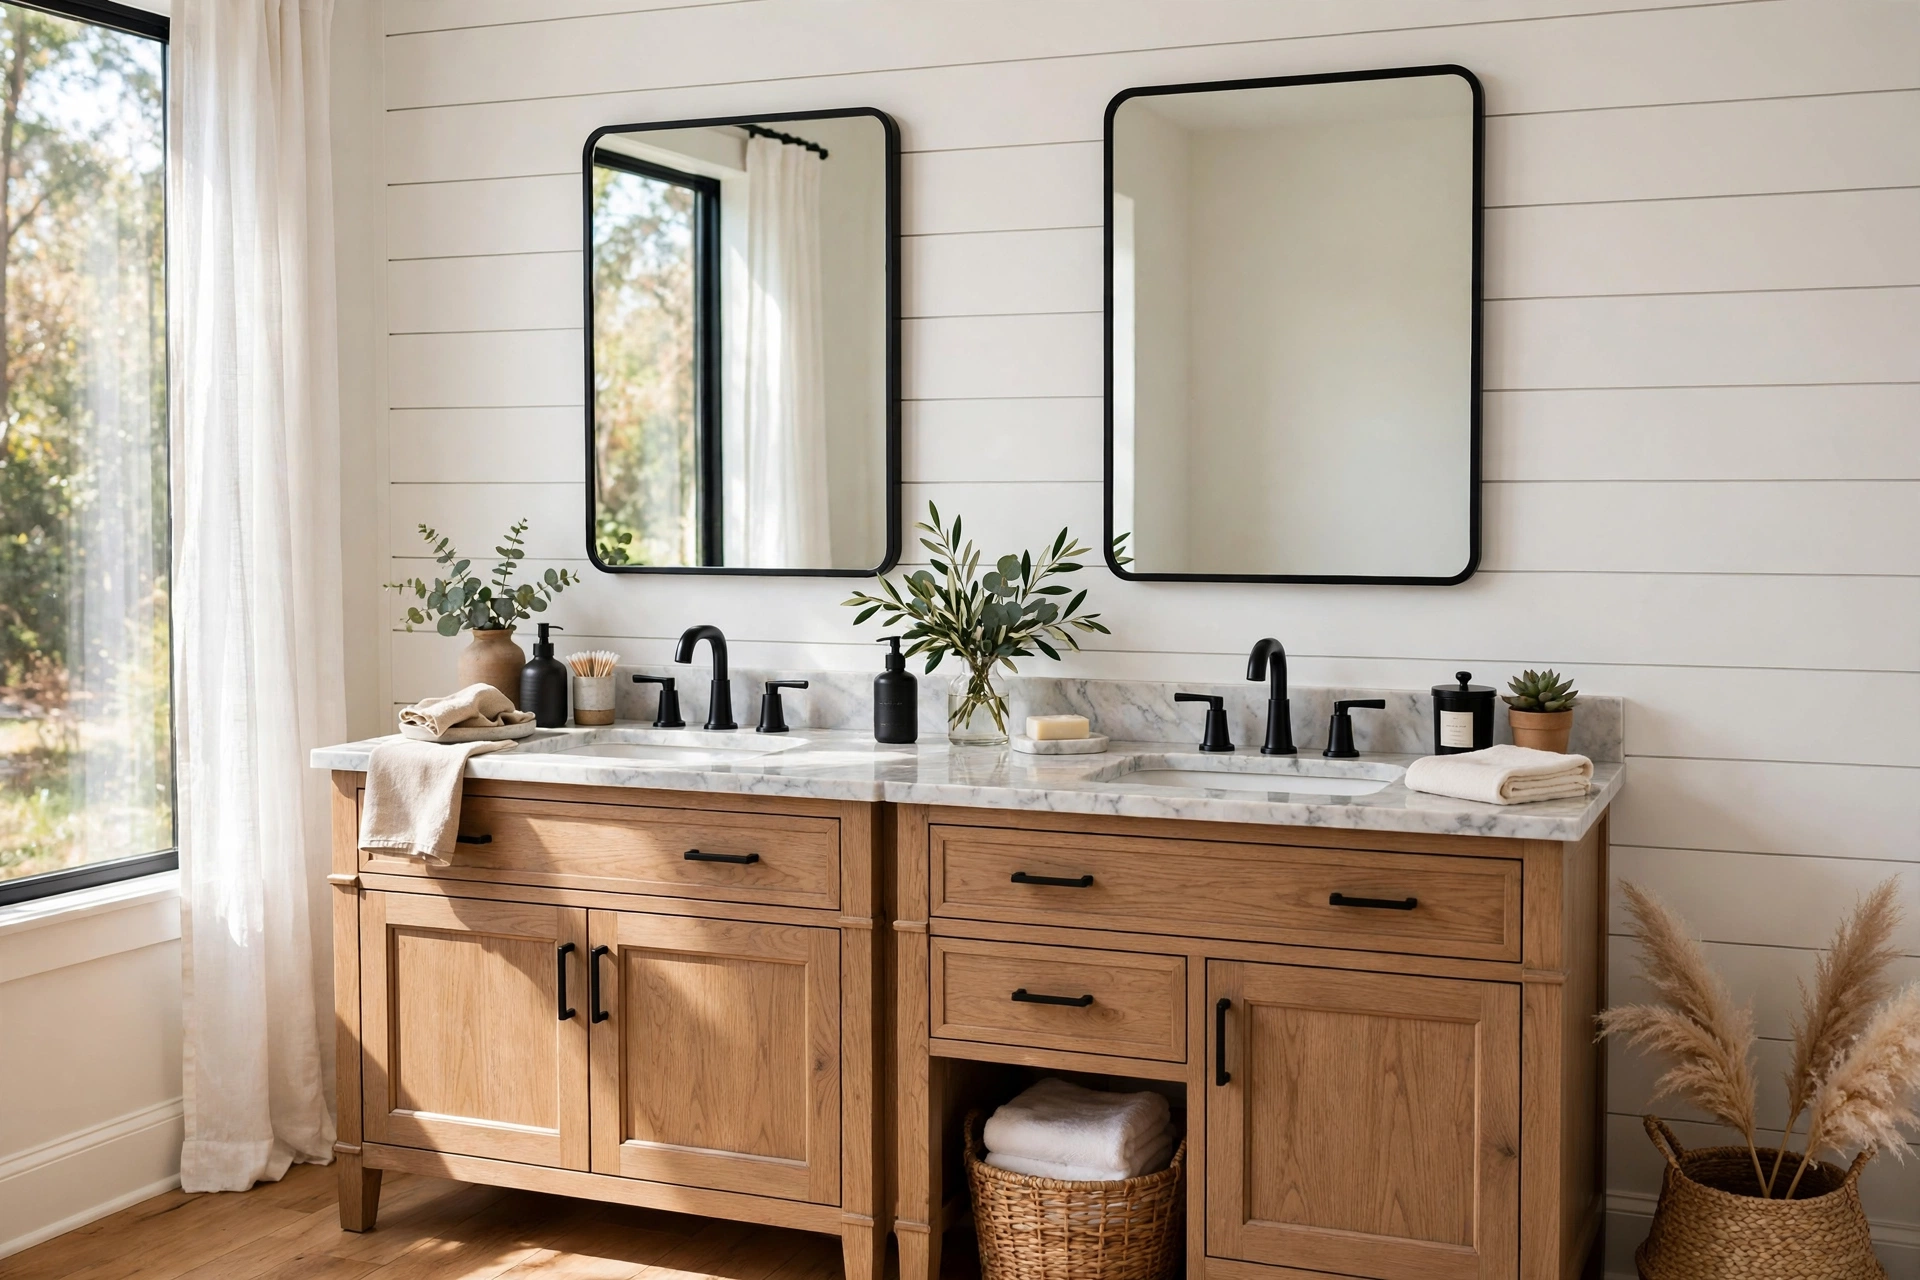
A white shiplap accent wall is the most forgiving place to start, and it instantly brightens a windowless bathroom. Choose moisture-rated MDF or PVC shiplap boards — standard raw pine will warp near a shower, but PVC boards look identical once painted and never absorb moisture. Standard board width is 5.5 inches of exposed face with a 1/8-inch reveal, which gives you roughly 22 courses on an 8-foot wall.
Install horizontally behind the vanity or the tub, starting with a level line at the top and working down. Leave a 1/4-inch expansion gap at the ceiling and floor, then hide both with trim. Paint with two coats of satin or semi-gloss bathroom paint containing a mildewcide, such as Benjamin Moore Aura Bath & Spa or Behr Premium Plus Kitchen & Bath. Semi-gloss bounces light around the room and wipes clean easily.
For a quick style win, paint the shiplap a crisp white like Sherwin-Williams Pure White and let your fixtures and a patterned floor tile supply the contrast. The result reads clean and coastal rather than rustic — perfect if you want texture without heaviness.
2. Whitewashed Natural Pine Shiplap
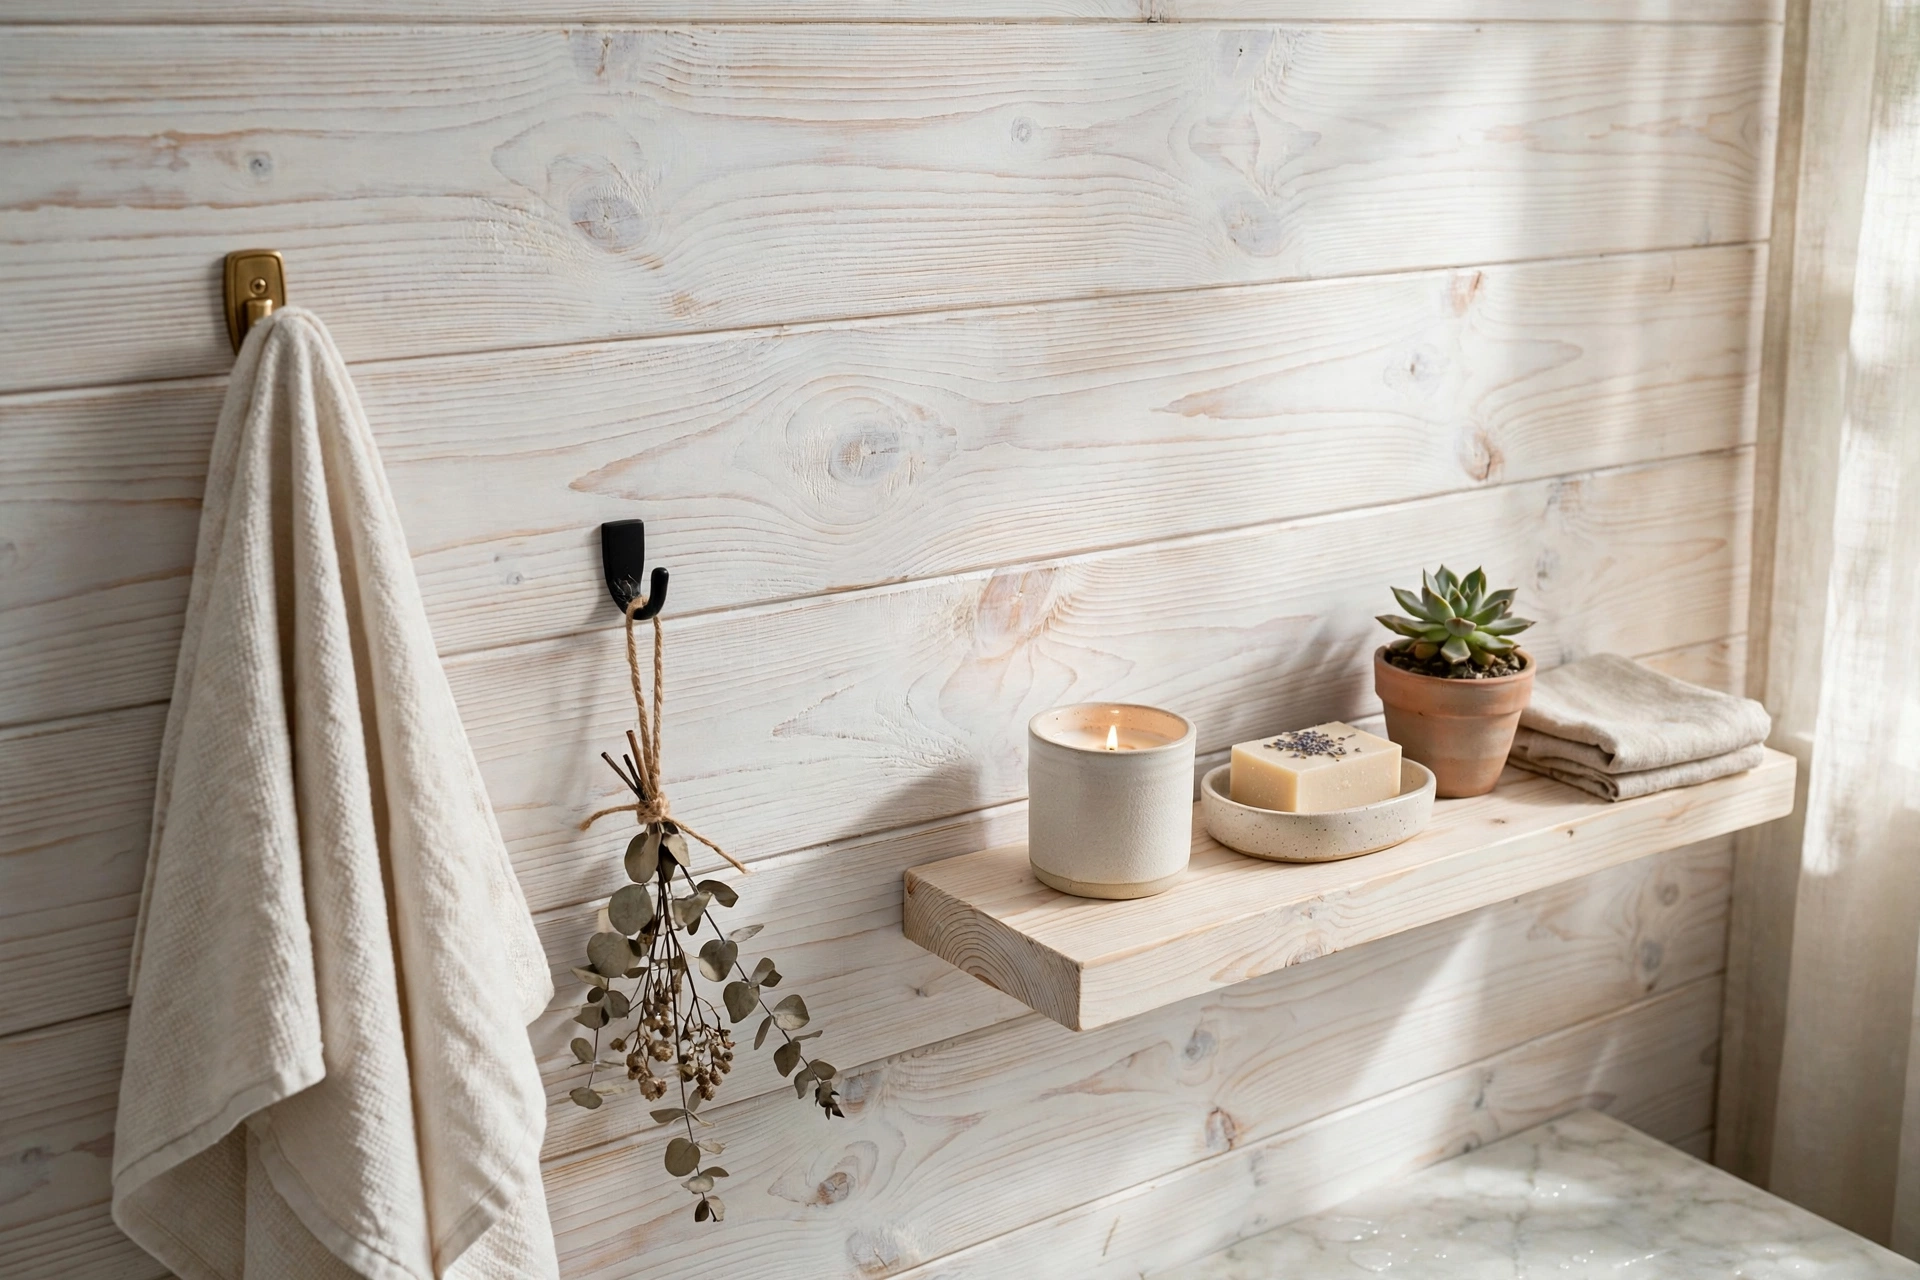
Whitewashing keeps the wood grain visible while muting the orange tones of raw pine, giving you rustic charm with a light, airy feel. Mix white latex paint with water at a 1:1 ratio, brush it on against the grain, then wipe back with a rag until you reach the desired transparency. Two thin coats give more control than one heavy one.
Because pine is a softwood, seal it properly for bathroom use: after the whitewash dries, apply a water-based polyurethane in satin sheen, or paint over it with the diluted wash and finish with a clear exterior-grade sealer. Keep pine shiplap off the walls inside a shower enclosure itself, where even sealed wood stays perpetually damp. For more guidance on choosing finishes that survive humidity, see these bathroom paint design ideas.
Whitewashed pine pairs beautifully with black matte faucets and a live-edge wood mirror frame. The contrast between the pale, ghosted grain and dark hardware is what gives this look its modern-farmhouse polish.
3. Shiplap Ceiling for Cozy Height
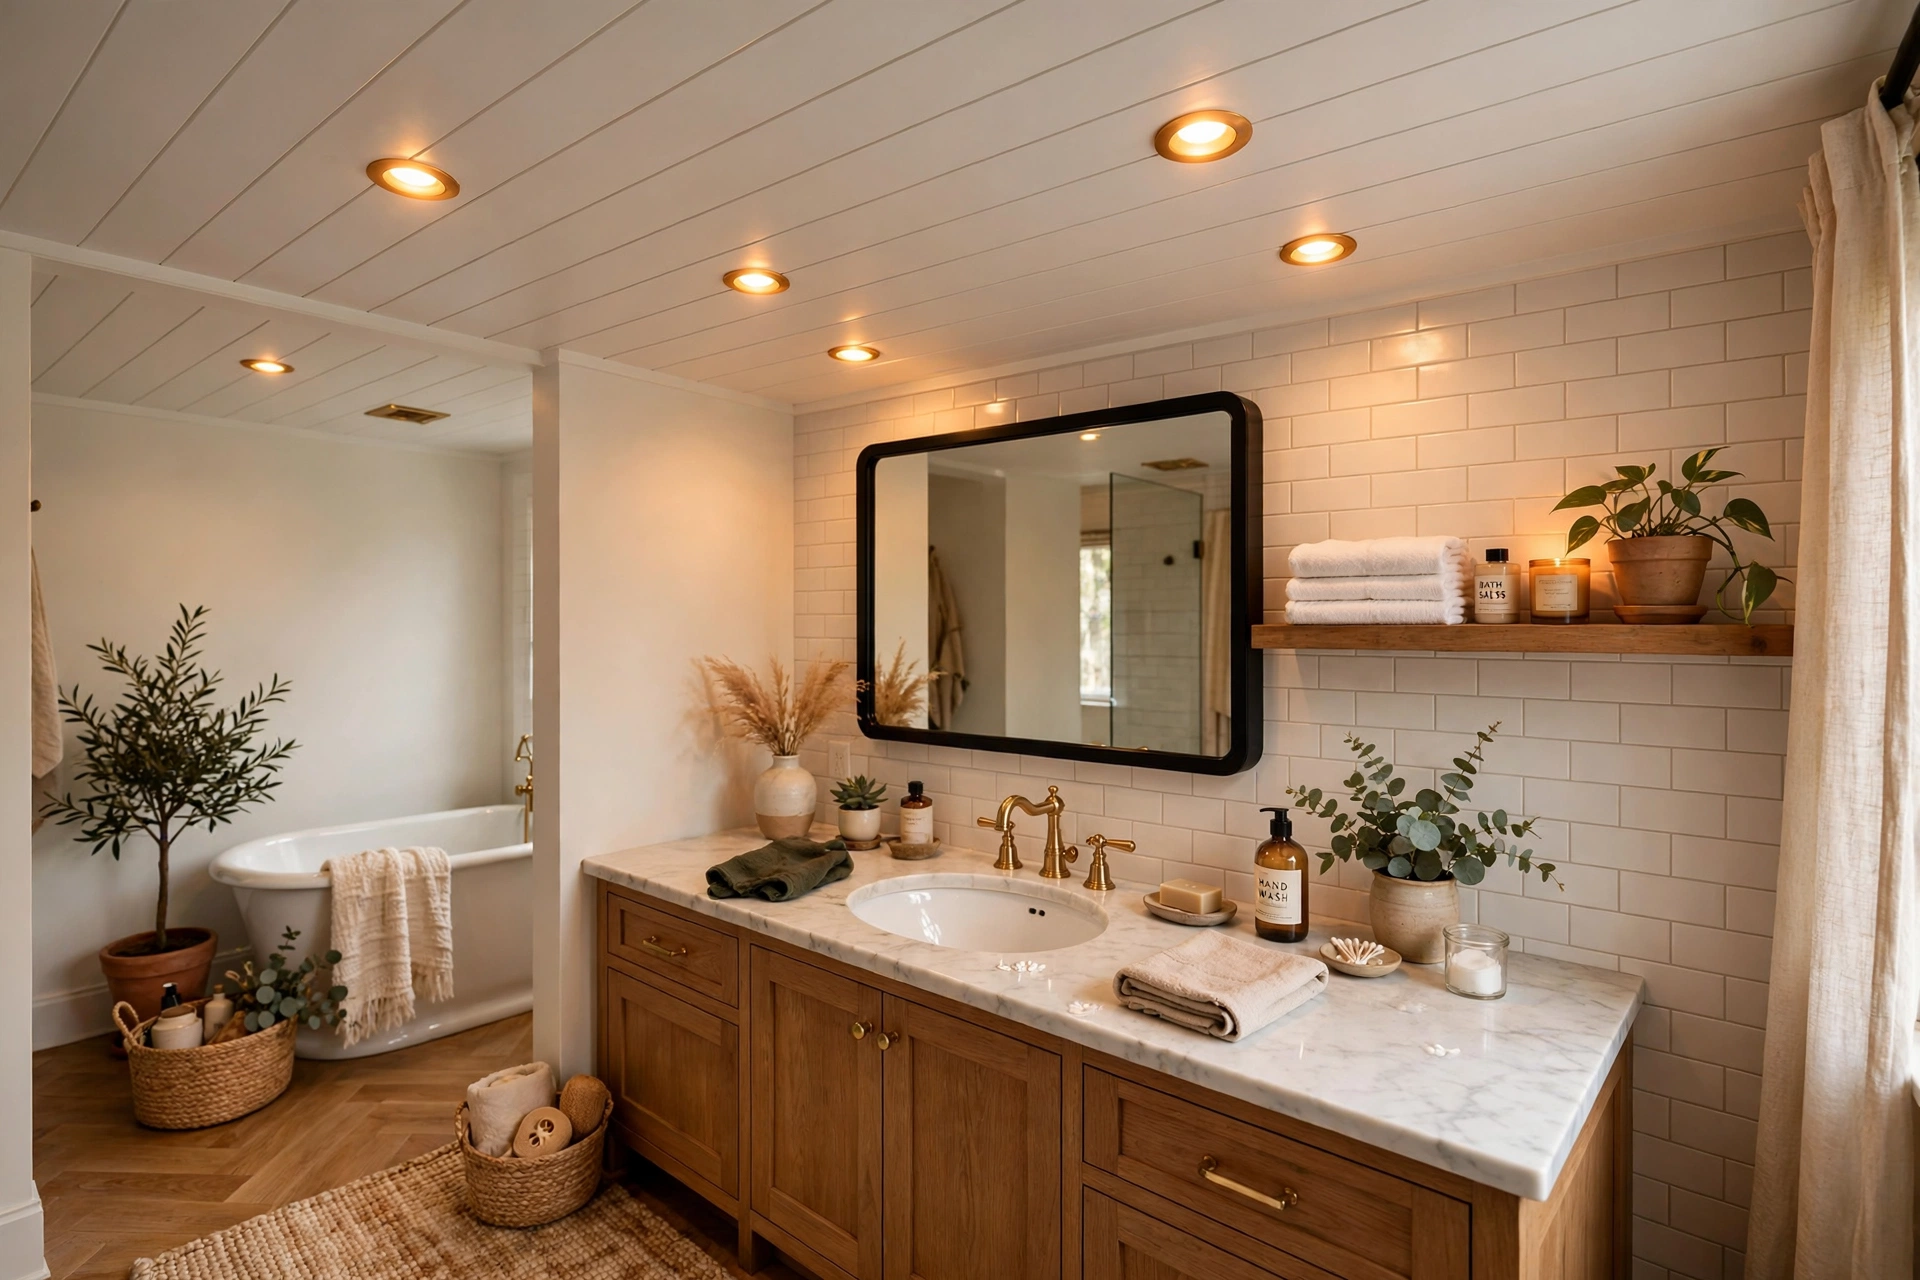
Installing shiplap on the ceiling draws the eye upward and makes a standard 8-foot bathroom feel intentional rather than plain. Ceiling installation uses the same boards as walls, but nail into ceiling joists — use a stud finder and mark joist lines with painter’s tape across the ceiling before you begin. A brad nailer with 2-inch 18-gauge nails is the standard tool.
Run boards perpendicular to the joists so every board crosses solid framing. In bathrooms with a vent fan, the added airflow keeps ceiling shiplap happy, but always run the fan during and 20 minutes after every shower. Paint the ceiling boards one shade darker than the walls (a warm greige works well) so the ceiling feels anchored, not blindingly bright.
If your bathroom has sloped or vaulted ceilings, follow the slope with the boards — the rhythm of the lines emphasizes the architecture and makes even a tiny powder room feel taller. Keep a 1/8-inch gap between boards at corners for seasonal movement.
4. Weathered Gray Shiplap Wall
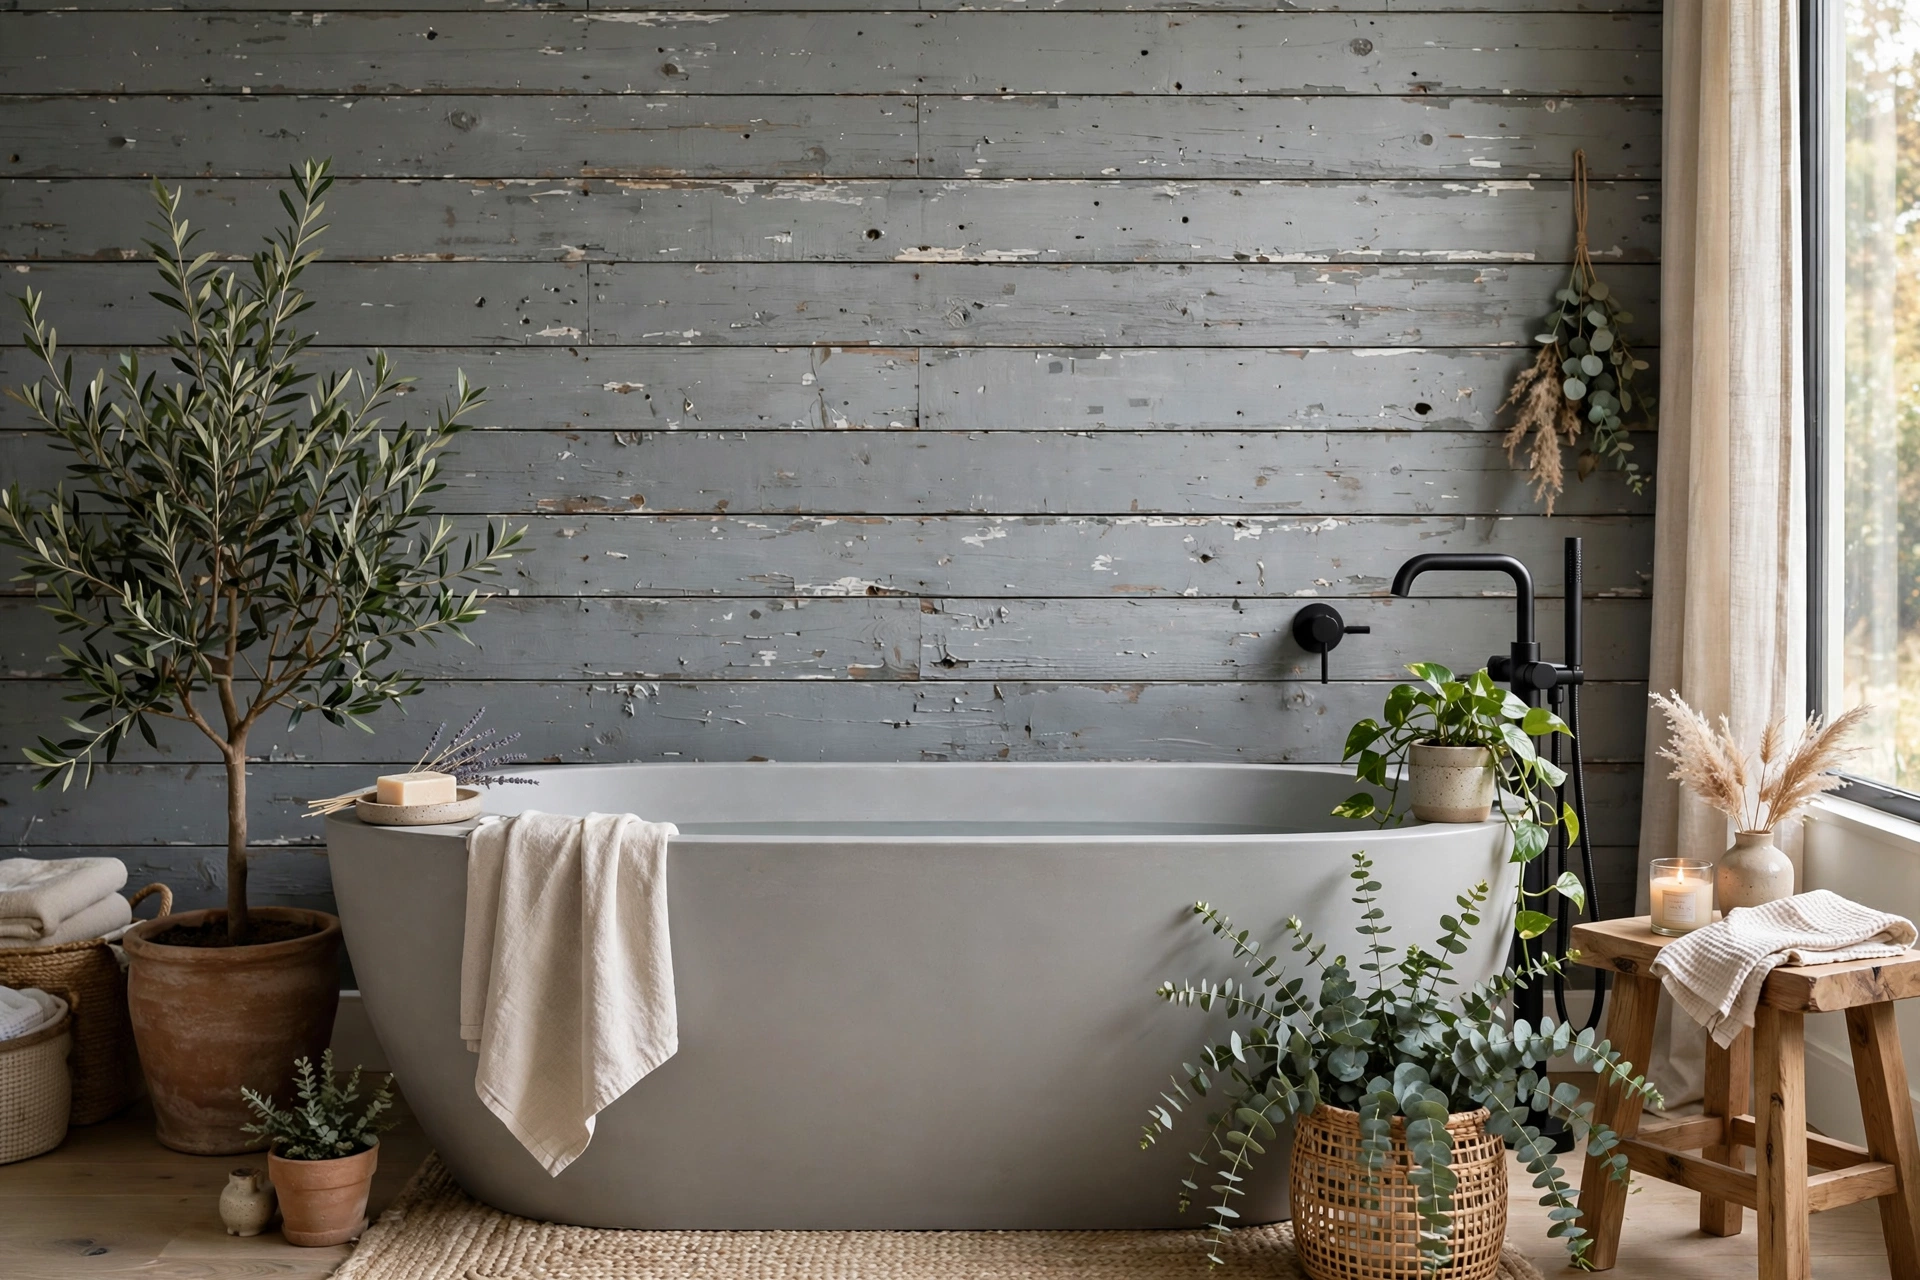
A weathered gray finish gives shiplap a reclaimed-barn feel without requiring actual reclaimed lumber. The easiest method: apply a gray stain such as Varathane Weathered Gray to pine or poplar boards, then lightly sand the edges and faces with 150-grit sandpaper to simulate wear. Stain one board at a time and wipe within 3–5 minutes for even color.
For a true driftwood effect, try a vinegar-and-steel-wool solution left overnight, which reacts with the wood’s tannins to create a natural gray patina. Test on a scrap first — oak and cedar react more strongly than pine. Seal with matte water-based polyurethane so the flat, aged look stays flat.
Weathered gray shiplap looks especially good behind a freestanding soaking tub, flanked by potted greenery. It also hides water spotting better than white shiplap, a practical bonus in a hard-water home.
5. Navy Painted Shiplap
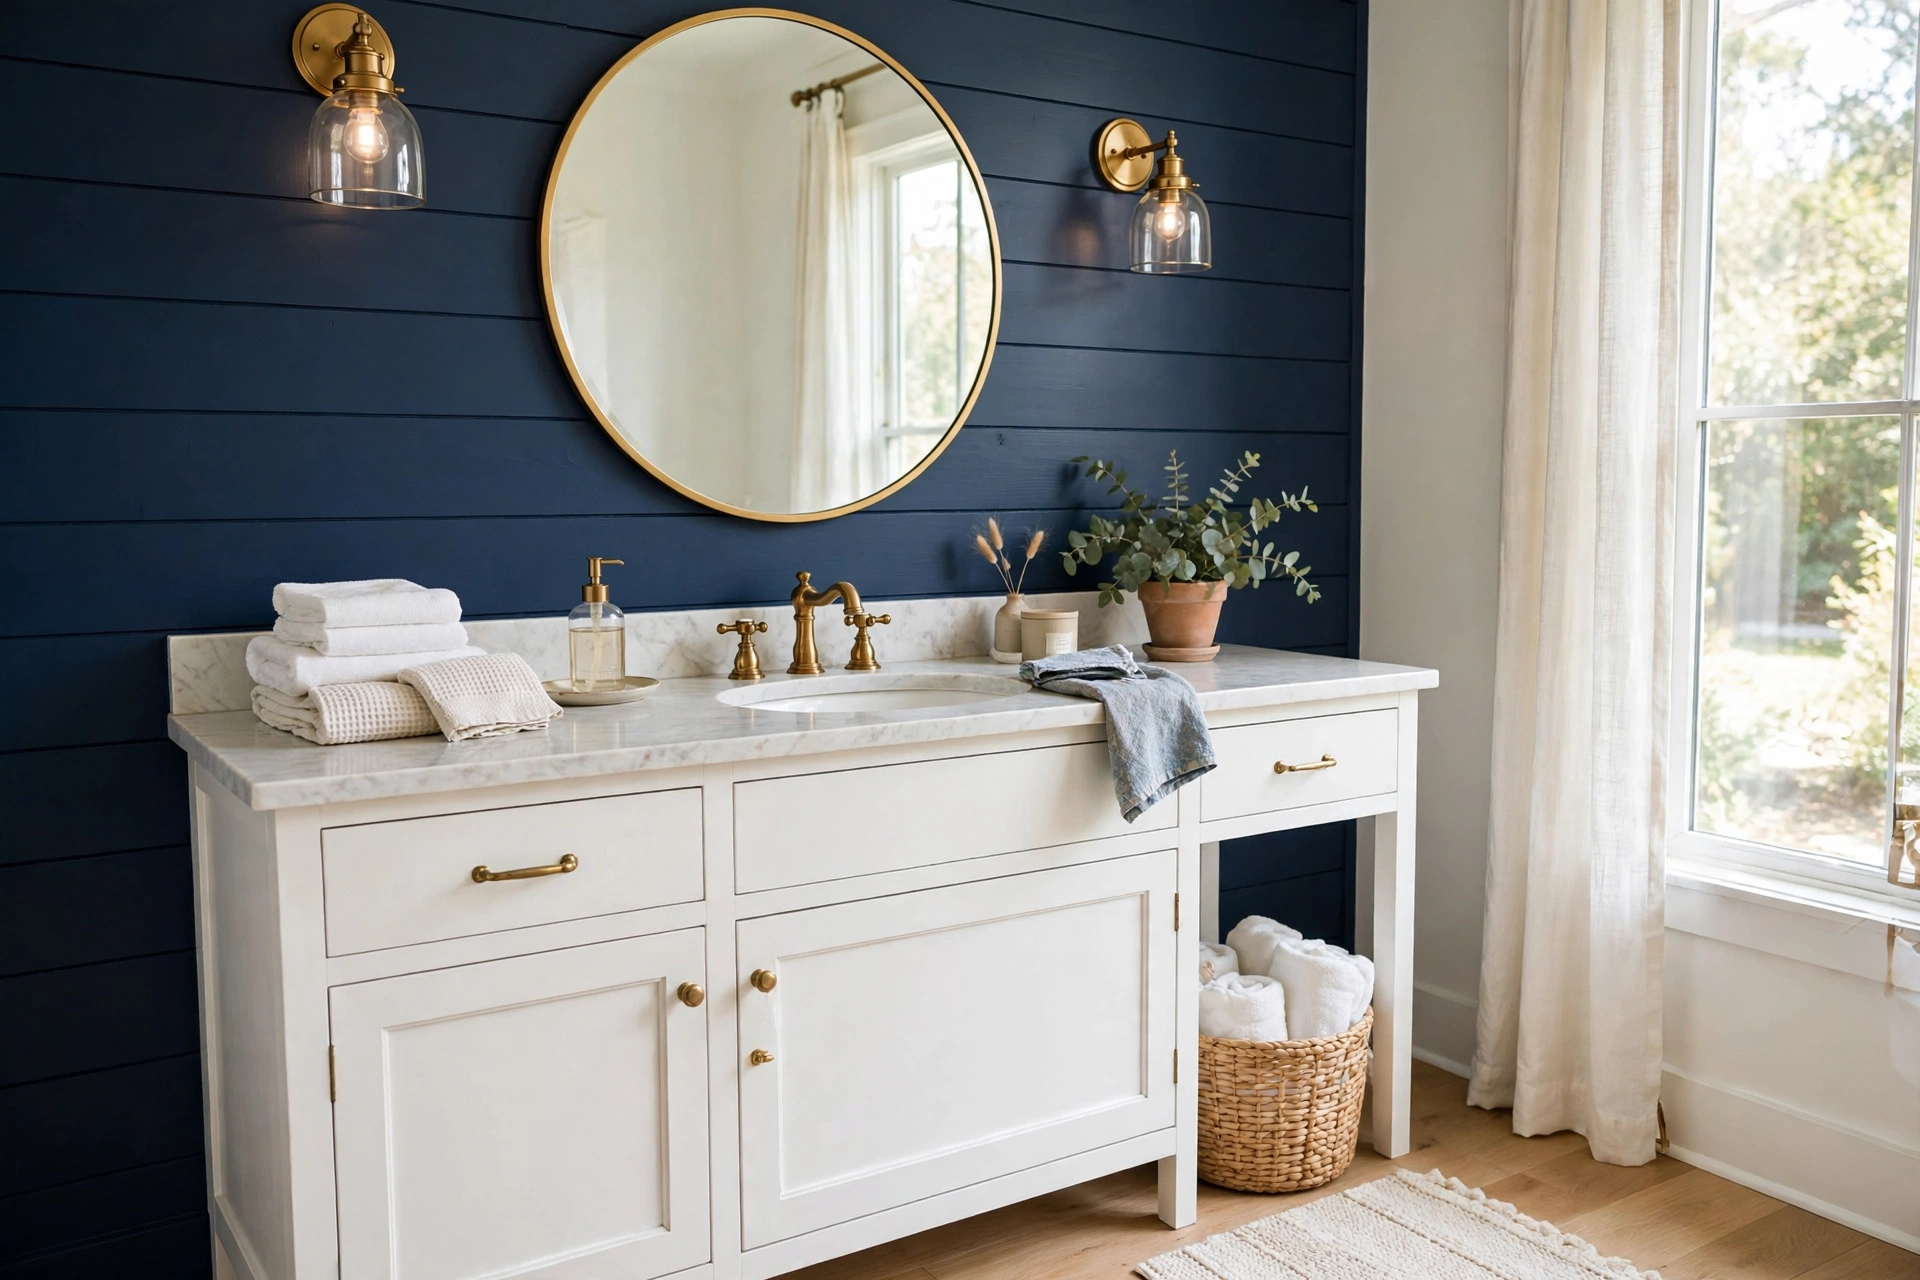
Deep navy shiplap turns a bathroom into a moody, jewel-box retreat. Colors like Benjamin Moore Hale Navy or Farrow & Ball Hague Blue have enough depth to read sophisticated rather than dark, even in a small space. Use them on a single accent wall rather than the whole room so the color feels intentional.
Because dark paint shows every imperfection, caulk every board joint with paintable caulk and fill nail holes with lightweight spackle before your first coat. Two coats of semi-gloss plus a coat of clear sealer on the boards nearest the shower will keep the finish crisp. Brass or gold hardware pops against navy and leans the room toward traditional elegance.
Balance the darkness with a large mirror, bright white towels, and at least one source of warm light at 2700K–3000K. A navy shiplap wall behind a white vanity is one of the most photographed bathroom combinations for a reason — it simply works.
6. Vertical Shiplap for Low Ceilings
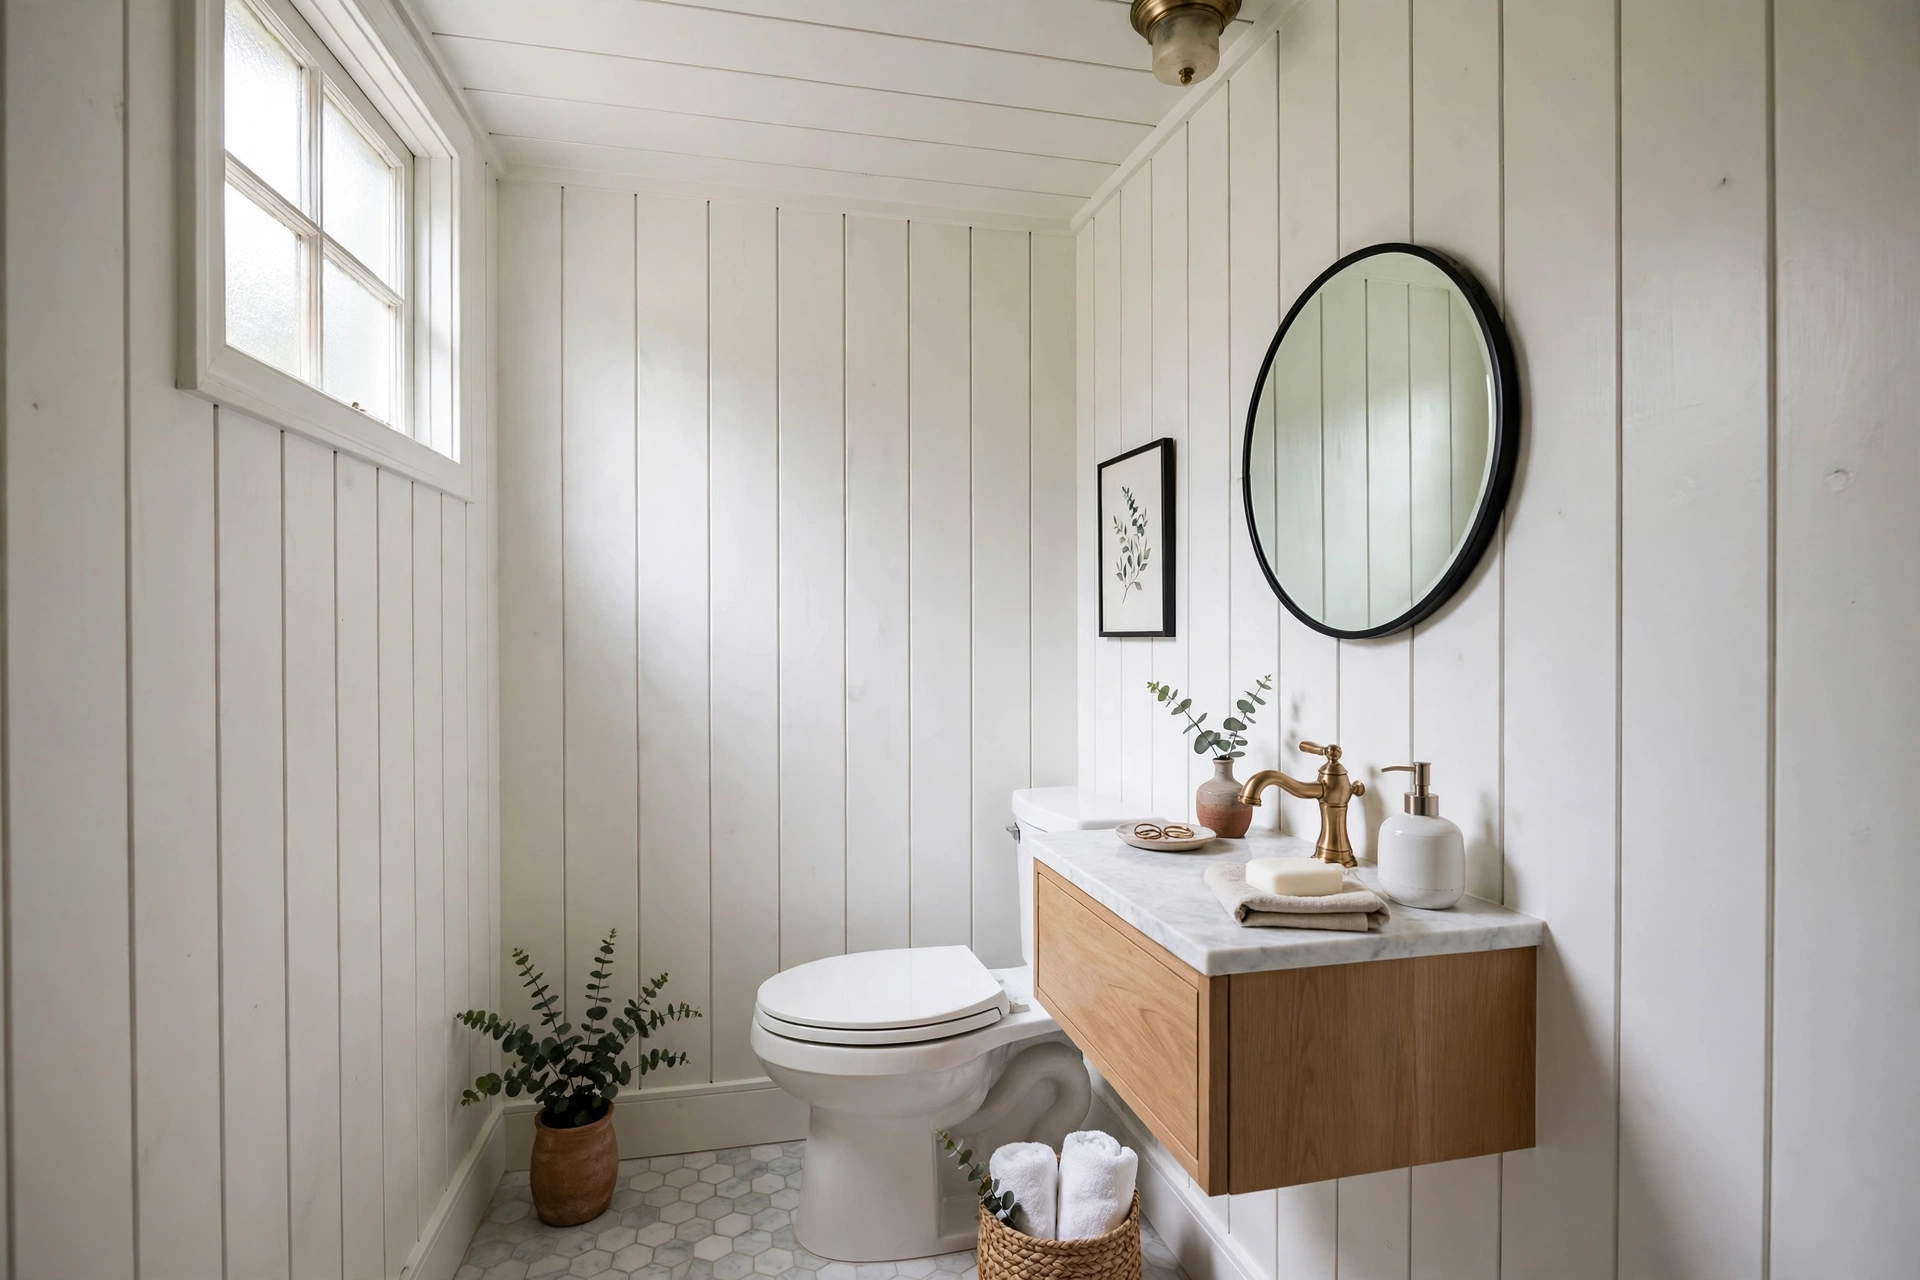
Real shiplap is horizontal by tradition, but running the boards vertically is a legitimate variation that makes low ceilings feel higher. The boards, joints, and installation are identical — only the orientation changes. Vertical boards pull the eye up, adding perceived height to a cramped powder room or a basement bathroom with a 7-foot ceiling.
Installation is slightly trickier: each board needs fastening at the top and bottom plates plus blocking mid-wall, so plan to open up or add horizontal 2×4 blocking between studs at chair-rail height. Alternatively, install 1/2-inch plywood over the studs first and nail anywhere. That plywood backing also adds rigidity in an older home with uneven studs.
Finish vertical shiplap in a soft white or warm cream, and keep the vanity and toilet low-profile so the vertical lines run uninterrupted. This is one of the best bathroom shiplap ideas for small spaces because the visual height gain is immediate.
7. Shiplap Inside a Shower Enclosure (PVC Only)
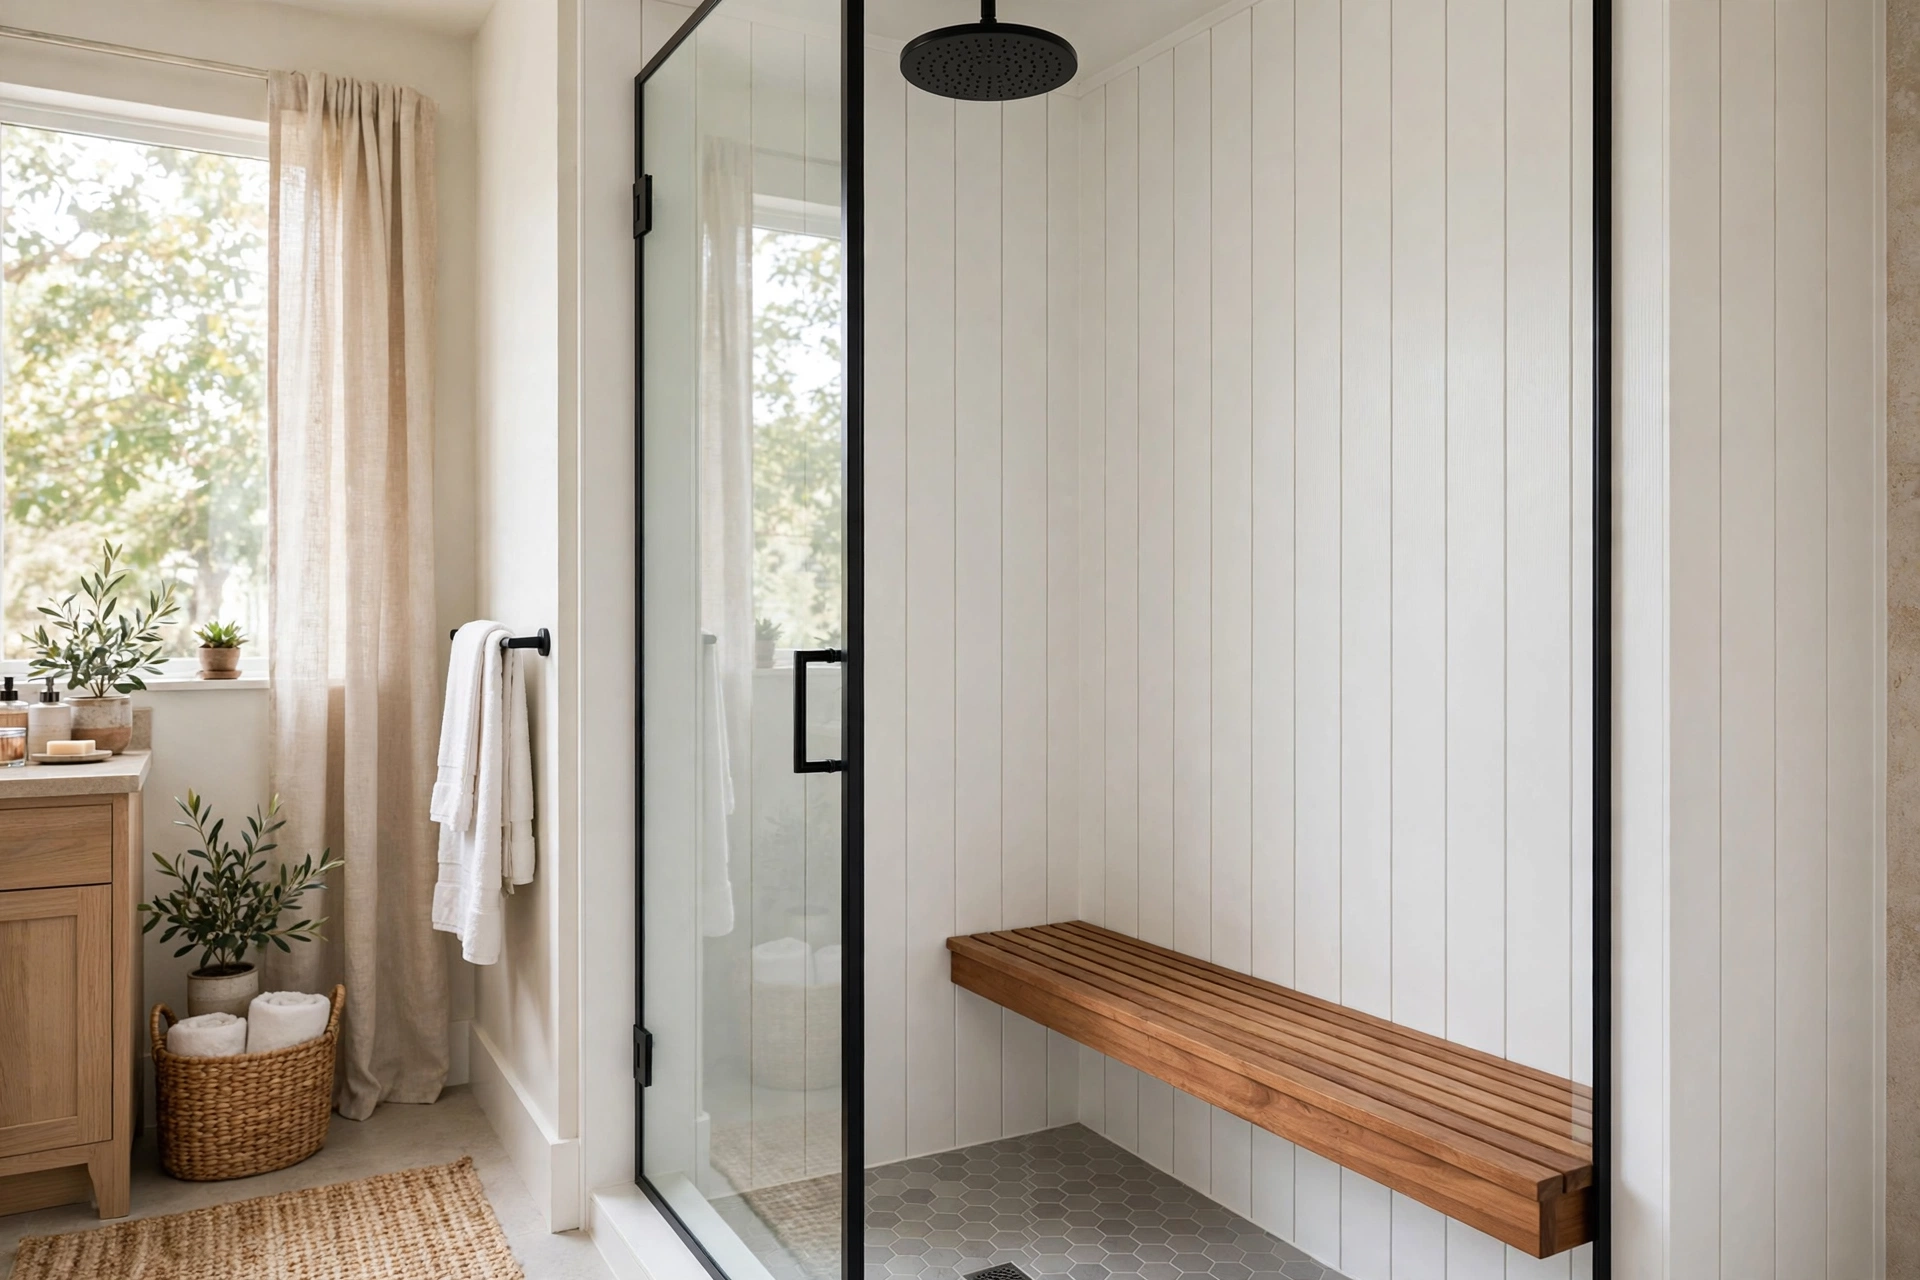
Shiplap is a style of wooden board used as exterior siding or interior paneling, traditionally joined with overlapping rabbet joints as described on Wikipedia’s shiplap overview, which is what creates the signature shadow lines. Using any wood or MDF boards inside a shower enclosure is a guaranteed failure — only 100% PVC shiplap survives direct spray. PVC shiplap (brands like AZEK or Versatex make trim-style boards, and several companies sell PVC shiplap profiles) is impervious to water, so it survives direct spray indefinitely. This is a non-negotiable: organic boards in a shower will rot no matter how well sealed.
Install the PVC boards over a waterproofed substrate — cement backer board sealed with a liquid membrane like RedGard or Schluter-KERDI. Use PVC-compatible construction adhesive plus stainless-steel trim nails, since standard nails rust and bleed. Leave weep gaps at the bottom course so any water behind the boards drains into the pan, not into the wall.
The result is a shower that looks like a warm cedar sauna but performs like tile. Pair PVC shiplap with a rain showerhead and a teak bench for a full spa effect. Expect to pay roughly 30–40% more than ceramic tile for the materials, but installation is faster.
8. Half-Wall Shiplap With Chair Rail
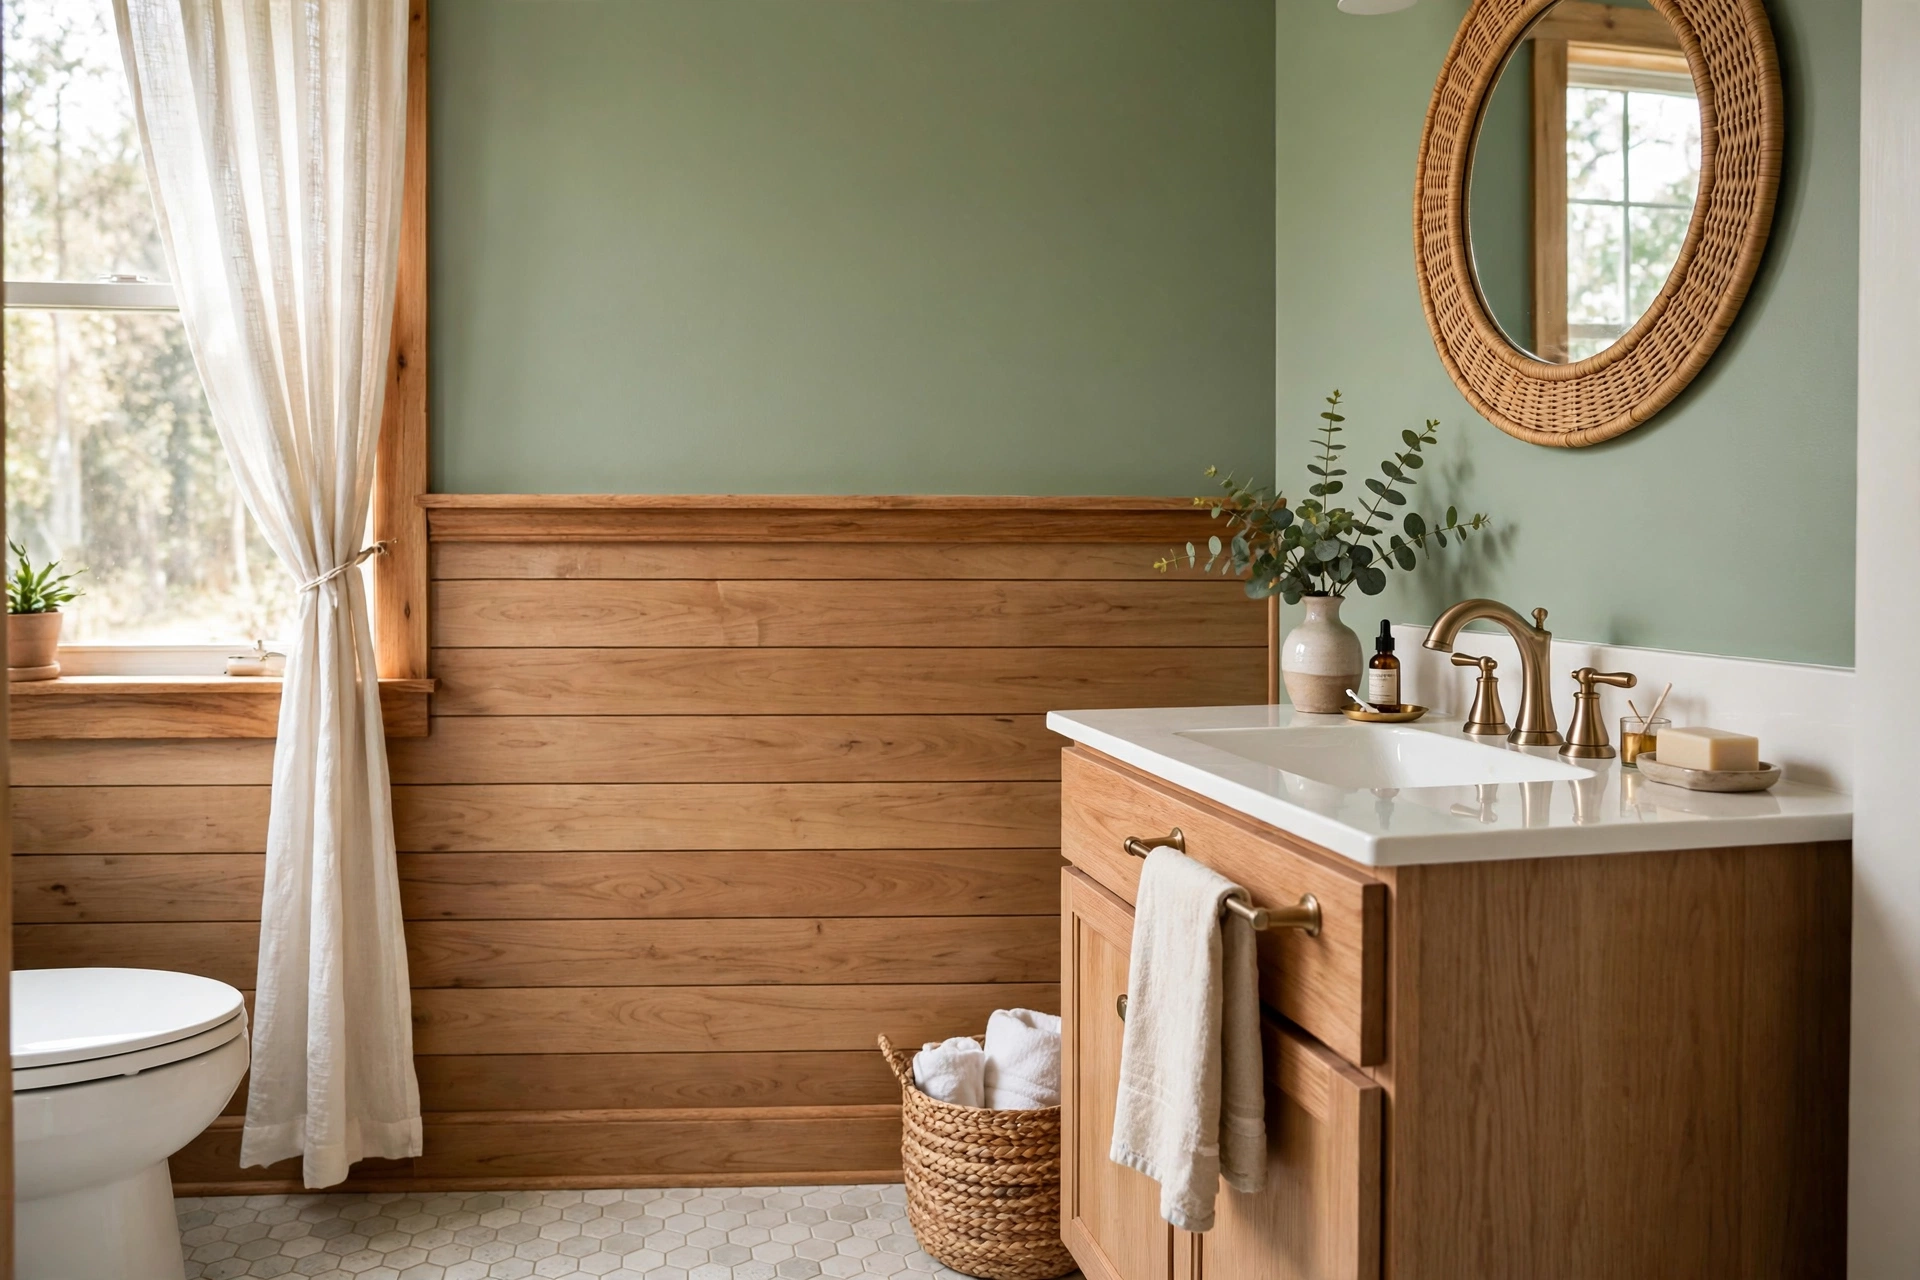
Shiplap on the lower half of the wall with a painted upper wall gives you the texture of shiplap without committing an entire room. Stop the boards at 36–42 inches — true chair-rail height — and cap the top course with a 1×4 board laid flat as a ledge, which doubles as a narrow shelf for small plants or apothecary jars.
Paint the upper wall in a color with some personality: deep green, warm terracotta, or a soft blue-gray. The chair-rail cap should be the same finish as your baseboards so the trim package looks intentional. Caulk the seam where the cap meets the wall to block moisture.
This treatment is ideal for a kids’ or guest bathroom, where full shiplap might feel like too much. It also costs roughly half of a full-height install since you cover half the square footage and the boards can be standard 8-foot lengths with minimal waste.
9. Shiplap Behind a Freestanding Tub
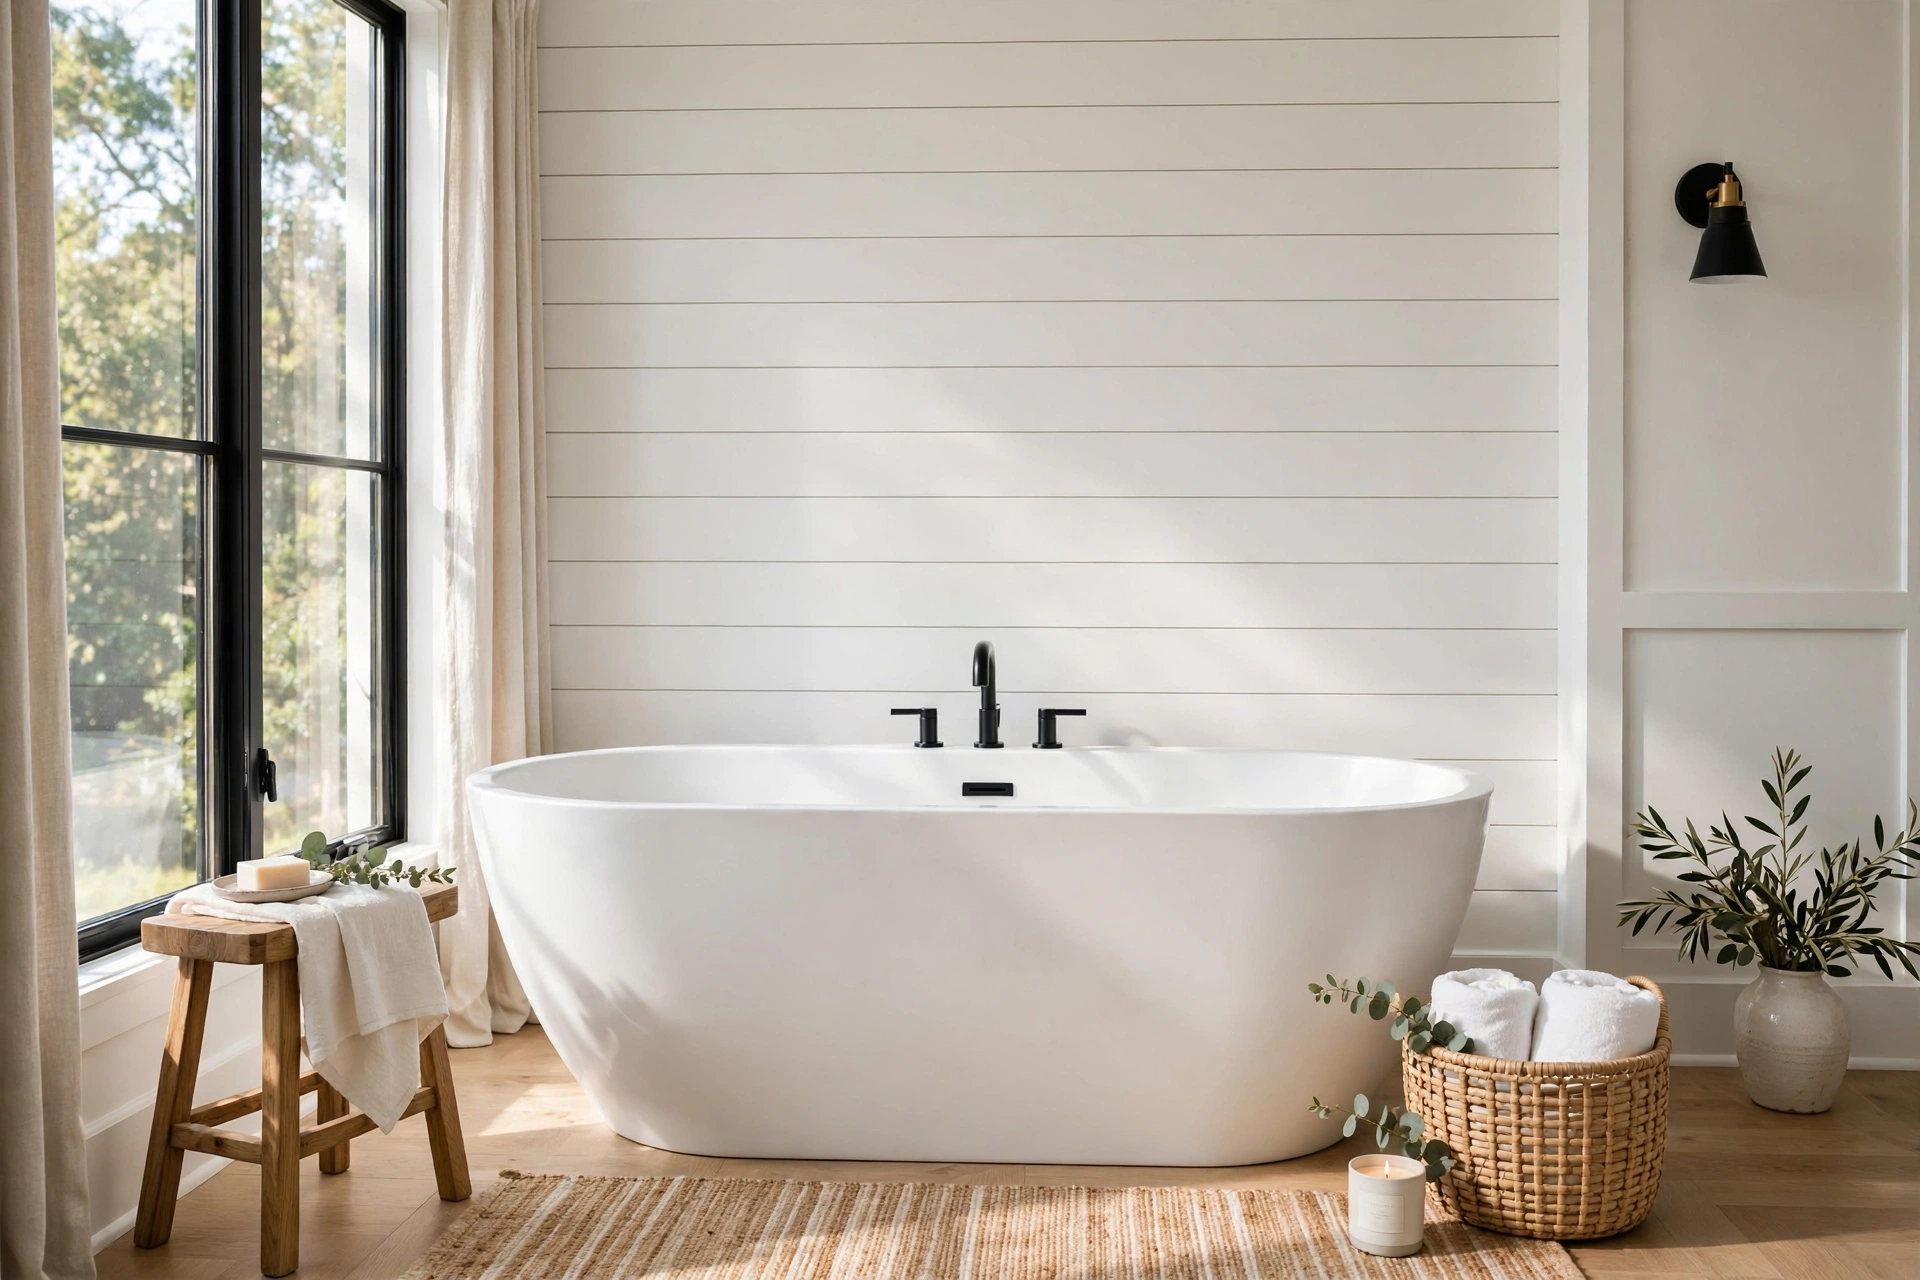
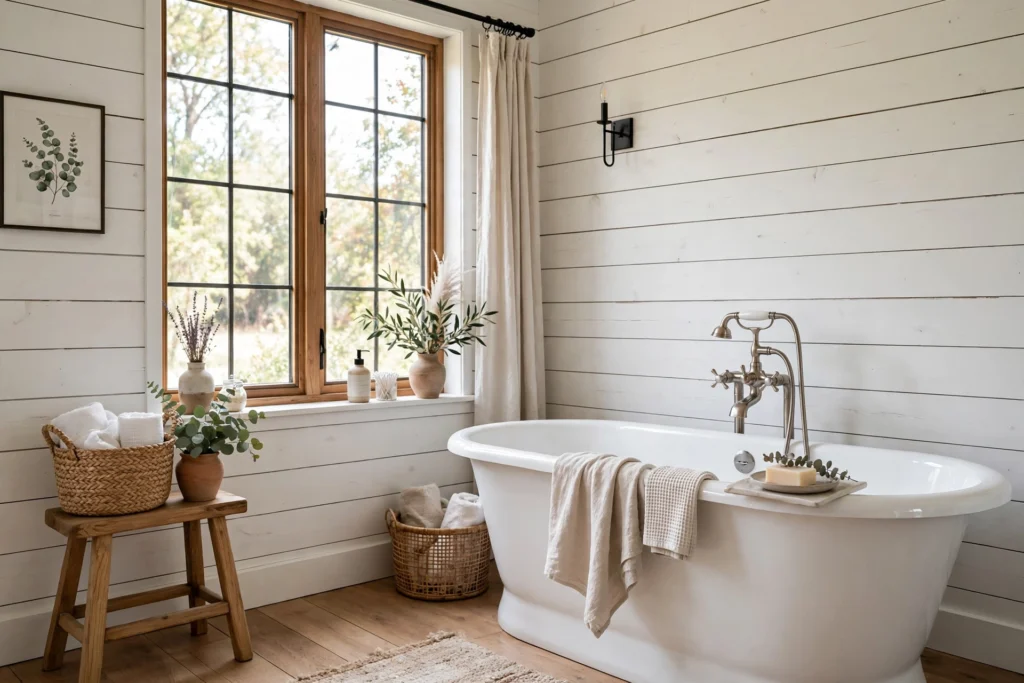
A freestanding tub against a shiplap wall is the signature farmhouse-bathroom vignette, and the execution is straightforward. Run full-height shiplap on the tub wall only, from floor to ceiling, letting the tub sit 6–8 inches in front of it. That gap is essential — it lets you clean behind the tub and prevents trapped moisture against the boards.
Because this wall catches splashes, use a satin or semi-gloss finish paint and extend your bathroom vent fan run time. Mount a wall sconce or pendant on either side of the tub at 66 inches from the floor; the warm light grazing across the board reveals creates beautiful texture at night.
For more wall treatments that frame a tub this way, browse these bathroom accent wall ideas for bold stylish baths. A shiplap tub wall with a vintage-look floor and a chandelier above the tub is about as far from a boring bathroom as you can get.
10. Black Shiplap for Drama
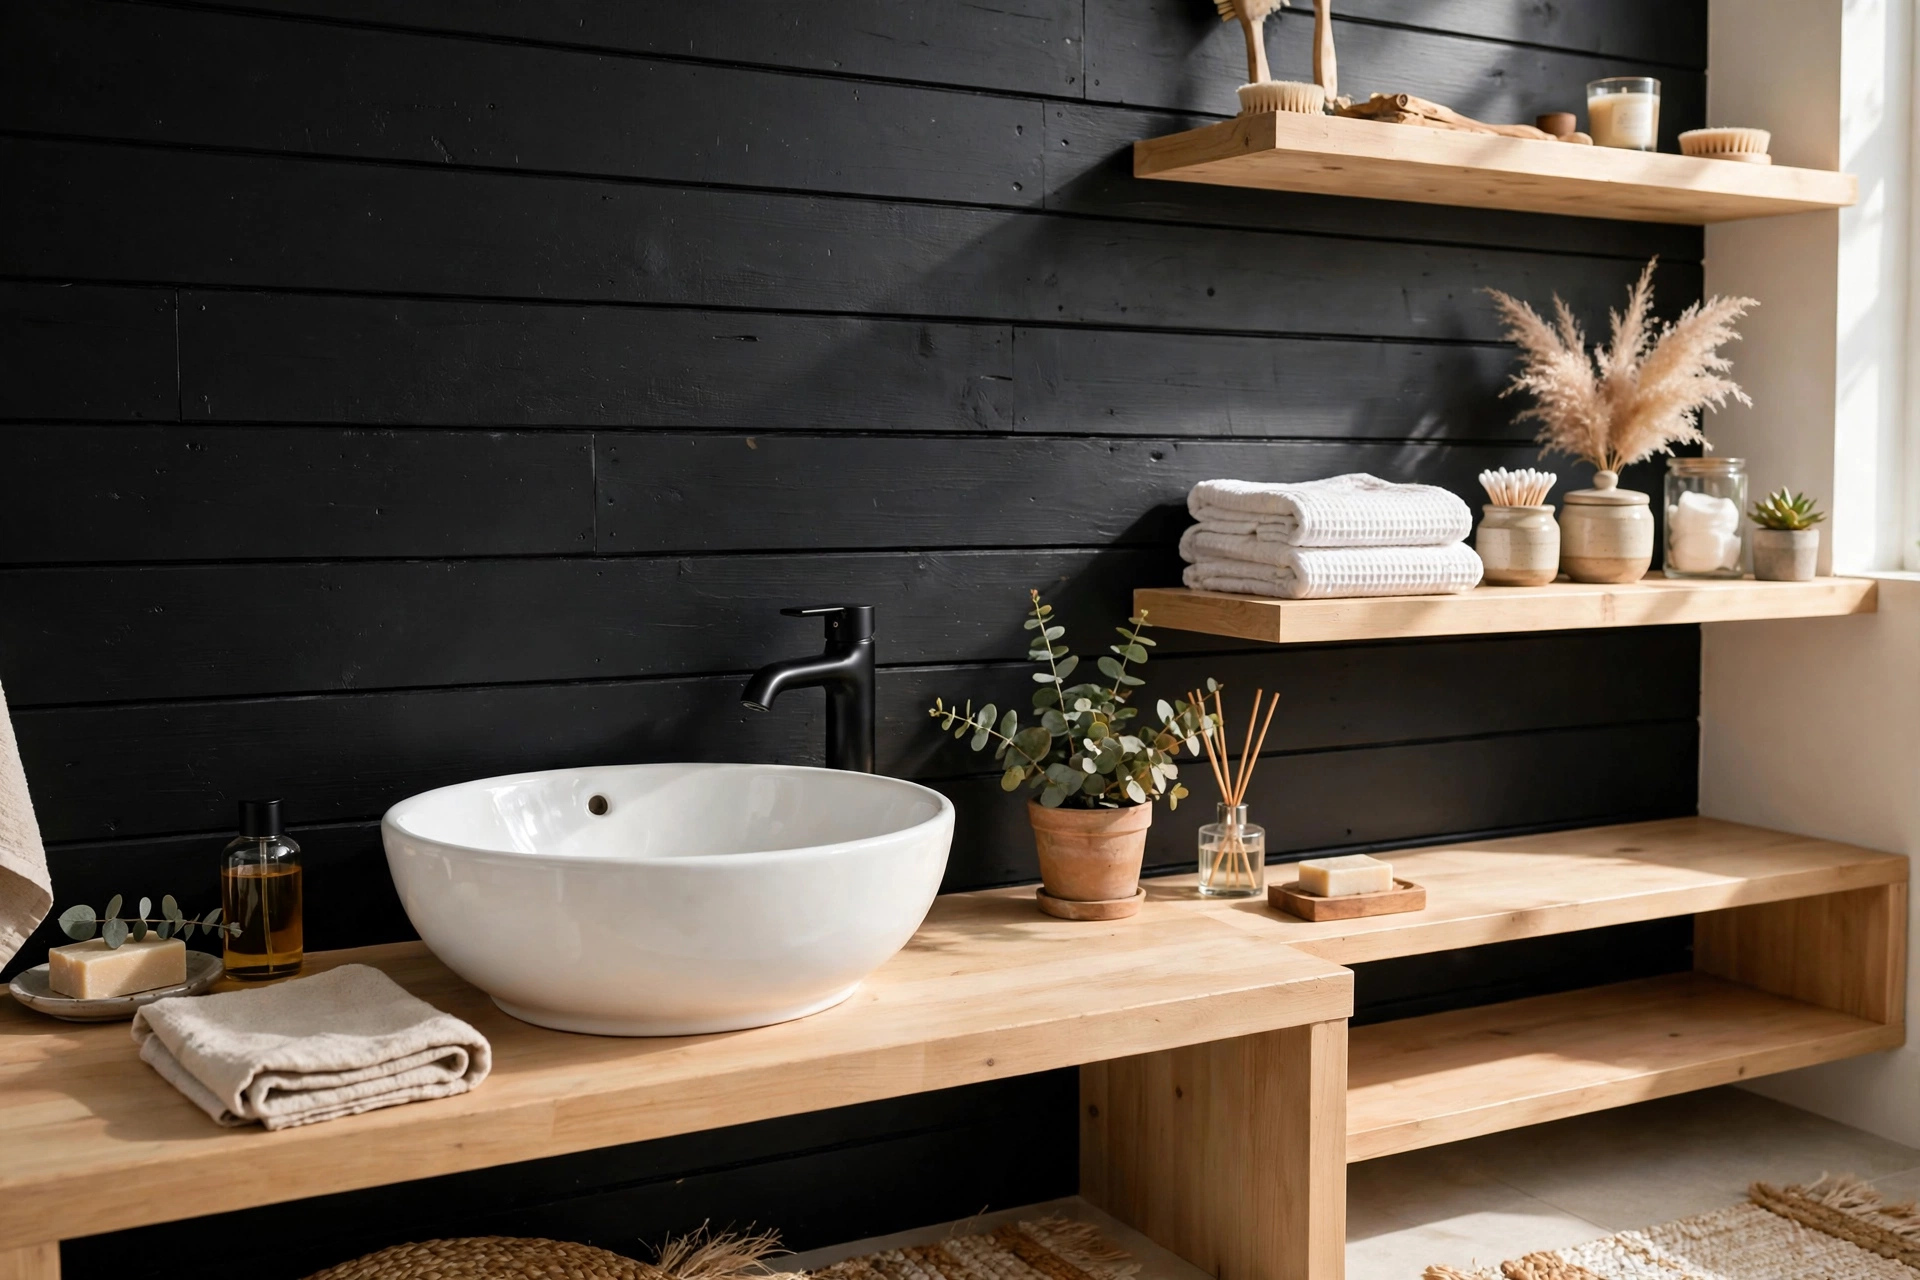
Black shiplap — in a true soft black like Sherwin-Williams Iron Ore rather than a flat void — makes white fixtures glow. This works best in a bathroom with at least one window or a skylight; in a windowless room, black walls plus a dark floor can feel cave-like. Keep the ceiling and trim bright white to reflect light back down.
Prep matters enormously with black: sand boards to 180 grit, prime with a high-hide primer, and apply two full coats of semi-gloss enamel. Touch-ups show on black, so keep a small jar of the paint under the sink. Matte black hides touch-ups better but is harder to clean — semi-gloss is the practical choice in a bathroom.
Style it with a white vessel sink, light wood open shelving, and greenery. The palette is stark and graphic, and the shiplap texture keeps it from feeling like a painted flat wall. It is also surprisingly forgiving of the water spots and soap scum that plague white walls.
11. Shiplap and Tile Combo Walls
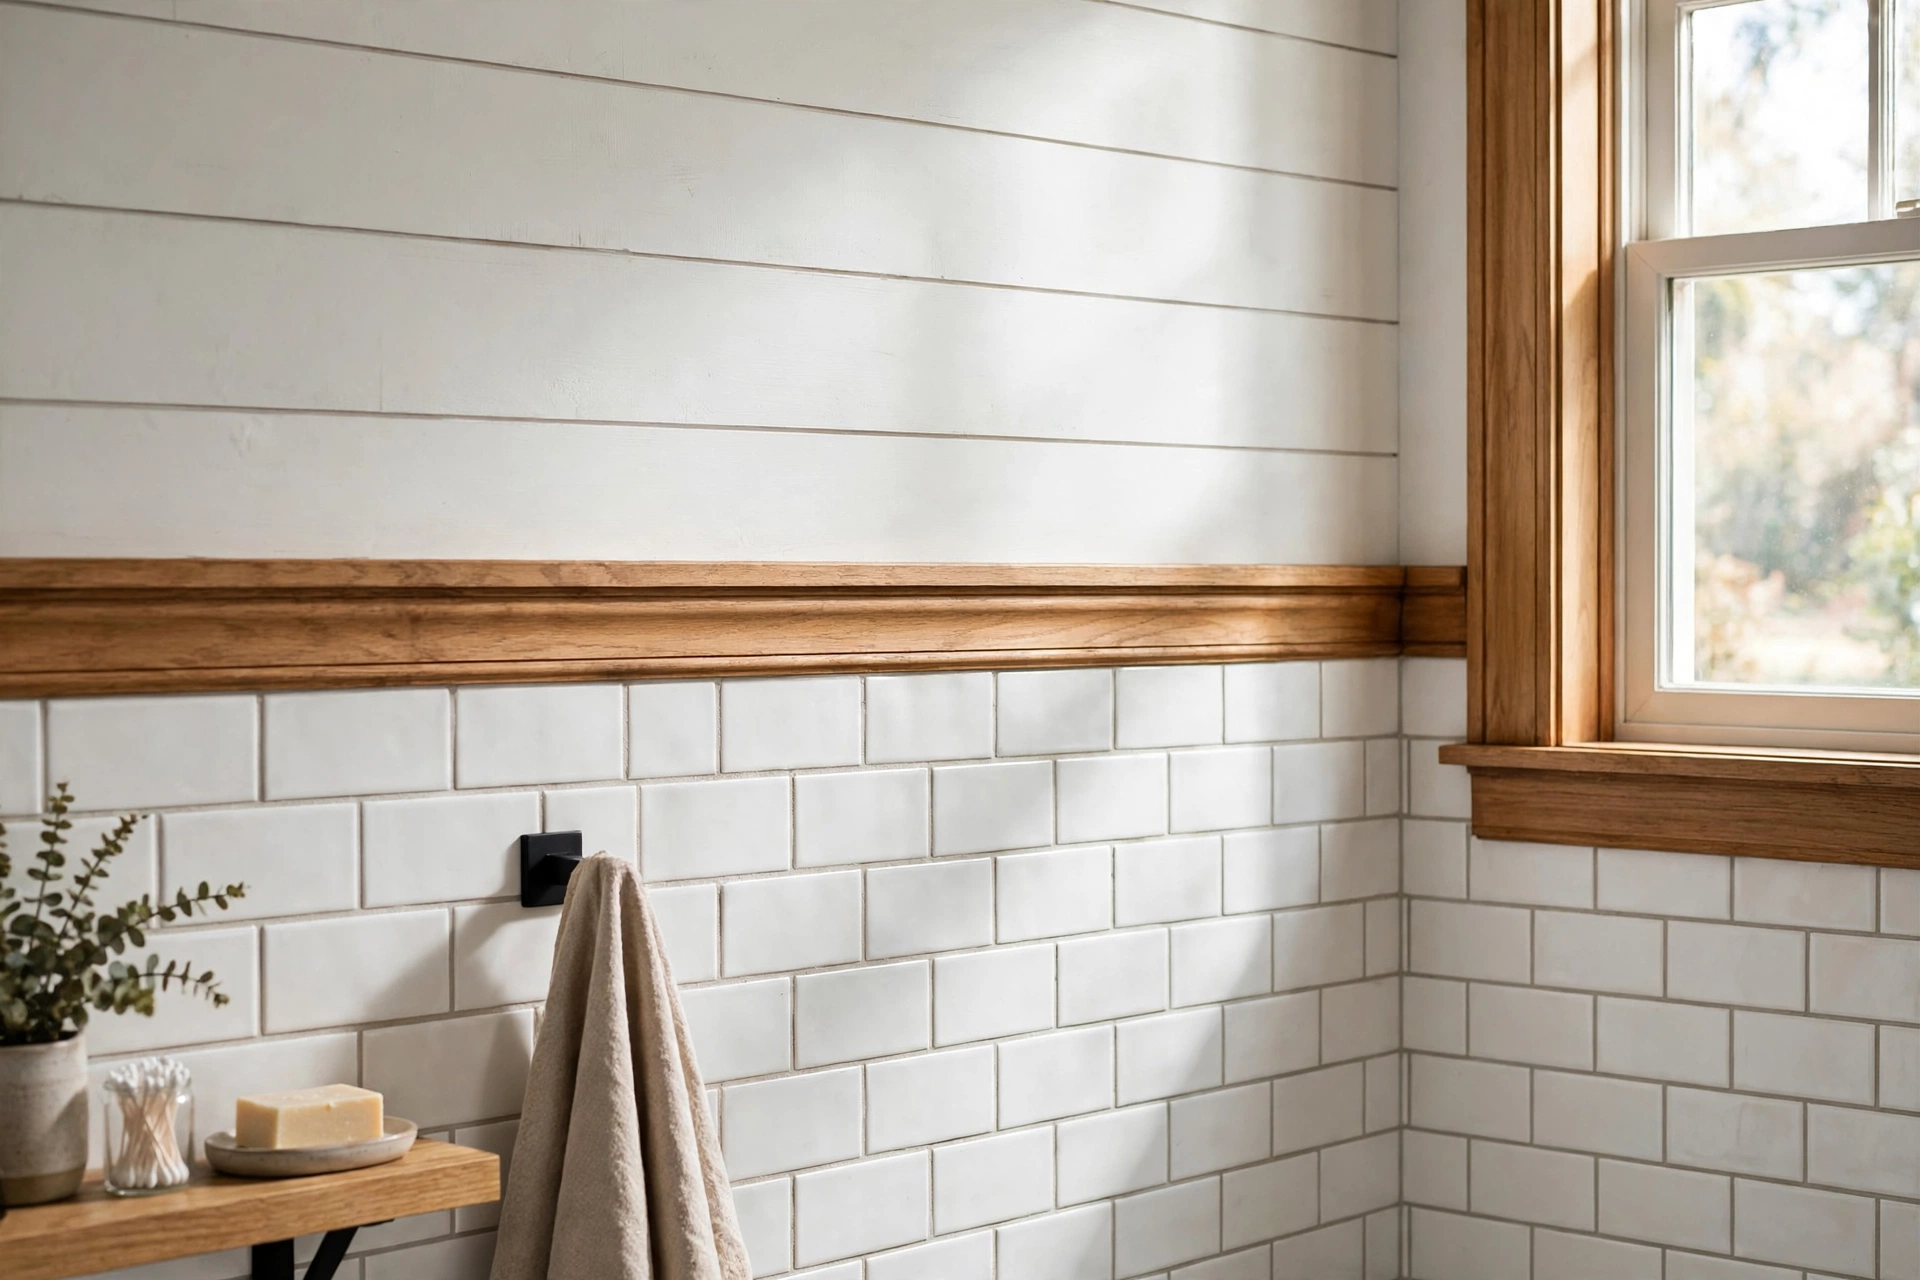
Pairing shiplap with tile gives you the best of both materials: tile where water hits, wood-look where it doesn’t. The classic split is tile in the wet zone (shower surround, tub deck) and shiplap on the remaining walls. A schluter-style metal profile or a simple wood trim piece covers the transition seam cleanly.
Coordinate the grout color with the shiplap paint. White subway tile with light gray grout against white shiplap creates a subtle tone-on-tone look; black grout against white shiplap and white tile is bolder and more graphic. Extend the tile 6 inches past the shower glass or tub edge so splashes land on tile, not wood.
This combination also lets you spend strategically: handmade-look tile inside the shower (where you see it up close every day) and budget-friendly shiplap everywhere else. Most tile installers and carpenters can coordinate the transition in a single day of work.
12. Rustic Knotty Pine Shiplap
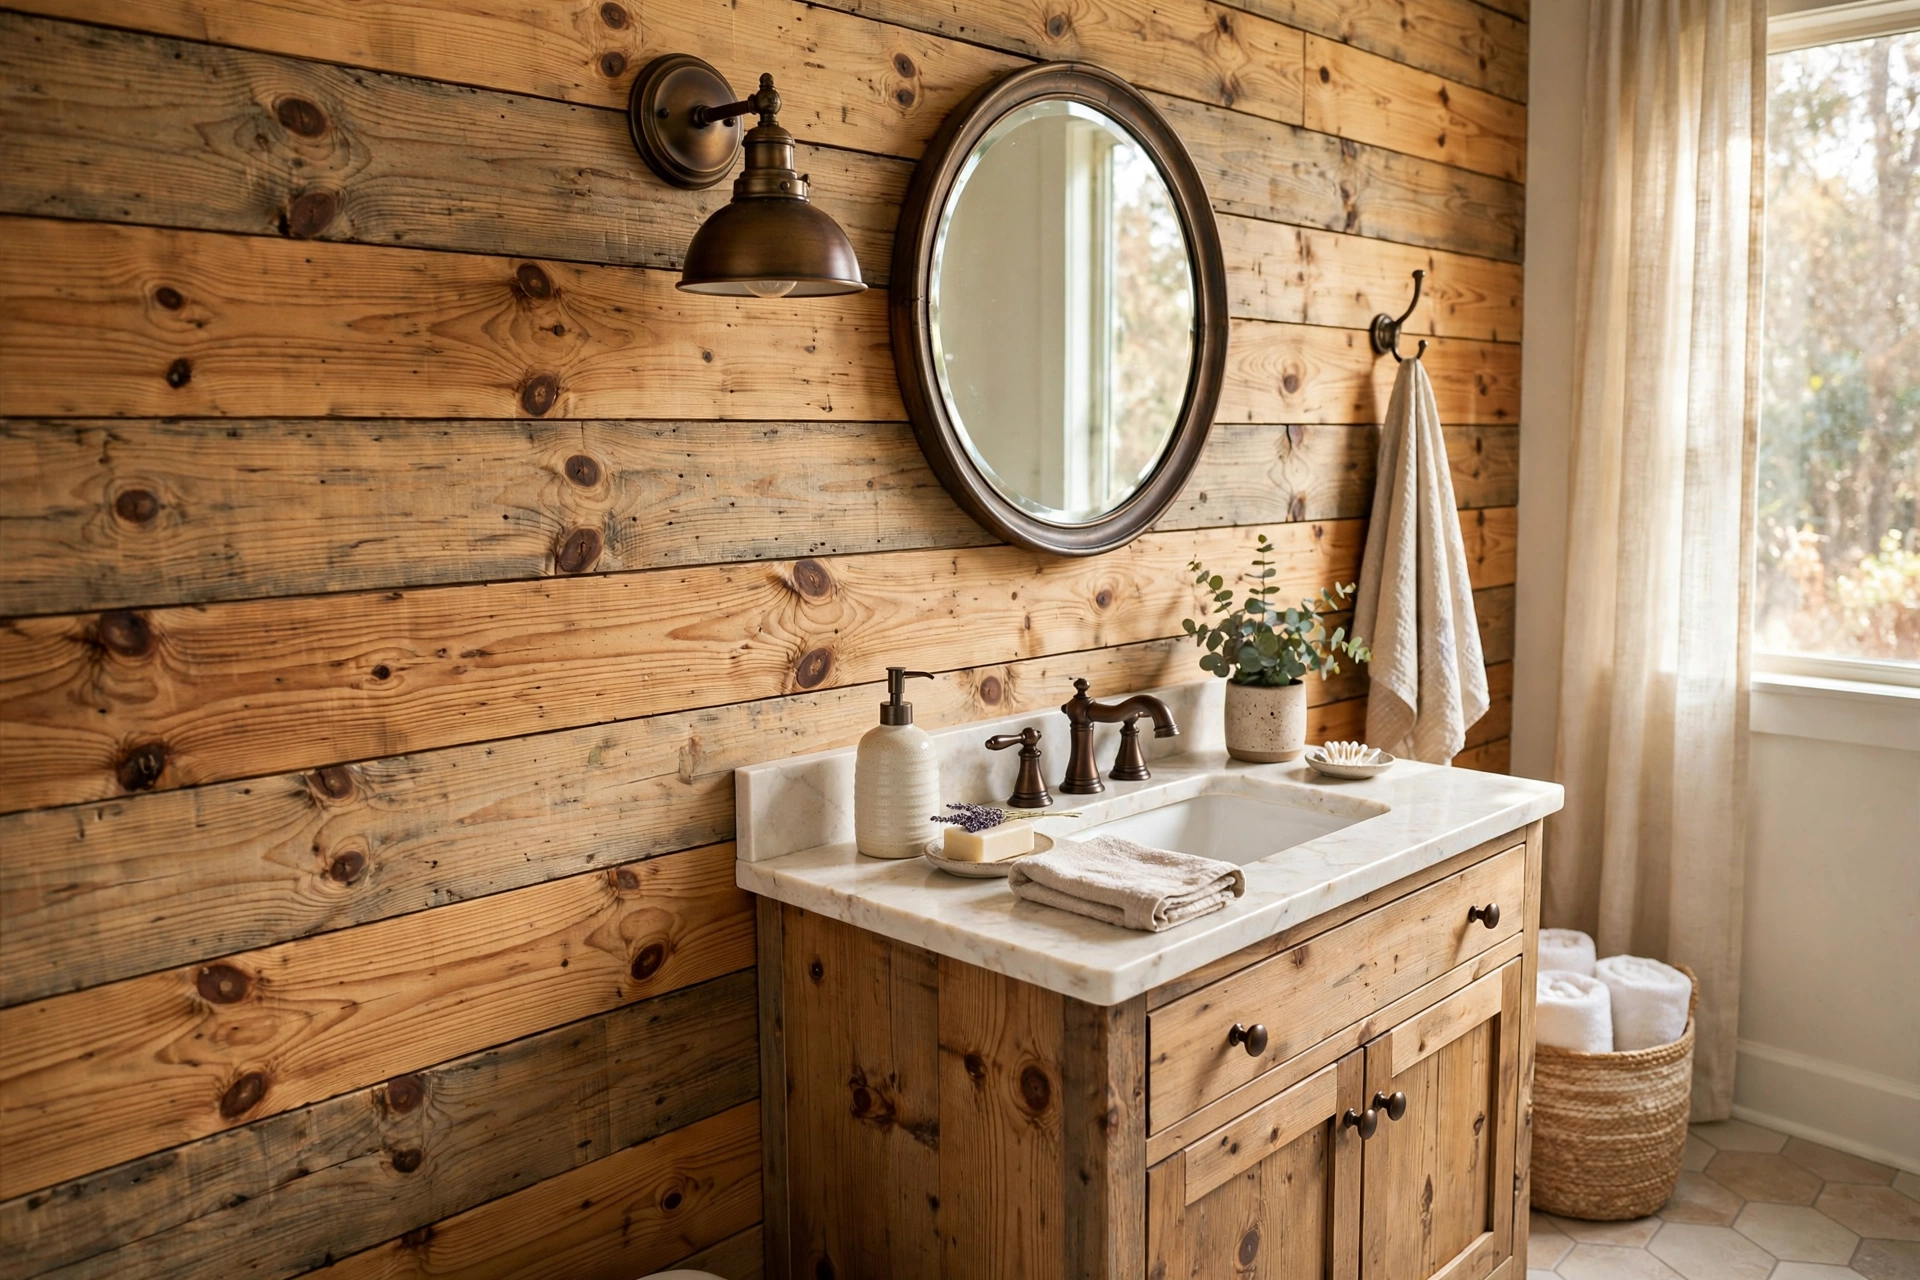
If you want maximum rustic character, skip the paint and let knotty pine shiplap show its grain. Knots, grain variation, and the occasional resin pocket are the whole point — each board is visibly unique. Buy a grade like “knotty pine paneling” from a lumber yard rather than big-box select pine; it is cheaper and more characterful.
Finish with a clear matte or satin water-based polyurethane — oil-based poly amber-tints the wood, which some people love but which darkens over time. Three thin coats of poly with a light 220-grit sanding between coats gives the most durable finish. Re-coat every 3–4 years in a steamy bathroom, or sooner if the finish starts looking dry near the shower.
Knotty pine shiplap suits a cabin, lake house, or rustic primary bath. Keep the rest of the palette simple — stone-look floor tile, oil-rubbed bronze fixtures, a woven rug — so the wood stays the star. If you want more trim-style woodwork inspiration, these bathroom wainscoting ideas for timeless style pair well with rustic wood walls.
13. Shiplap Powder Room in Bold Color
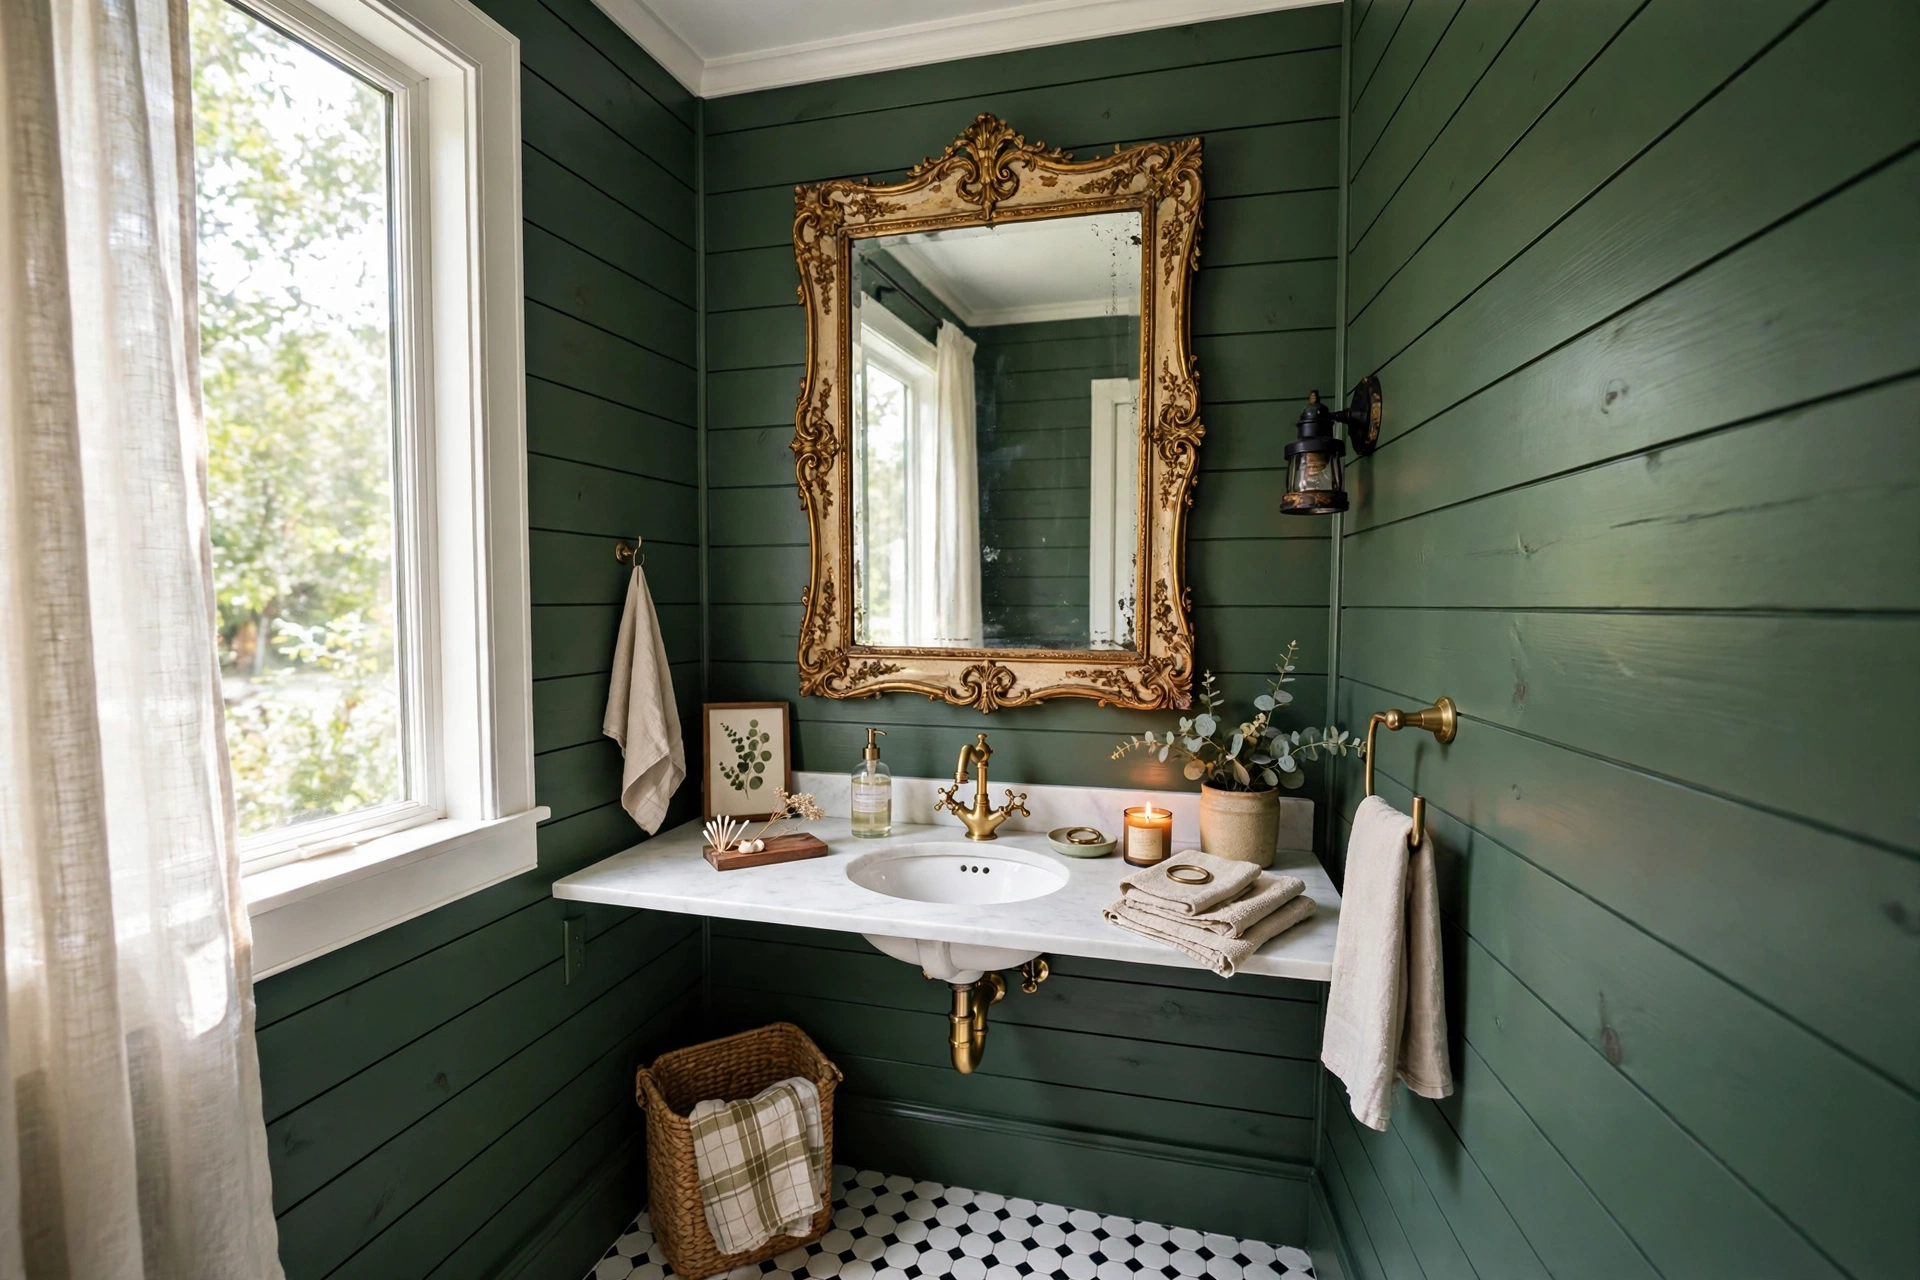
A powder room is the perfect place for a saturated shiplap color you might fear in a full bathroom — it is small, guests see it briefly, and the drama reads as fun rather than overwhelming. Forest green, burnt terracotta, dusty teal, and deep plum all work beautifully on shiplap because the board reveals add texture that keeps a bold color from looking flat.
Paint the ceiling the same color for a color-drenched effect, or keep it white for contrast. In a powder room there is no shower steam, so standard MDF shiplap and regular latex paint are perfectly adequate — this is the one bathroom where you can skip the moisture-rated materials and save money.
Add one statement piece: an ornate vintage mirror, a sculptural sconce, or patterned floor tile. Powder rooms are jewelry boxes — one bold shiplap wall in the right color is all the decor the room needs.
14. Herringbone and Diagonal Shiplap Patterns
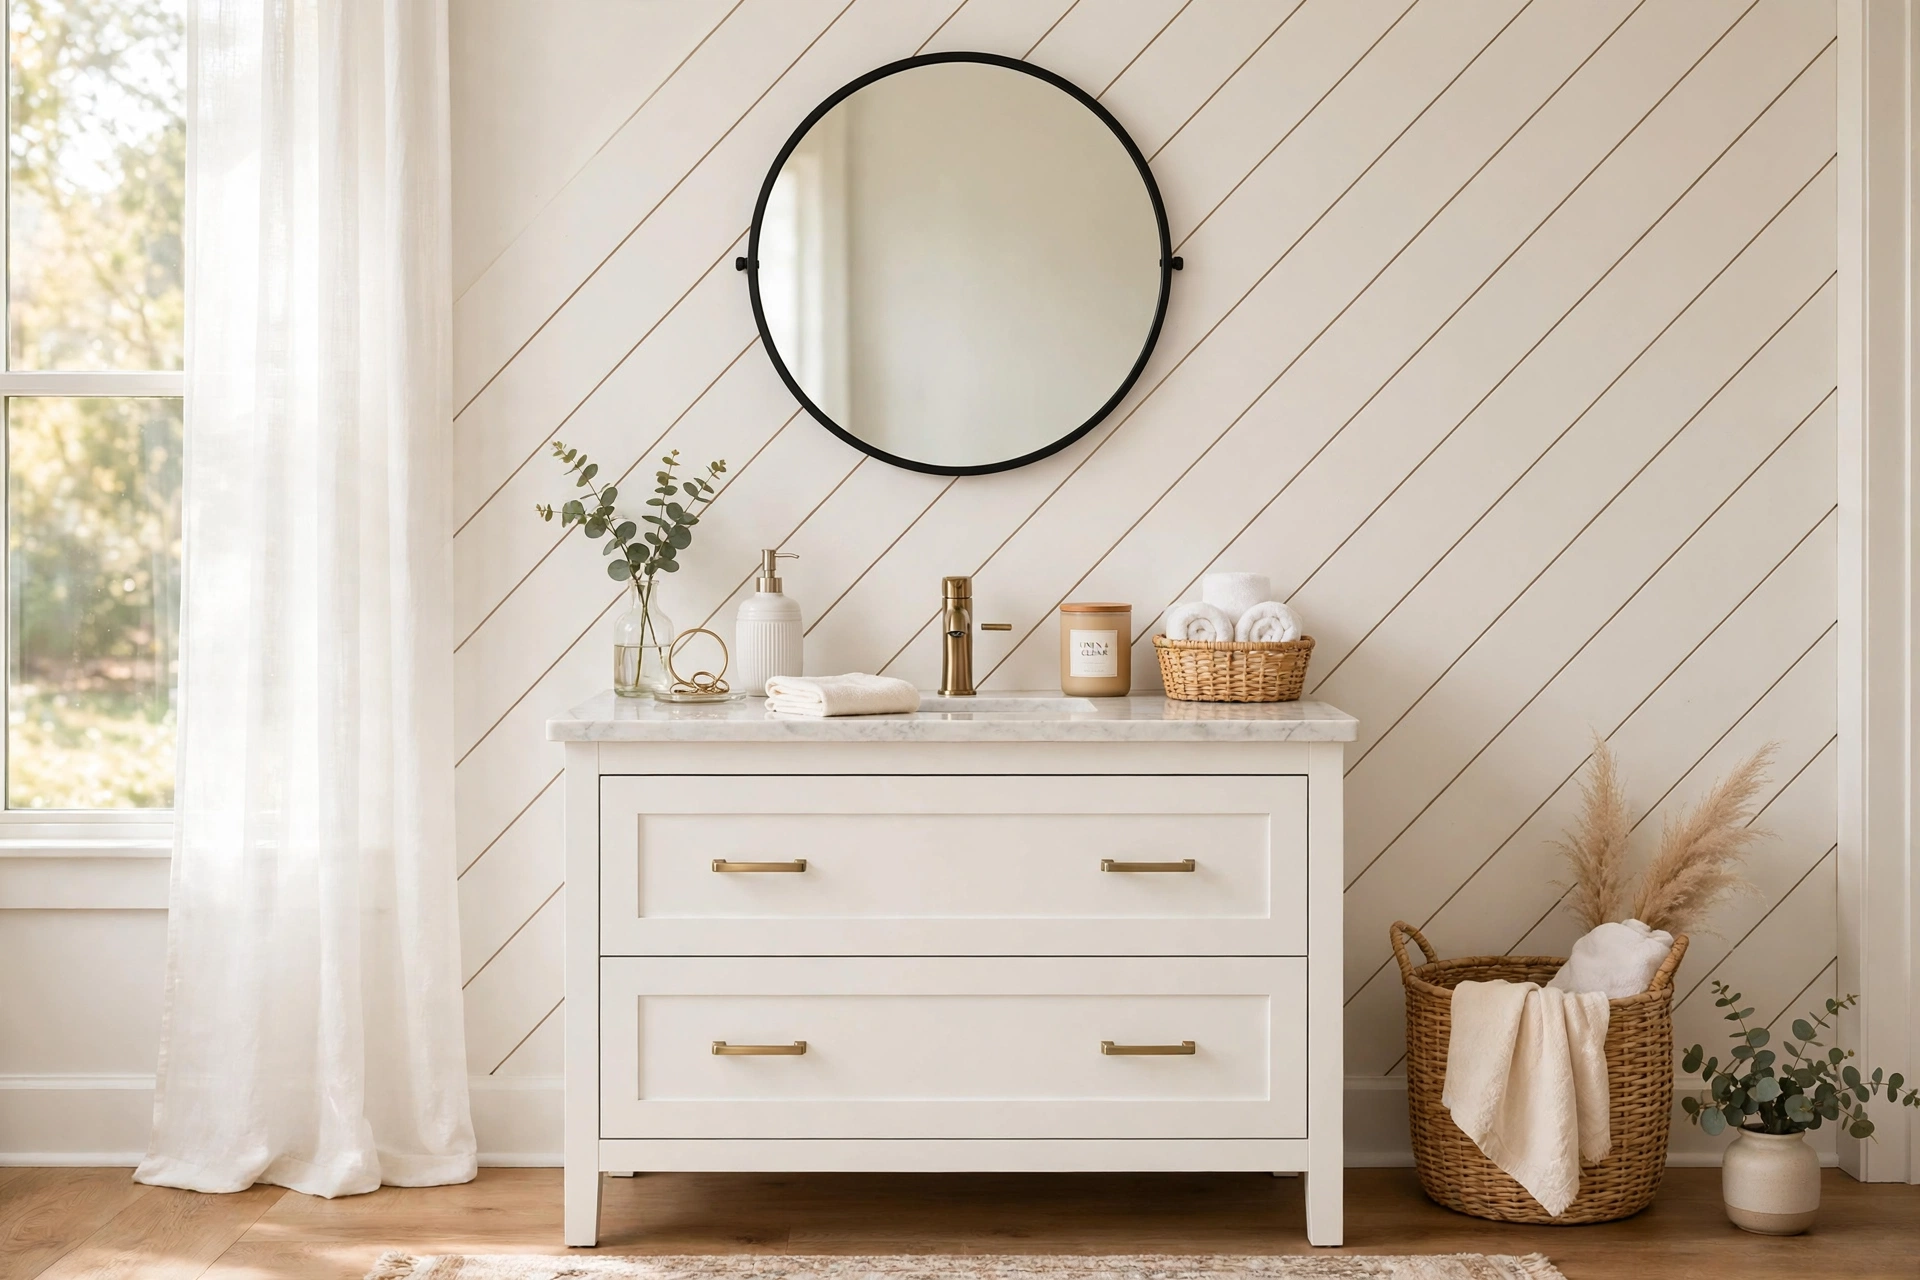
Most shiplap runs straight, but cutting boards on a diagonal or arranging them in a herringbone pattern turns the wall into art. Diagonal shiplap at 45 degrees on a small accent wall behind a vanity is the most achievable version — each board end is a simple 45-degree miter cut, and waste stays under 15%.
Herringbone is more demanding: every board meets at a 90-degree point, which means precise 45-degree cuts on both ends and careful layout from a center line. It roughly doubles both material waste and installation time, so reserve it for one feature wall. The payoff is enormous visual interest — herringbone shiplap behind a simple white vanity looks like a designer installation.
Paint patterned shiplap a single color so the pattern reads through texture and shadow rather than competing colors. A soft greige or warm white keeps it elegant. Mark your layout with chalk lines on the wall before nailing a single board.
15. Peel-and-Stick Shiplap for Renters
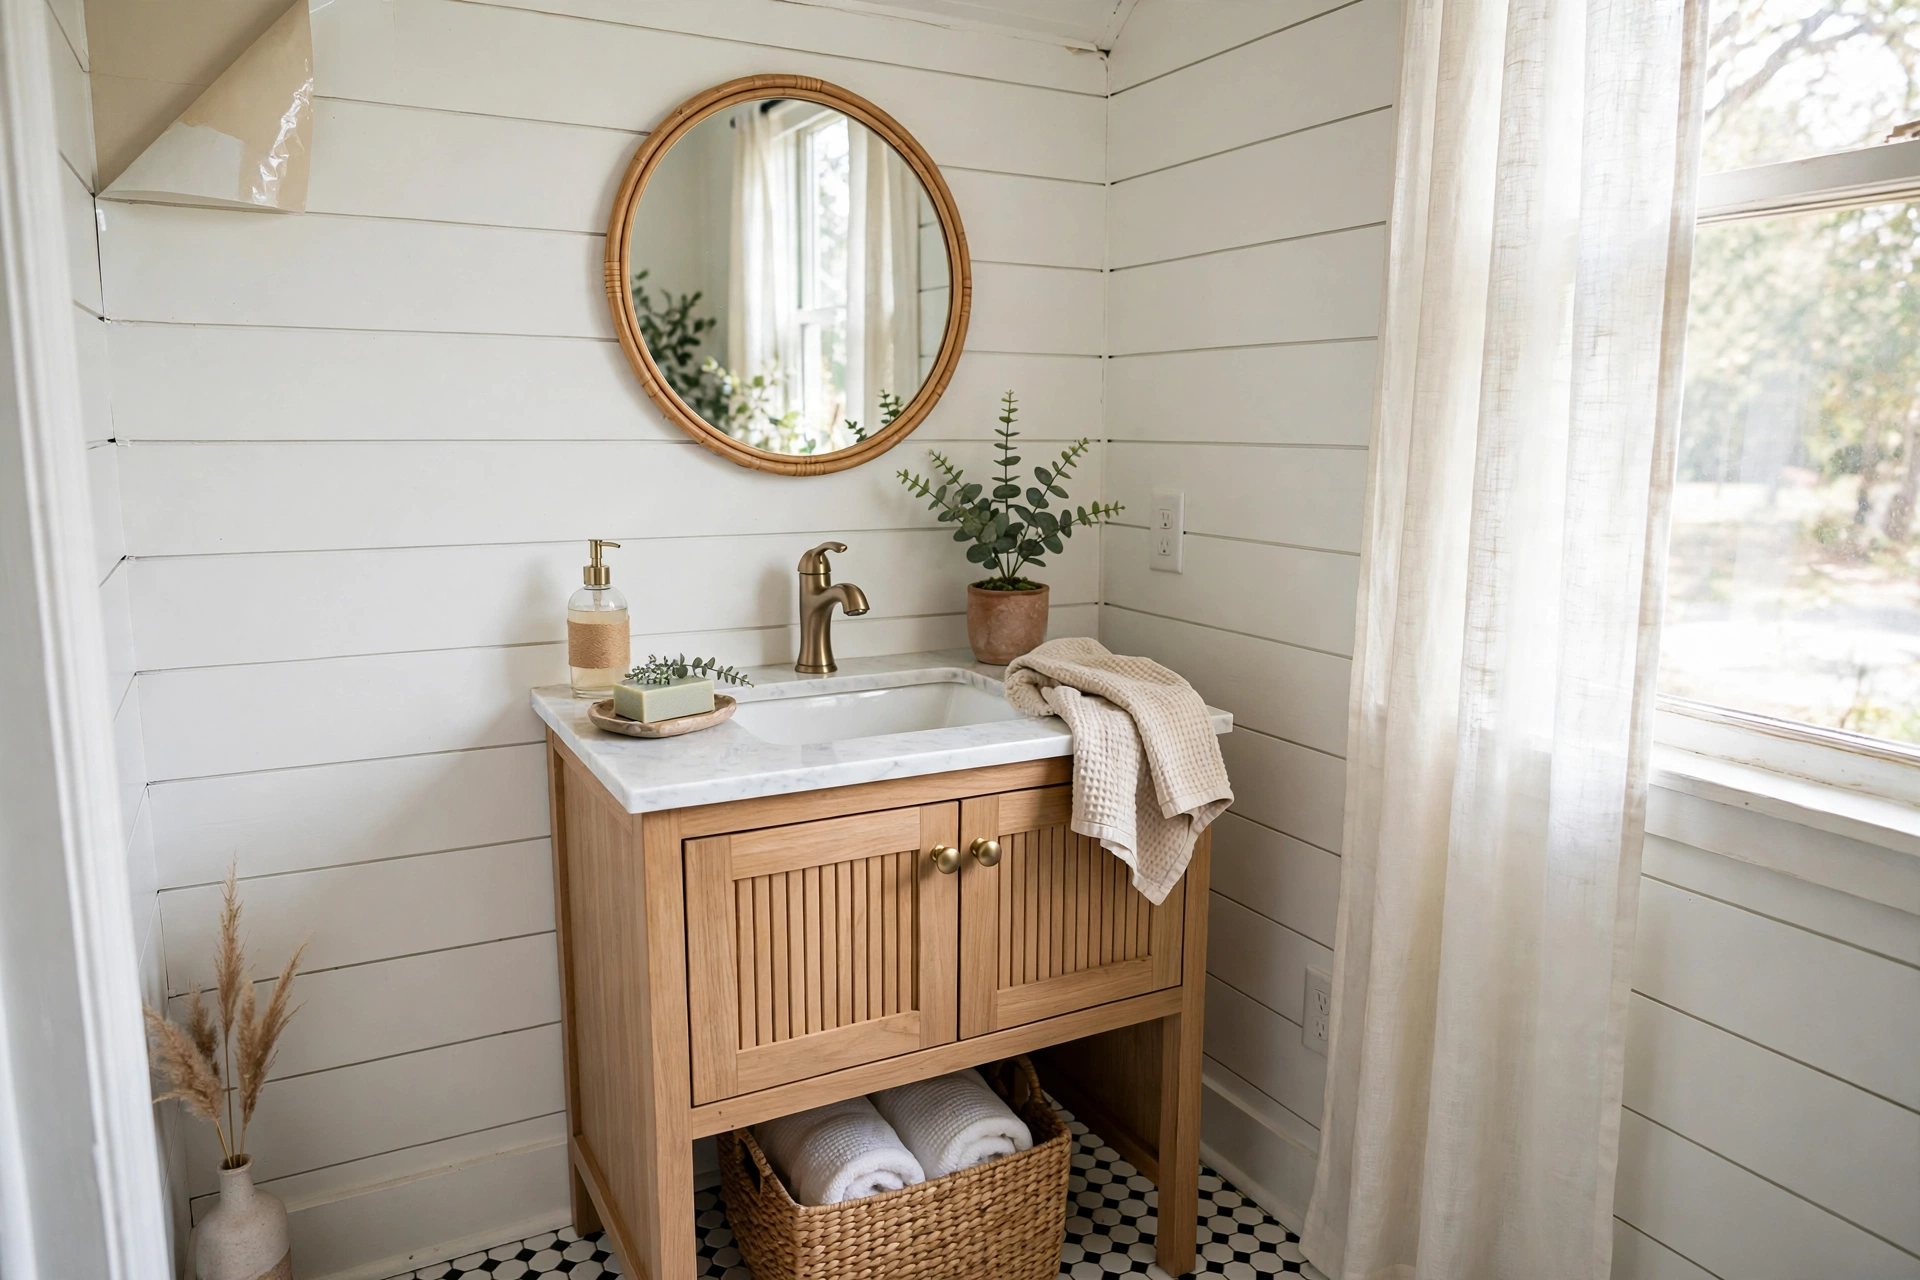
Renters can get the shiplap look without a nail gun. Peel-and-stick shiplap panels — vinyl or foam boards with adhesive backing, sold in 2×4-foot sheets or plank strips — apply directly over clean, dry painted drywall and remove without damage. Look for products explicitly rated for humid environments; cheap foam versions can curl at the edges in steamy bathrooms.
Prep is everything: wipe the wall with rubbing alcohol, let it dry completely, and press each panel firmly with a J-roller. Start at the most visible corner and work outward. In a rental, concentrate on the wall behind the vanity or toilet, where a half-day project makes the biggest impact. A small tube of paintable caulk along the edges hides cut lines.
Cost runs $3–$6 per square foot, so a single accent wall typically lands under $150. When you move, heat each panel with a hair dryer and peel slowly — the wall underneath should be undamaged. It is the lowest-risk way to test whether you love shiplap before committing to the real thing.
Frequently Asked Questions
Is real shiplap OK in a bathroom, or will moisture ruin it?
Real wood shiplap is fine on bathroom walls outside the shower as long as it is sealed and the room is ventilated. Use moisture-resistant materials — PVC boards, treated pine, or MDF rated for damp areas — finish with satin or semi-gloss bathroom paint, and run the vent fan during and after every shower. Inside a shower enclosure, use only 100% PVC shiplap over a waterproofed substrate; wood and MDF will eventually rot there regardless of sealing.
What is the difference between shiplap and wainscoting?
Shiplap is made of horizontal (occasionally vertical) boards with overlapping rabbet joints that create thin shadow lines across the full wall or ceiling. Wainscoting is a lower-wall treatment built from trim, panels, or beadboard, typically capped with a chair rail at 32–42 inches. They are different constructions with different looks, though both add architectural interest to a bathroom. For a detailed visual comparison of the two profiles, see This Old House’s guide to shiplap vs. wainscoting.
How much does it cost to shiplap a bathroom wall?
DIY shiplap on a single 8×8-foot wall typically costs $150–$400: budget pine or MDF boards run $1–$3 per square foot, paint and caulk add $40–$60, and a brad nailer can be rented for about $30/day. Professional installation adds $3–$7 per square foot of labor. PVC boards for shower use cost more — roughly $4–$8 per square foot for materials alone.
Should shiplap boards run horizontally or vertically?
Horizontal is the traditional farmhouse orientation and makes narrow rooms feel wider. Vertical boards make low ceilings feel taller and suit modern or coastal bathrooms. The boards and joinery are identical either way; vertical installation just requires more fastening points (top plate, bottom plate, and mid-wall blocking). Choose based on which dimension you want to emphasize.
What paint finish is best for bathroom shiplap?
Satin or semi-gloss is best. Both resist moisture far better than flat or eggshell, wipe clean easily, and highlight the shadow lines between boards. Always use a paint formulated for bathrooms and kitchens (containing mildewcide), and apply two coats over a quality primer. Avoid flat finishes entirely in a steamy bathroom — they absorb moisture and stain.
Keep Exploring
Shiplap gives a bathroom instant warmth and texture, but it is only the beginning — the right paint color, hardware finish, and complementary wall treatments turn a nice shiplap wall into a room you love. Pick the one idea that fits your space and skill level, and start with a single accent wall; you can always extend it later.