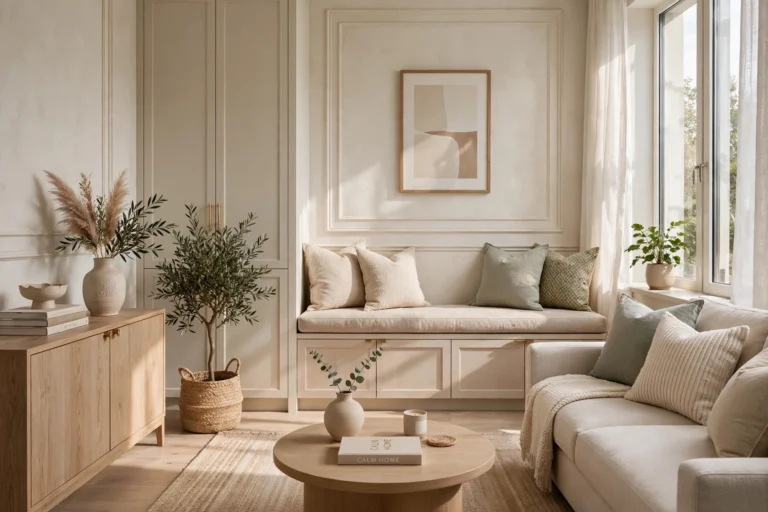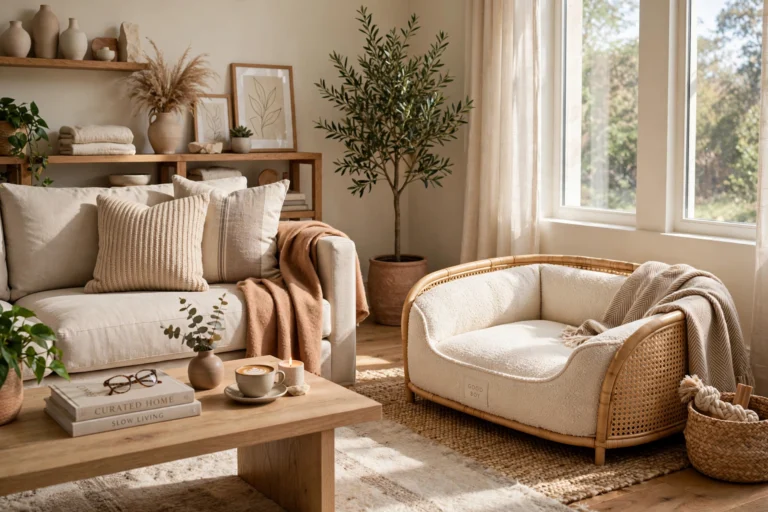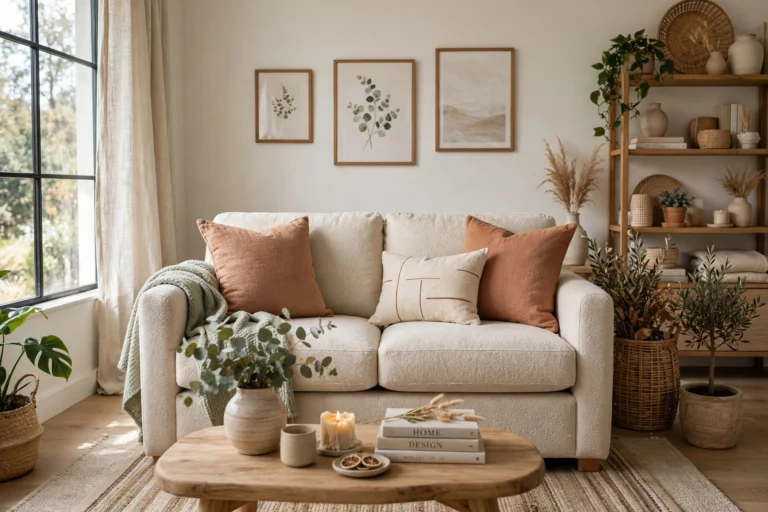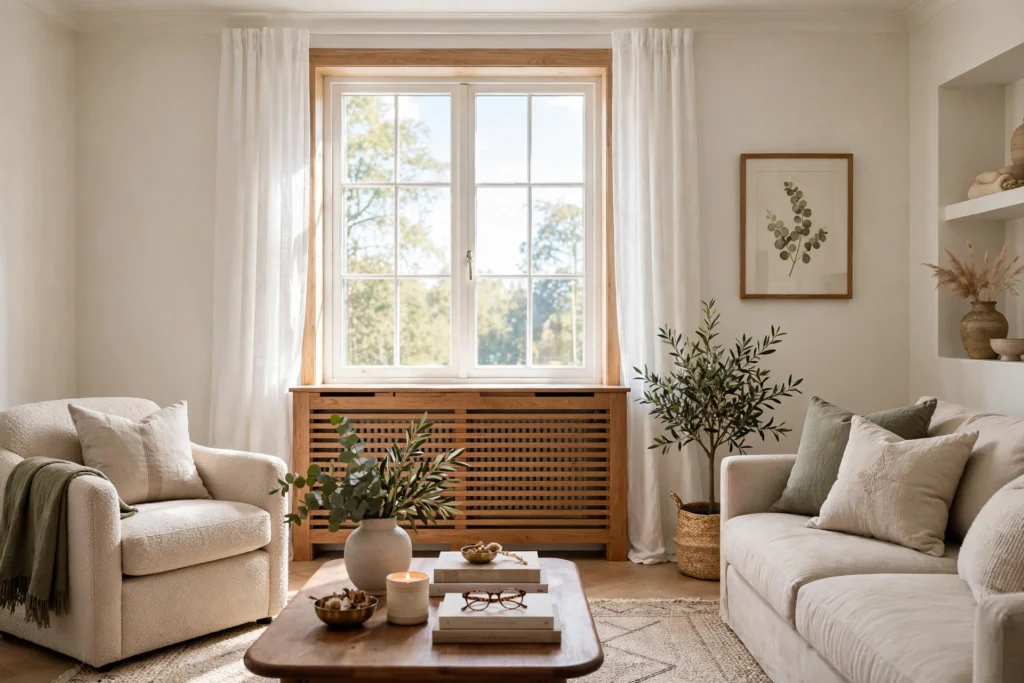

A bulky radiator can ruin an otherwise beautiful living room, sticking out like an afterthought against your carefully chosen furniture. The good news is that the right living room radiator cover ideas let you hide the eyesore without sacrificing warmth. A well-designed cover conceals the metalwork, gives you an extra shelf or console surface, and — if you respect airflow and clearances — barely dents your heating efficiency.
The secret is designing for convection, not against it. Radiators heat mainly by drawing cool air in at the bottom and releasing warm air at the top, so your cover needs open space underneath, vented fronts, and a gap above. Get those three details right and the cover becomes a genuine piece of furniture instead of a heat trap. Below are fifteen practical approaches, from store-bought cabinets to weekend DIY builds, each with the measurements and material notes that keep them safe.
1. Classic Slatted Timber Cover
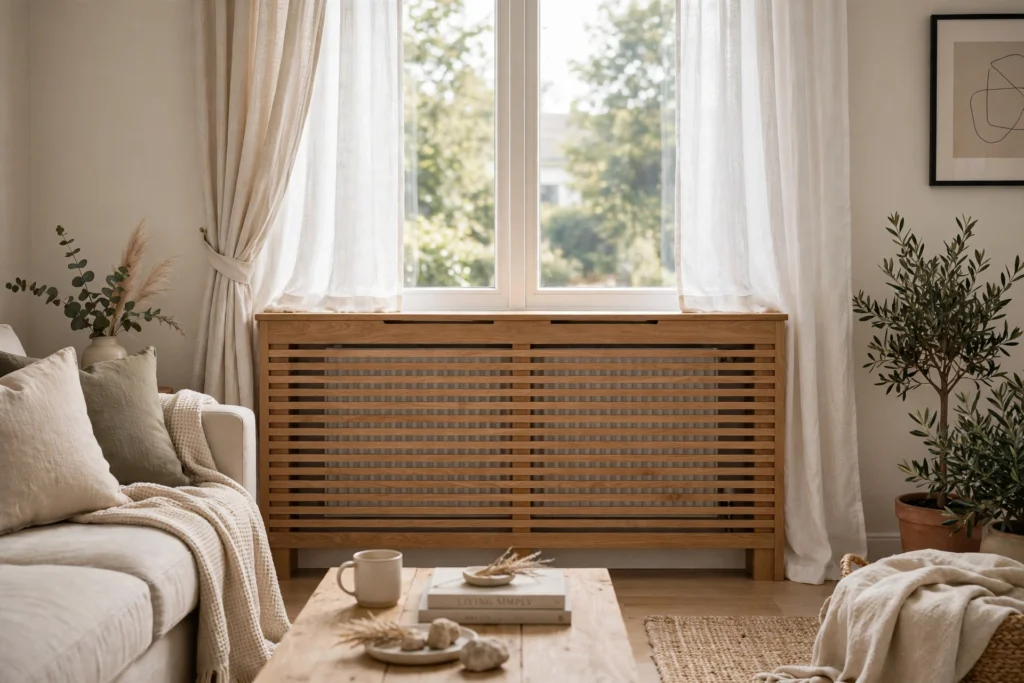
The slatted timber cover is the timeless default for a reason: horizontal or vertical wooden slats look like furniture while letting air move freely. Aim for slats 40–60mm wide with 10–15mm gaps between them, which keeps roughly 20–25% of the front open for airflow. Hardwoods like oak or ash handle repeated heating cycles better than soft pine, which can warp or weep resin over time.
Leave at least 50mm (about 2 inches) of clearance on each side of the radiator and 75–100mm above it, and keep the bottom of the cover raised 75mm off the floor so cool air can enter. A removable front panel — held with magnetic catches or simple lift-off brackets — makes bleeding the radiator a two-minute job instead of a furniture-moving event.
2. Black Steel Mesh Industrial Cover
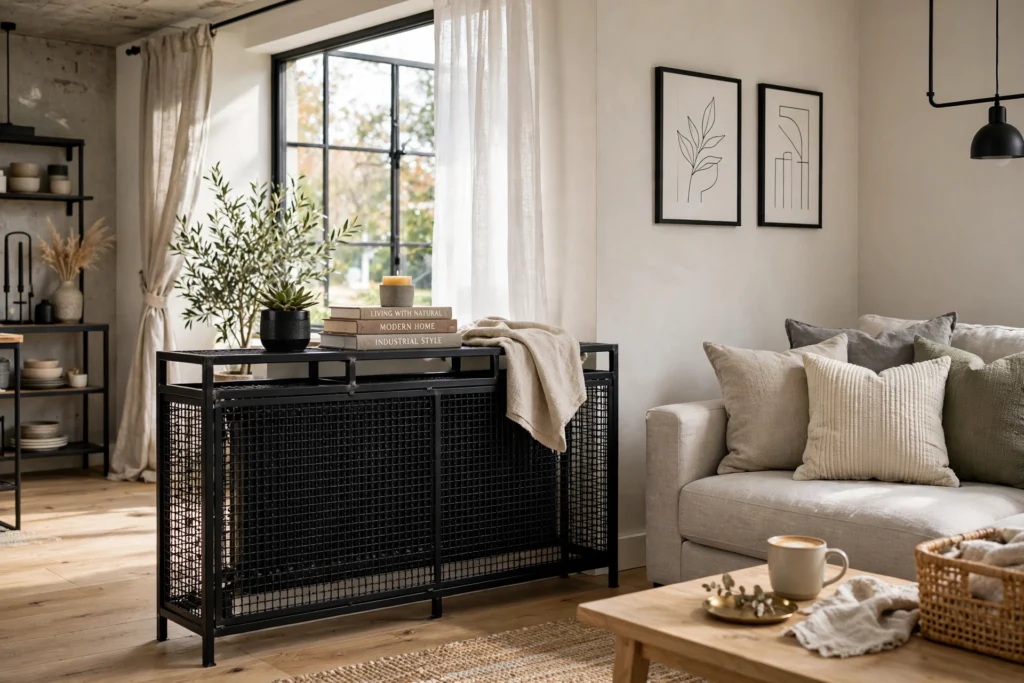
If your living room leans industrial or modern, a blackened steel or powder-coated metal cover reads as intentional design rather than a disguise. Metal mesh or perforated sheet fronts offer the best airflow of any cover style, often 40–60% open area, which means almost no loss in heat output. That makes metal the smartest choice for rooms where the radiator does heavy lifting in winter.
Buy a cover sized 100–150mm wider than your radiator body so the mesh never touches hot pipework. Powder coating resists the rust that bare steel develops in humid rooms, and rounded corners keep it safe if it sits beside a walkway. Style the top with a low stack of art books or a stone tray — metal covers stay cooler on top than wooden ones, so they tolerate decor better.
3. Rattan Cane-Front Cover
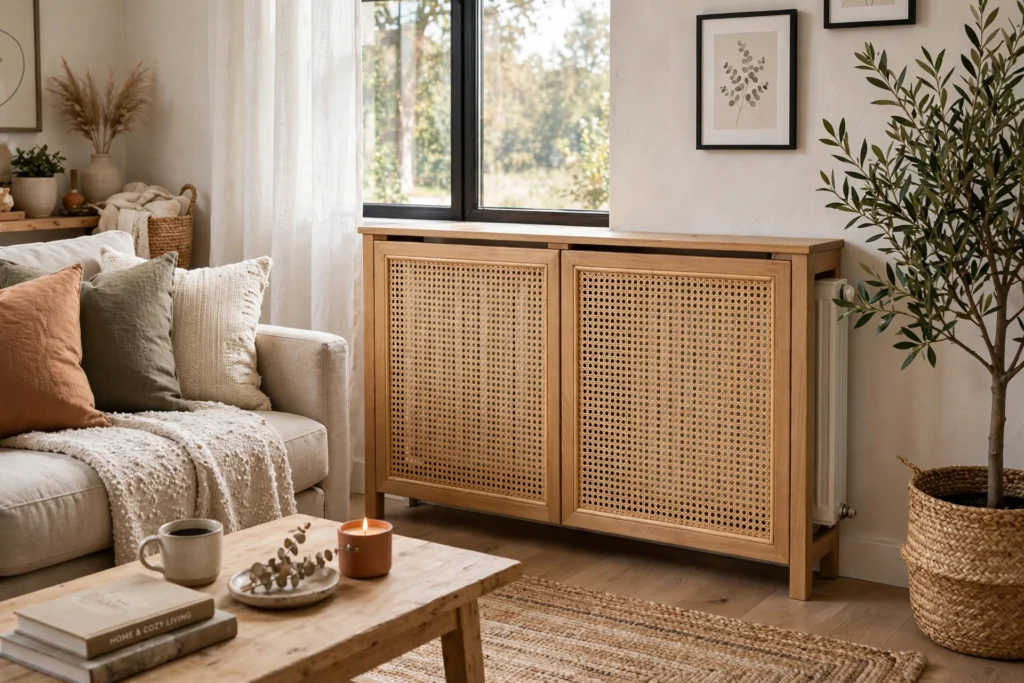
Cane webbing gives you the airflow of mesh with a much softer, warmer look that suits boho, coastal, and traditional rooms alike. The open weave is typically 50% open or more, so heat passes through easily, and the natural texture breaks up the flatness of a plain cabinet front. Buy pre-woven cane rolls and staple them into a simple pine or MDF frame for a convincing DIY version.
Keep cane away from direct contact with very hot steam radiators — for standard hot-water radiators it is perfectly fine, but the fibers can dry and become brittle if they sit inches from a scorching surface. Maintain the standard 50mm side clearance and seal the wooden frame with heat-tolerant paint. A cane-front cover pairs beautifully with layered textiles, and our guide to living room throw pillow ideas shows how to echo the natural tones on your sofa.
4. Cover Styled as a Console Table
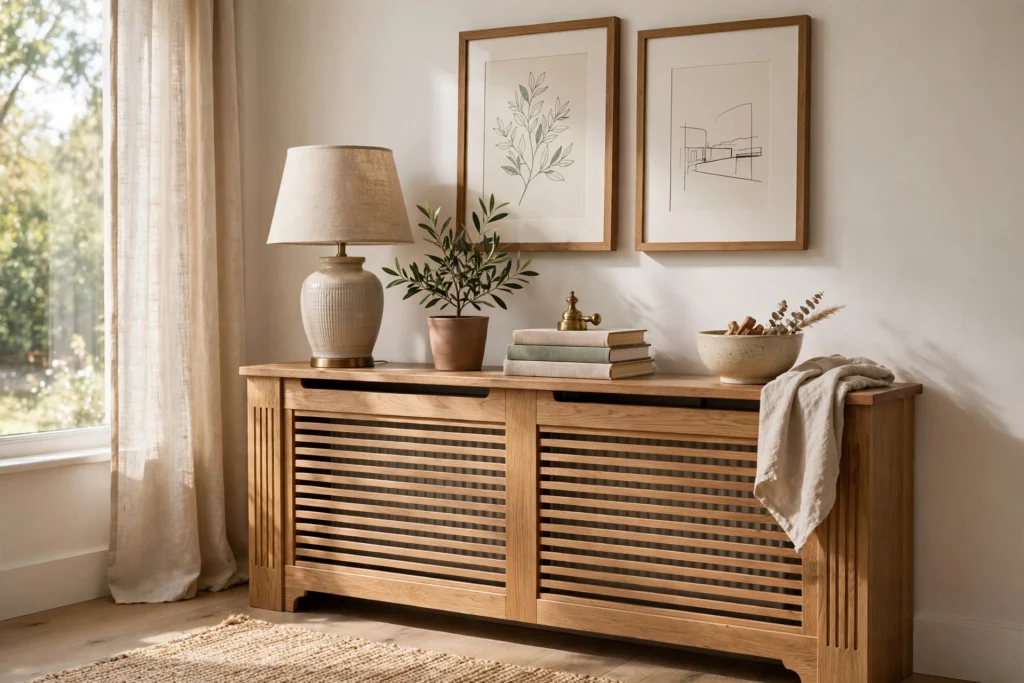
The cleverest covers do not look like covers at all. Build or buy a cabinet deep enough to enclose the radiator, then style the top exactly like a console: a table lamp (LED, low heat), a framed print leaned against the wall, and a small stack of books. Guests will never guess there is a radiator inside, and you gain a display surface the room was missing.
The critical detail is heat management on top. Keep the top panel at least 75mm above the radiator and choose decor that tolerates gentle warmth — ceramic, stone, and glass are safe, while candles can soften and warp in the rising heat. Never place anything flammable directly above the vents, and check that the thermostatic valve remains reachable through a side hatch or removable panel.
5. Bookshelf-Integrated Radiator Cover
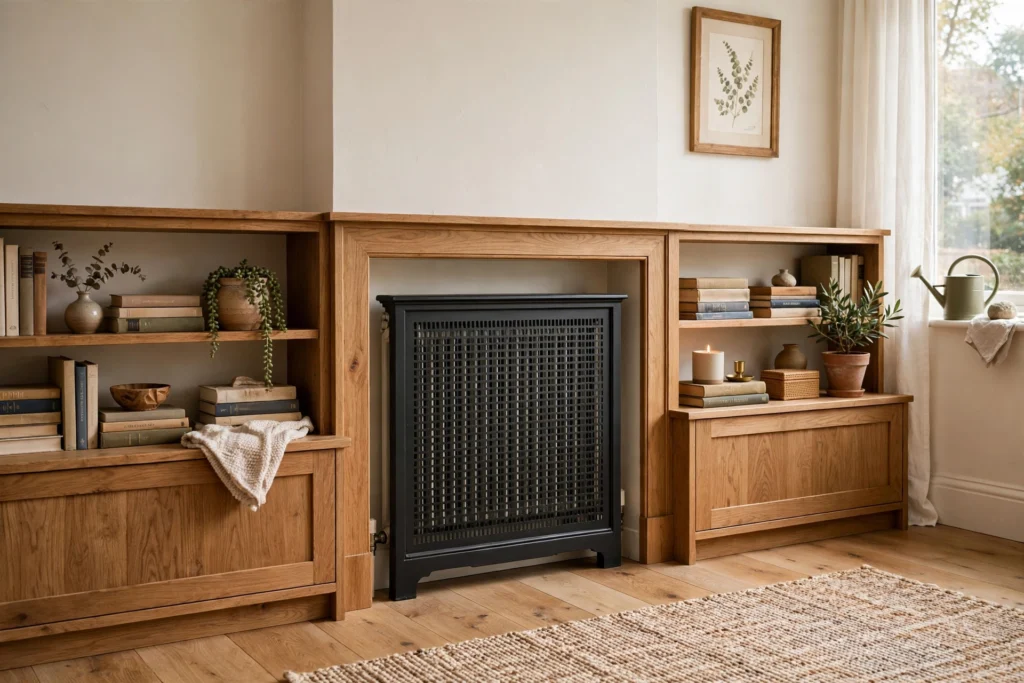
In a reading-focused living room, wrapping the radiator into a low bookcase kills two birds: the radiator disappears and you gain shelving. Build the case so the radiator sits in a central vented bay with solid shelving towers on either side, keeping books at least 100mm from the heat source. Paper and prolonged warmth are a bad combination, so the side towers do the real storage work.
Use slatted or mesh doors on the central bay and leave the back panel of that bay open to the wall for air circulation. Keep the bottom plinth vented or raised on short legs. This approach works best under a window, where the bookcase top doubles as a display ledge for plants that enjoy warmth — just choose heat-tolerant varieties and water them a little more often.
6. Window-Seat Cover With Cushion Top
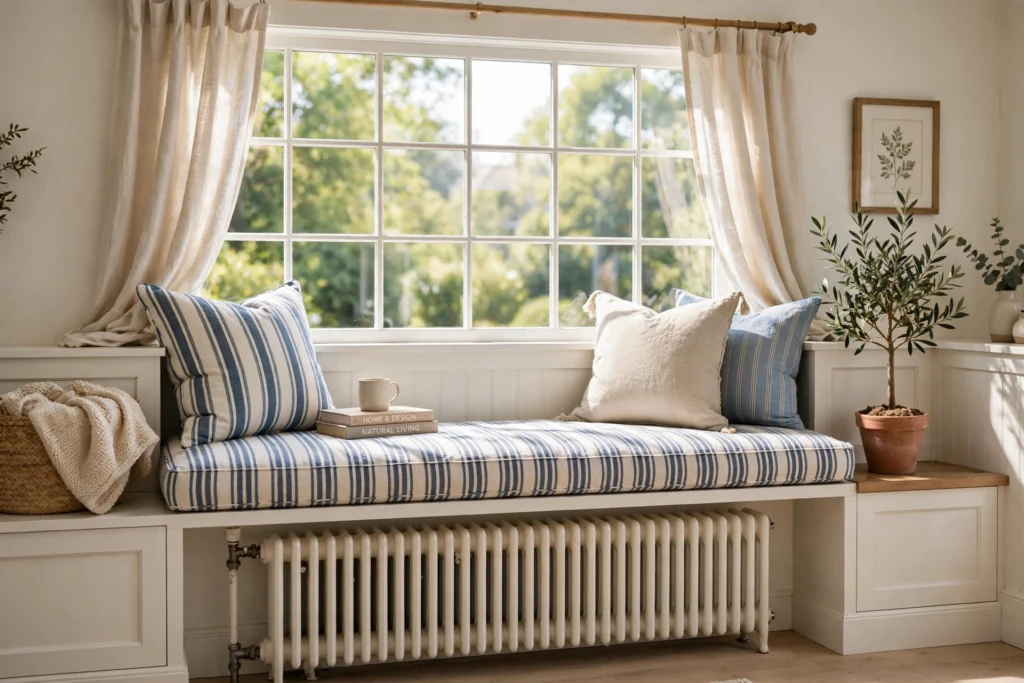
A radiator tucked under a window is the perfect candidate for a window-seat conversion. Build a sturdy box over the radiator with a hinged or lift-off cushioned lid, and suddenly the coldest wall in the room becomes the coziest seat. The seat box needs a vented front — vertical battens with gaps or a cane panel — and the cushion should be a separate, removable piece so heat never gets trapped against foam.
Engineer for weight: the box must support an adult sitting down, so use 18mm plywood or solid timber framing, not thin MDF. Hinge the lid or make it lift off completely for valve access. For styling inspiration on the surrounding wall, these living room accent wall ideas pair well with a built-in seat below the window.
7. Victorian Fretwork Grille Cover
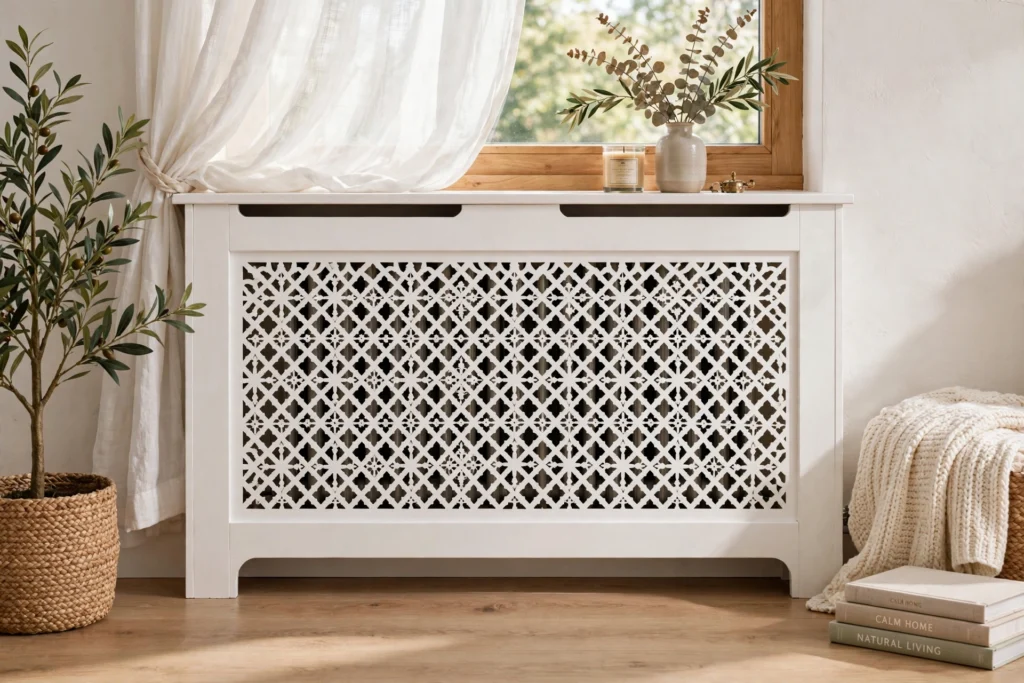
For period homes with ornate cast-iron radiators, a fretwork or jigsaw-cut grille front honors the architecture instead of fighting it. Decorative MDF or plywood panels with pierced patterns give 30–40% open area — enough for a hot-water radiator — while the pattern itself becomes a design feature. Paint it the same white as your woodwork for a seamless built-in look, or pick out the pattern in a contrasting color for drama.
Measure twice: Victorian radiators are often deeper than modern ones, so add 25mm to your depth clearance beyond the standard. Because these radiators run hot, keep the decorative front at least 50mm from the radiator face and avoid gluing delicate trim where heat cycling could pop it loose. Pin or screw trim instead, so seasonal movement does not crack the joints.
8. Painted-to-Match Seamless Cover
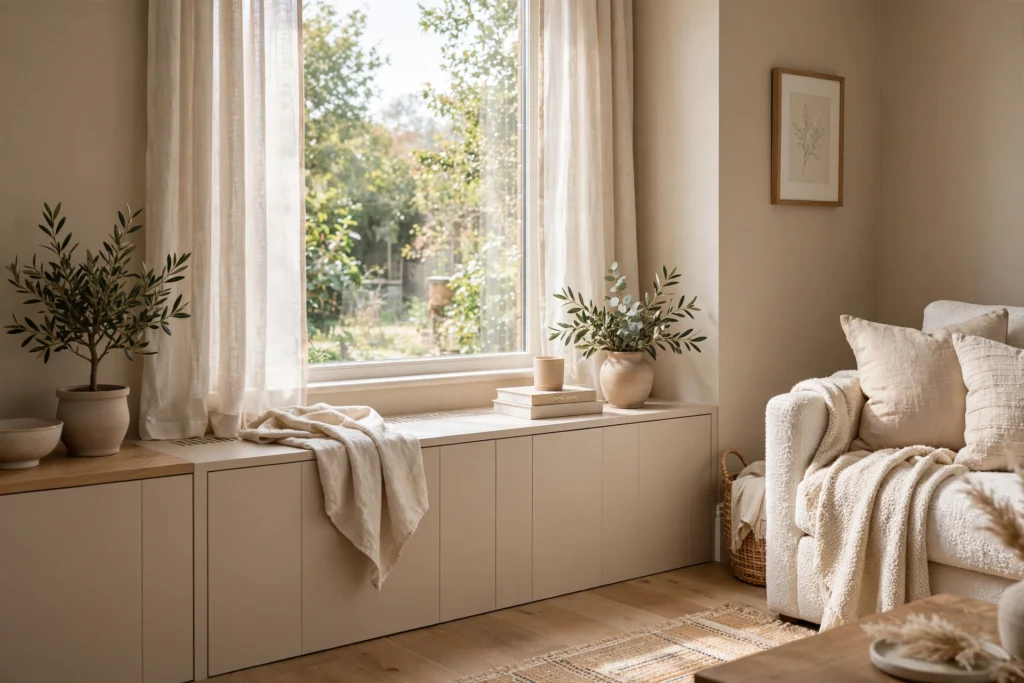
Sometimes the best cover is the one you barely notice. Painting a simple Shaker-style cover the exact same color as the wall — skirting boards included — makes the whole assembly read as architecture rather than furniture. Use the same paint finish as your woodwork, typically satin or eggshell, so the sheen matches.
This trick works best with flat-fronted covers and minimal detailing; busy profiles painted wall-color can look muddy. Before committing, paint a large test board and hold it against the wall in daylight — undertones shift dramatically next to warm radiator heat is not a factor for paint choice, but do use a heat-tolerant primer on any surface within 100mm of the radiator body. Keep a small touch-up pot, because covers near walkways collect scuffs.
9. Mirrored-Front Cover for Small Rooms
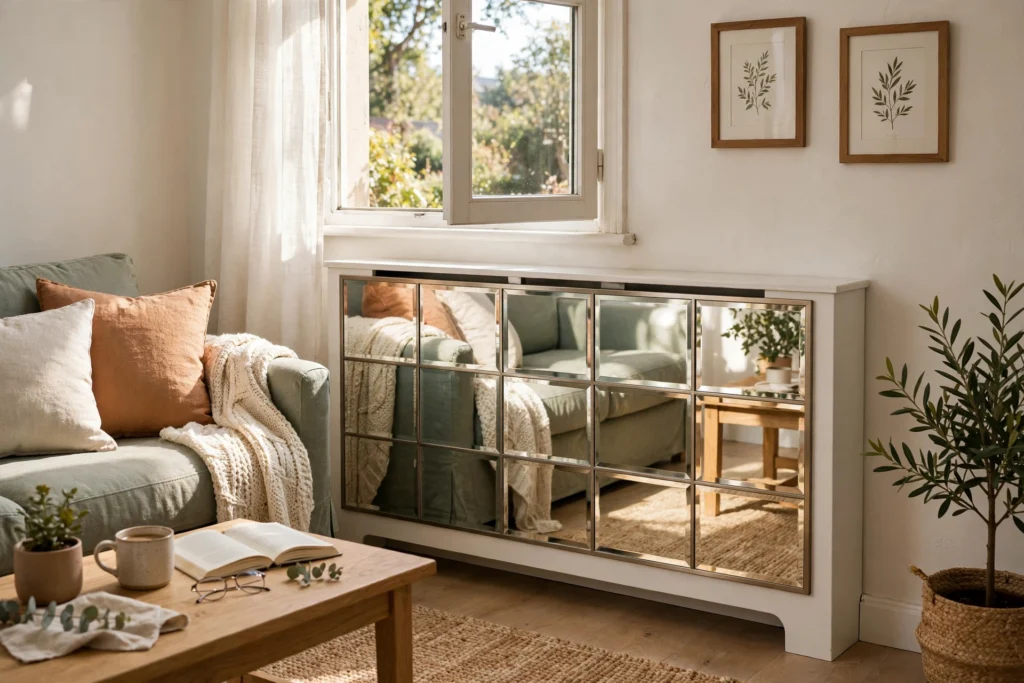
In a compact living room, a radiator cover with mirrored or antiqued-mirror front panels does double duty: it hides the radiator and bounces light around the room. Use safety-backed mirror panels set into a timber frame with ventilation gaps top and bottom — never seal a radiator behind solid mirror, which would block convection completely.
Keep mirrors clean, because warm air currents deposit dust on the panels faster than on a cool wall. This style suits glam, art deco, or minimalist rooms; pair it with layered lighting such as a floor lamp to multiply the glow after dark. Leave the standard clearances and make the mirror panels removable for servicing.
10. Floating Shelf Over an Open-Sided Cover
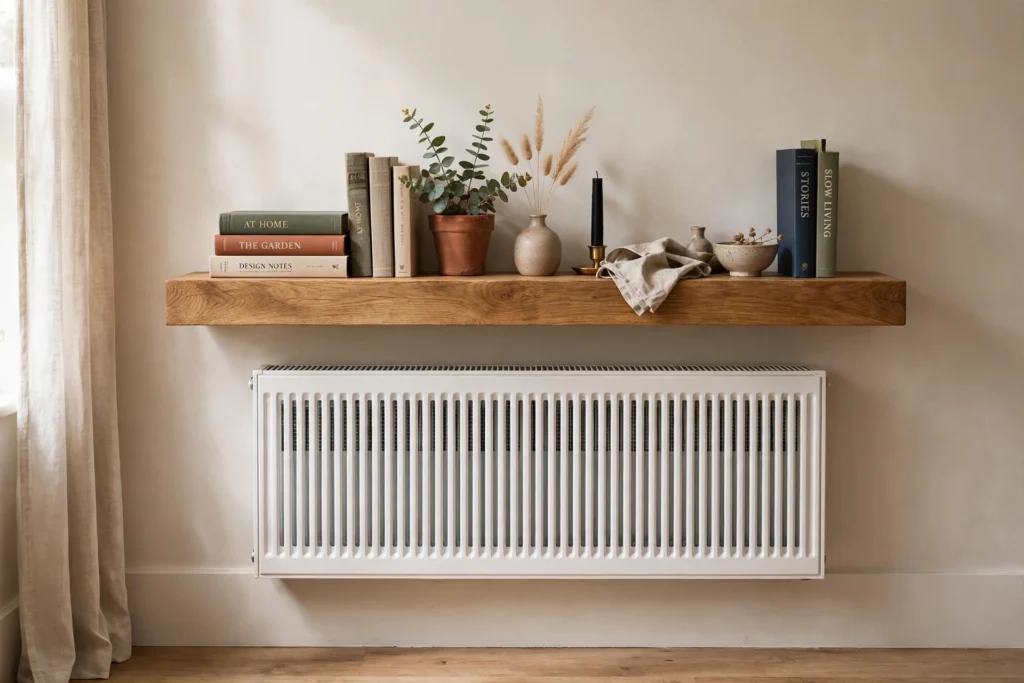
You do not always need a full cabinet. A chunky floating shelf mounted 150–200mm above the radiator, combined with simple side panels or even open sides, gives you display space while leaving convection almost untouched. The shelf deflects rising warm air gently into the room instead of letting it shoot straight up the wall and stain the paintwork.
Mount the shelf into studs or solid masonry — a floating shelf loaded with books is heavy, and plasterboard fixings alone will fail. Keep the shelf depth 25–50mm greater than the radiator depth so it fully caps the rising heat column. This minimalist approach suits modern rooms where a full cabinet would feel bulky, and it keeps the thermostatic valve completely accessible.
11. Two-Piece Removable Cover for Easy Valve Access
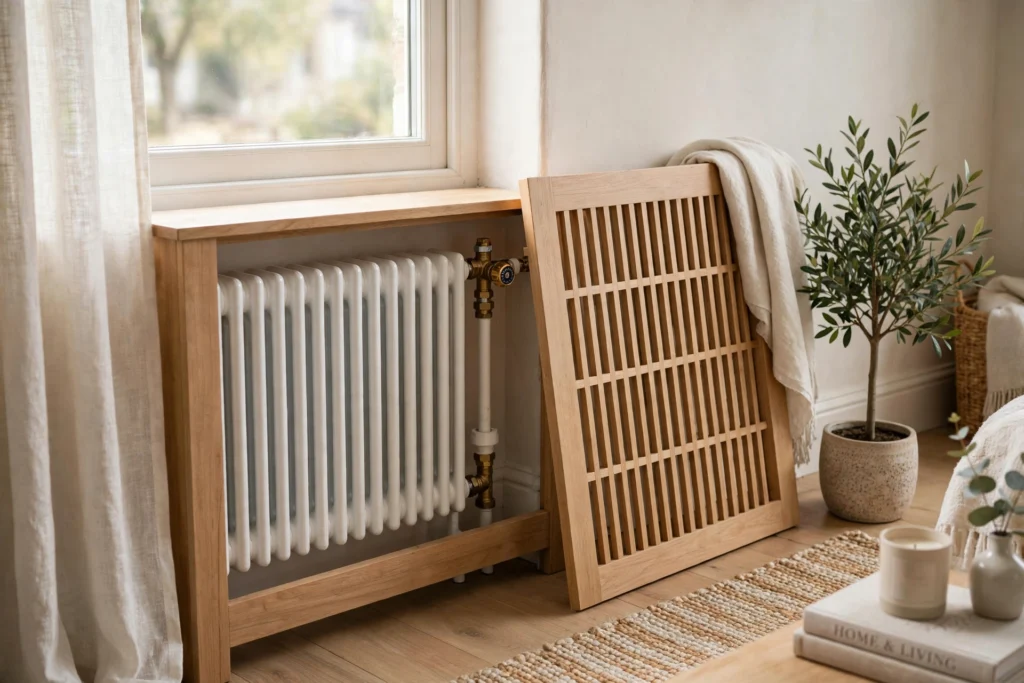
Thermostatic radiator valves need seasonal adjusting and occasional bleeding, so design access in from the start. A two-piece cover — a fixed top and back with a front panel that lifts off or swings open on concealed hinges — gives you full access in seconds. Magnetic touch latches keep the front flush and handle-free for a clean look.
Label the inside of the removable panel with the valve’s usual setting and the bleed key location, so anyone in the household can do basic maintenance. This is also the best style for renters: a freestanding two-piece cover needs no wall fixings and can move with you. Just make sure it cannot tip — add discreet anti-tip brackets if you have small children climbing nearby.
12. Cover With Pipe Boxing for Exposed Pipework
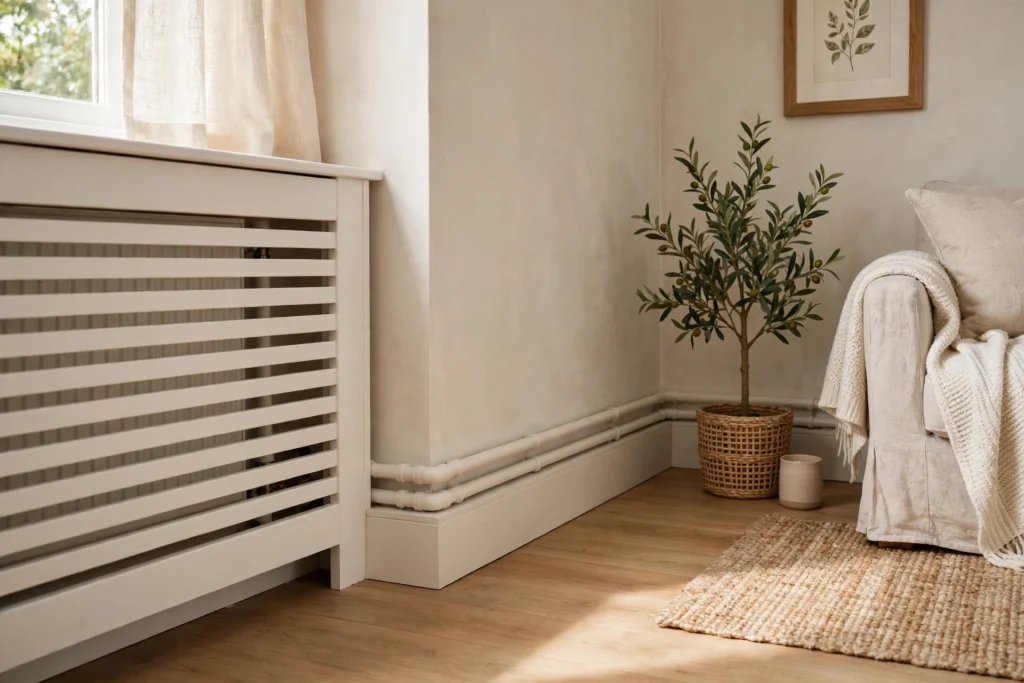
Radiators rarely sit alone; exposed supply pipes running along the skirting board spoil the effect of even the prettiest cover. Box the pipes in with a matching MDF or timber channel that runs from the cover to the wall or floor, painted to blend with the skirting. Leave a removable lid or clip-on front on the boxing so a plumber can reach the pipes without demolition.
Do not pack insulation tight around hot pipes inside the boxing — a little air space is fine and safer. Keep the boxing at skirting height so it reads as an extension of the woodwork. Understanding how your system moves heat helps here; background on how radiators transfer heat through convection explains why that air space matters.
13. White Shaker-Style Cover for Modern Farmhouse
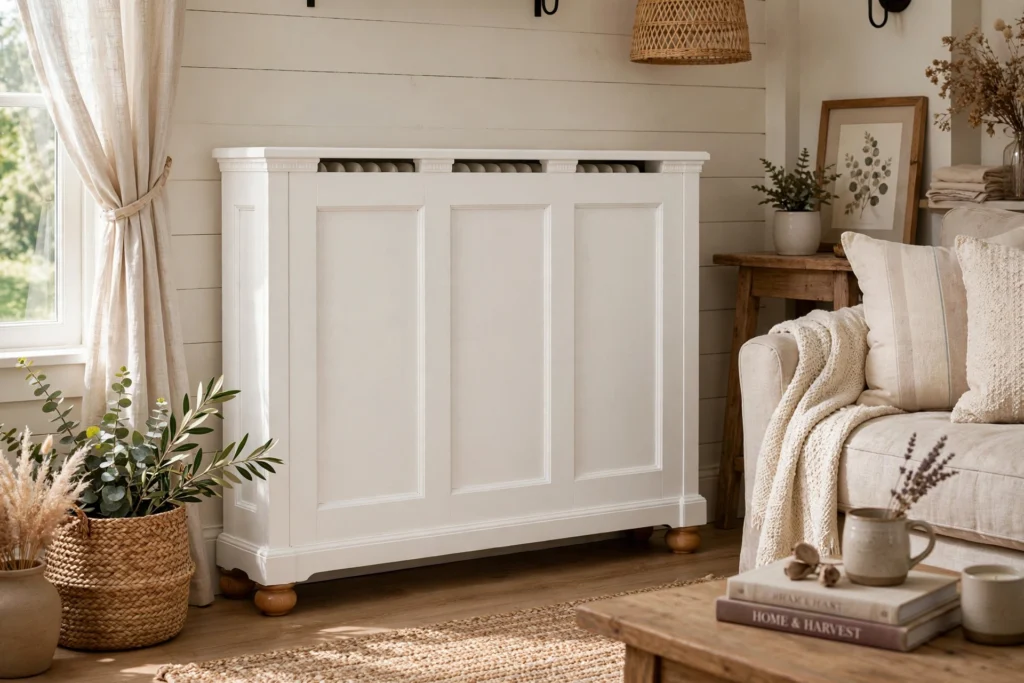
The Shaker profile — flat recessed panels with clean rails — is the farmhouse living room’s best friend, and it adapts perfectly to radiator covers. Use the slatted or mesh-panel center inside a Shaker frame so you get the furniture look with the airflow you need. A crisp white satin finish keeps the room feeling bright even in the depths of winter.
Build the frame from moisture-resistant MDF for painted finishes; it stays flat where solid wood might move with heat cycling. Add small bun feet to lift the whole cover 75mm off the floor, which both aids airflow and makes vacuuming underneath easy. Style the top with a runner, a low bowl, and one sculptural object — restraint keeps the farmhouse look fresh rather than cluttered.
14. DIY Plywood Cover: Cut List and Steps
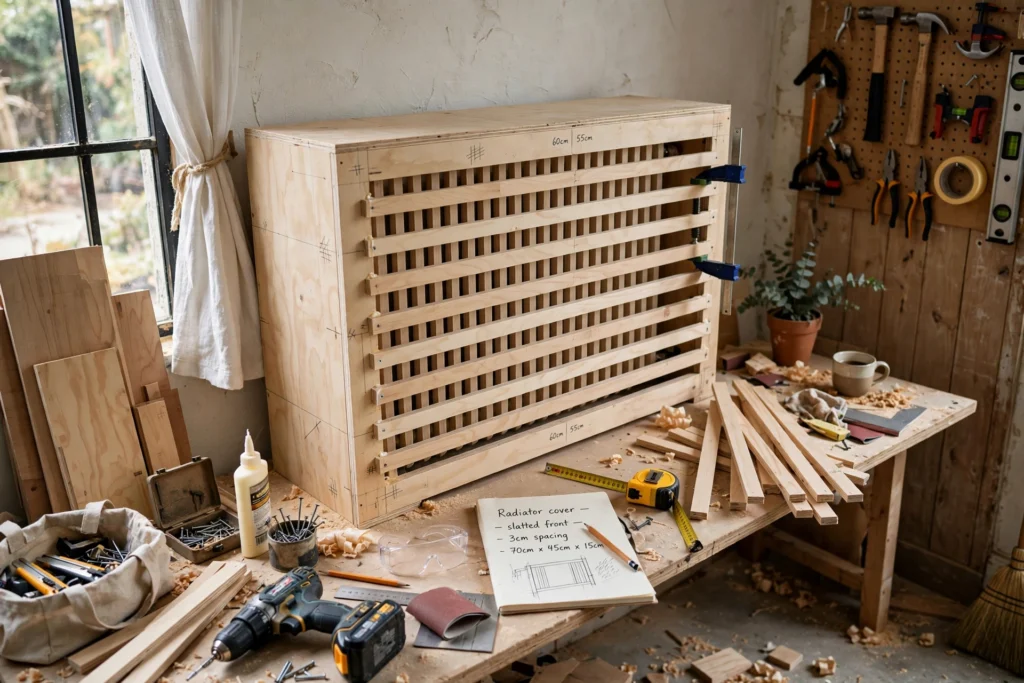
Building your own cover is a satisfying weekend project. For a radiator 1000mm wide × 600mm tall × 150mm deep, cut: two sides 700 × 250mm, a top 1100 × 250mm, a front frame to hold your vent panel, and a vent panel of slats or cane webbing. Add 50mm clearance on the sides, 100mm on top, and 75mm at the bottom in your dimensions.
Assemble with pocket screws and wood glue, sand to 180 grit, and finish with two coats of heat-tolerant eggshell. Fit the front panel with magnetic catches for tool-free removal. Total material cost typically runs a fraction of a store-bought cabinet, and you get a perfect fit for awkward alcoves. A radiator cabinet — the traditional name for these covers — has been hiding ugly heating since the Victorian era, as the history of the radiator cabinet shows.
15. Low-Profile Cover for Under-Window Radiators
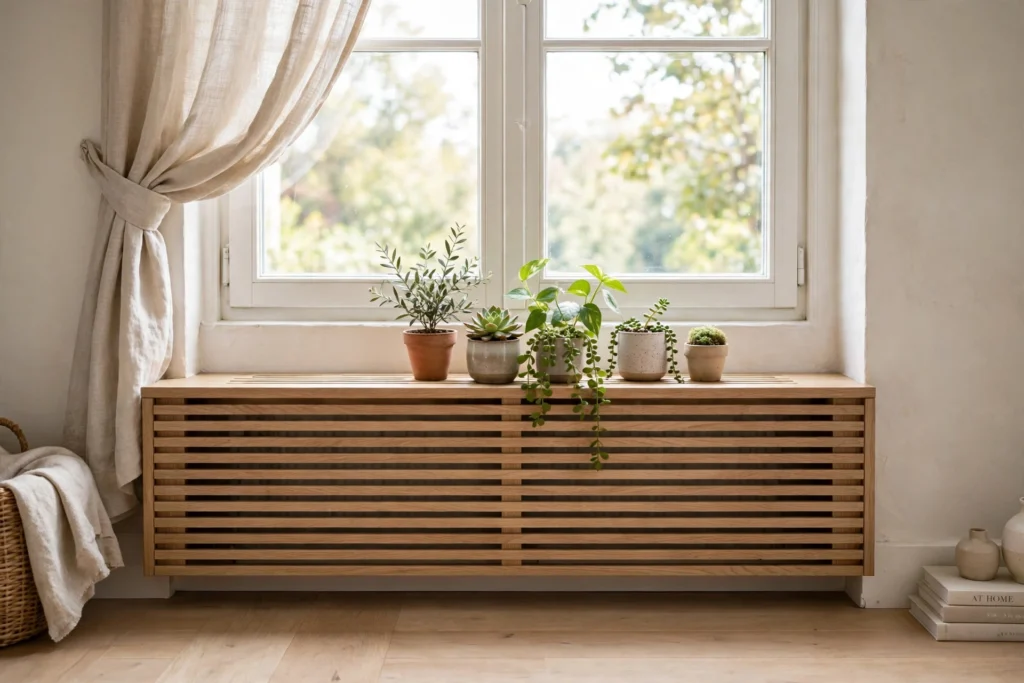
Radiators under windows are usually low and wide, and a tall cover there would block light and look wrong. Build a low-profile cover that sits just 50–75mm above the radiator top, with a deep top panel that works as a display shelf for small plants and frames. Keep the front fully vented with wide-spaced slats since the reduced top clearance leaves less room for error.
Because the top is close to the heat source, choose decor carefully: ceramics, glass, and stone are fine, but avoid anything wax-based or heat-sensitive. This low shape also keeps sightlines open across the room, which matters in open-plan spaces. Anchor the cover to the wall with discreet L-brackets so it cannot shift and pinch the pipework.
Frequently Asked Questions
Do radiator covers reduce heat output?
A well-designed cover reduces heat output only slightly — typically a few percent — because convection still works through vented fronts, open bottoms, and top gaps. Solid, unvented covers are the real problem and can noticeably cool a room. Keep at least 50mm of side clearance, 75mm or more above, and an open or vented bottom, and choose fronts with 20% or more open area to keep efficiency high.
What clearance does a radiator cover need?
Allow a minimum of 50mm (2 inches) on each side, 75–100mm above the radiator, and about 75mm of open space beneath for cool air intake. Deeper Victorian radiators may need extra depth clearance. The thermostatic valve must remain reachable, so include a removable panel, hinged door, or access hatch in your design rather than sealing the cover shut.
What is the safest material for a radiator cover?
Solid wood, moisture-resistant MDF, and powder-coated metal are all safe choices for standard hot-water radiators, which typically run at 60–75°C at the surface. Avoid plastics that could soften, and never drape fabric directly over a radiator. Keep the cover’s wooden parts from touching the hot metal — the air gap is doing real safety work, not just helping efficiency.
Can I put things on top of a radiator cover?
Yes, but choose heat-tolerant decor. Ceramic vases, stone trays, glass objects, and books are fine on a cover top with proper clearance. Avoid candles (they soften), aerosol cans, electronics, and anything flammable. If the top feels too hot to rest your hand on comfortably, increase the gap above the radiator or improve the front ventilation.
How do I bleed a radiator that has a cover?
Design for it: use a front panel that lifts off, swings on hinges, or is held by magnetic catches. You need access to the bleed valve (usually at the top corner) and the thermostatic valve. A freestanding cover can simply be pulled forward. Never skip bleeding because the cover is inconvenient — trapped air makes radiators noisy and inefficient.
Keep Exploring
A radiator cover is one of those rare upgrades that solves a visual problem, adds usable surface space, and costs far less than replacing the heating itself. Start by measuring your radiator and checking your valve access, then pick the style that matches your room — and enjoy a living room where the heating finally pulls its decorative weight. For the wall behind it, our living room console table decor ideas show how to style the surface you have just gained.