
Kitchen beadboard ideas bring one of the coziest textures in home design exactly where it belongs: the kitchen. Beadboard — narrow tongue-and-groove boards with a distinctive beaded ridge between each groove — adds rhythmic, handcrafted texture to island fronts, backsplashes, ceilings, and walls. In the kitchen, it reads as instant cottage warmth, breaking up flat expanses of drywall and painted cabinetry with shadow lines that catch the light.
This guide keeps the focus strictly on the kitchen: where to put beadboard in this specific room, which materials survive its heat and humidity, and how to finish it so it looks intentional rather than dated. The fifteen ideas below cover every kitchen application, from the classic island front to the often-overlooked ceiling.
1. Beadboard Island Front
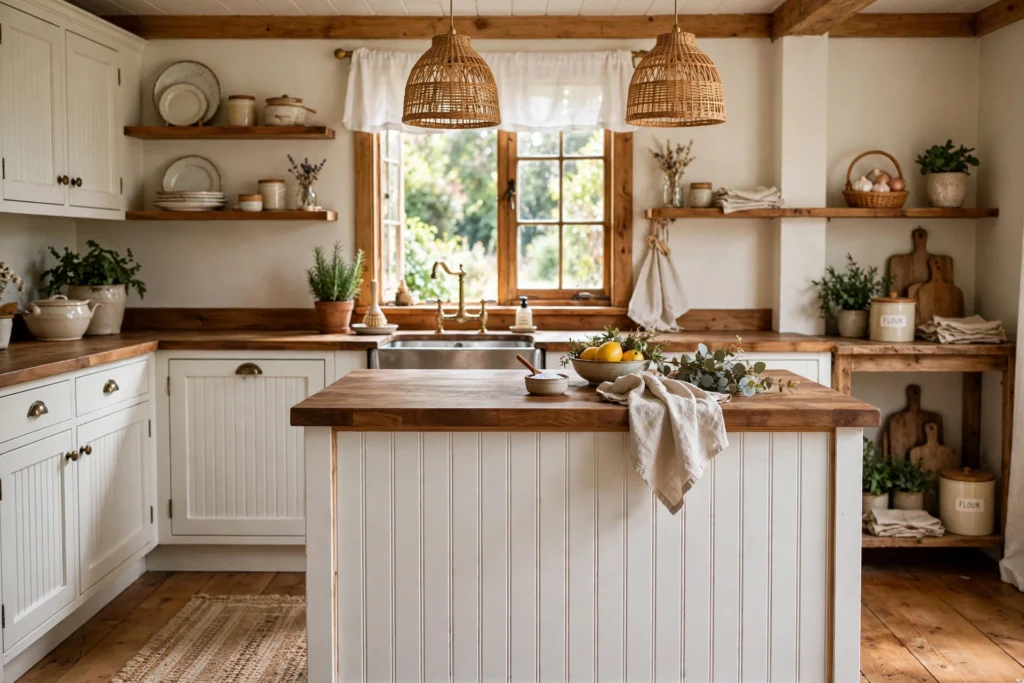
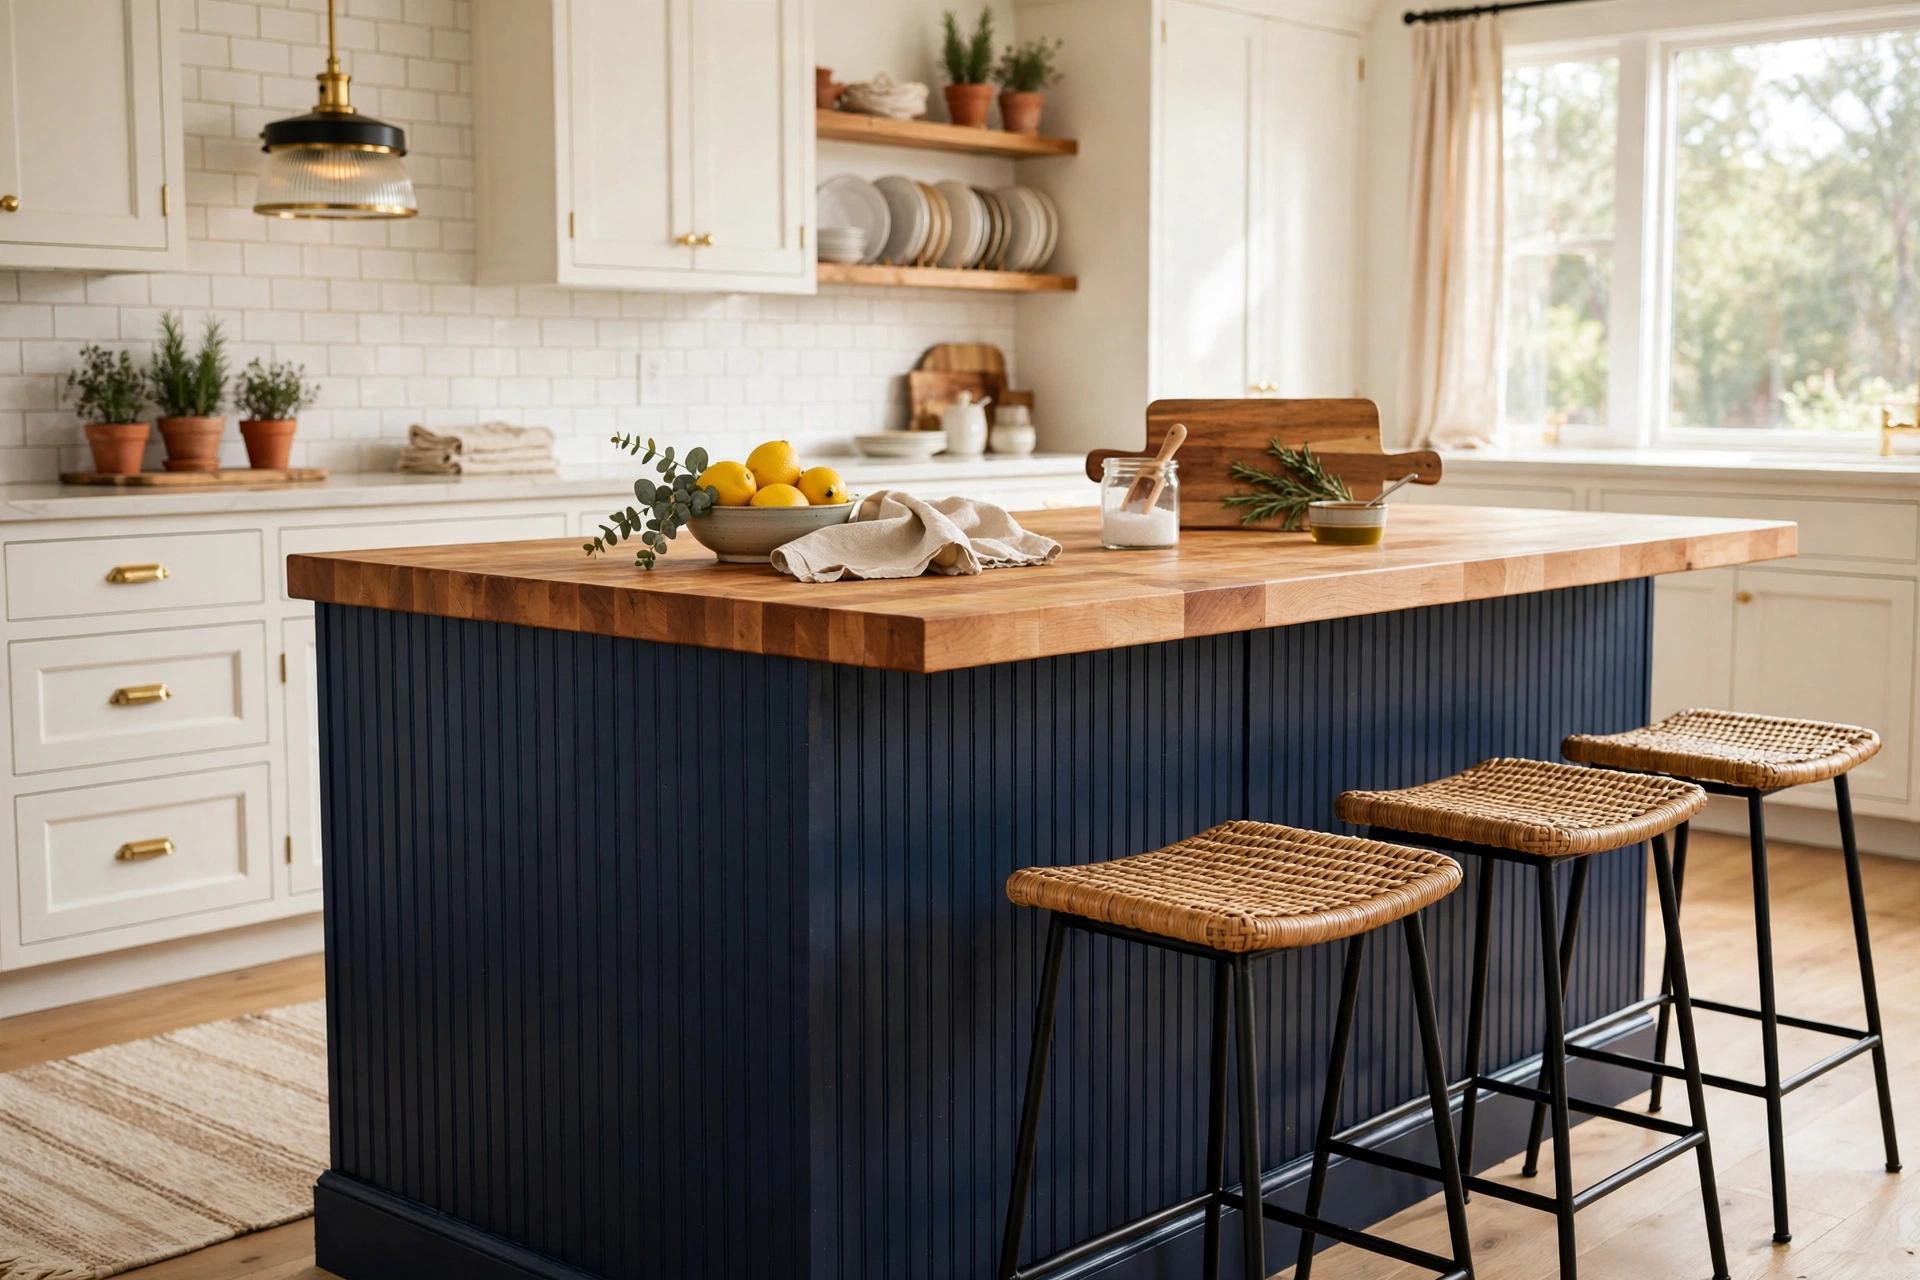
The beadboard island front is the signature kitchen application — and the most transformative. Wrapping the island’s base in beadboard turns a plain box into furniture. Use full sheets of beadboard paneling (four-by-eight-foot sheets are the most economical) cut to fit each face, applied with construction adhesive and finished with baseboard and a chair rail cap for a furniture-grade look.
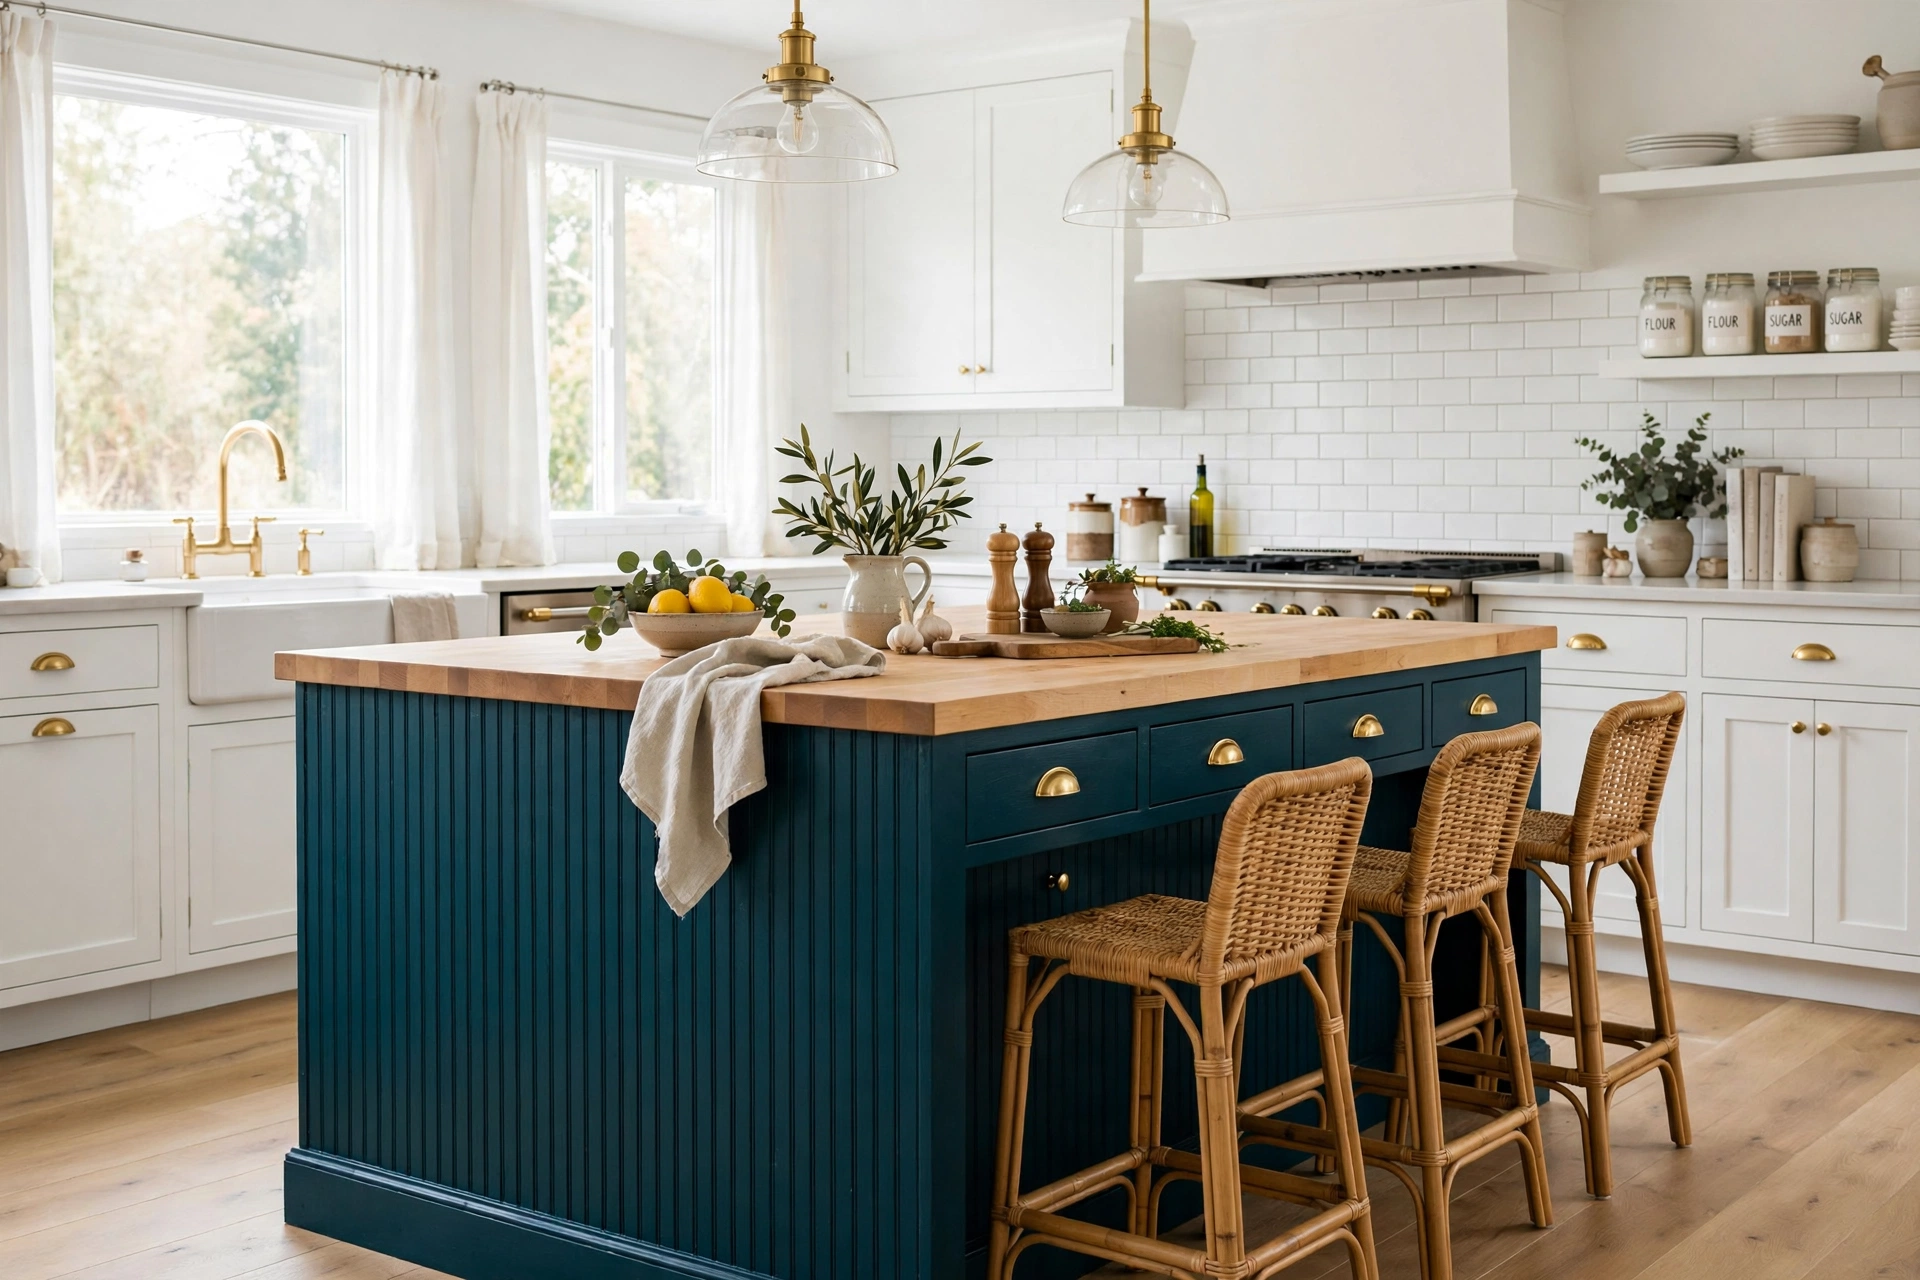
Paint the beadboard to match the island or go bold with a contrasting color — navy, forest green, or charcoal islands with white perimeter cabinets are a classic combination. This is a weekend DIY: measure each face, cut with a circular saw, glue, nail, caulk, and paint. One detailed walkthrough covers the full island update process from measuring through final paint (A House in the Hills’ beadboard island guide). For more island design inspiration, see our kitchen island guide.
2. Beadboard Backsplash
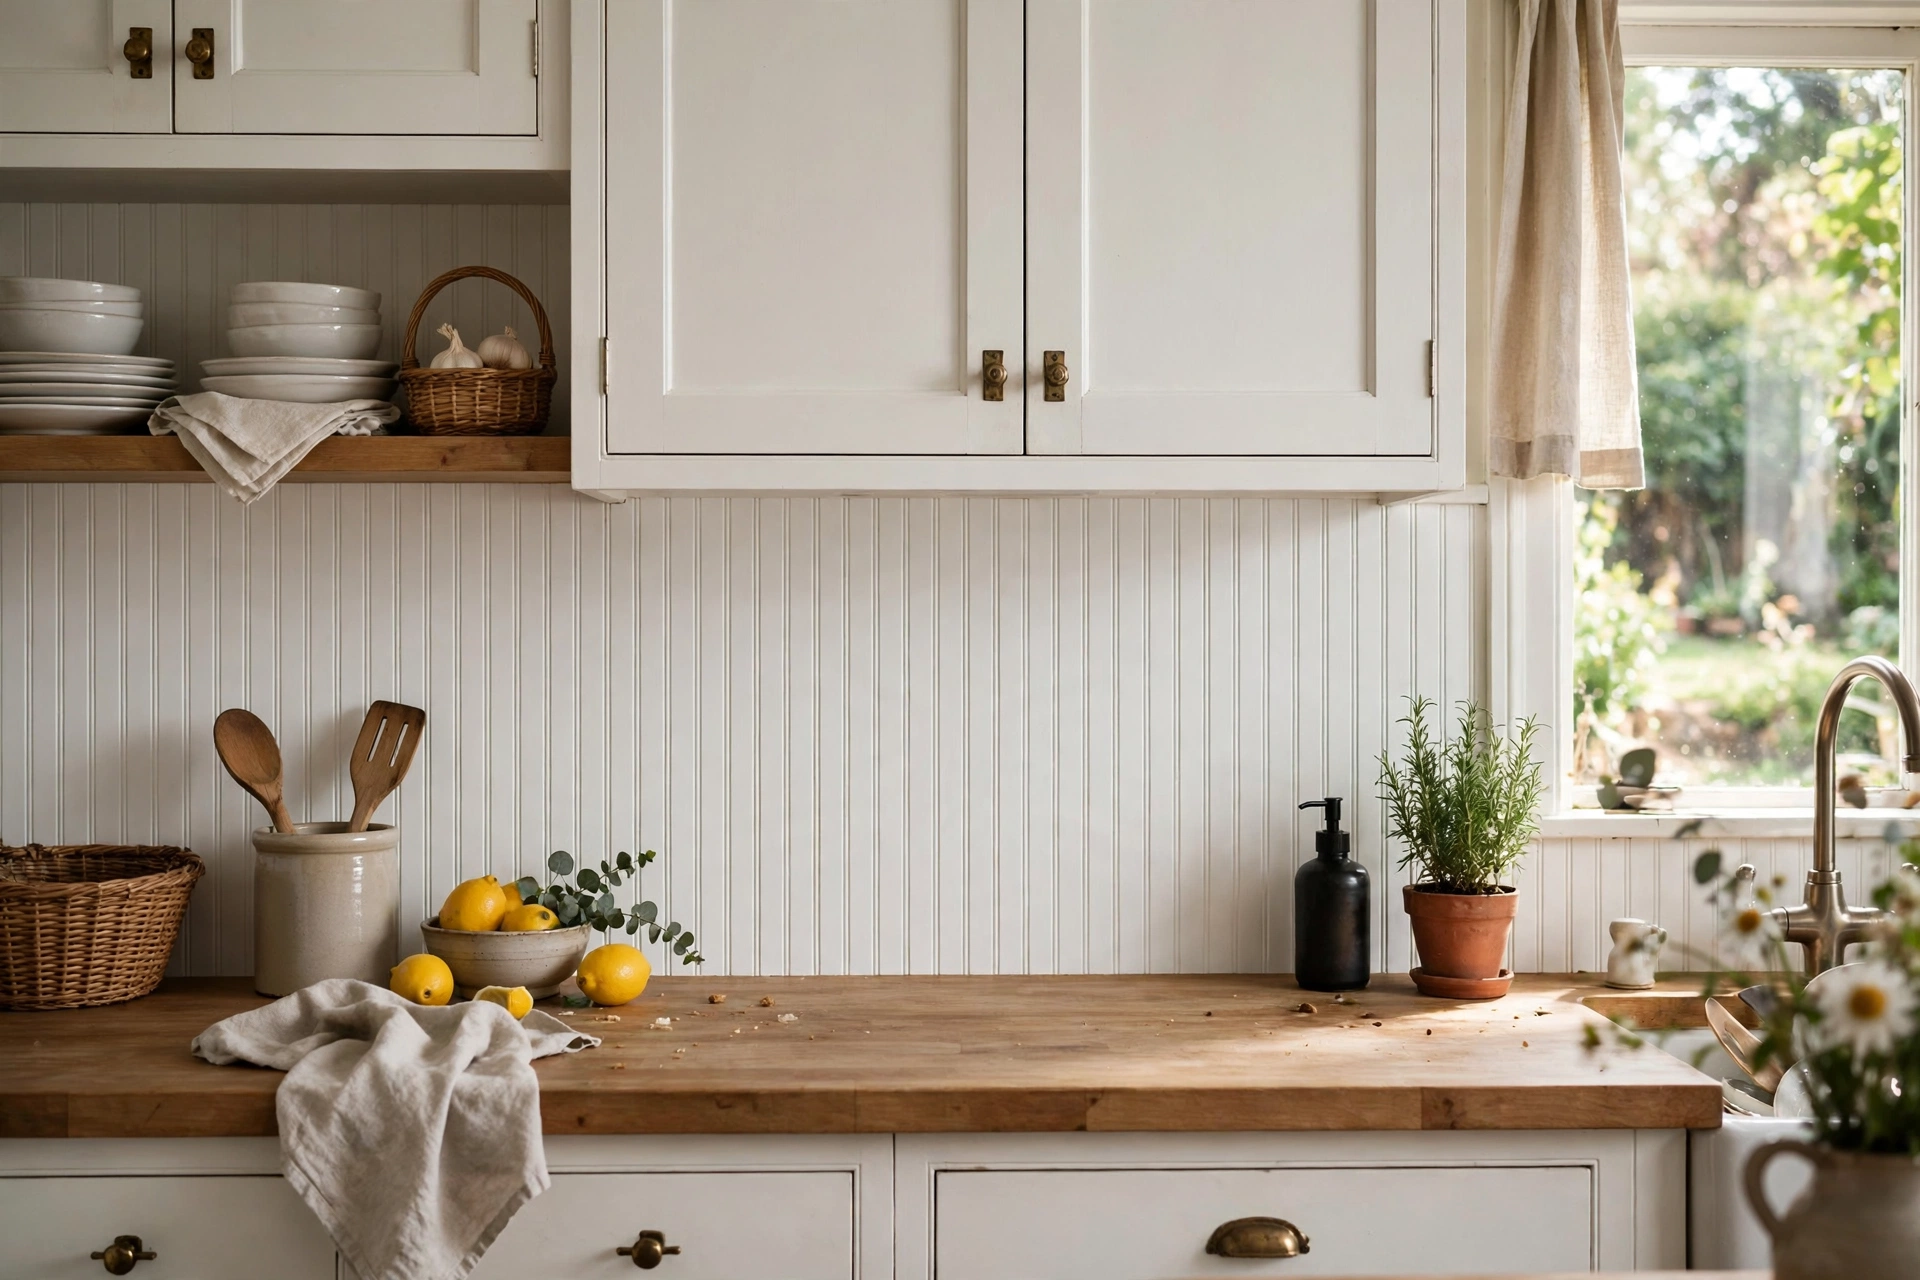
A beadboard backsplash is the budget-friendly alternative to tile, and in a cottage kitchen it looks completely at home. Run beadboard sheets from countertop to the bottom of the upper cabinets (typically eighteen inches), sealing every seam and edge with paintable caulk. Because this zone takes splashes, use a moisture-resistant beadboard — PVC or sealed MDF — rather than raw wood, and finish with at least two coats of semi-gloss or satin paint for wipeability.
Behind the range, add a stainless or tile panel as a heat shield; beadboard should not sit directly behind an open-flame cooktop. The Spruce’s roundup of beadboard backsplash applications shows how varied this look can be, from full-height installations to beadboard paired with a tile cap (The Spruce’s beadboard backsplash ideas). For tile alternatives in the same zone, browse our backsplash guide.
3. Beadboard Kitchen Ceiling
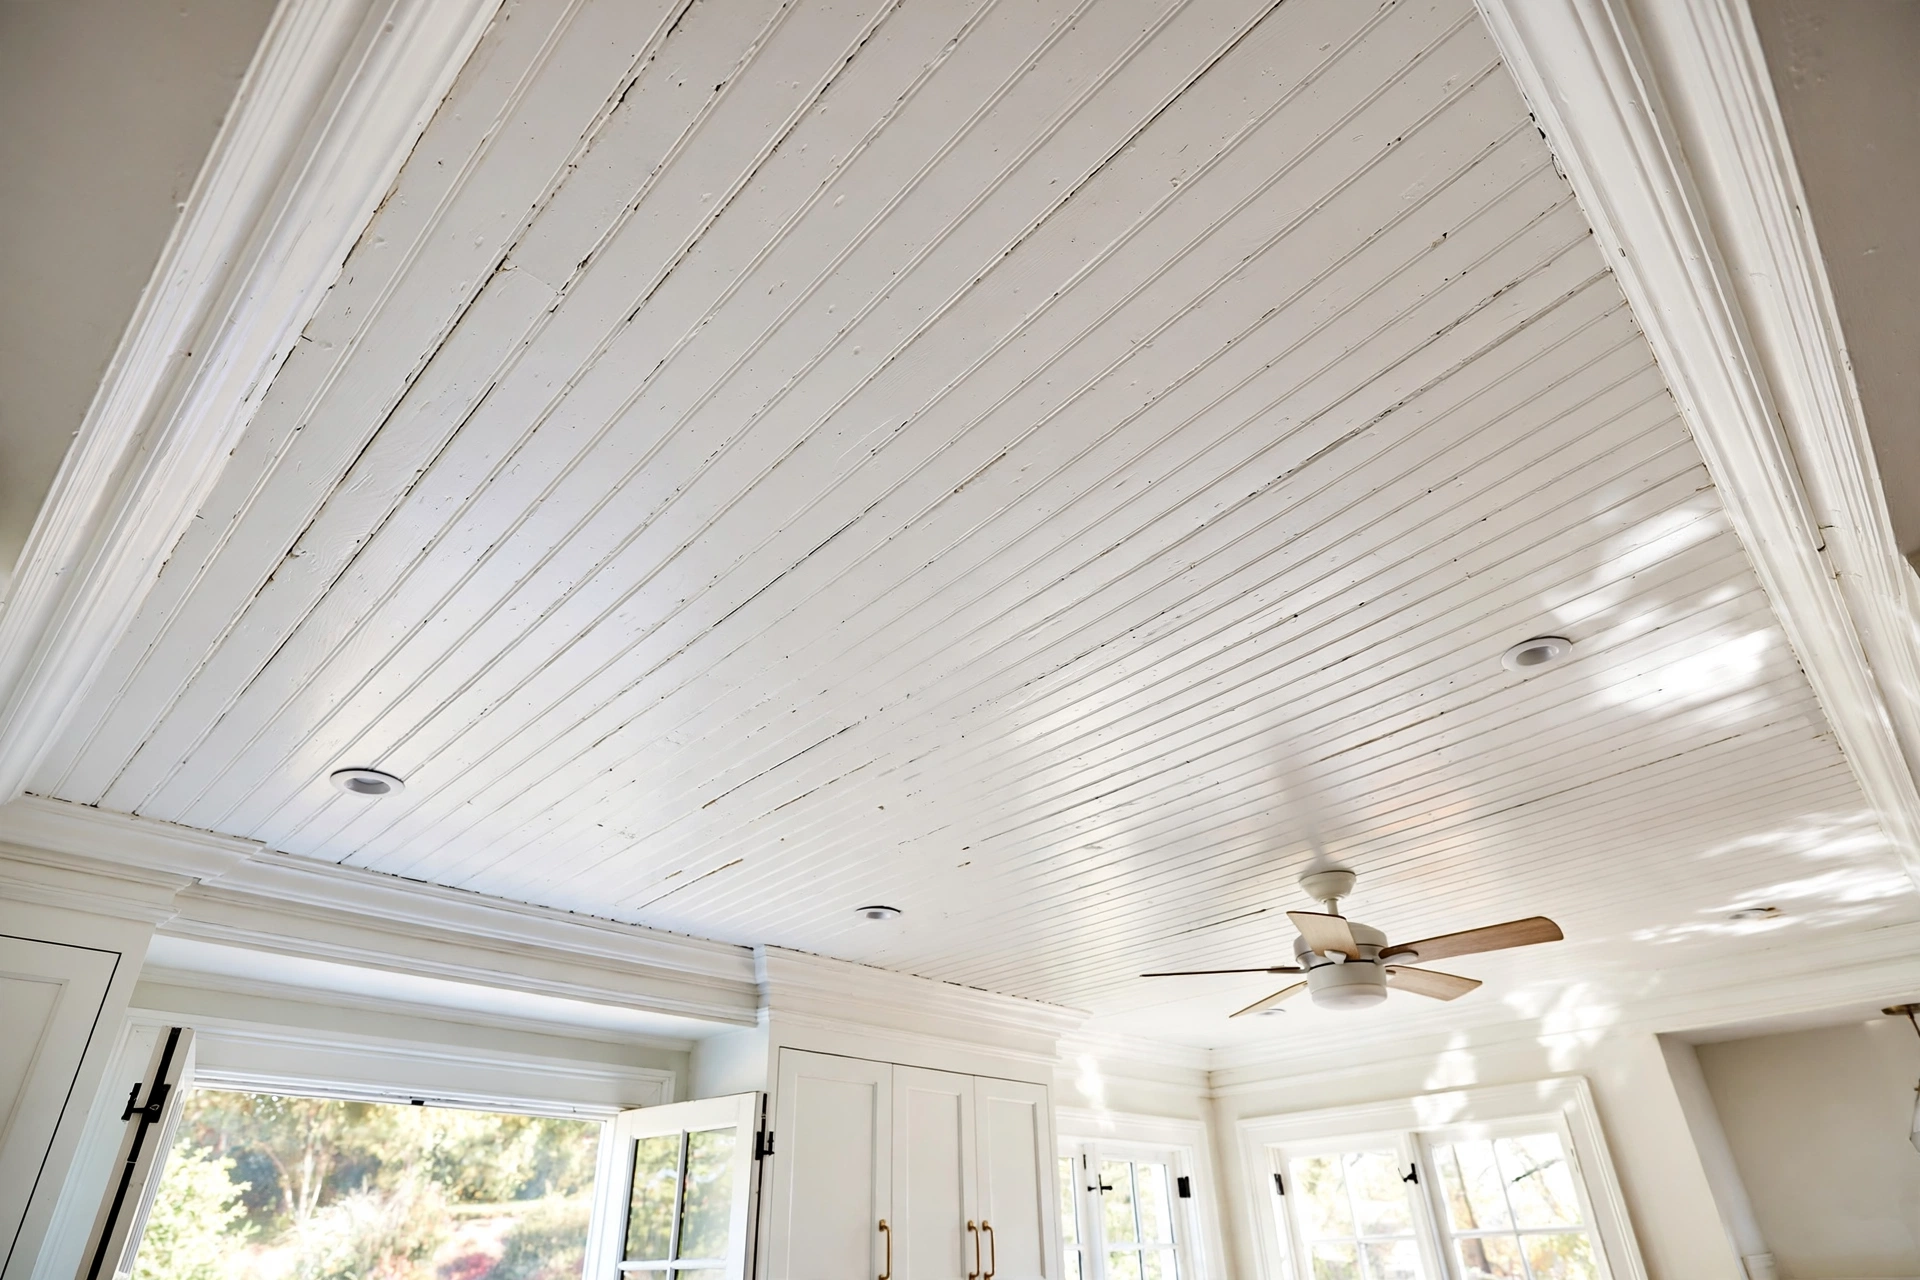
The ceiling is the most dramatic place for kitchen beadboard — and the one homeowners forget. Running beadboard across the kitchen ceiling adds warmth overhead and makes standard eight-foot ceilings feel intentional rather than plain. Install sheets perpendicular to the joists, nailing into the joists themselves (not just drywall) with a brad nailer, and cover the perimeter with crown molding.
Paint the ceiling beadboard bright white to bounce light, or try a soft haint blue for Southern porch charm brought indoors. This is a two-person job: full sheets are unwieldy overhead, so rent or borrow a drywall lift. The payoff is enormous — the ceiling becomes the kitchen’s fifth wall, textured and characterful.
4. Full-Height Beadboard Accent Wall
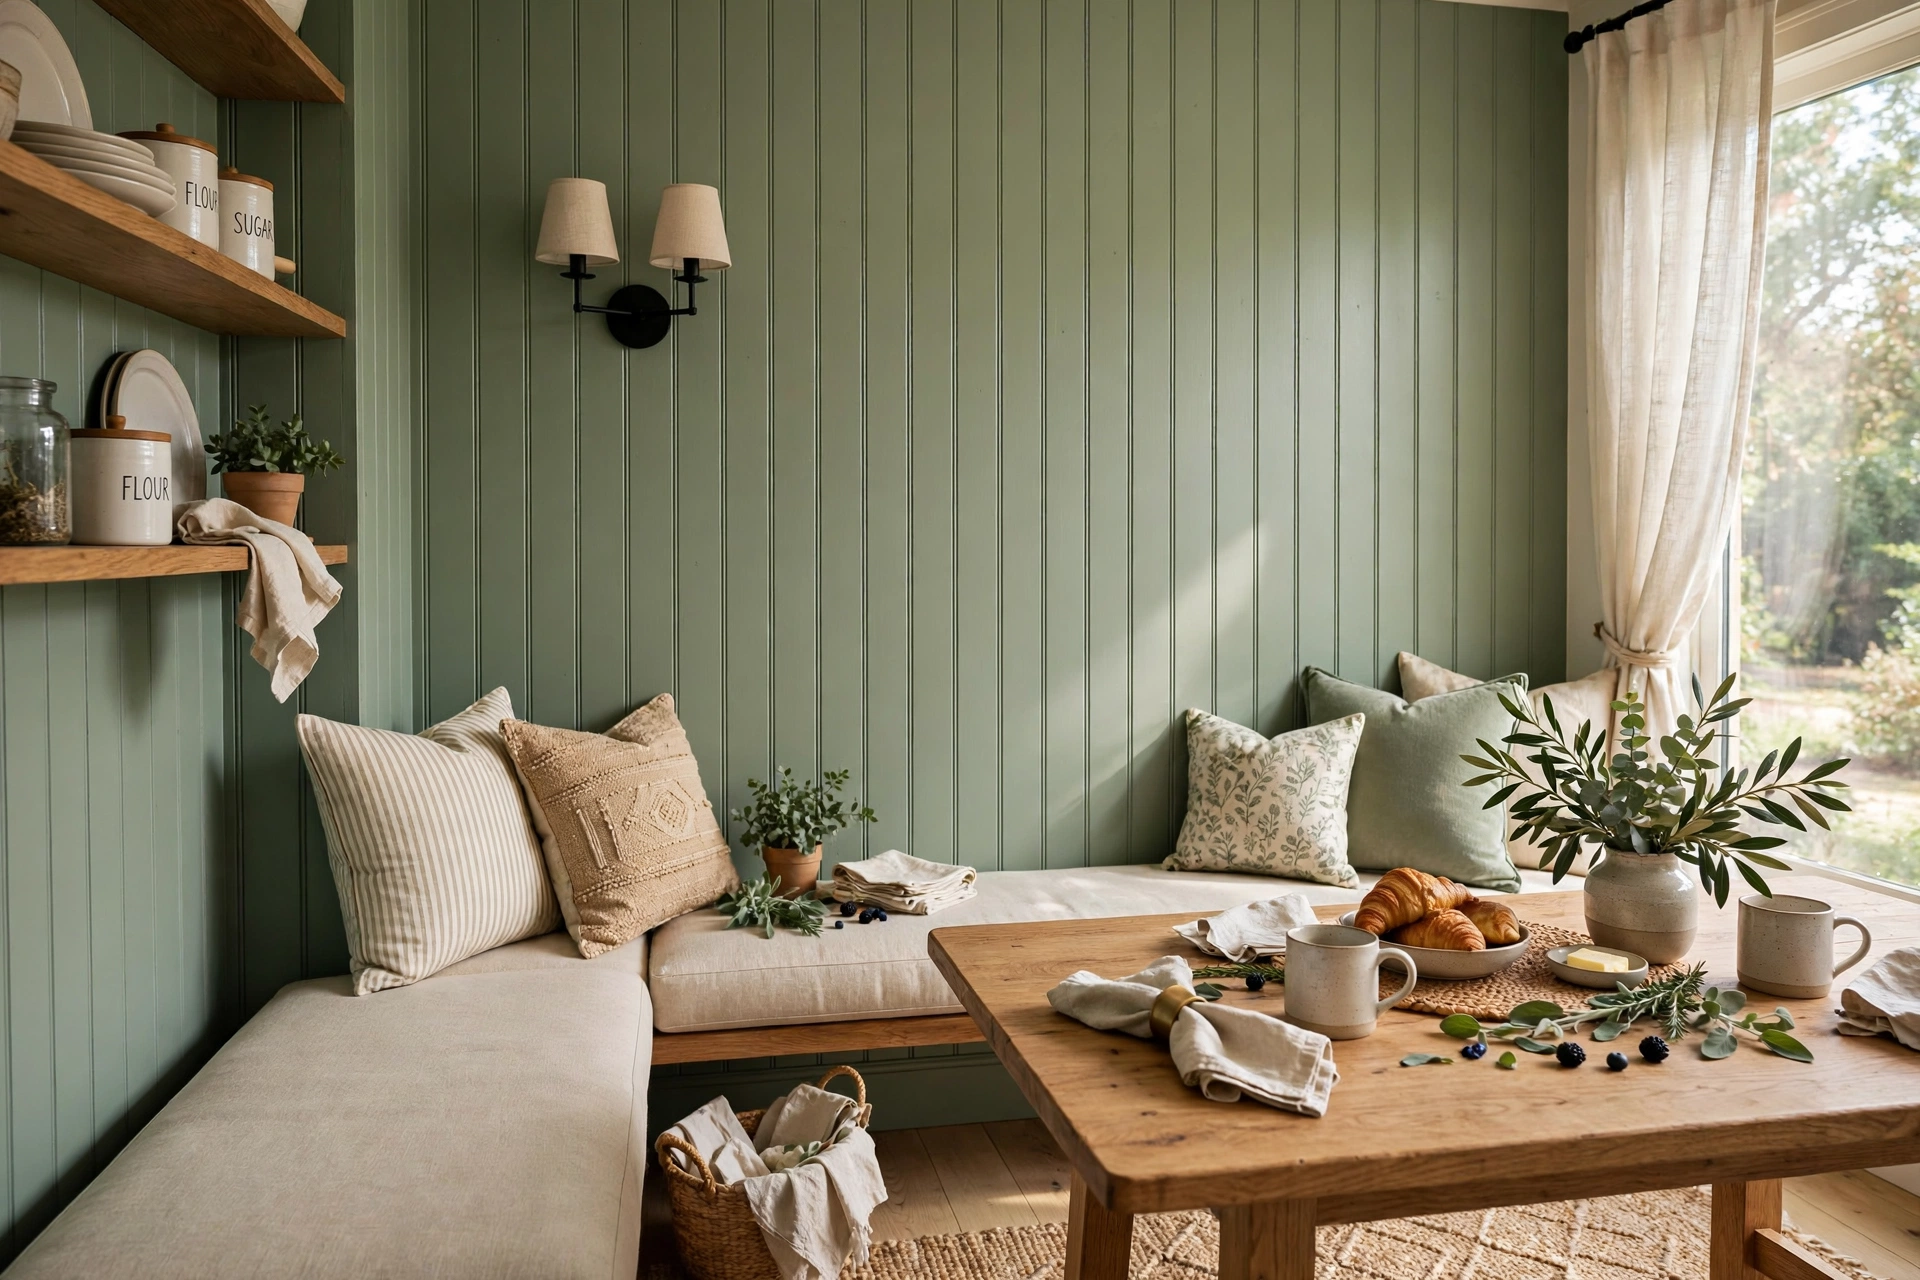
Dedicate one kitchen wall to full-height beadboard for a strong cottage statement. The wall behind a banquette, the wall facing the island, or the wall flanking a range are all good candidates. Run the boards floor to ceiling, finishing the top with a simple cap rail and the bottom with baseboard that matches the rest of the room.
In a small kitchen, keep the beadboard white or cream so the texture adds interest without visual weight; in a larger kitchen, a color like sage green or dusty blue turns the wall into the room’s focal point. Hang open shelves or art directly on the beadboard using screws driven into studs — the boards themselves are only a quarter to three-eighths of an inch thick and will not hold weight alone.
5. Beadboard Wainscoting in the Eat-In Area
Wainscoting — beadboard run to chair-rail height (typically thirty-two to thirty-six inches) with a cap rail on top — is perfect for the eat-in nook or breakfast area. It protects the lower wall from chair scuffs while adding cottage texture exactly where the family gathers. Paint it the same color as the trim for a classic look, or match it to the walls for subtle texture.
Cap the wainscot with a chair rail wide enough to hold a small plate ledge, and you have doubled its function. This is a beginner-friendly install: level the chair rail line around the room, nail up the sheets, add the cap, caulk, and paint. The whole nook can be done in a weekend.
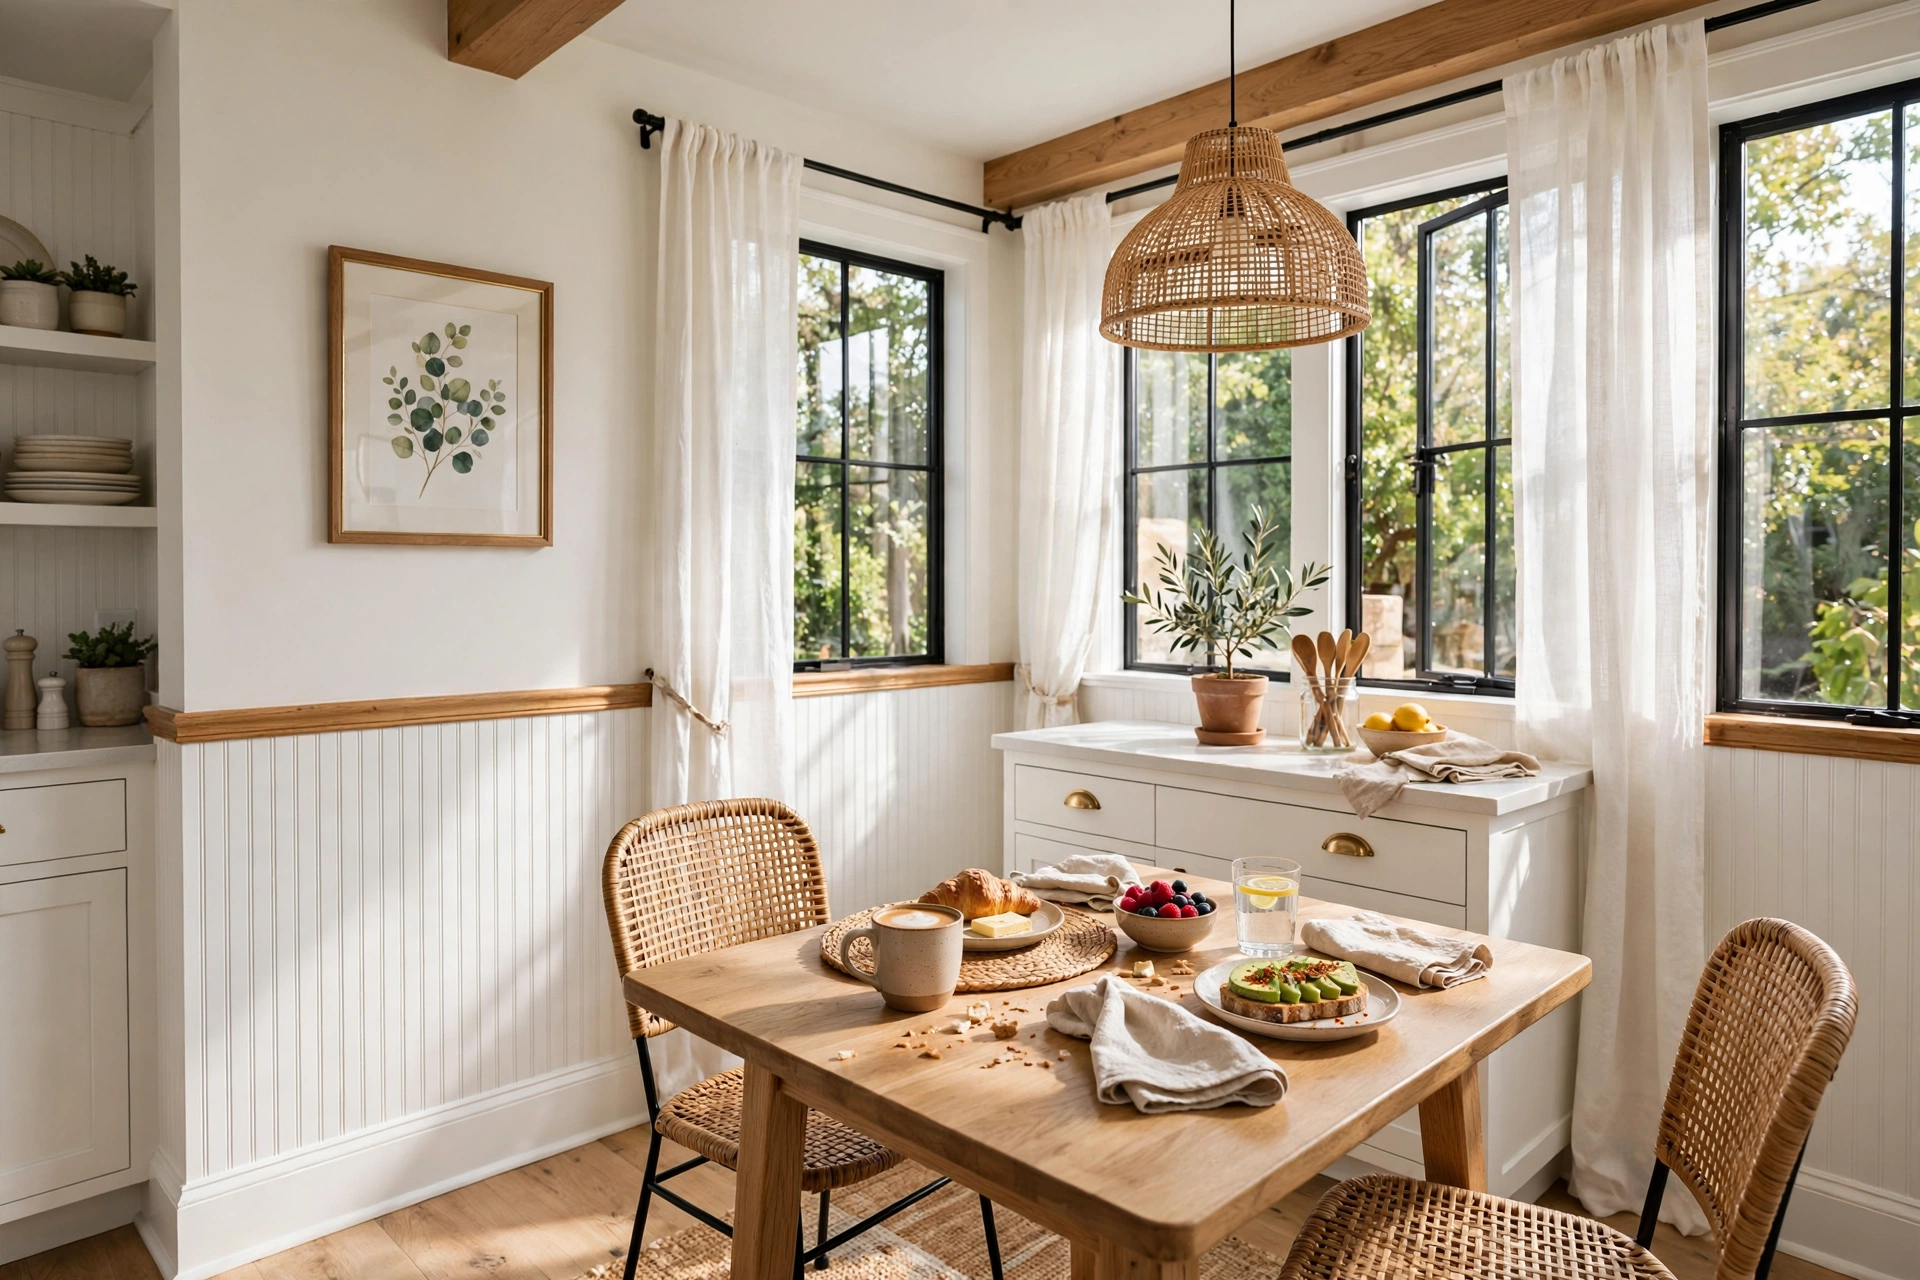
6. Beadboard Inside Glass-Front Cabinets
Line the interior backs of glass-front cabinets with beadboard for a delightful surprise every time the doors open. Cut thin beadboard panels to fit each cabinet’s back interior, attach with small brads or adhesive, and paint to contrast with the dishes — a soft blue-gray behind white ironstone is stunning.
This detail costs almost nothing (offcuts from a larger beadboard project are perfect) and elevates stock cabinets to custom. Because the beadboard sits inside the cabinet, it stays clean and protected. It is also renter-friendly if attached with removable adhesive strips rather than nails.
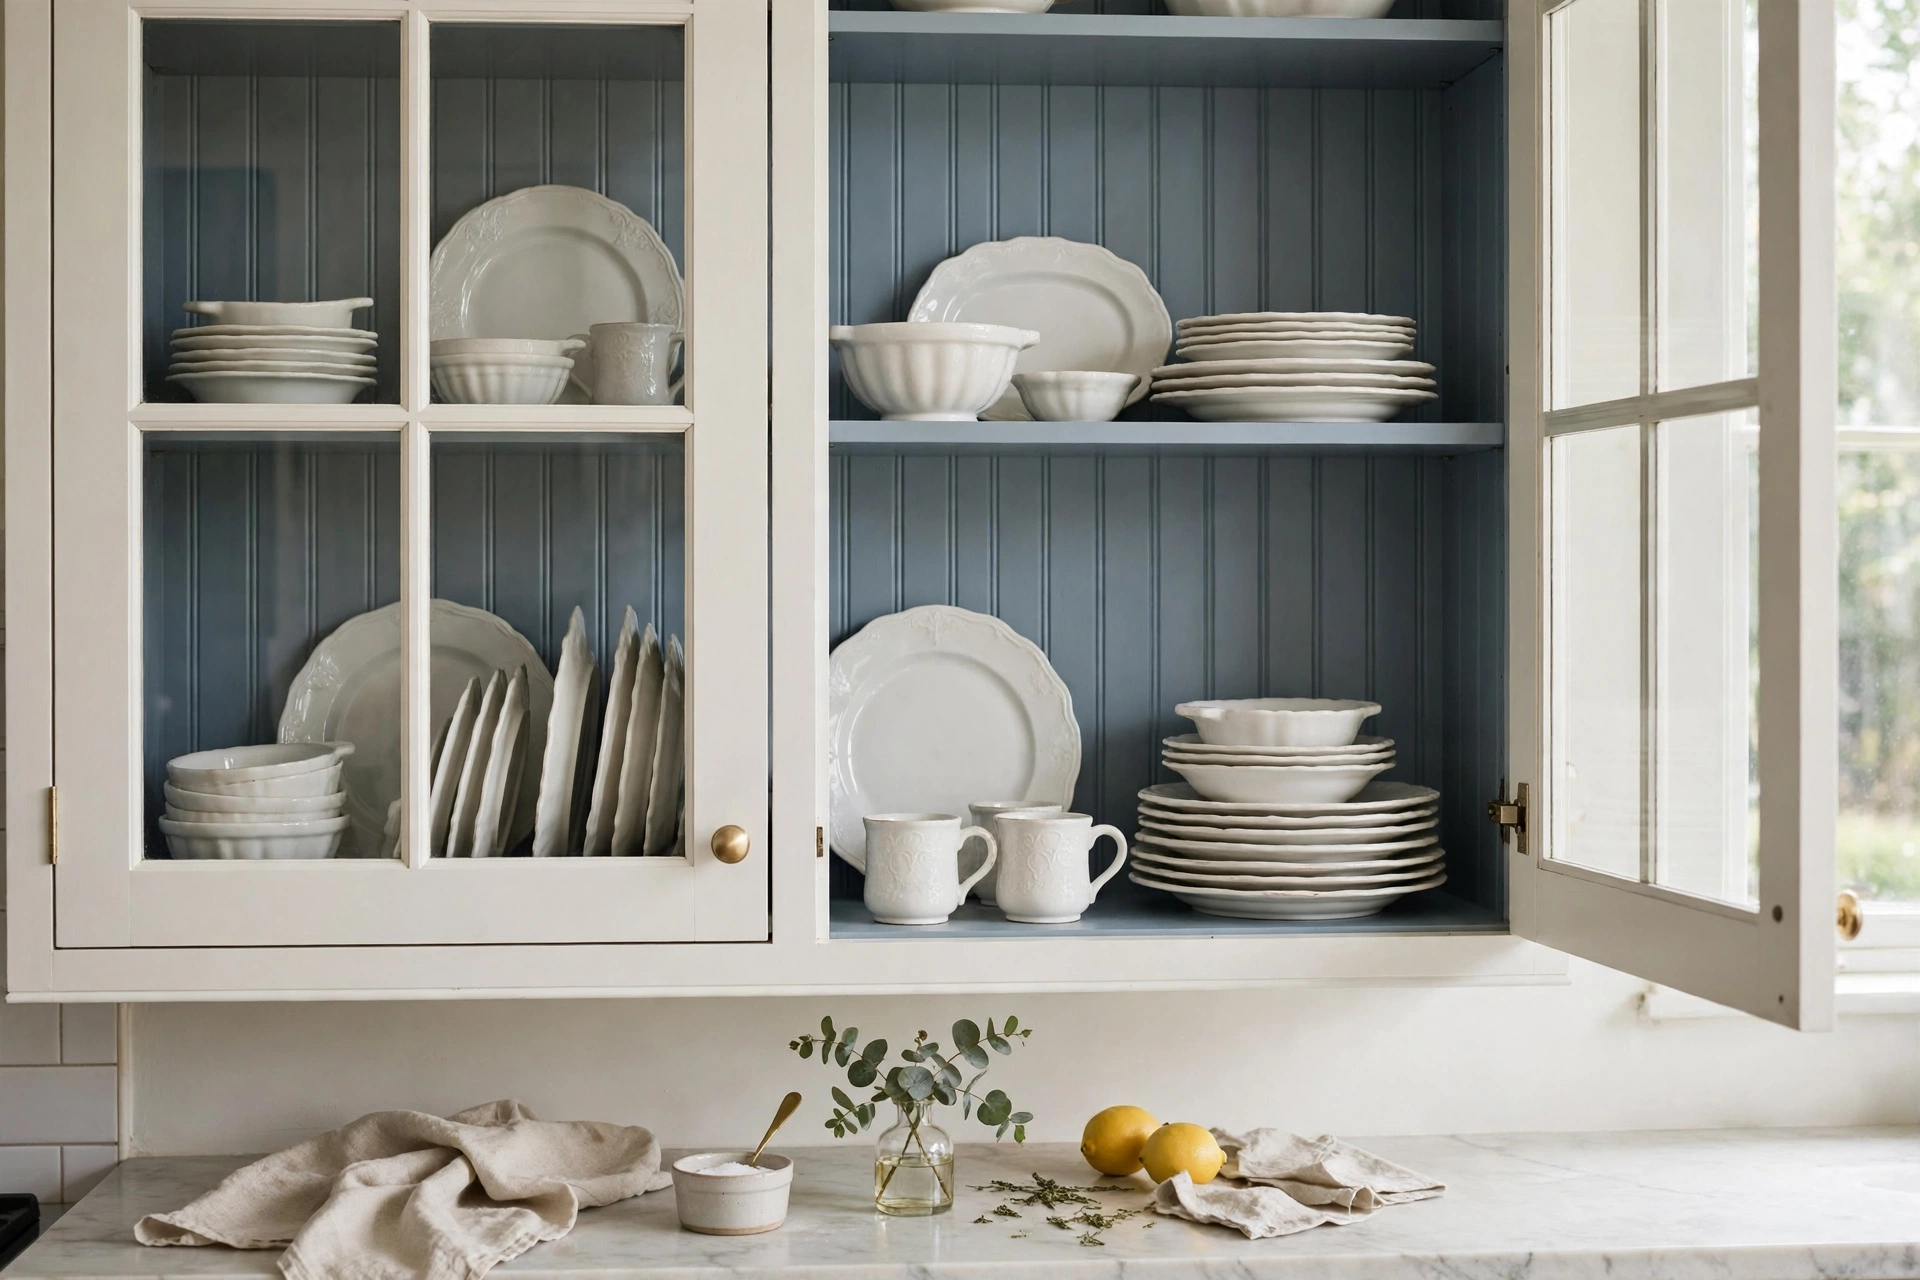
7. Beadboard Range Hood Cover
A custom range hood wrapped in beadboard turns a utilitarian vent into the kitchen’s centerpiece. Build or buy a hood cover in the classic chimney shape, clad it in beadboard, and finish with trim at the base and crown at the ceiling. Paint it to match the cabinets for a seamless built-in look, or contrast it — a white beadboard hood against navy cabinets is striking.
Size the hood to extend at least three inches beyond the cooktop on each side for proper capture, and confirm the vent insert’s CFM rating suits your range before building the cover around it. This is an intermediate carpentry project, but the result looks like a five-figure custom kitchen. For more rustic kitchen character to pair with it, see our rustic kitchen guide.
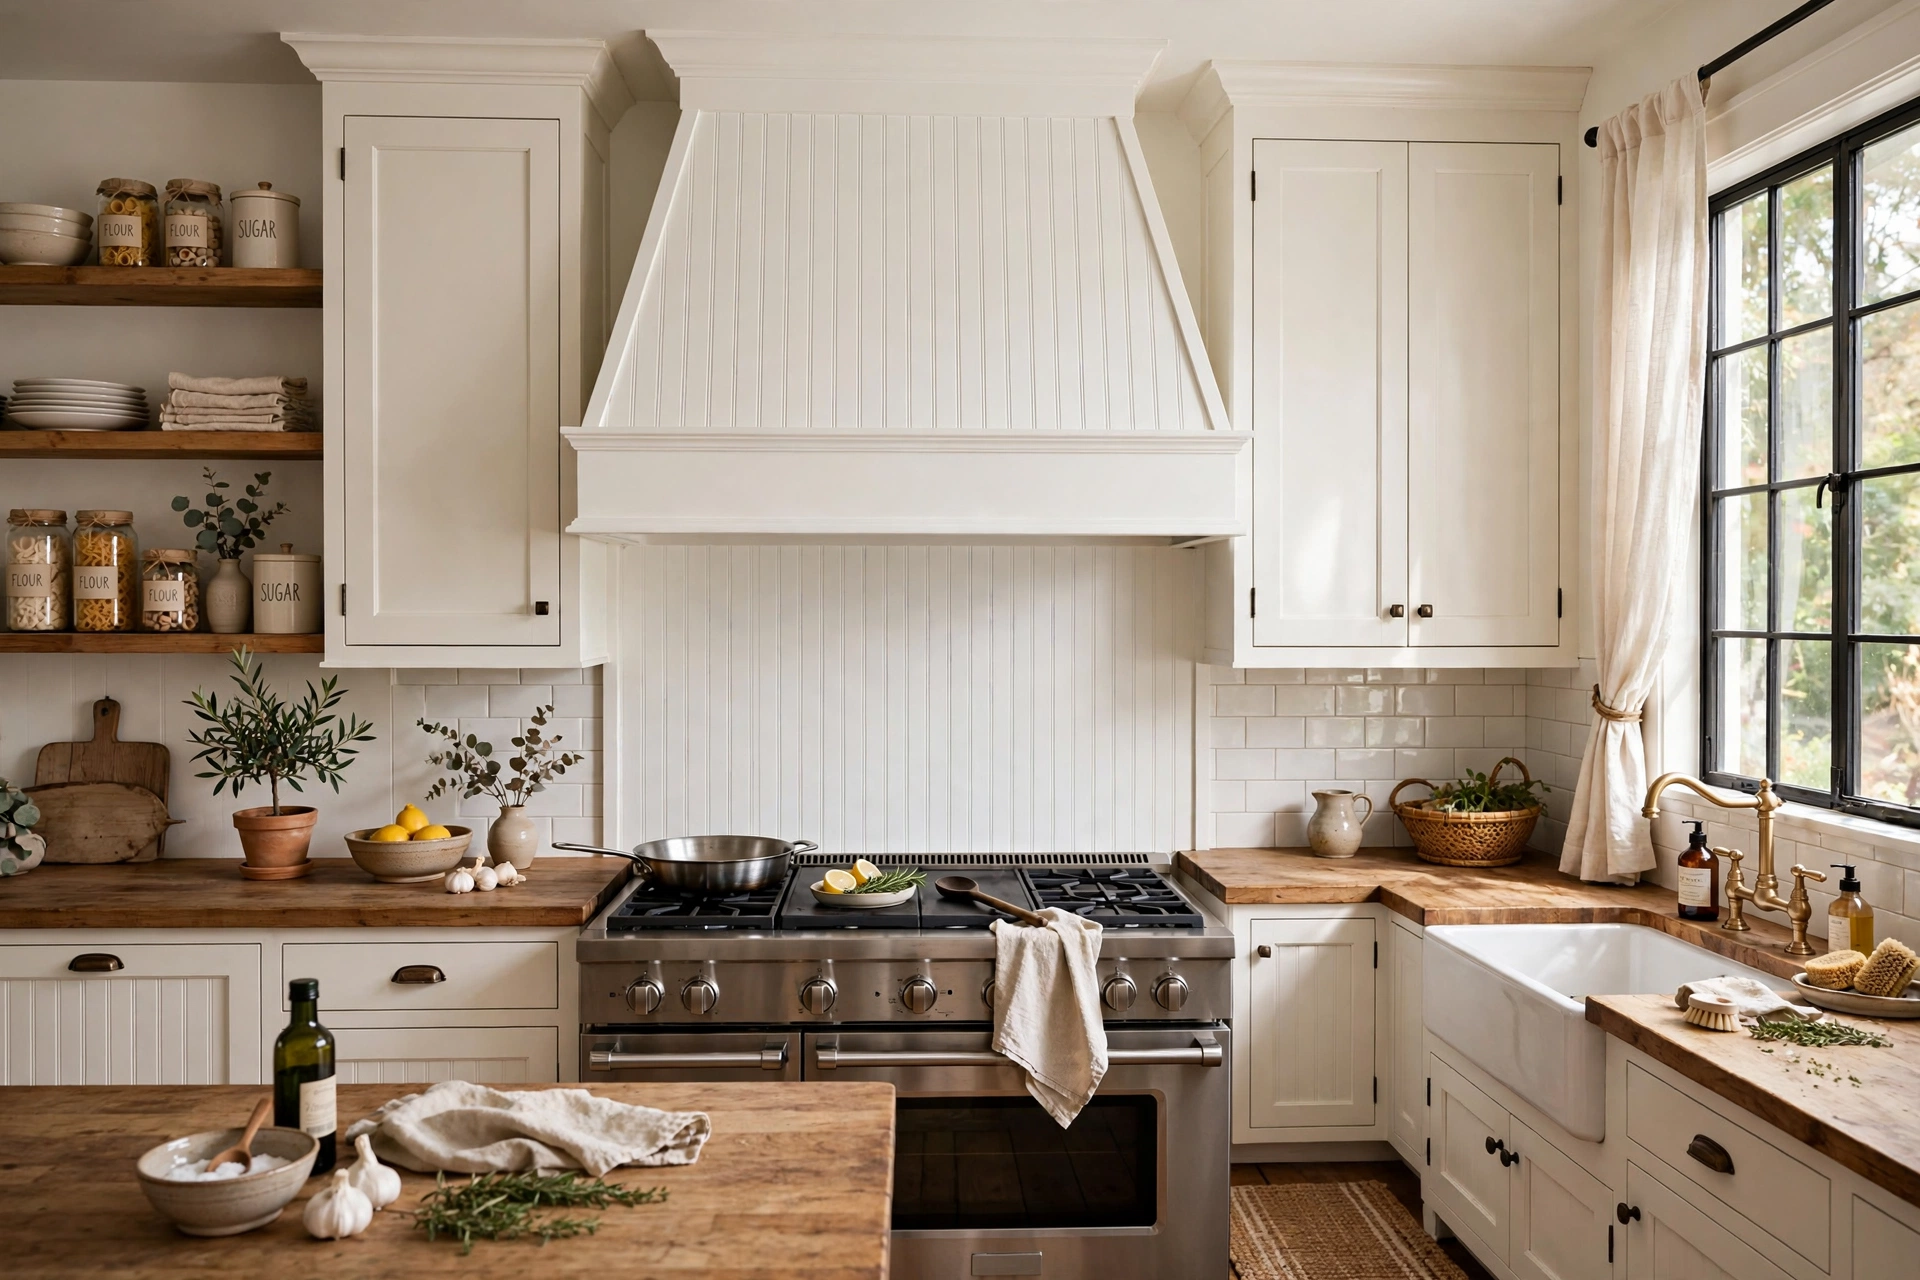
8. Beadboard Pantry Door
A plain pantry door becomes a cottage feature when clad in beadboard. Apply thin beadboard panels to the kitchen-facing side of a flat door with adhesive, trim the edges with a simple frame molding, and paint the whole thing to match the cabinetry. Add a vintage-style knob or cup pull to complete the transformation.
This works on bifold pantry doors too — clad each panel separately so they still fold. The vertical grooves make narrow doors look taller, a nice bonus in kitchens with standard eight-foot ceilings. It is one of the quickest kitchen beadboard ideas: an afternoon’s work with immediate visual payoff every time you reach for the pantry.
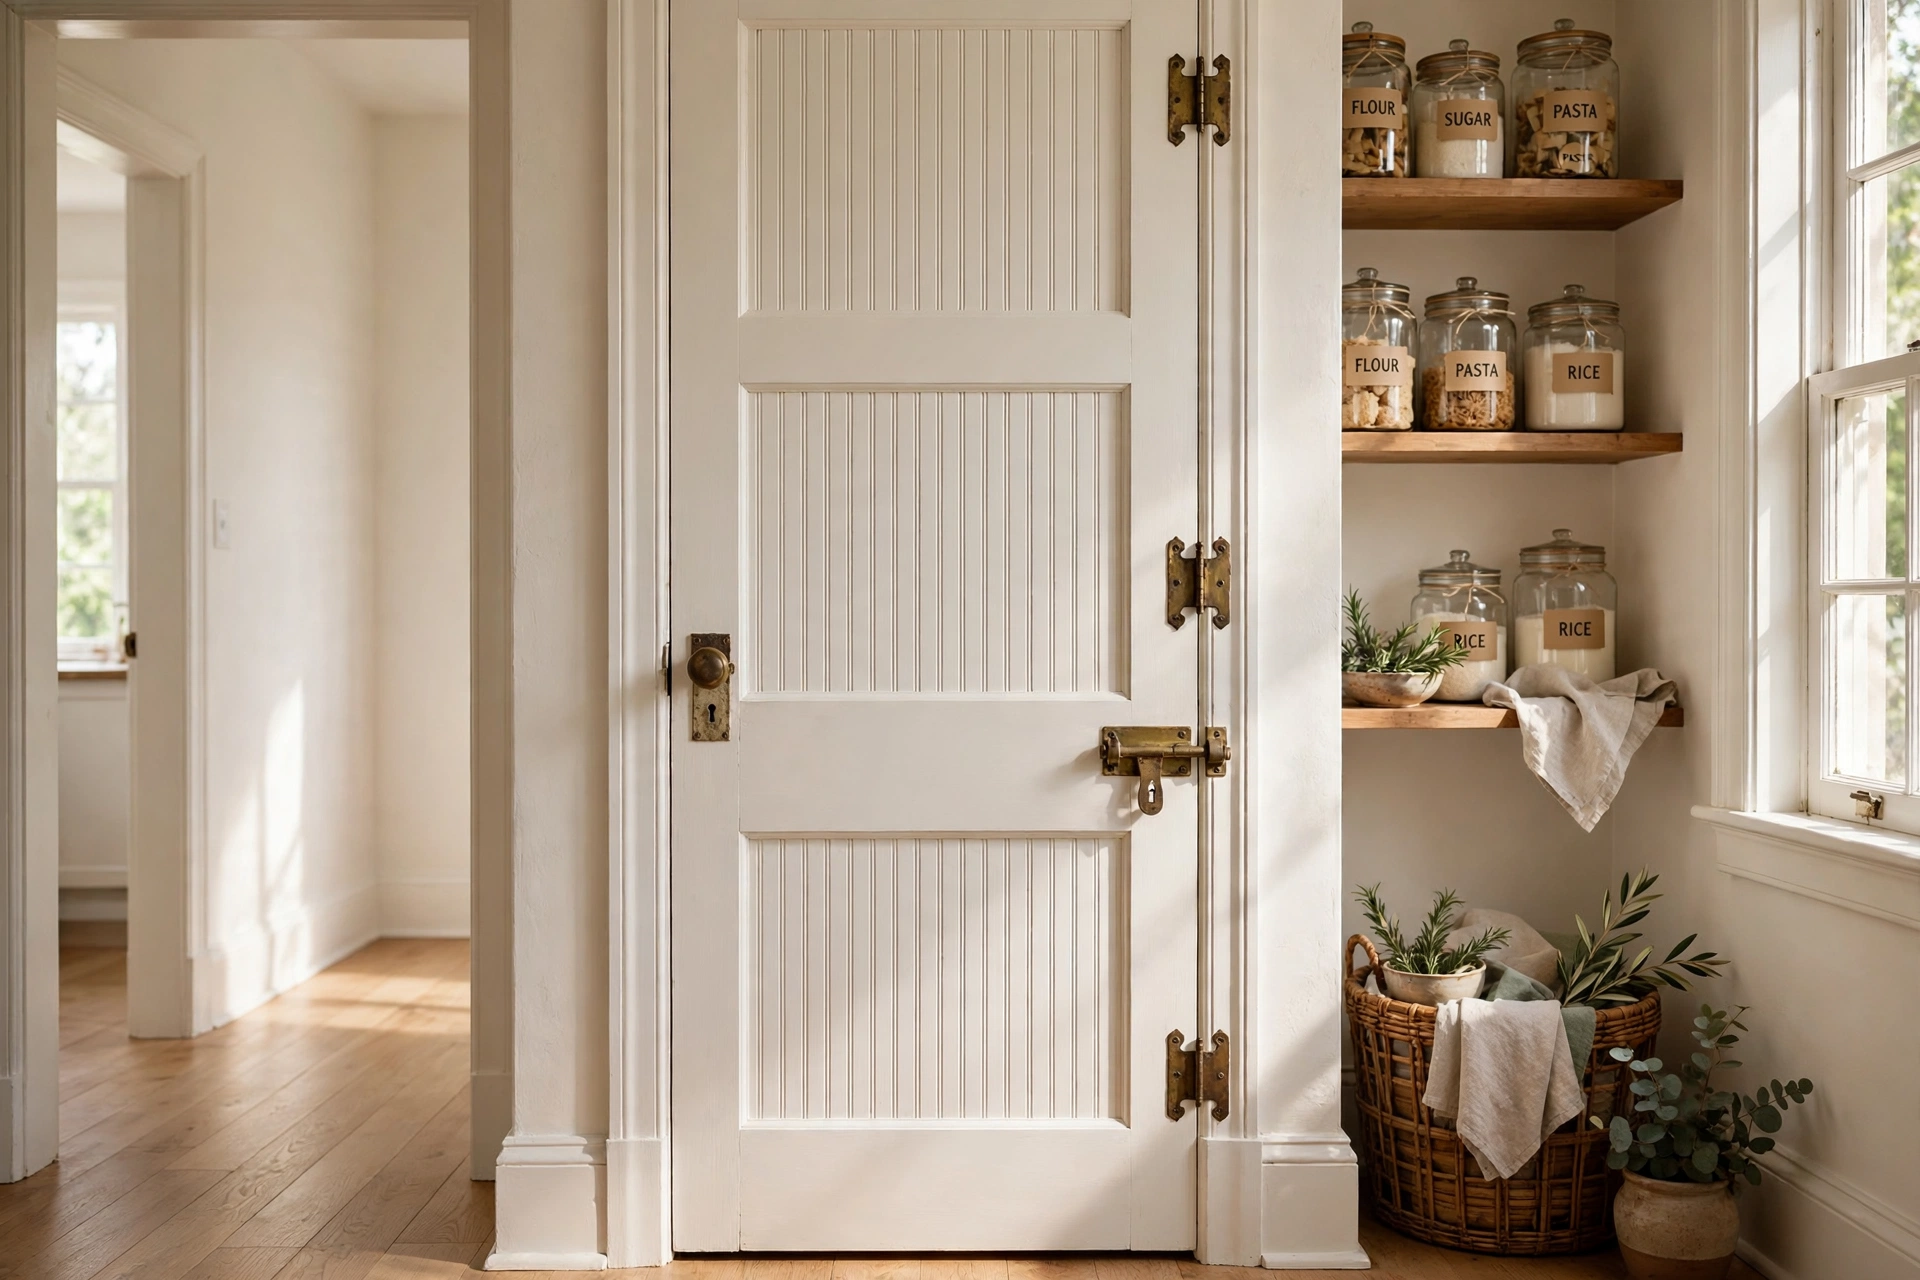
9. Painted Beadboard in Bold Kitchen Colors
Beadboard does not have to be white. Painting it a bold color — deep teal, mustard, terracotta, or black — turns the texture into a design statement. The grooves catch light and shadow, so color on beadboard has more depth than the same color on flat drywall. Use this on an island, an accent wall, or the range hood cover for maximum impact.
Prep matters more with bold colors: prime with a high-adhesion primer, spray the first coat to get paint into every groove, then roll the finish coats. Two finish coats minimum — dark colors over white primer can need three. Pair bold beadboard with quiet surroundings (white counters, simple hardware) so the texture stays the star.
10. Whitewashed Beadboard for Coastal Cottage
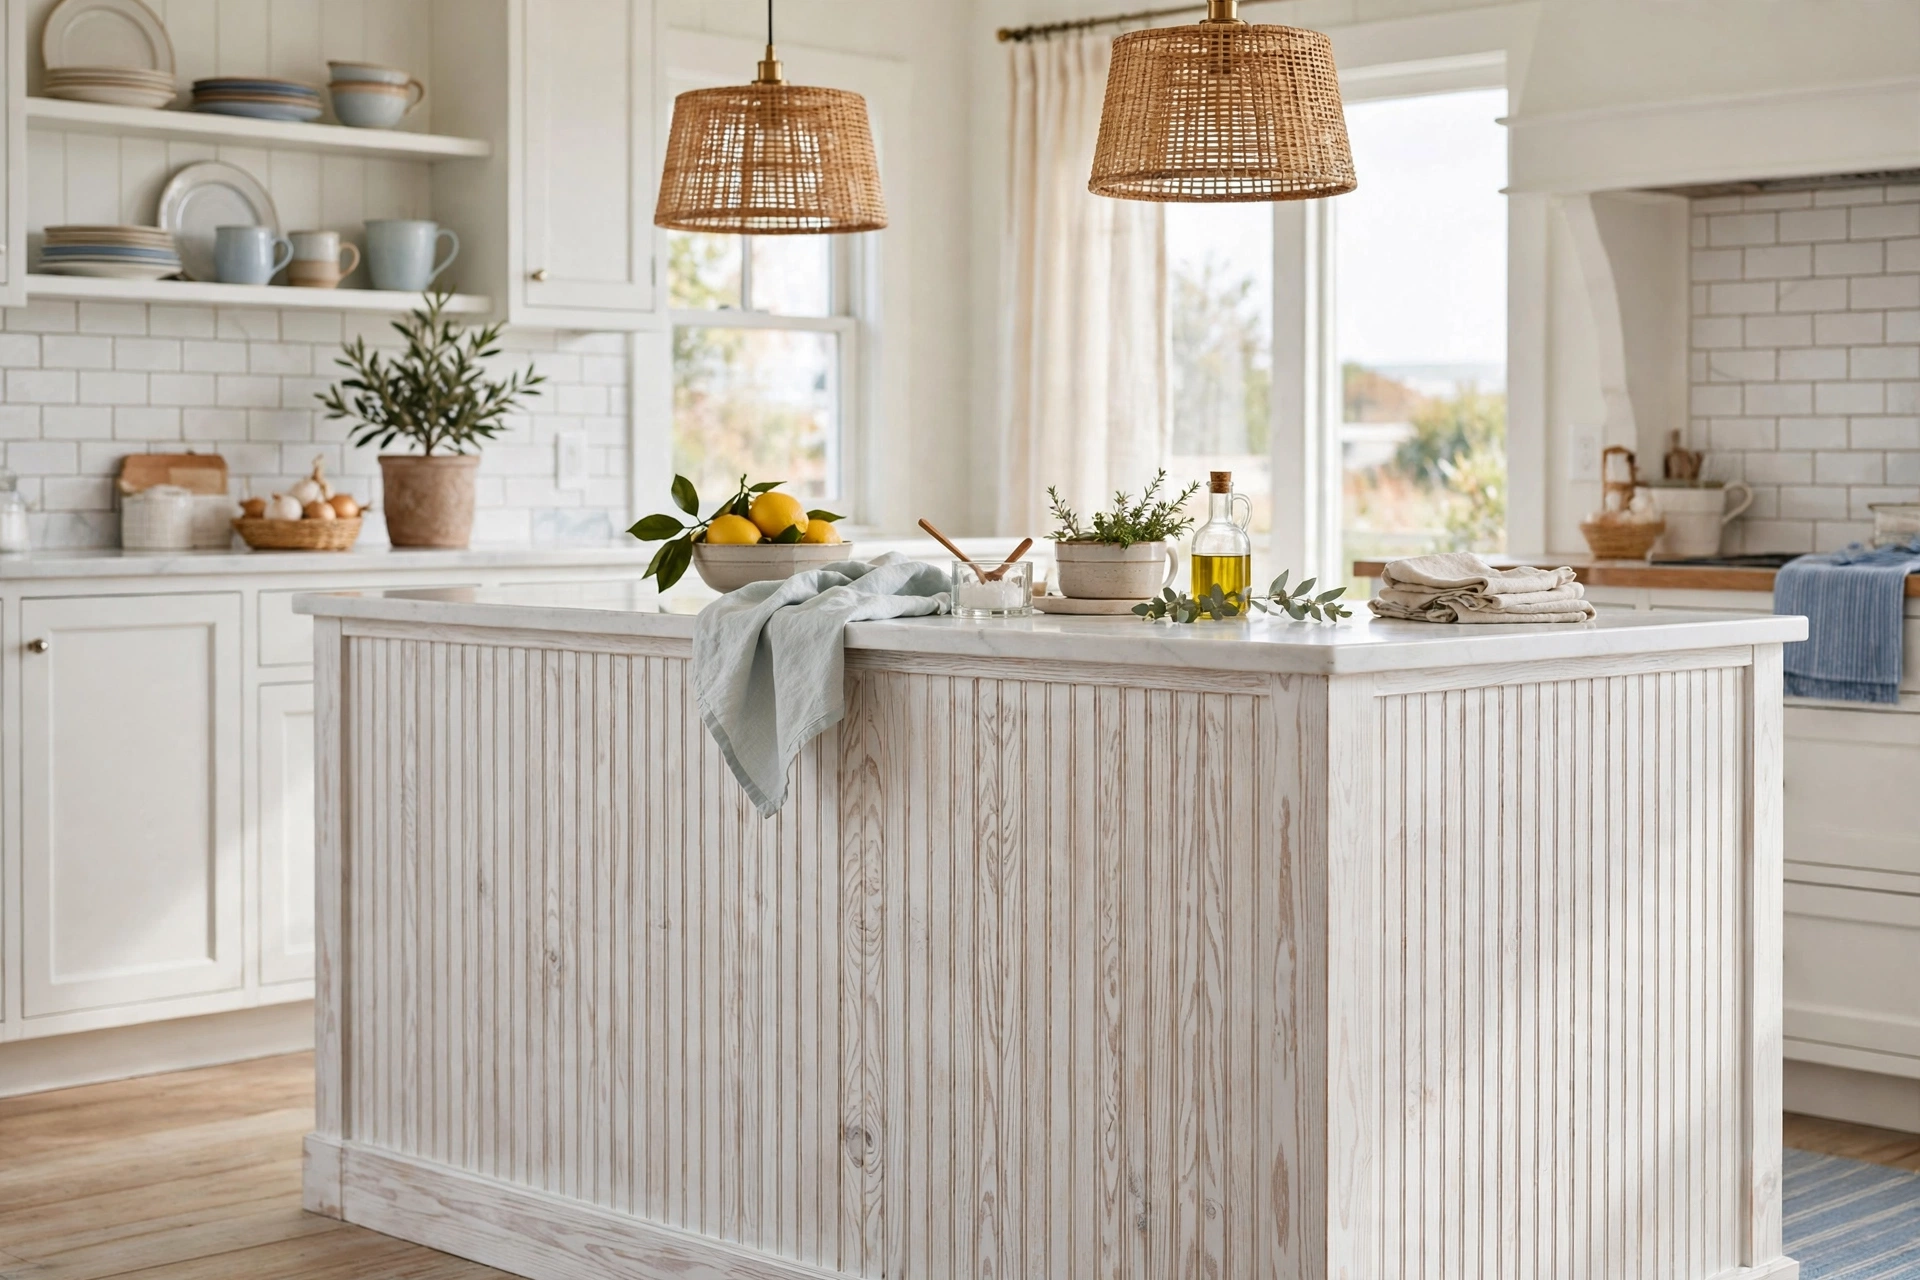
Whitewashing lets the wood grain show through a translucent white finish — perfect for coastal and Scandinavian-leaning kitchens. Apply a whitewashing pickling stain or a thinned white paint (one part paint to one part water) with a rag, working it into the grooves and wiping back the excess so the grain remains visible. Seal with a clear matte topcoat for kitchen durability.
This finish suits island fronts, ceilings, and accent walls in bright kitchens with natural wood elsewhere — butcher block counters, oak floors, rattan pendants. The effect is airy and relaxed, like a beach cottage kitchen, without the starkness of solid white paint.
11. Beadboard Backing for Open Shelves
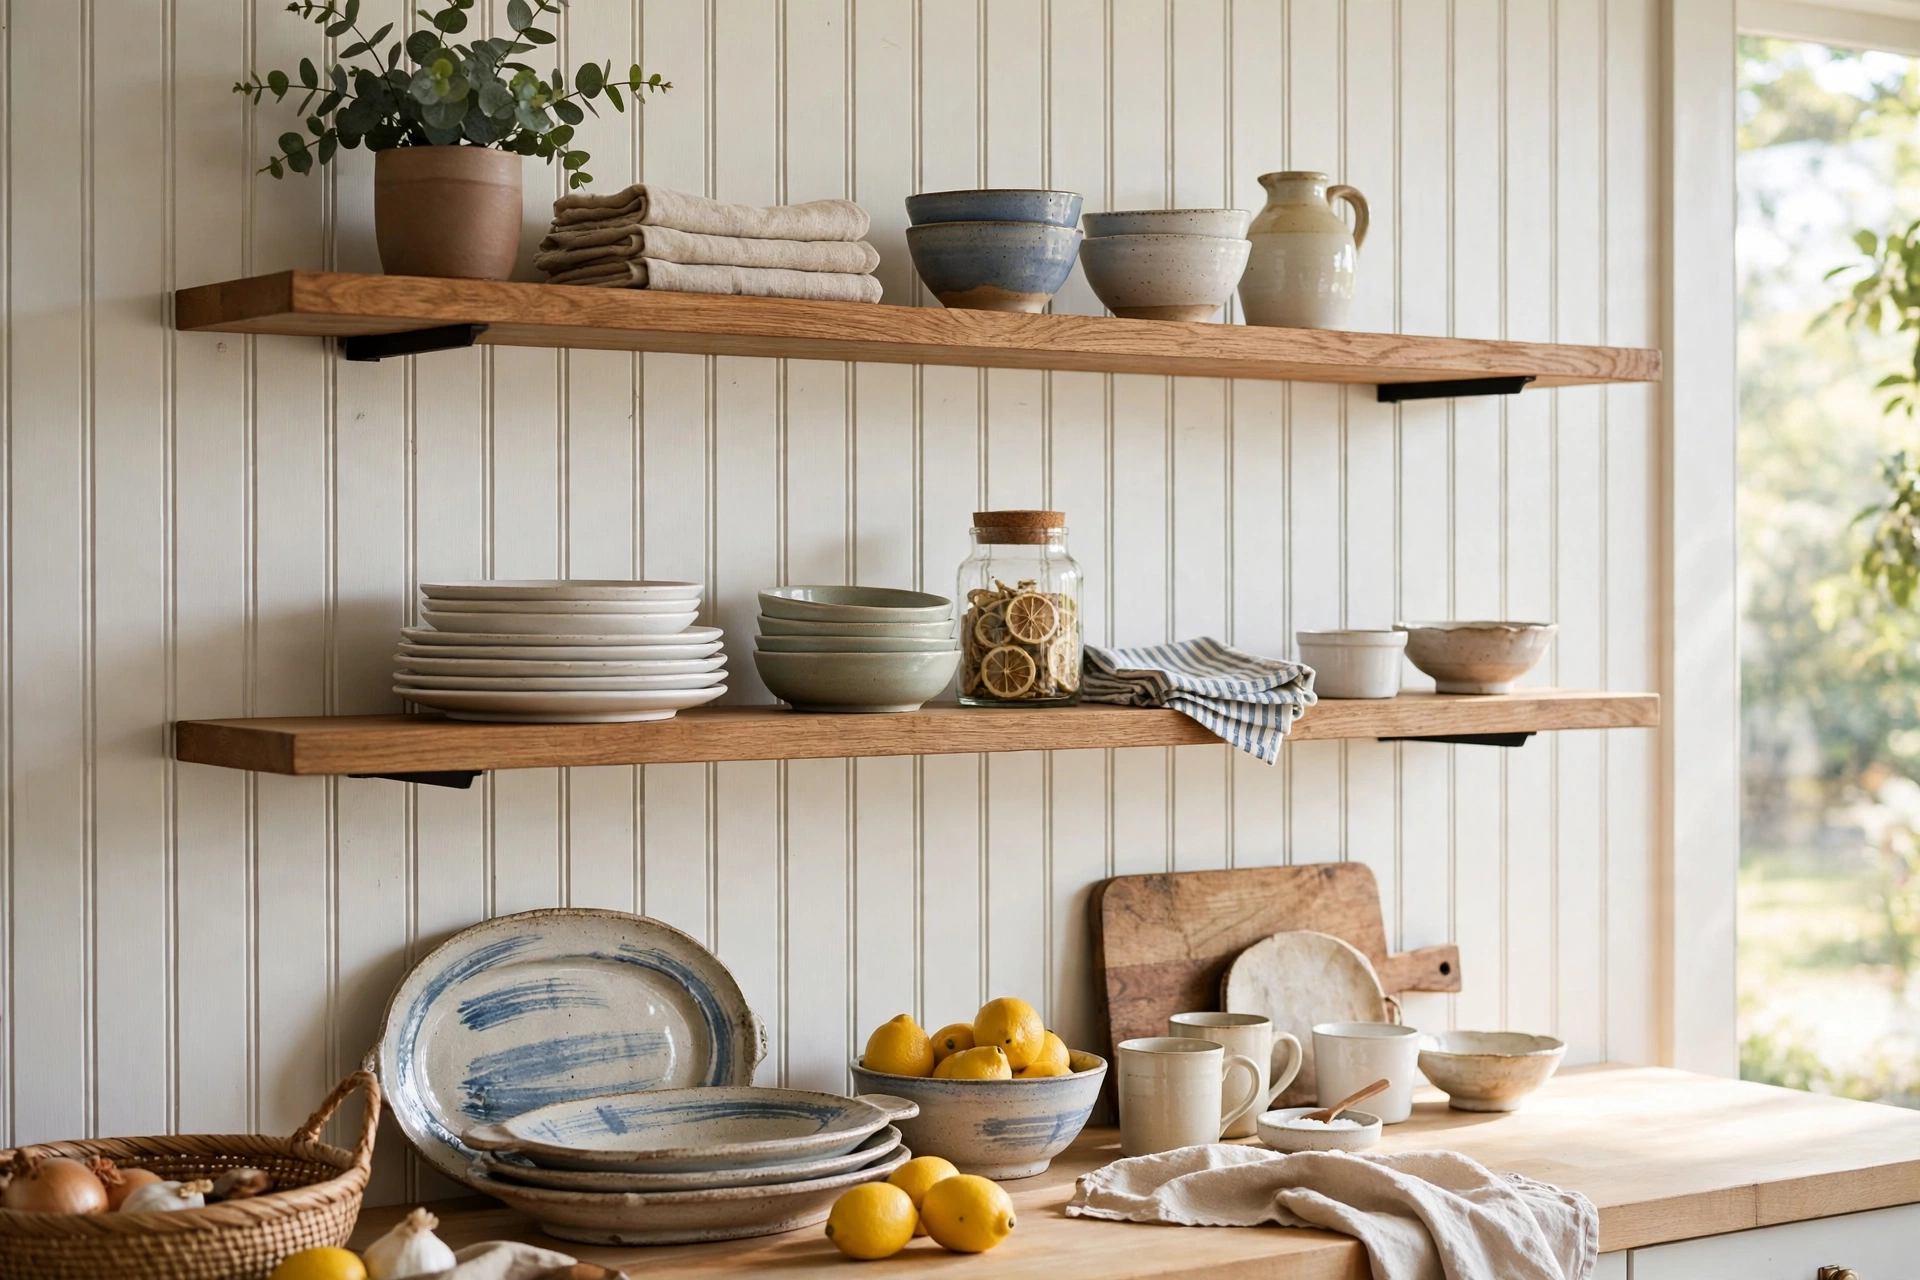
Mount open shelves on a beadboard-backed wall section and the shelves gain a textured backdrop that makes dishes pop. Install a beadboard panel on the wall first — sized to the shelf run, typically the width of the shelves by thirty to thirty-six inches tall — then mount the shelf brackets through the beadboard into studs.
Paint the beadboard a shade darker or lighter than the surrounding wall so the shelf zone reads as a deliberate feature. This is especially effective flanking a range or a window, where the beadboard panel frames the display. Keep the shelves themselves simple wood or metal so the texture contrast stays clean.
12. Beadboard Toe-Kick Detail
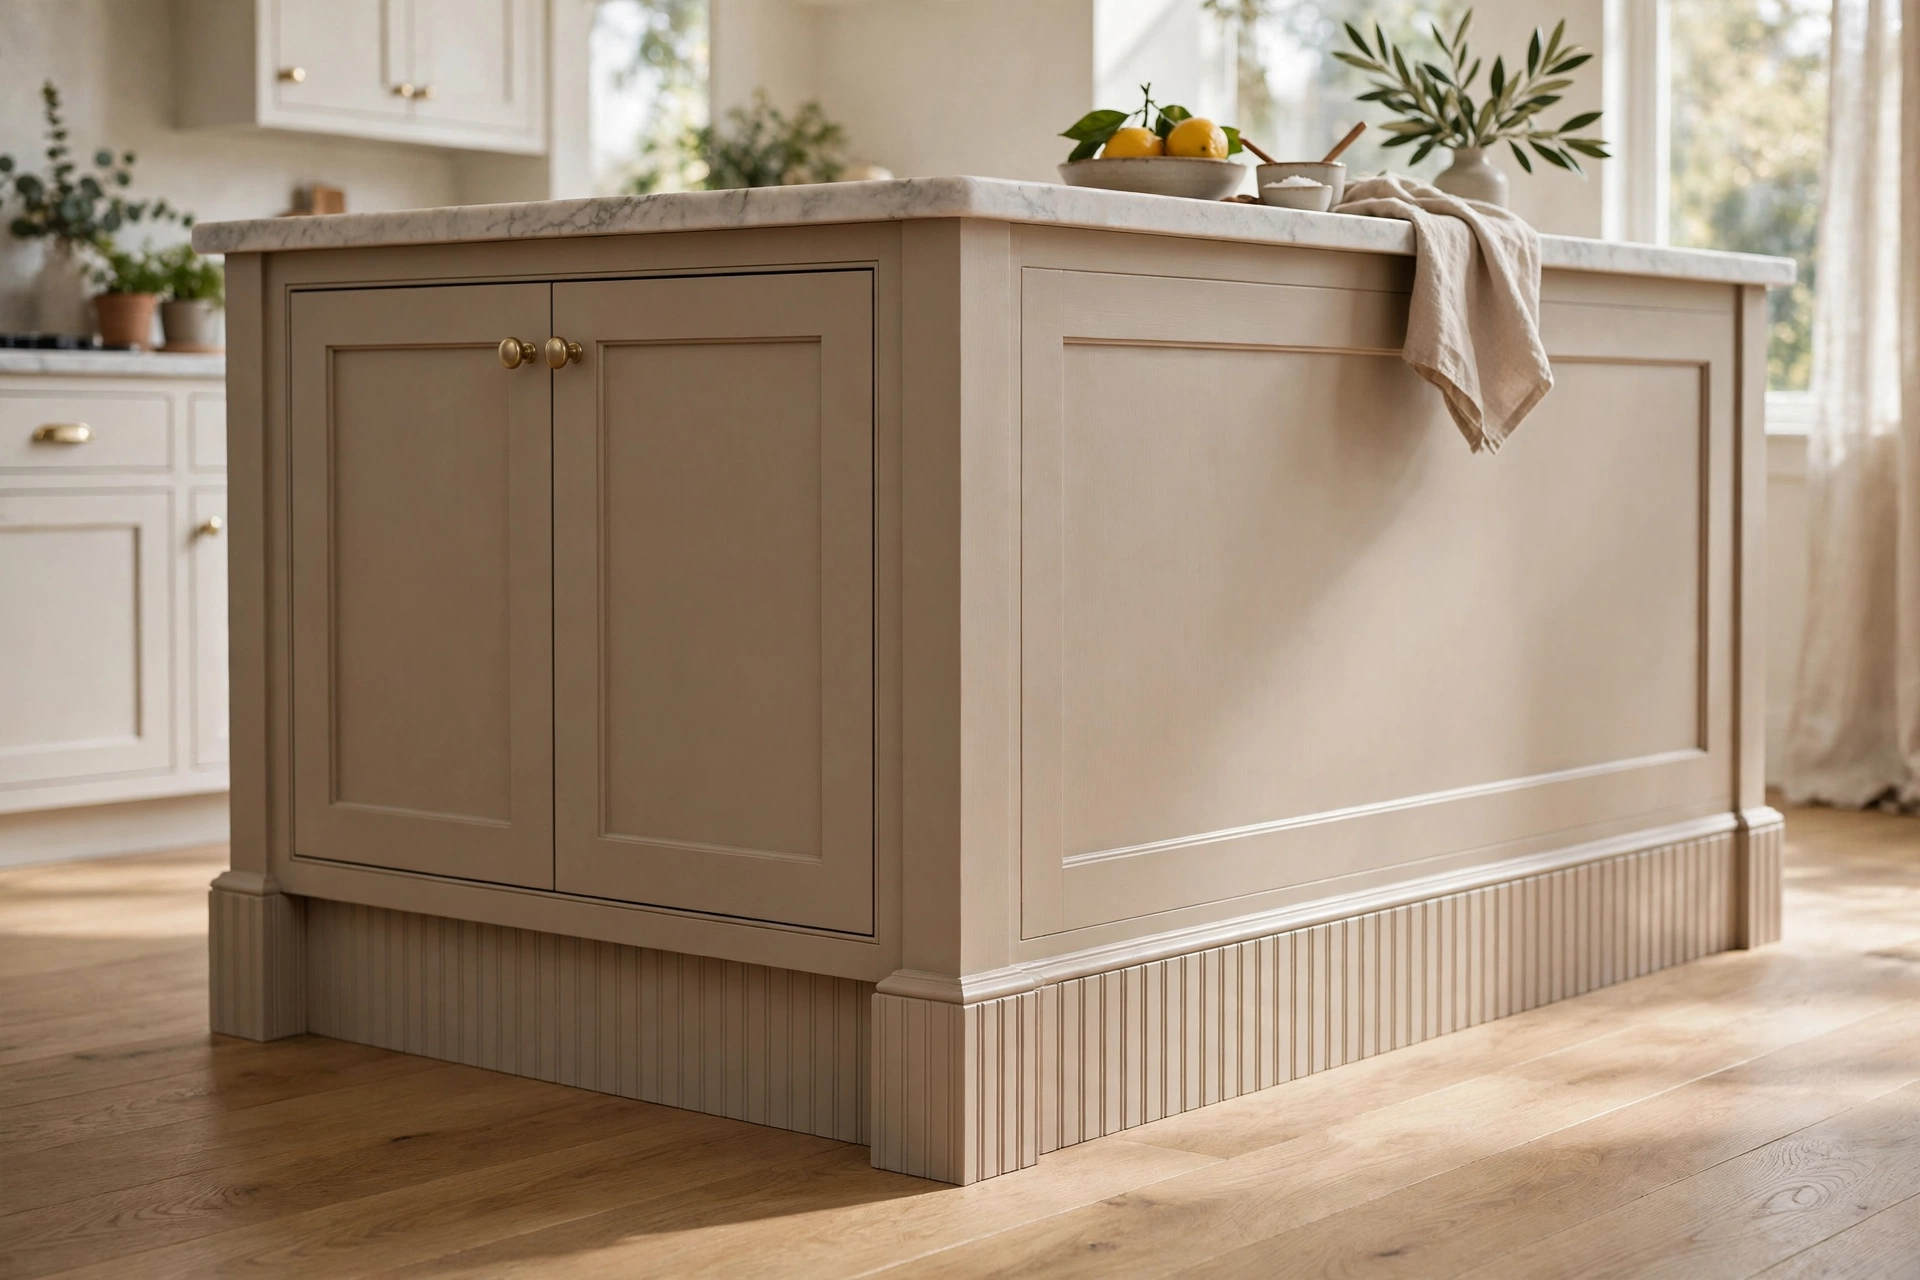
The toe-kick — the recessed base of your cabinets — is an unexpected spot for beadboard texture. Apply narrow strips of beadboard to the toe-kick faces around the island or perimeter cabinets, painted to match. At floor level it is subtle, but it catches the eye and ties the cabinetry to other beadboard elements in the room.
Use PVC beadboard here: the toe-kick takes mop bumps and the occasional splash, and PVC will not swell or rot. Cut strips to fit each toe-kick face, attach with adhesive, and caulk the top edge. It is a small detail that makes the cabinetry look custom — the kind of thing designers notice.
13. Beadboard on the Kitchen Peninsula
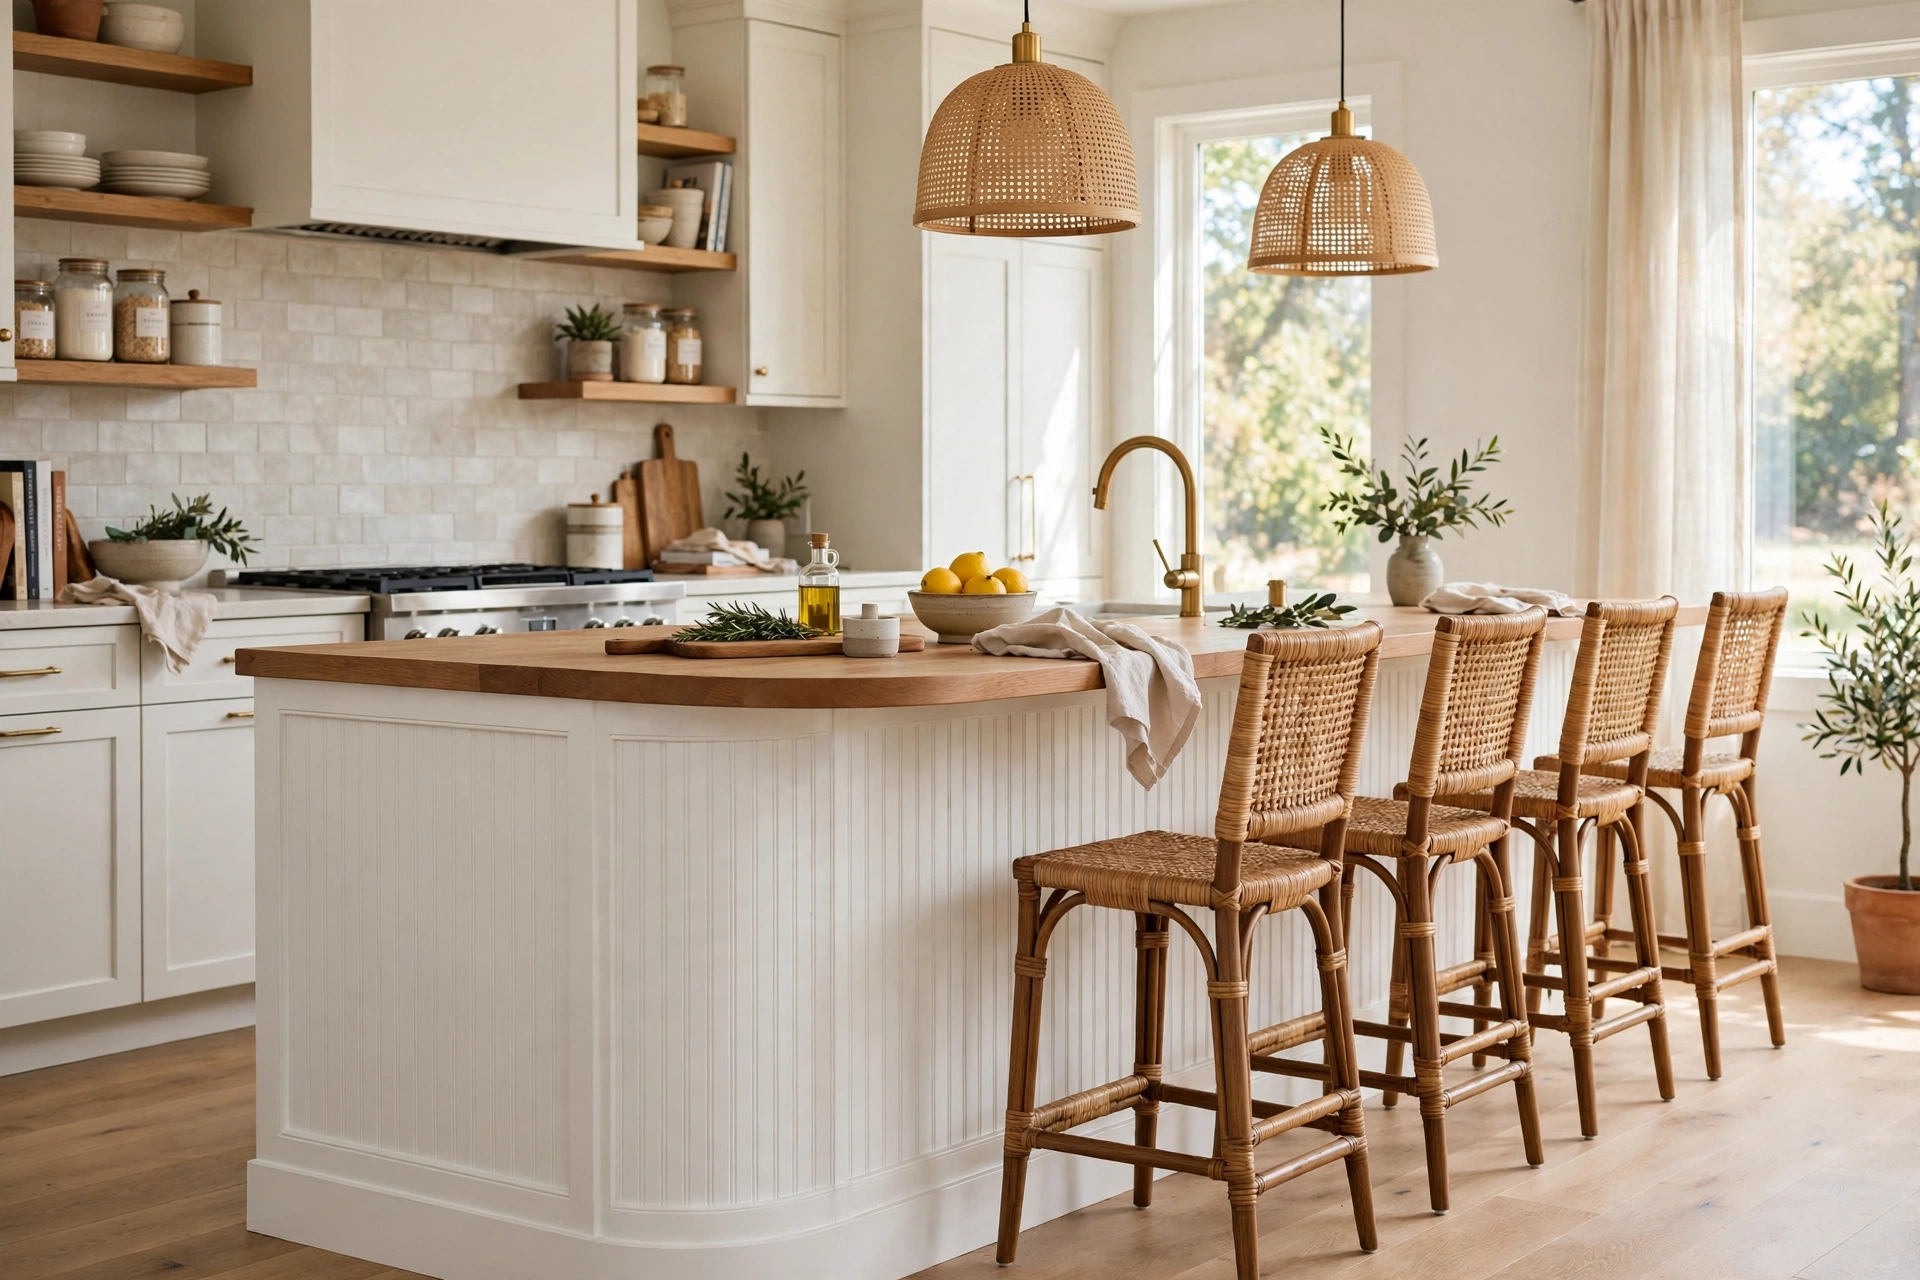
A peninsula — the island’s attached cousin — deserves the same beadboard treatment. Clad the outer face and the end panel in beadboard, finishing with baseboard and a cap rail to match the island. Because the peninsula connects to the wall or cabinets at one end, run the beadboard continuously around the corner for a seamless look.
If the peninsula includes seating, the beadboard front gives diners something beautiful to face — far better than flat cabinet backs. Coordinate the peninsula’s beadboard with the island if you have both, or let the peninsula carry the texture solo in kitchens without an island.
14. Beadboard Window Trim Surround
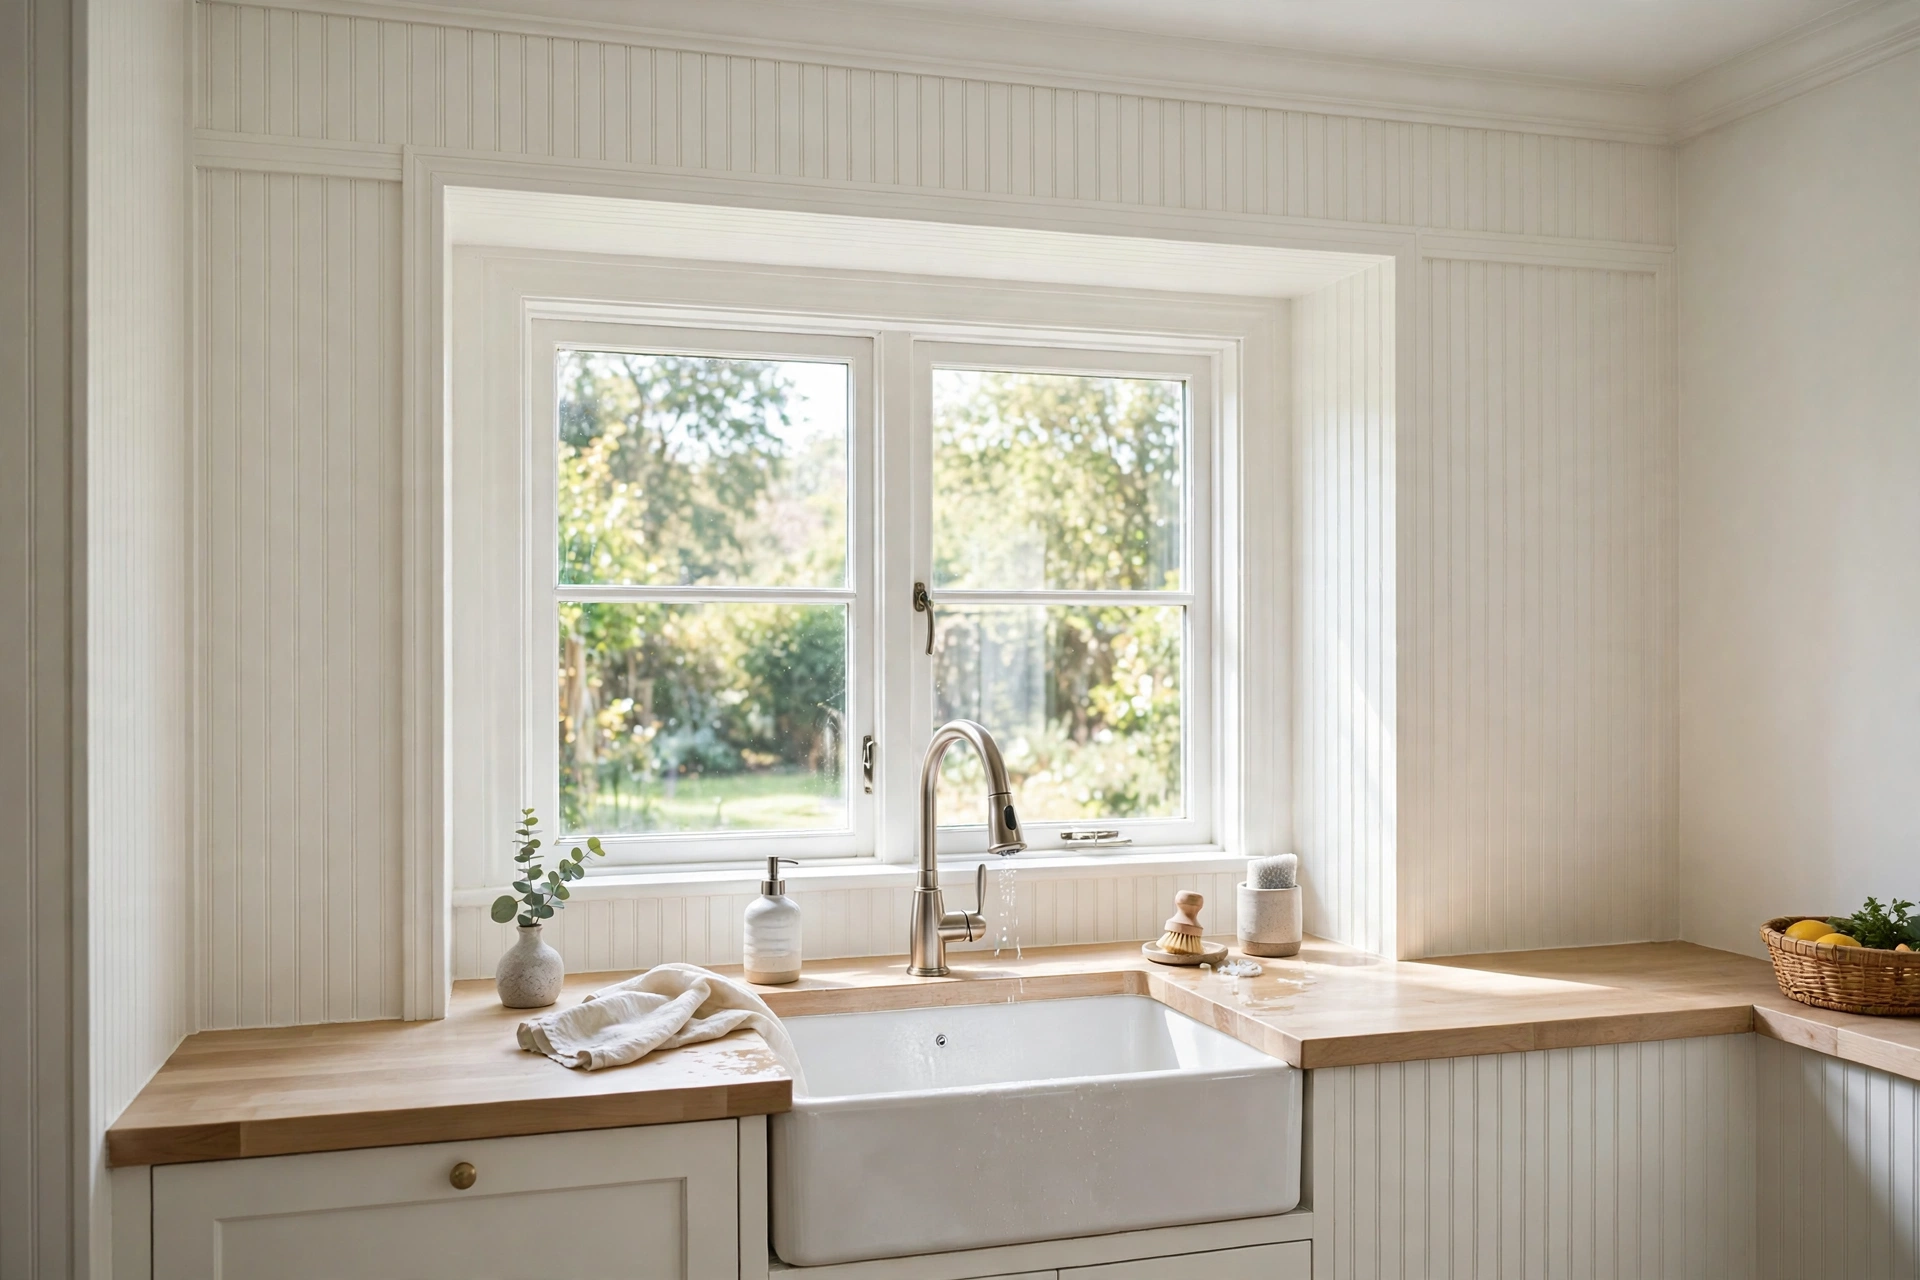
Frame the kitchen window — especially the sink window — with a wide beadboard surround for a cottage focal point. Install beadboard on the wall section around the window, from countertop to ceiling if the window sits in a feature wall, finishing the window itself with a deep stool and apron trim. The texture draws the eye to the room’s natural light source.
This works beautifully when the rest of the kitchen is simple: white cabinets, quiet counters, and one textured window wall. Add a small shelf across the bottom of the surround for herbs or a soap dish. In kitchens with a view worth framing, the beadboard surround acts like a picture frame for the outdoors.
15. Mixing Beadboard with Shiplap and Board-and-Batten
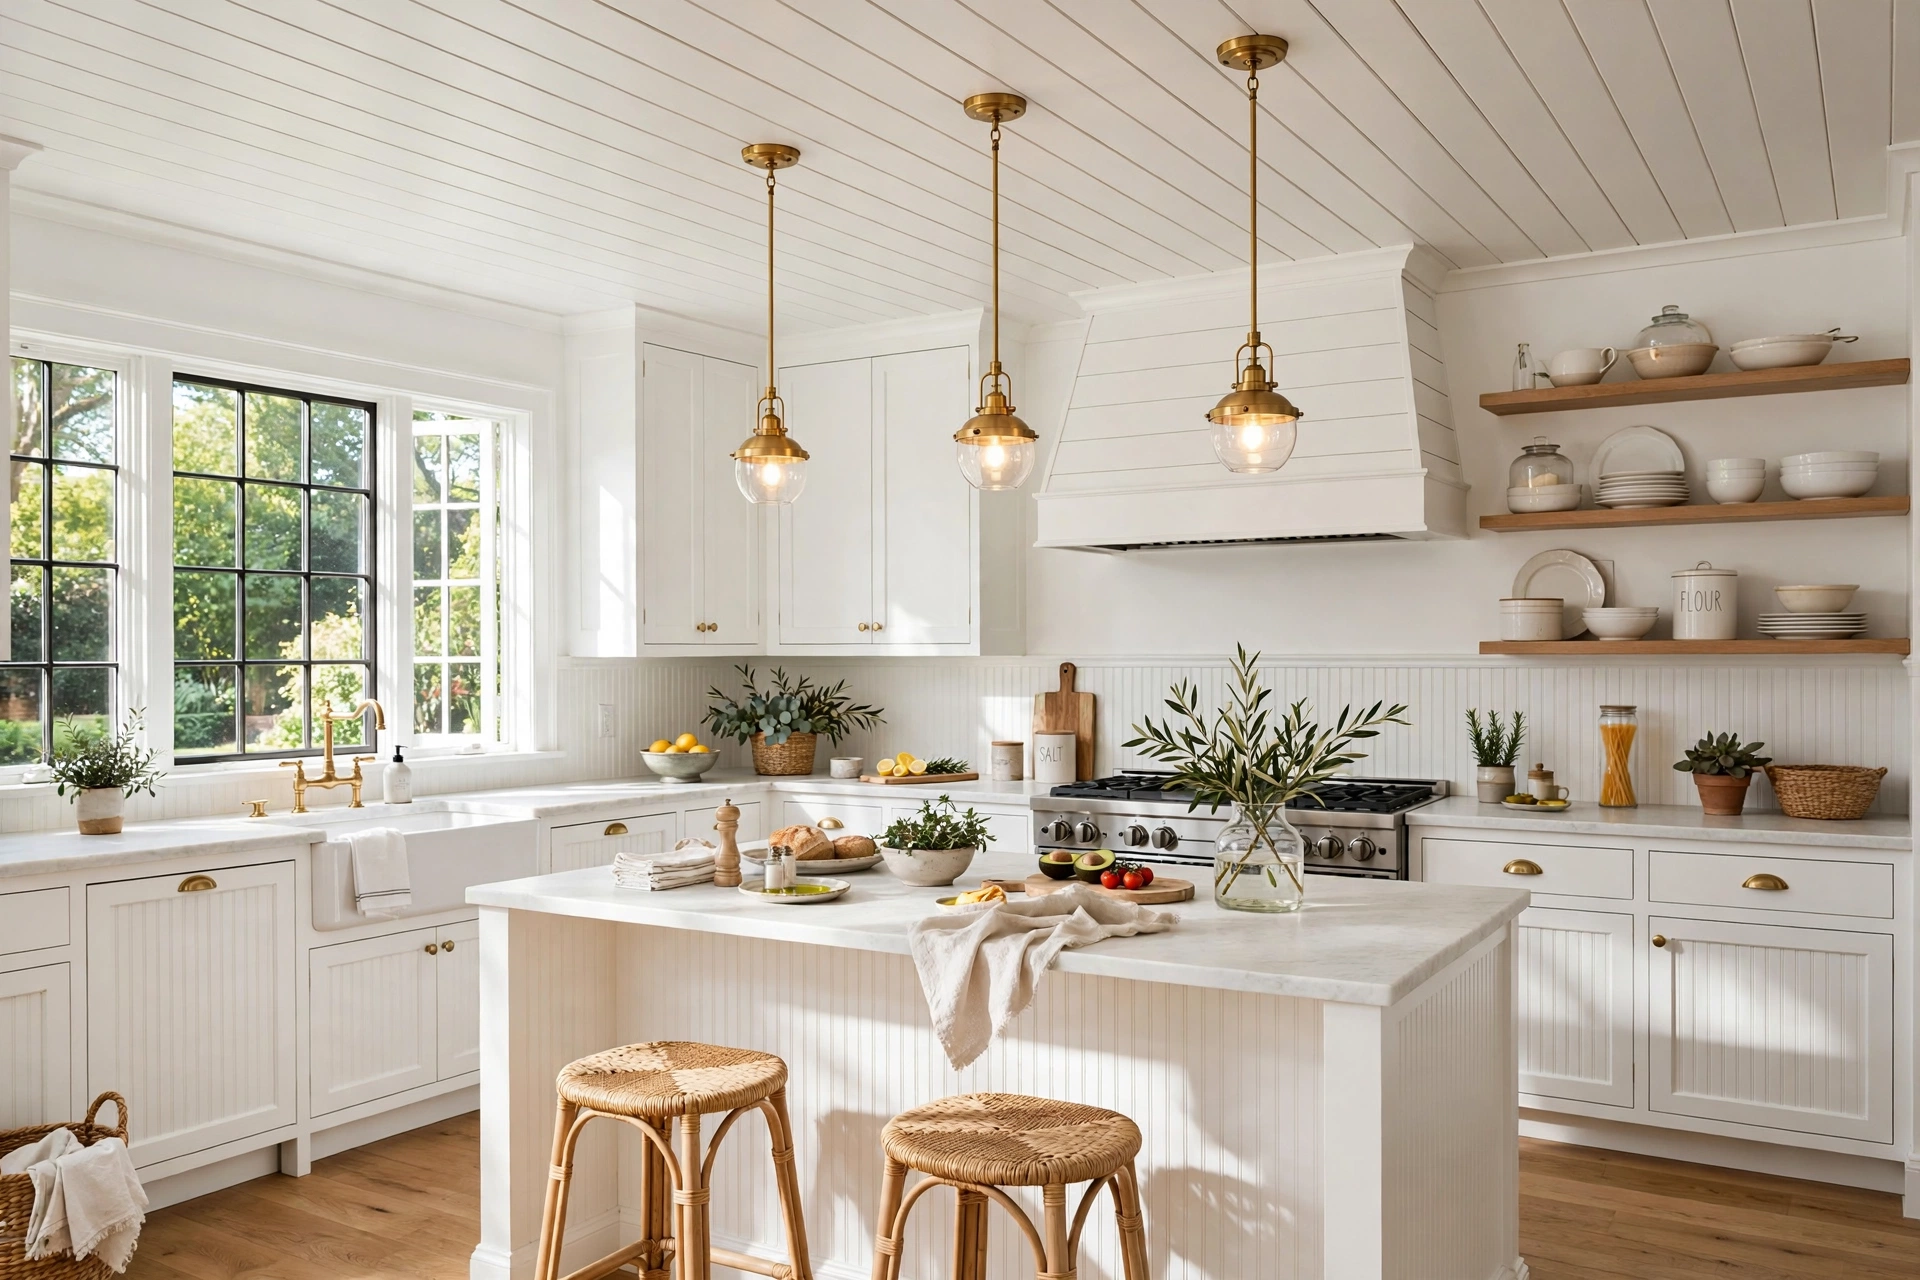
Beadboard plays well with other wall treatments when each gets its own zone. Try beadboard wainscoting below with a painted upper wall, shiplap on the ceiling, or board-and-batten on the dining-area wall adjoining the kitchen. The key is separation: give each texture its own surface or its own room zone so they read as layers, not competition.
Keep the color palette unified — all white, or all in the same color family — when mixing textures, so the variety comes from shadow and profile rather than color. This layered approach suits larger kitchens and open-plan spaces where different zones can each carry a distinct but related treatment.
Frequently Asked Questions
Is beadboard good for kitchens?
Yes, with the right material and finish. Beadboard adds cottage texture to islands, backsplashes, ceilings, and walls, and it holds up well in kitchens when you choose moisture-resistant types (PVC or sealed MDF) for wet zones and finish everything with quality paint. Avoid raw wood beadboard directly behind the sink or range, where constant moisture and heat will damage it.
What is the difference between beadboard and shiplap?
Beadboard has narrow boards with a distinctive beaded ridge milled between the grooves, creating a fine, rhythmic texture. Shiplap has wider boards with a small gap (the “nickel gap”) between them, creating bolder horizontal or vertical lines. In kitchens, beadboard reads as cottage and traditional; shiplap reads as farmhouse and slightly more modern. Both are tongue-and-groove style installations.
Can you use beadboard as a kitchen backsplash?
You can, and it is a popular budget alternative to tile. Use moisture-resistant beadboard (PVC is best), seal all seams and edges with paintable caulk, and finish with two coats of semi-gloss or satin paint so splashes wipe off. Keep it away from direct heat — install a metal or tile panel behind the range — and expect to touch up the paint every few years in the hardest-working spots.
How do you clean beadboard in the kitchen?
Dust the grooves regularly with a soft brush or a microfiber cloth — dust settles into the beading. For the backsplash and areas near the stove, wipe with a damp cloth and mild dish soap, then dry; grease film builds up in grooves faster than on flat surfaces. A semi-gloss paint finish makes this much easier, which is why it is the recommended sheen for kitchen beadboard.
Should kitchen beadboard be painted or stained?
Painted beadboard is the classic kitchen choice — white, cream, or a color — because paint seals the wood against moisture and gives the crisp cottage look. Stained or whitewashed beadboard suits rustic, coastal, and Scandinavian kitchens where the wood grain is part of the appeal, but it needs a clear protective topcoat in a kitchen. Either way, never leave kitchen beadboard unfinished: unsealed wood absorbs grease and moisture permanently.
Keep Exploring
Kitchen beadboard ideas prove that texture is a design material in its own right — as powerful as color, and often warmer. Start with the island or the backsplash, choose a moisture-smart material, and finish it well. One textured surface can make the whole kitchen feel handcrafted, cozy, and completely yours.