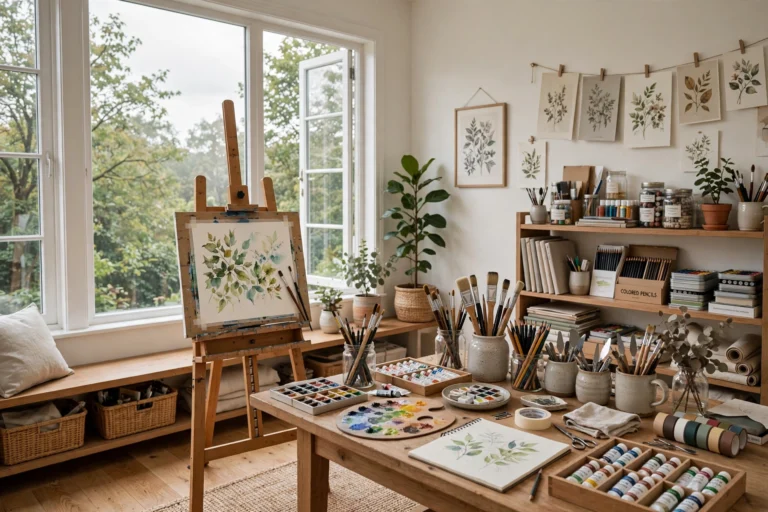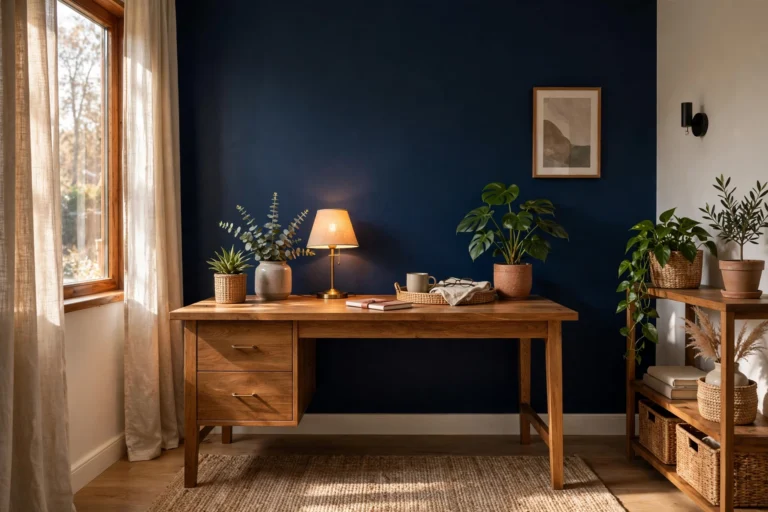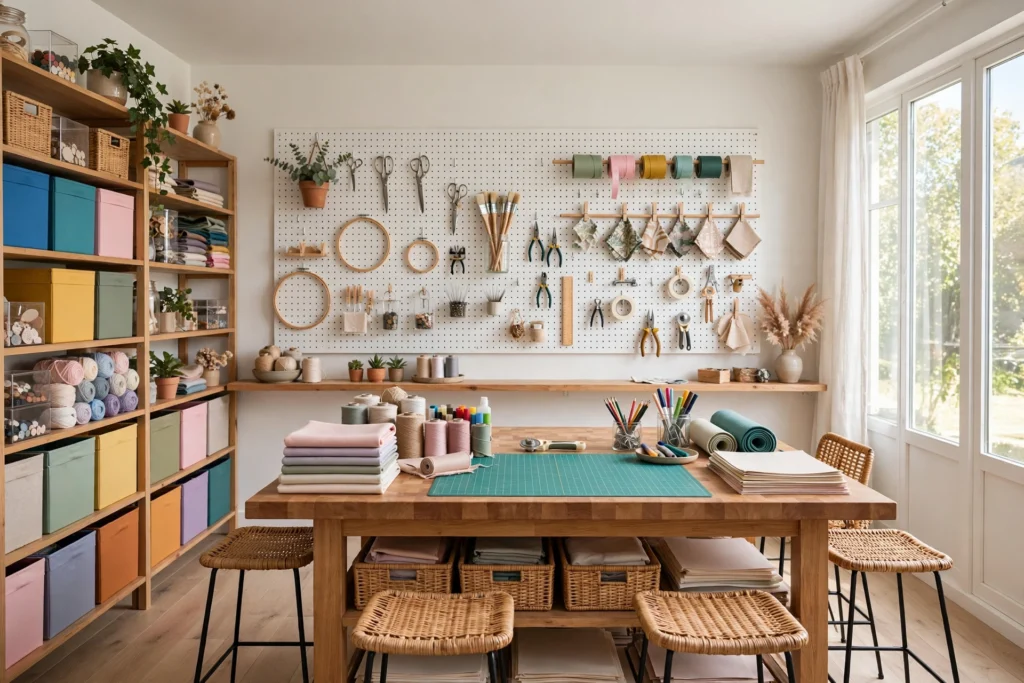

Every crafter knows the paradox: creativity thrives on abundance, but abundance quickly becomes chaos. These craft room ideas solve it — smart storage, hardworking layouts, and good light that keep every ribbon, bead, and bolt of fabric visible, reachable, and beautiful.
Whether you have a whole spare room or a carved-out corner, the goal is the same: a creative, organized space where you can start a project in minutes and clean up in less. Here are fifteen ideas to build exactly that.
1. Cover a Wall in Pegboard
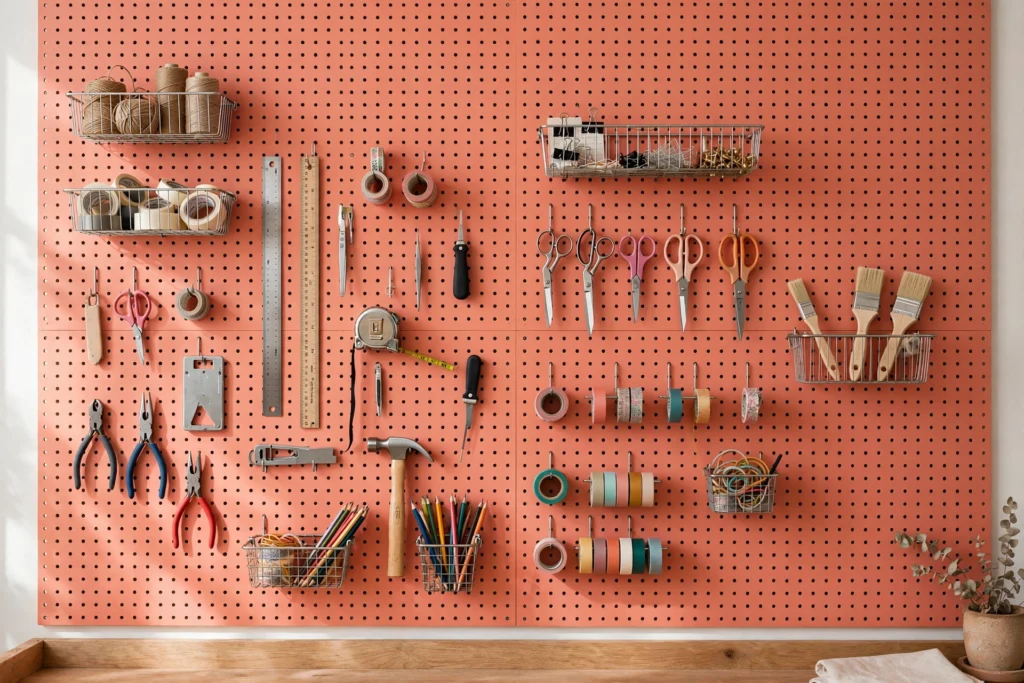
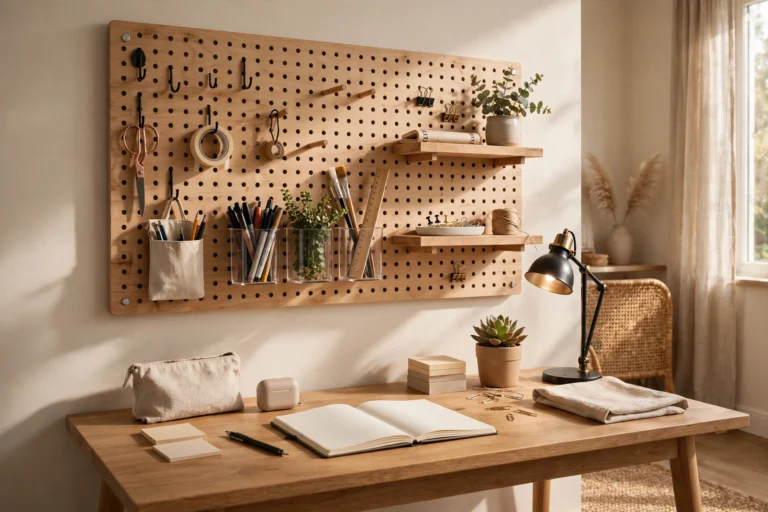
A floor-to-ceiling pegboard wall is the ultimate craft room workhorse. Hooks, baskets, shelves, and bins rearrange in seconds as your projects change, keeping scissors, rulers, washi tape, and tools visible and within arm’s reach. Paint it a cheerful color so it doubles as decor.
Apartment Therapy’s pegboard roundup shows how one board can sort an entire craft room’s worth of supplies. Outline each tool’s spot with painted silhouettes and you will always know what is missing. Mount the board on furring strips so hooks have room behind them.
2. Build Around a Central Craft Island
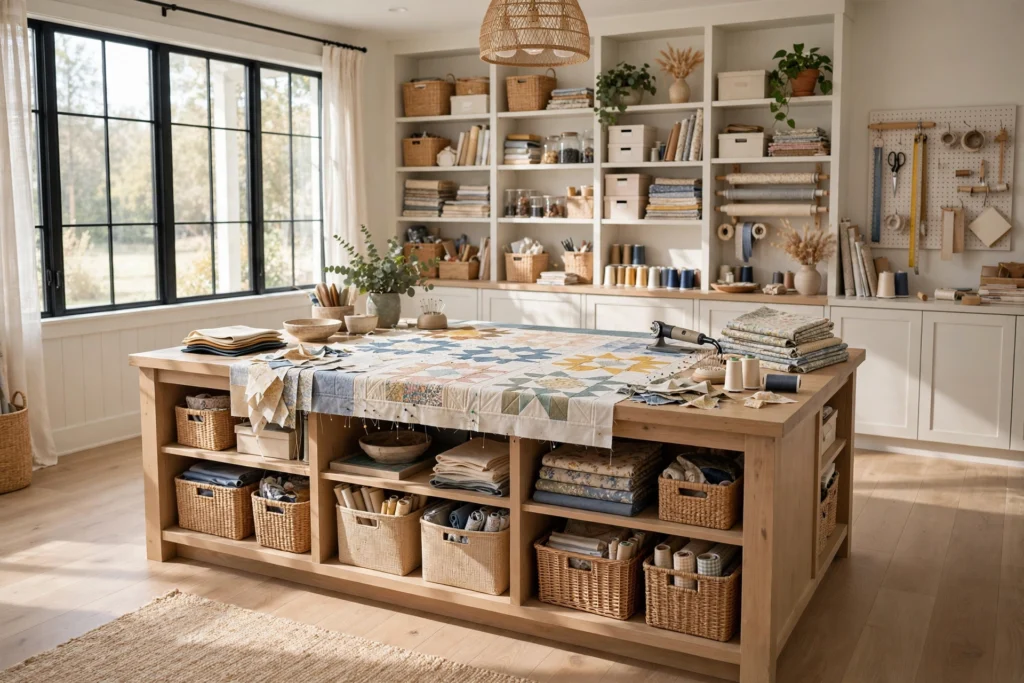
A large central table — a craft island — gives you 360-degree access and room to spread out big projects like quilts or scrapbook layouts. A sturdy dining table, two desks pushed together, or a kitchen island with storage below all work. Aim for at least 36 inches of clearance on all sides.
Choose a height that suits your craft: counter height for cutting and standing work, table height for sewing and detailed tasks. Locking casters make the island movable for parties or big-project days. Store the most-used supplies in the island itself so everything is one pivot away.
3. Roll In Mobile Storage Carts
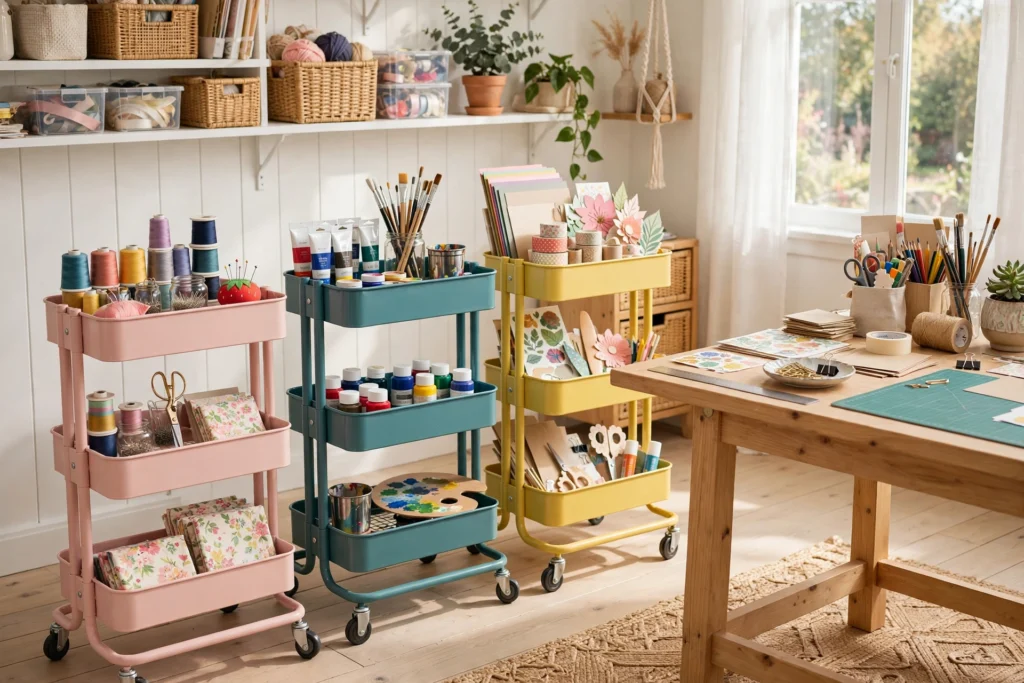
Rolling carts are small-space heroes among craft room ideas. A three-tier cart holds the supplies for your current project and rolls to the table, the sofa, or the patio. When guests come, wheel the whole works into a closet. Dedicate carts by craft — one for sewing notions, one for painting, one for paper crafts.
Label each tier so family members return things to the right spot. The narrow profile fits beside desks and inside closets, and the open tiers keep everything visible. For layout thinking that applies here too, see our 15 home office layout design ideas for arranging any hardworking room.
4. Sort Supplies into Color-Coded Bins
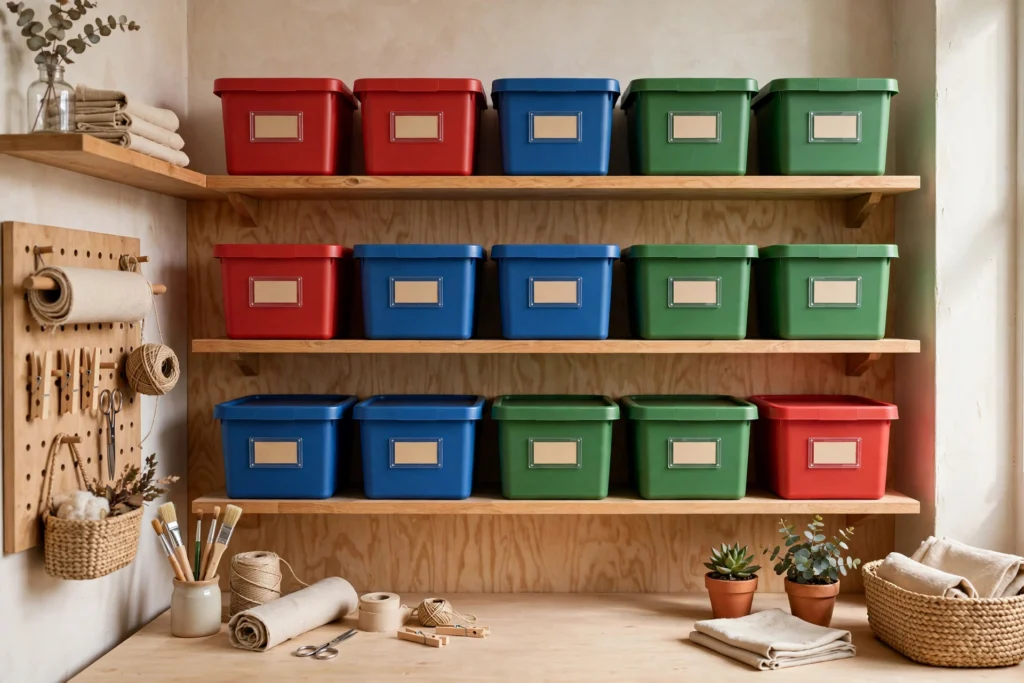
Color-coded bins turn chaotic supplies into a visual system you can read at a glance: red bins for sewing, blue for paper, green for kids’ crafts. Use clear bins when you want to see contents, and opaque with big labels when you want calm. Uniform bins look tidy even when the contents are gloriously messy.
Stack bins on open shelving so labels face forward, and keep a label maker in the room — the system only works if relabeling takes seconds. Apartment Therapy’s craft storage ideas prove that visible, categorized storage beats digging through mystery boxes every time.
5. Light It Like a Studio
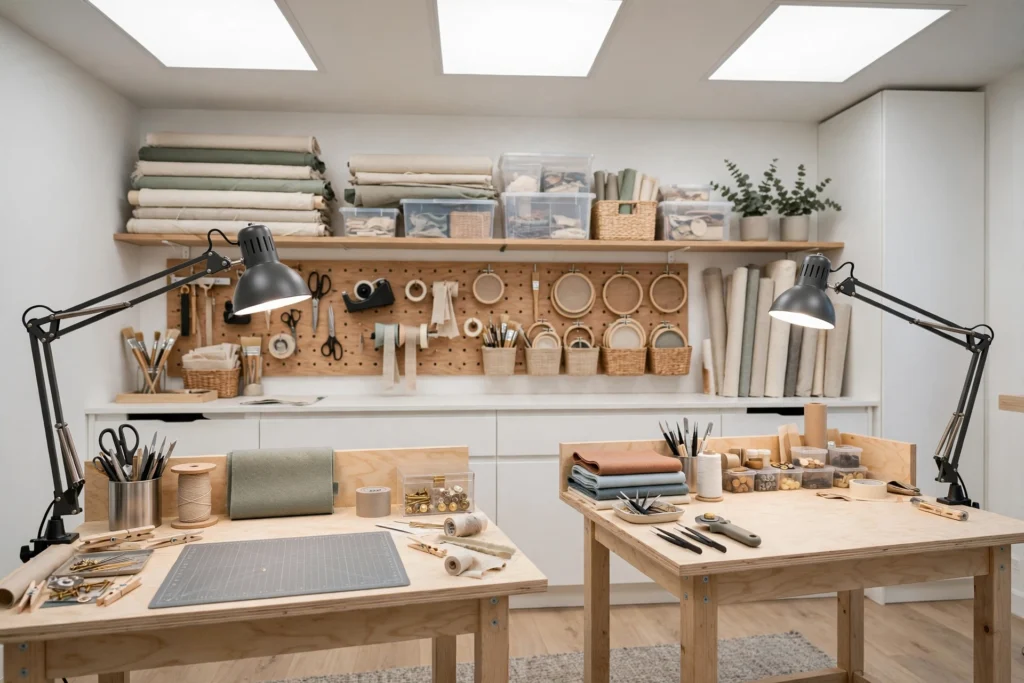
Craft rooms need serious light: bright, even, and true-color. Overhead daylight LEDs (5000K) mimic noon sun for accurate color matching, while adjustable task lamps at each workstation handle detail work. Poor lighting causes eye strain and color mistakes — this is not the place to skimp.
Position task lamps on the opposite side of your dominant hand to avoid casting shadows over your work. If the room has a window, set the main table perpendicular to it for side light without glare. Add dimmers so the same room shifts from bright work mode to cozy evening crafting.
6. Carve Out a Sewing Station Nook
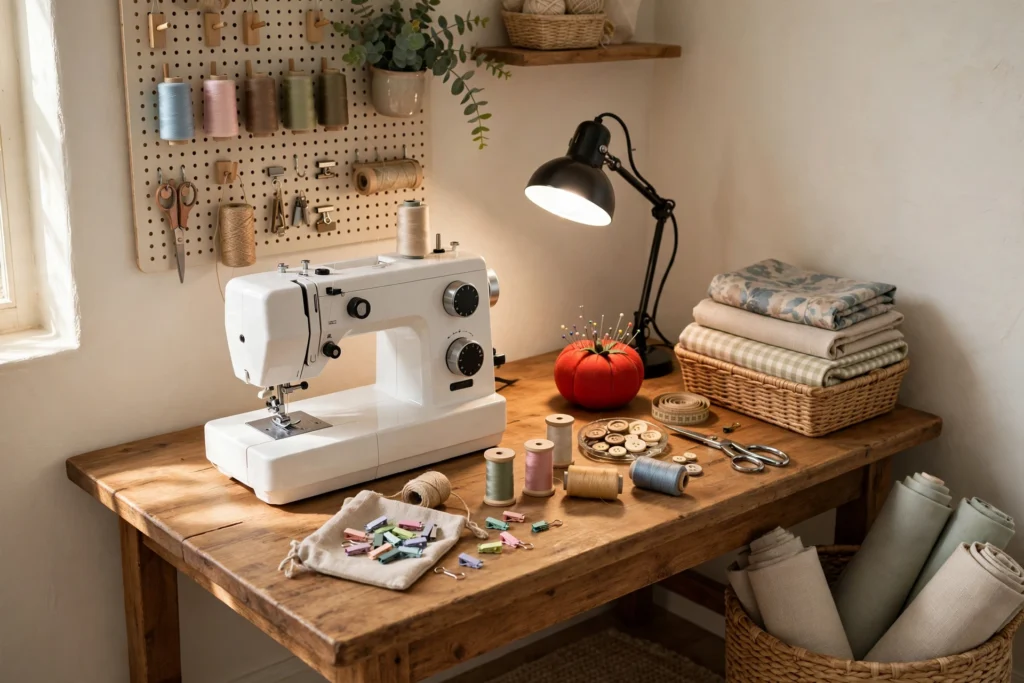
A dedicated sewing nook keeps your machine set up and ready — the difference between sewing often and never. All you need is a sturdy table at the right height, good task lighting, and your most-used notions within arm’s reach. A corner of the craft room works perfectly.
Add a small cutting mat, a pincushion, and a waste bin for threads right at the station. A comfortable chair with back support matters for long sessions. Keep an ironing board nearby or use a compact tabletop press; pressing as you go is the secret to professional-looking seams.
7. Set Up a Gift-Wrap Station
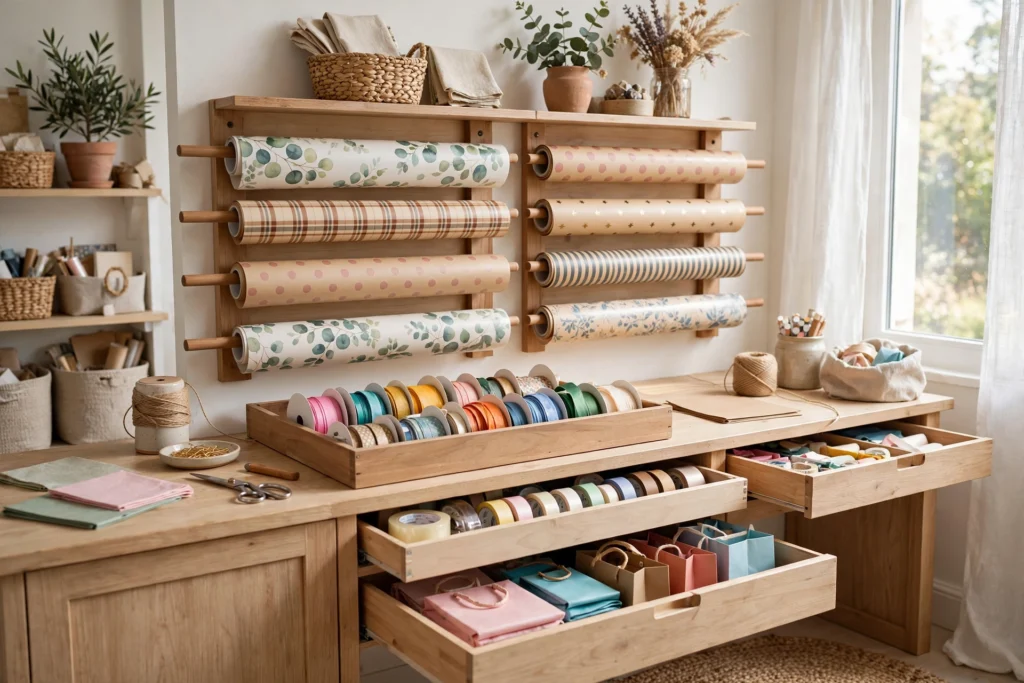
A gift-wrap station with vertical slots for wrapping paper rolls, plus drawers for ribbon, tape, scissors, and gift bags, turns wrapping from a floor-sitting chore into a pleasure. Mount paper rolls on dowels inside a cabinet or on a wall rack so they unroll smoothly.
Keep a flat work surface clear beside the station — the craft island doubles nicely. Stock tissue paper, tags, and a few versatile ribbons so you are ready for any occasion. This is one of those craft room ideas that earns its space every single holiday season.
8. Design an Inspiration Display Wall
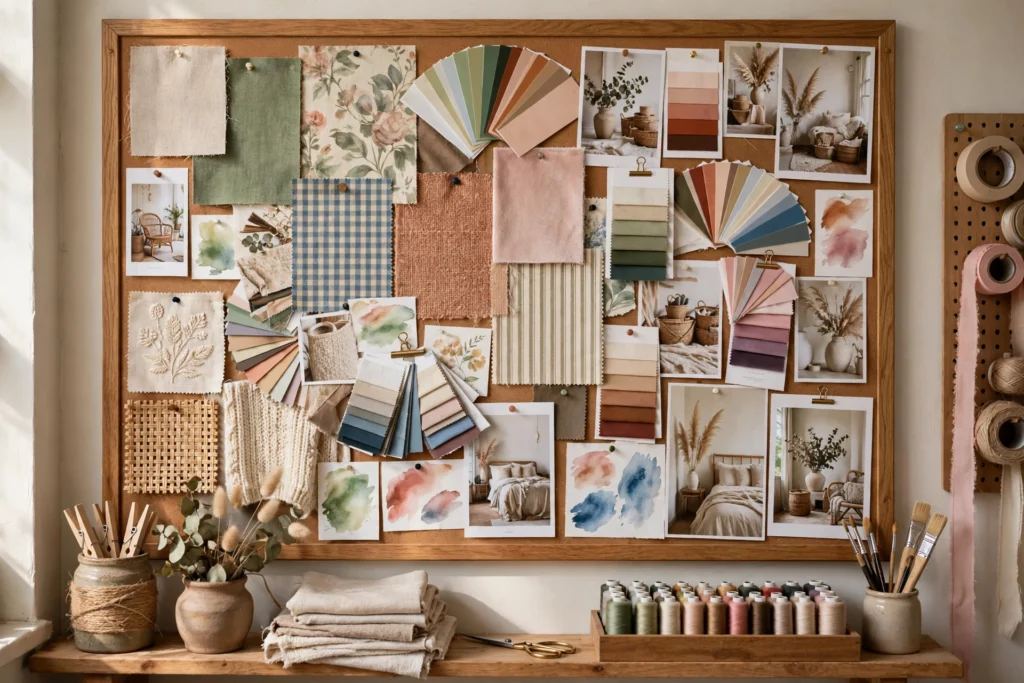
An inspiration wall — a big bulletin board, a wire grid, or a magnetic board — keeps mood boards, color swatches, fabric samples, and works-in-progress where you can see them. Seeing your ideas daily keeps projects moving and sparks new ones. It also makes the room feel personal and alive.
Use a system that is easy to change: clips, magnets, or pins rather than glue. Dedicate zones for current projects, future ideas, and finished pieces you love. Photograph the board before clearing it so no idea is ever truly lost. For a relaxed, personal style around it, see our 15 boho home office design ideas for a creative, relaxed workspace.
9. Install a Fold-Down Table
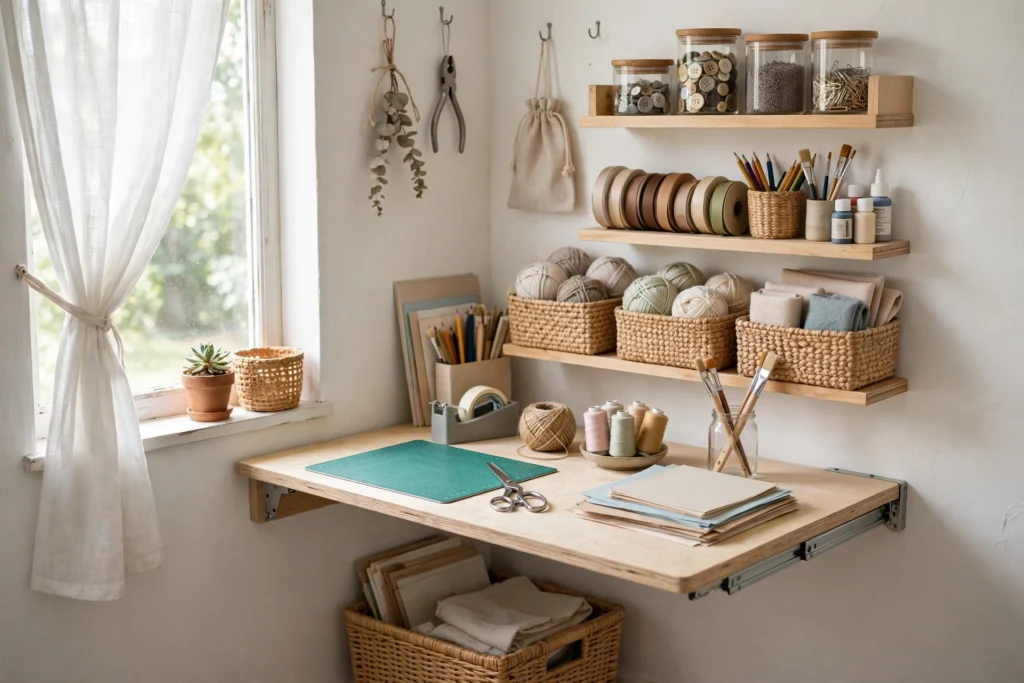
A wall-mounted fold-down table is the answer when space is tight. Down, it is a full-size craft surface; up, the room is free for yoga, guests, or dancing. Pair it with wall storage for supplies and you have a complete craft room in four square feet of floor space.
Choose sturdy folding brackets rated well above your expected load — crafts plus elbows lean hard. A table 24 inches deep suits most projects; go 30 if you sew. Add a folding chair that hangs on the wall beside it and the whole setup disappears in seconds.
10. Decant Small Supplies into Clear Jars
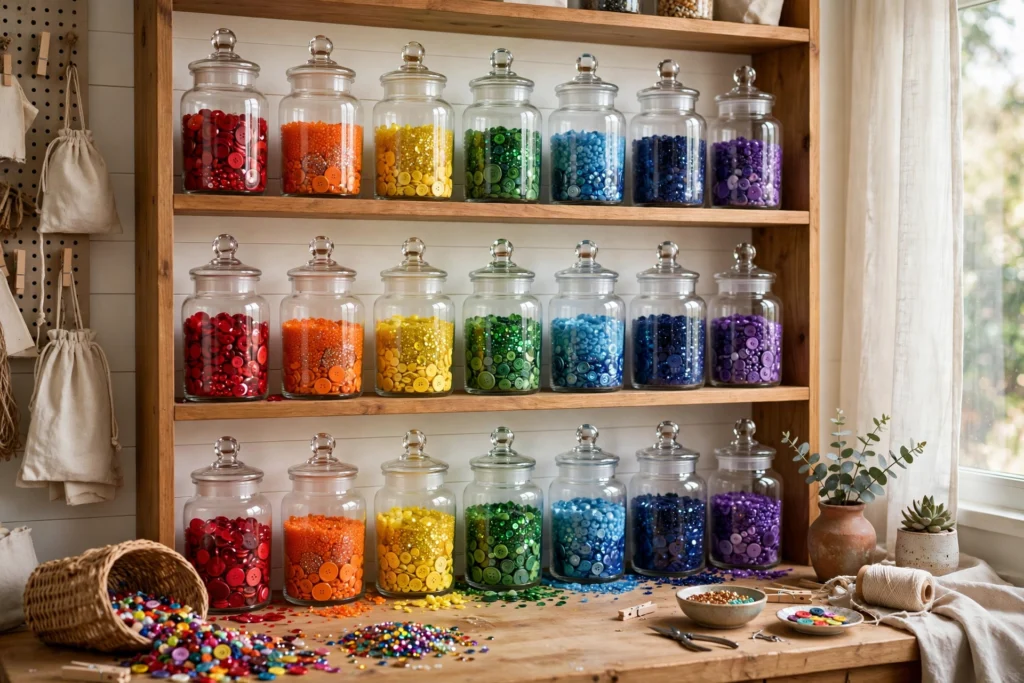
Buttons, beads, sequins, and brads deserve better than their original packaging. Decanted into clear glass jars, they become a rainbow display that is also perfectly organized — you can see exactly what you have and how much. Uniform jars on open shelves look like a beautiful apothecary.
Use jars with airtight lids to keep tiny supplies dust-free, and group by color for the prettiest effect. Label the bottom, not the front, to keep the display clean. This is one of the simplest craft room ideas with the biggest visual payoff for the least money.
11. Add a Comfy Sketching Corner
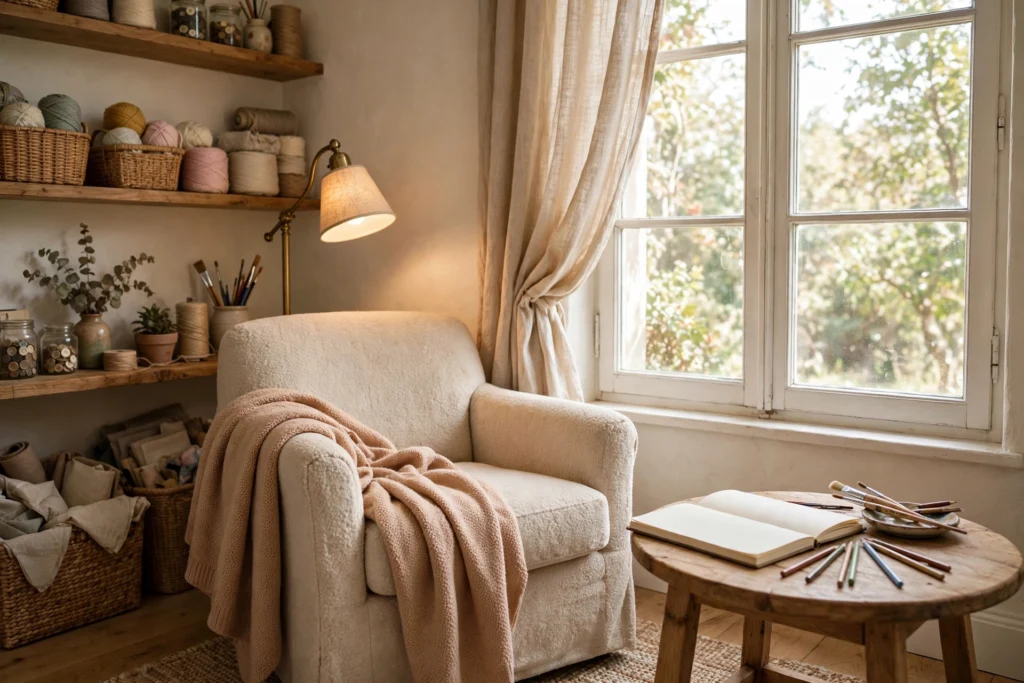
Every craft room needs a soft spot to think: a comfortable armchair, a good reading lamp, and a side table for your sketchbook and tea. This is where ideas happen — flipping through inspiration books, sketching plans, or simply resting your eyes between detail sessions.
Place the chair near the window for the best light and a view. A small basket beside it holds current inspiration: magazines, fabric swatches, a tablet. Keep this corner strictly comfortable and uncluttered — no works-in-progress allowed — so it stays a genuine retreat within the creative zone.
12. Hang a Drying Rack for Art
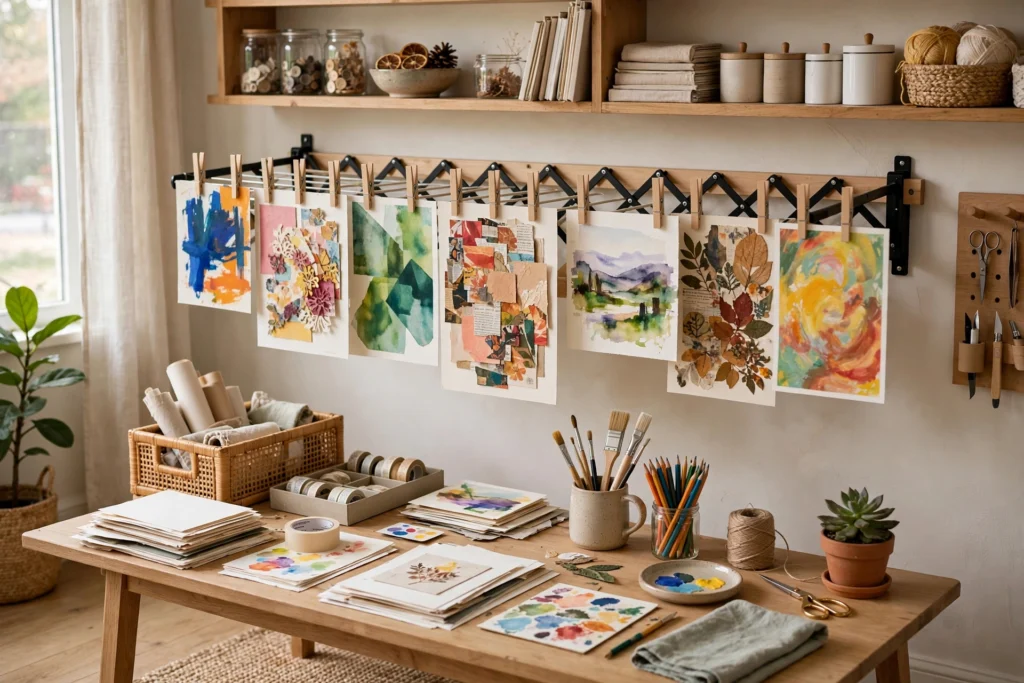
Wet paintings, glued collages, and Mod-Podged projects need somewhere safe to dry. A wall-mounted accordion drying rack, a baker’s cooling-rack style shelf unit, or even a simple clothesline with clips keeps works-in-progress flat, dust-free, and out from underfoot.
Position the rack away from direct sun to prevent warping and fading. If you work with resin or strong adhesives, place the drying area near ventilation. Label shelves with painter’s tape and dates when juggling multiple pieces — future you will appreciate knowing what is dry and what is not.
13. Store Fabric Like a Shop Display
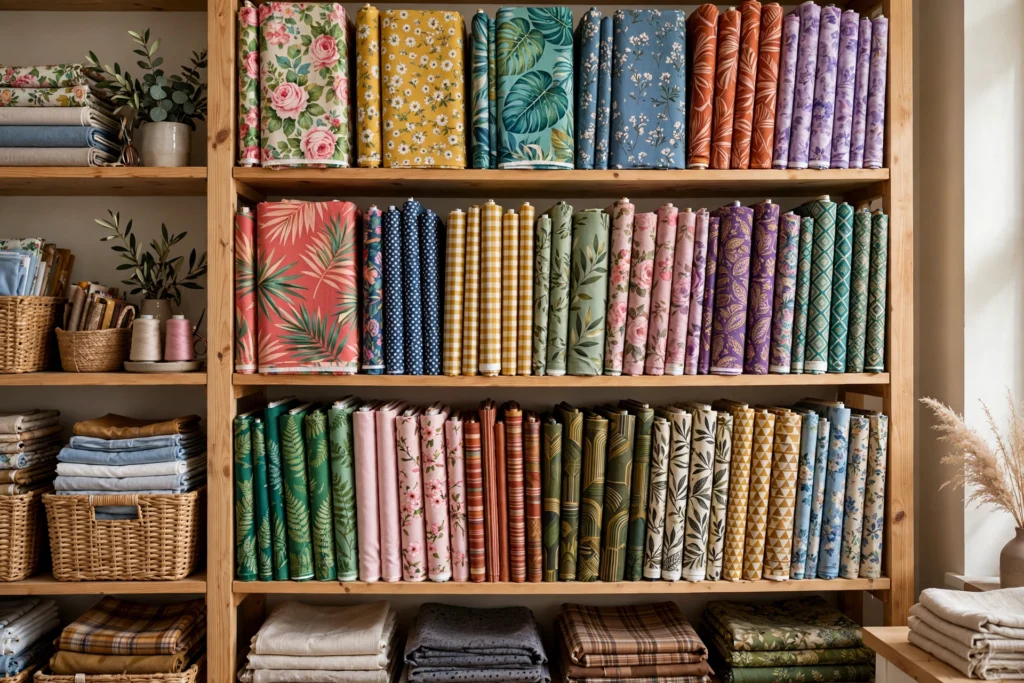
Folded fabric stored vertically — like files in a drawer or books on a shelf — lets you see every print at once. This comic-book-board method, borrowed from fabric shops, ends the excavation required by stacked piles. Sort by color or project for extra clarity.
Use uniform boards or a cubby shelf sized to your folds for a tidy look. Keep a “to use soon” cubby for fabrics earmarked for current projects. Store out-of-season or precious fabrics in labeled bins to protect them from dust and sun while keeping the display shoppable.
14. Create a Kid-Friendly Craft Zone
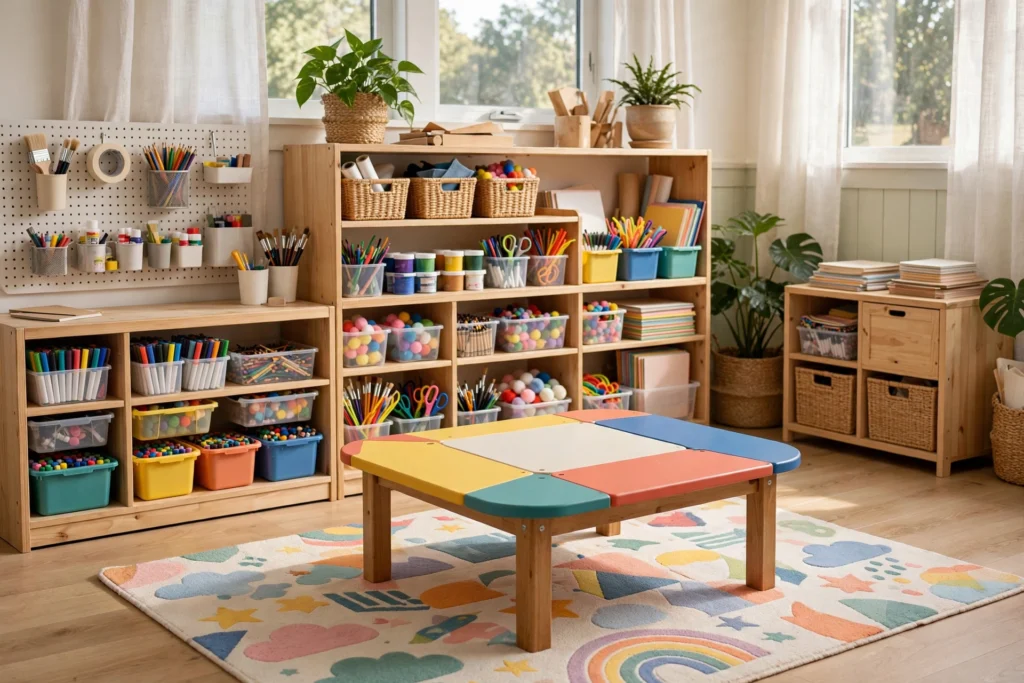
A low table, washable supplies, and reachable storage give kids their own creative territory within your craft room. This is one of the most joyful craft room ideas — crafting together without worrying about your good scissors or silk fabric. A small rug defines their zone.
Stock only washable, non-toxic supplies at kid height and keep the grown-up materials up high. A smock hook and easy-clean table covering handle the mess. For more playful spaces, see our 15 playroom design ideas for fun, creative kids’ rooms.
15. Convert a Closet into a Craft Room
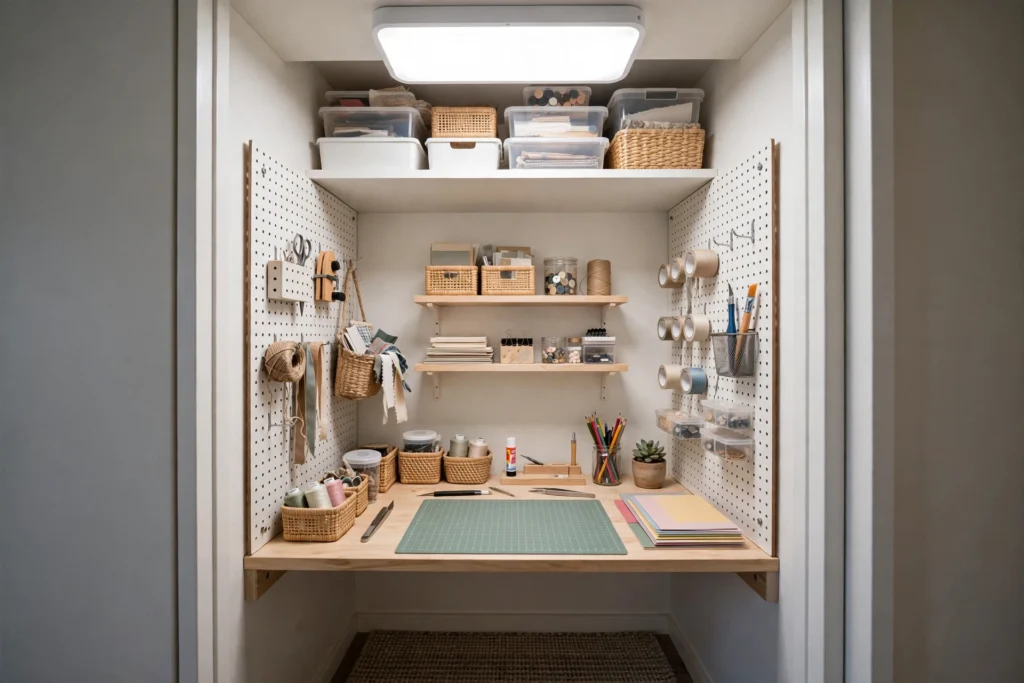
No spare room? A closet becomes a surprisingly complete craft room: remove the doors, add a desk-height shelf as a work surface, line the walls with pegboard and shelves, and add a bright light. Close the doors — or hang a curtain — and the mess vanishes instantly.
This cloffice-style setup suits apartments and shared homes perfectly. A rolling chair tucks under the desk shelf; a cart holds overflow. Add a power strip for the glue gun and task lamp, and paint the closet interior a fun color since you will see it every time you create.
Frequently Asked Questions
How do I organize a small craft room?
Go vertical: pegboards, wall shelves, and over-door organizers free every inch of floor and desk space. Use mobile carts that tuck away, a fold-down table, and clear labeled bins so everything has a visible home. Purge ruthlessly — small rooms punish “maybe someday” supplies.
What lighting is best for a craft room?
Bright, even, true-color light: overhead daylight LEDs around 5000K for accurate colors, plus adjustable task lamps at each workstation. Position task light opposite your dominant hand to avoid shadows. Add dimmers so the room shifts from precision work mode to relaxed evening crafting.
How can I store fabric so I can see it all?
Fold fabric around uniform boards and file it vertically like books on a shelf or in drawers — the fabric-shop method. You will see every print without unstacking. Sort by color or project, keep a “use soon” section for active projects, and store precious fabrics in labeled bins away from sun.
What is the best table for a craft room?
A large, sturdy table you can walk around — a central island setup beats a desk against the wall for most crafts. Counter height suits cutting and standing work; table height suits sewing and detail work. Locking casters add flexibility, and storage underneath keeps supplies within reach.
How do I keep my craft room from getting messy?
Give every supply a labeled home and follow the one-in-one-out rule for new purchases. End each session with a five-minute reset: tools back on the pegboard, scraps in the bin, current project in its cart. Visible storage beats hidden piles — you cannot tidy what you cannot see.
Keep Exploring
The best craft room ideas share one principle: everything visible, everything reachable, everything with a home. Build your room around the crafts you actually do, light it like you mean it, and leave a little empty space — creativity needs breathing room too.
Start with one wall of pegboard and a good lamp. The creative, organized space of your dreams grows from there, one labeled bin at a time.